My tenured, rollercoaster history of roll bars in this car is a great showcase of persistence and a stubbornness of accepting nothing less than right. The original owner installed an Autopower roll bar and left me open holes that needed patching. I instead filled them by installing an Autopower bar of my own. Its overall quality was so-so which lead me to perceive it as too vanilla. Being less than enthused sparked a desire to spice things up and I pursued a Samberg roll bar in a special raw finish which resulted in rust appearing and was a failure. With my back against a wall, I found my way towards the Miracle cross bar and I loved its bling factor… but I do have a mostly Engineering oriented mind and could not come to agreement with the superfluousness of the ancillary bars.
Furthermore, having a roll bar specifically was always part of my overarching vision for the RX-7. It was a difficult decision to make because I had JUST finished the labor intensive install of the Miracle cross bar… but I knew the direction I needed to move in. With the interior apart, this was the best time to tough it out and get it done. To my benefit, encountered a stroke of serendipity that made the process easier. I was originally able to sell the cross bar to my buddy Tommy, but I learned that he conveniently had an elusive M2 / Raceshop roll bar in storage. So instead of selling the cross bar, we worked out a trade deal. This might fill in the blanks as to why I removed my old, drilled rear quarter trim panels for the new Alcantara wrapped ones.
This particular roll bar was always one that I’ve been interested in, but never had the open opportunity to purchase one. They were made by Raceshop out of California and was also branded by M2. Although discontinued, it was a popular and premium choice back in the day. It features 1-3/4″ chromoly tubing, unlike the Autopower’s lesser grade steel tubing which made it unnecessarily heavy for its dimensions, and a fully array of options: main diagonal, rear diagonal, and harness bar. I found an old fabrication picture for reference.

Getting the Raceshop bar to me was the difficult part and ended up taking longer than expected. First, shipping with UPS Freight was attempted which required a scheduled driver to come out to the location for pickup. The price to ship the roll bar via freight was inordinate, so that idea was scrapped.
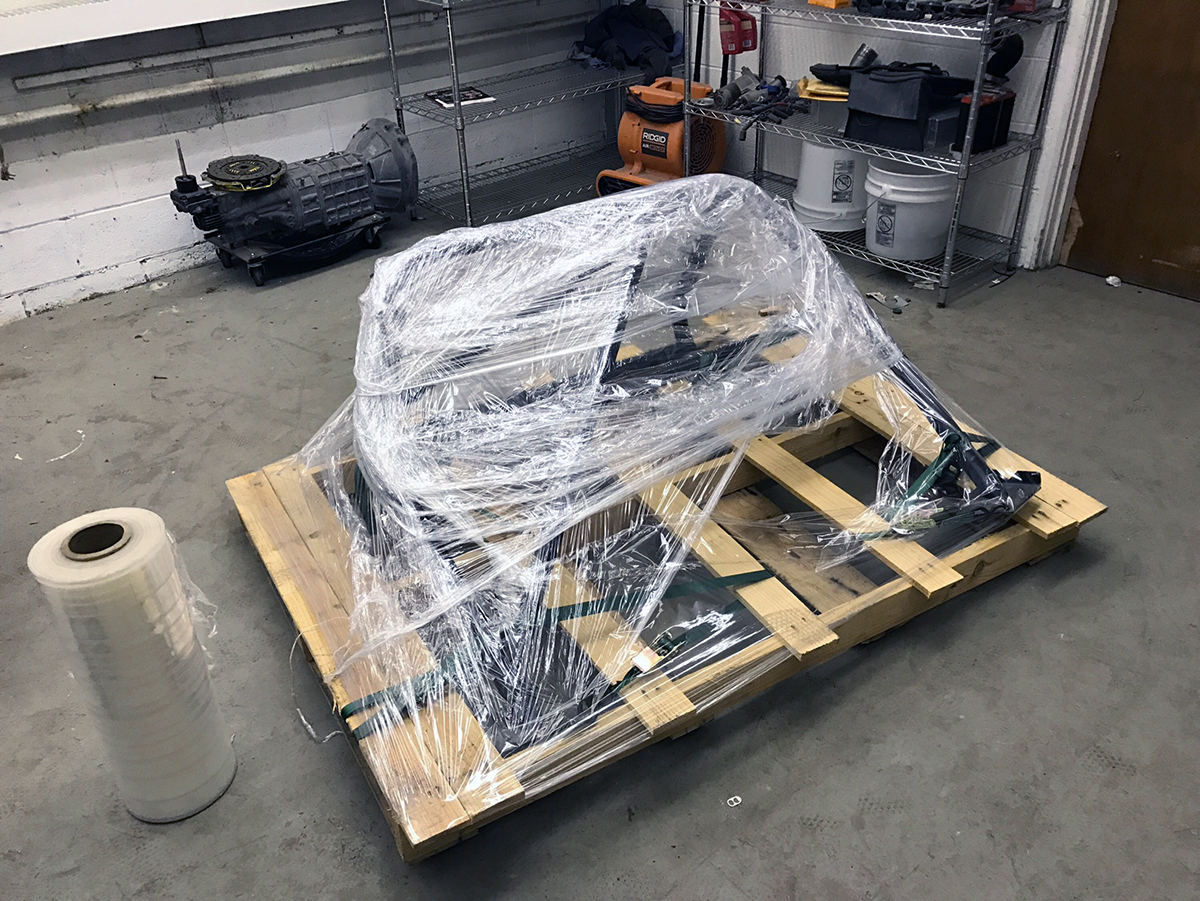
Ironically enough, it turns out that the roll bar’s dimensions were just small enough to ship through regular UPS parcel when disassembled, and the price quote was far more reasonable than freight. Tommy taped it up with bubble wrap and dropped it off to a local Staples and it eventually found its way to me… or to my local powder coater’s shop, rather. The same shop I used with the Autopower roll bar and one I have been using for over half a decade now. They always have a fast turnaround time and a high consistency in their work, so I stick by them. Although this was a relatively unused roll bar, preserving the finish on such an application is never guaranteed. I wanted to start fresh and clean, even if that meant paying for an additional paint job.
I wanted to follow my new theme of keeping the interior’s color palette sedate and simple by going with black for the color, but I battled with the type of finish. The choices came down to Satin, Semi-Gloss, and Gloss. I ended up picking Semi-Gloss because I felt that Satin was too common and too easily confused with flat/matte. Semi-Gloss has a 50% sheen and should add a bit more zest to the presentation without being too out of place. The goal is still to make the roll bar blend with the rest of the black interior.
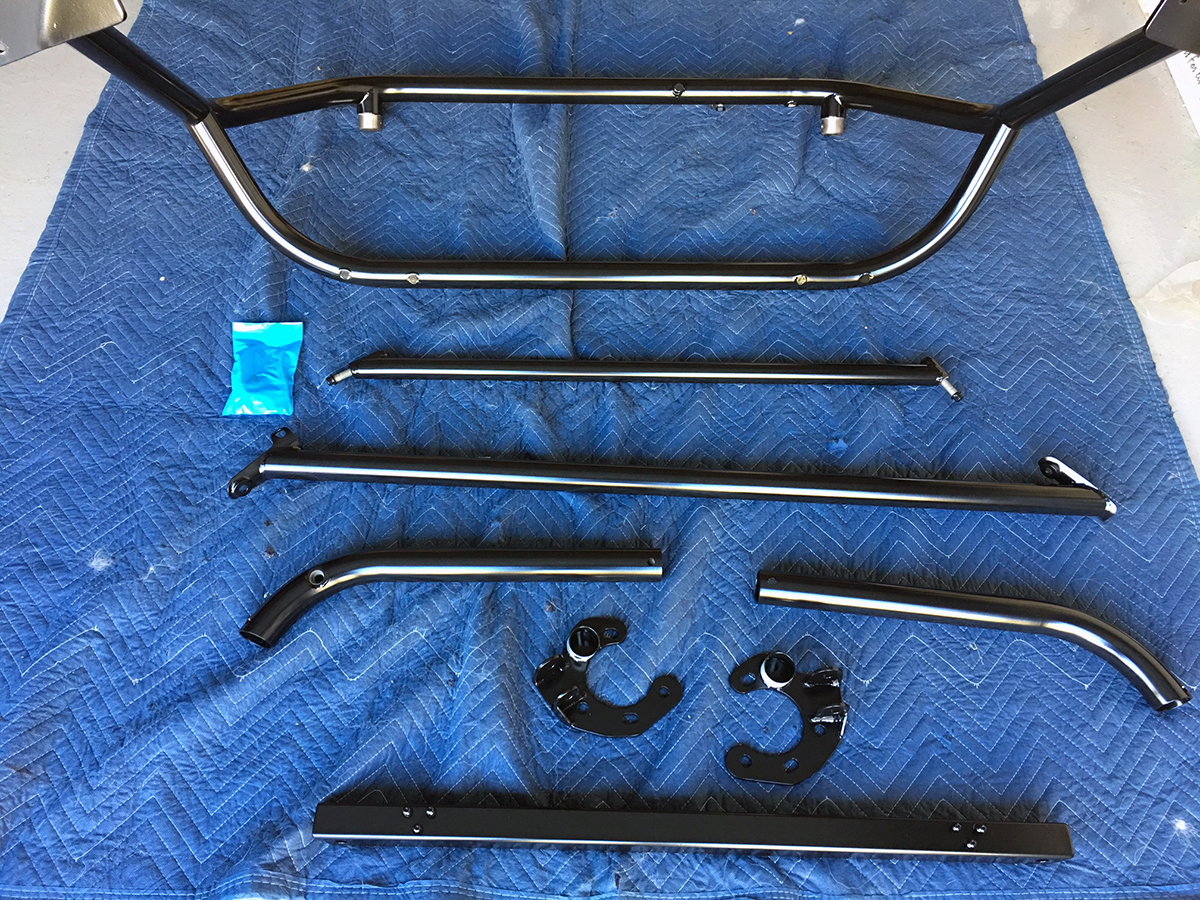
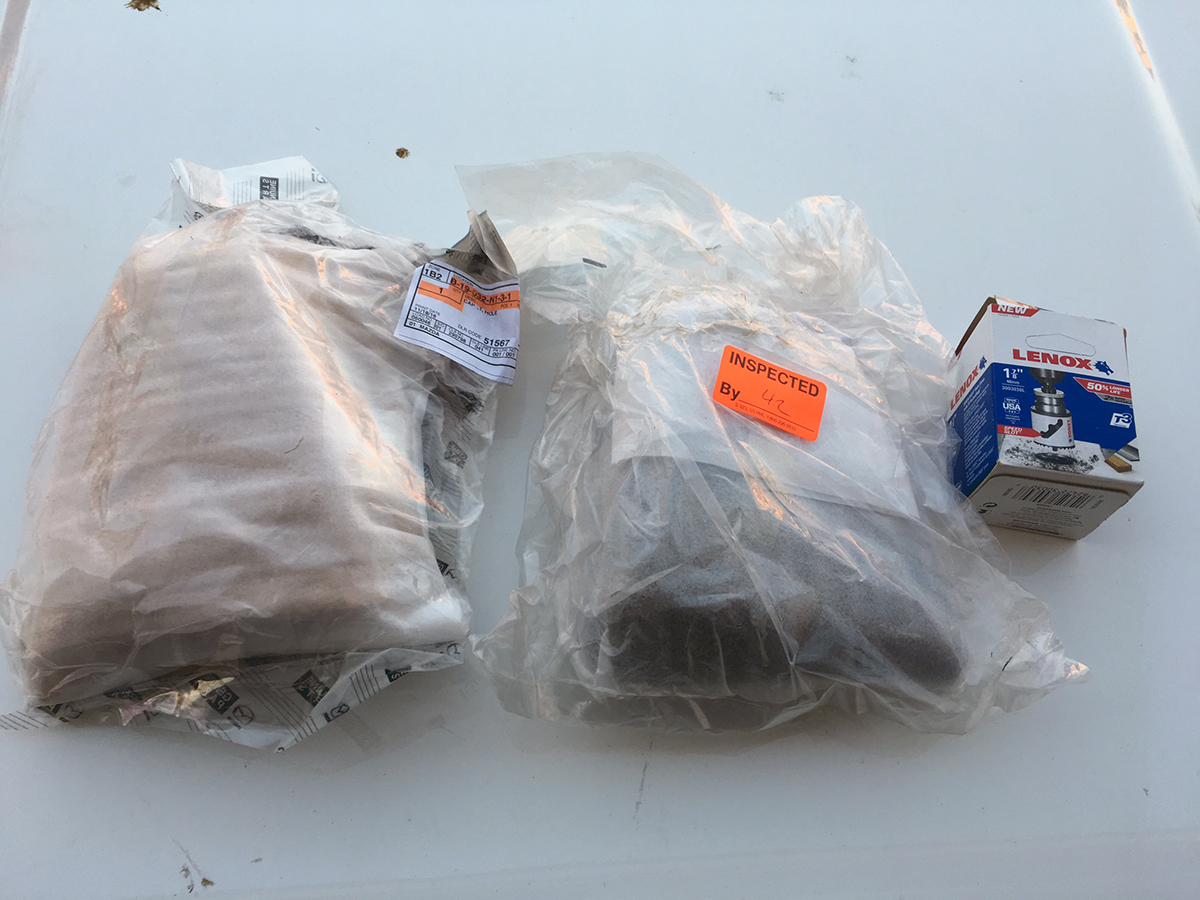
Here is the race shop bar all laid out in its many pieces after I brought it home from the powder coaters. In usual fashion, they turned it around for me in just a couple of days, which was much needed because I was already behind of schedule with the whole shipping debacle.
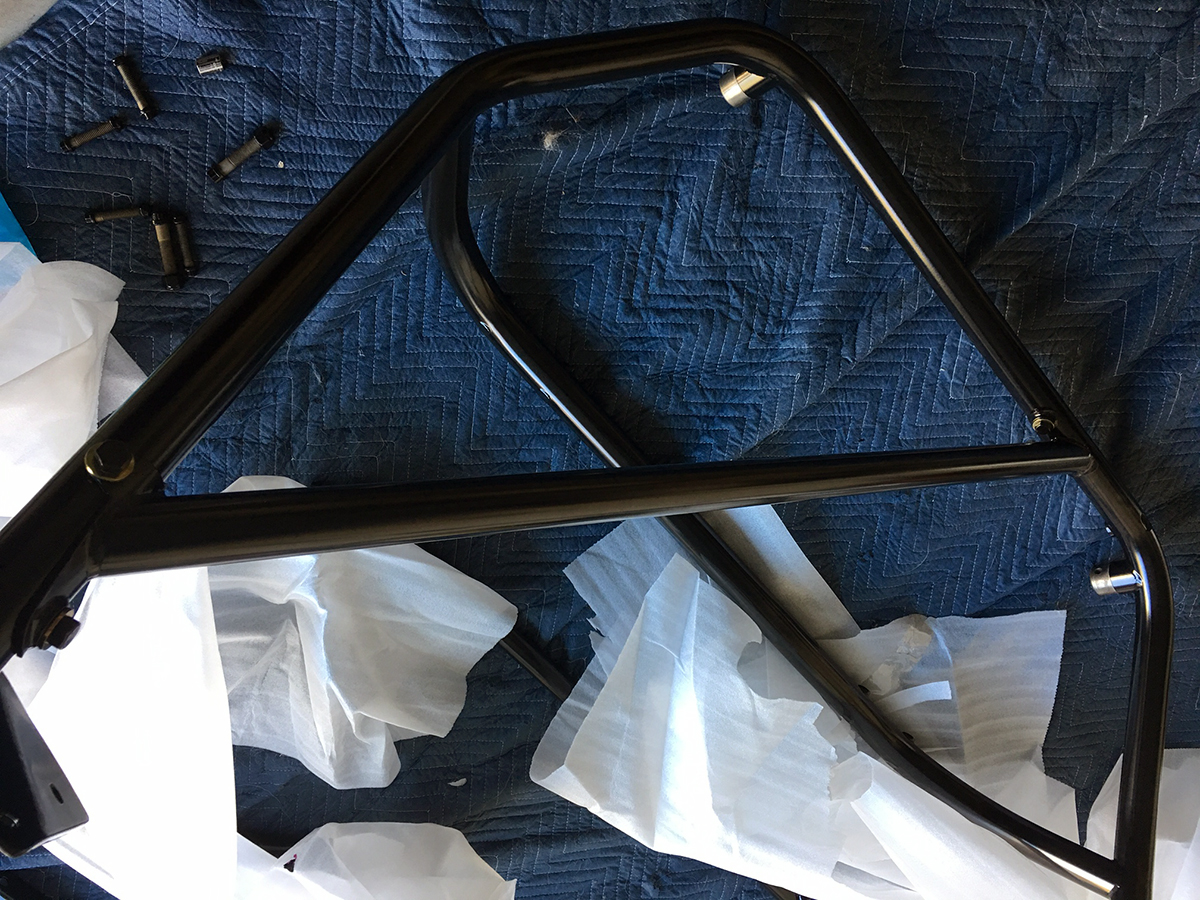
I bolted on the main diagonal while it was still out of the car.
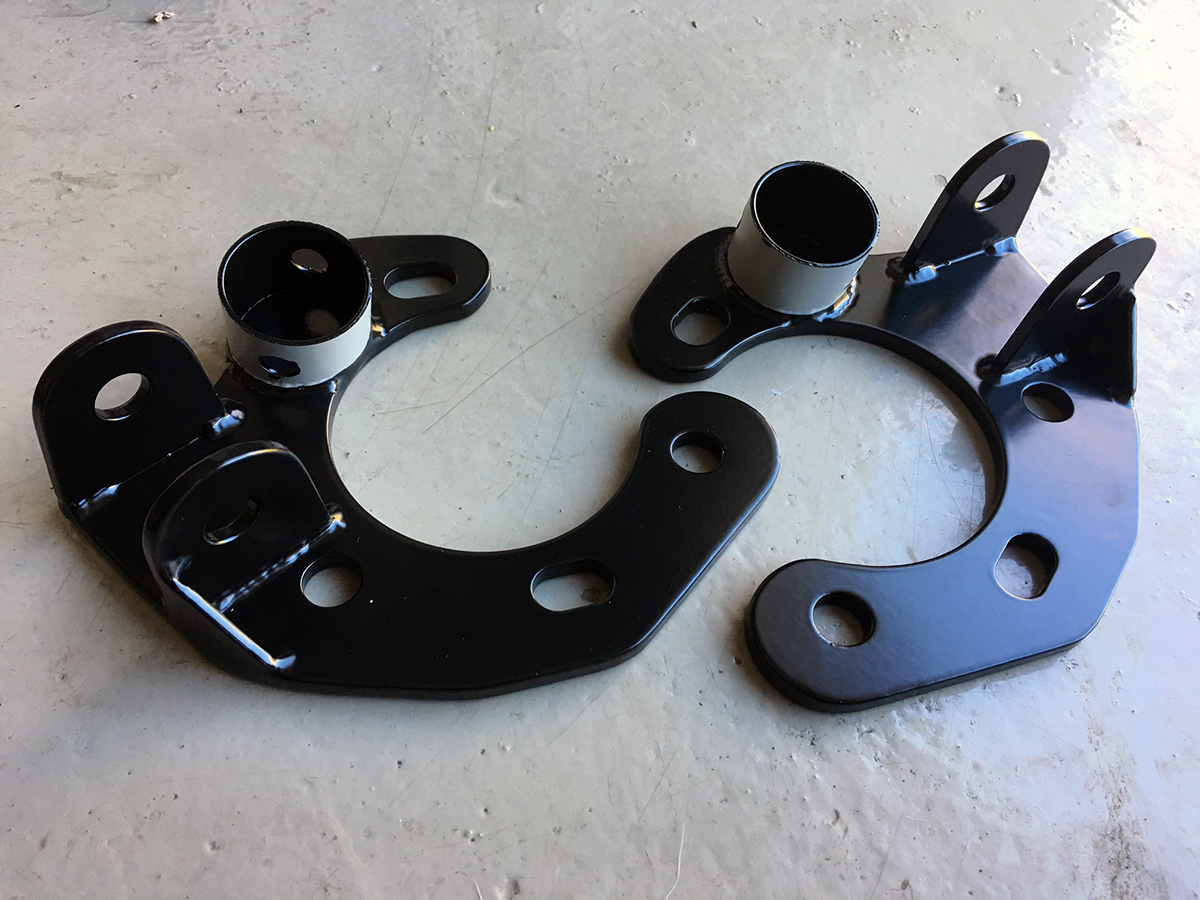
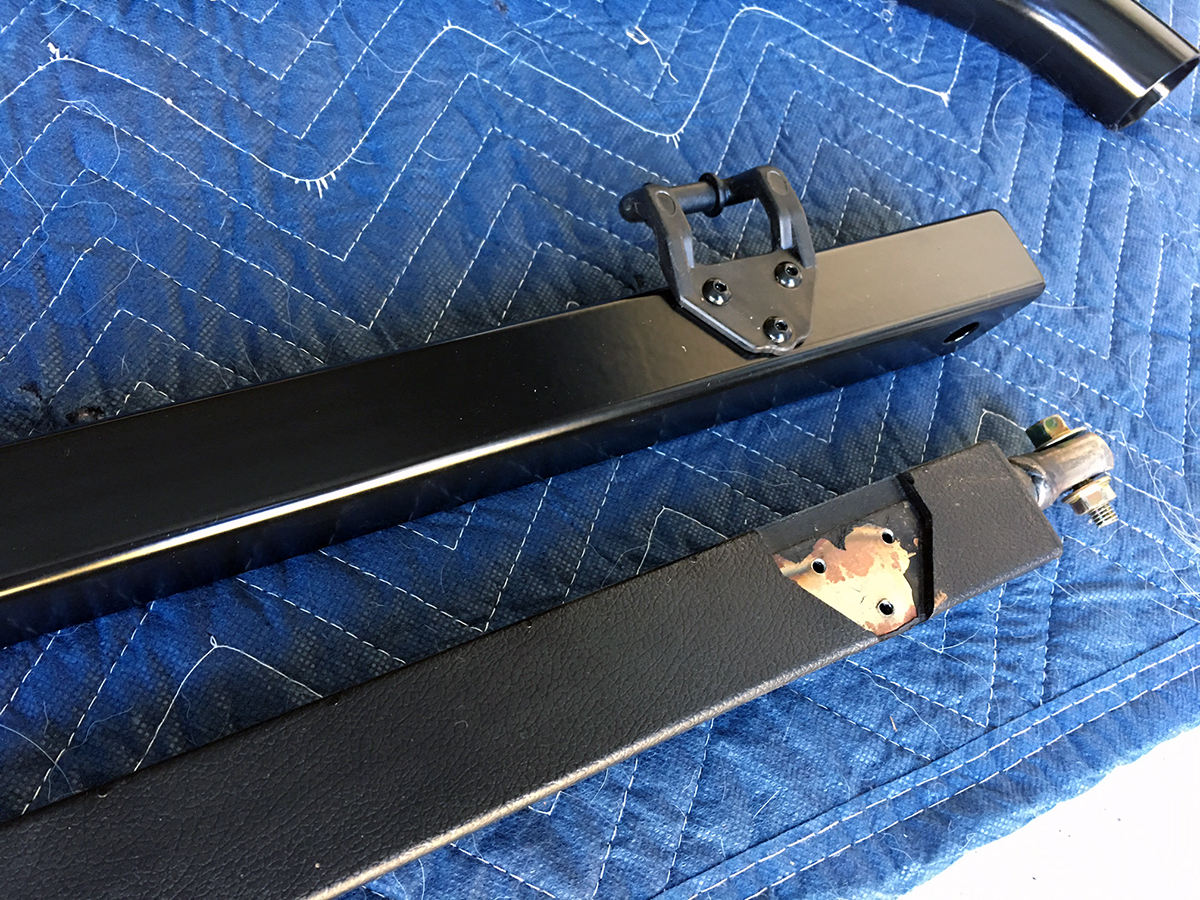
A close-up look at the new rear mounts, which are beefy in construction. Painting Semi-Gloss on tubing appears to make it shinier. The flat areas of the mounts are a better representation of the color. I think once everything is installed inside, the extra glossiness will not be an issue.
What makes the Raceshop roll bar stand apart is its level of detail. Like the rear strut bar which is made out of square tubing, similar to OEM, and even features holes for the privacy cover hinges.
As usual with most roll bar installs around a full interior, escaping minor trim work is not an option. The rear strut mounts are slightly larger in dimension and required trimming in a few areas of the plastic. Ignore the grease in this picture, it wasn’t cleaned up. I also had all of the bolt heads and nuts powder coated in a matching Semi-Gloss Black.
![]()
The strut bar needed careful clearance work on the trim panel. I was able to do so by slowly milling it down with a dremel and then finishing it off with sandpaper.

I purchased a pair of new OEM strut tower caps and then promptly drilled holes into them for the rear legs of the roll bar to pass through.
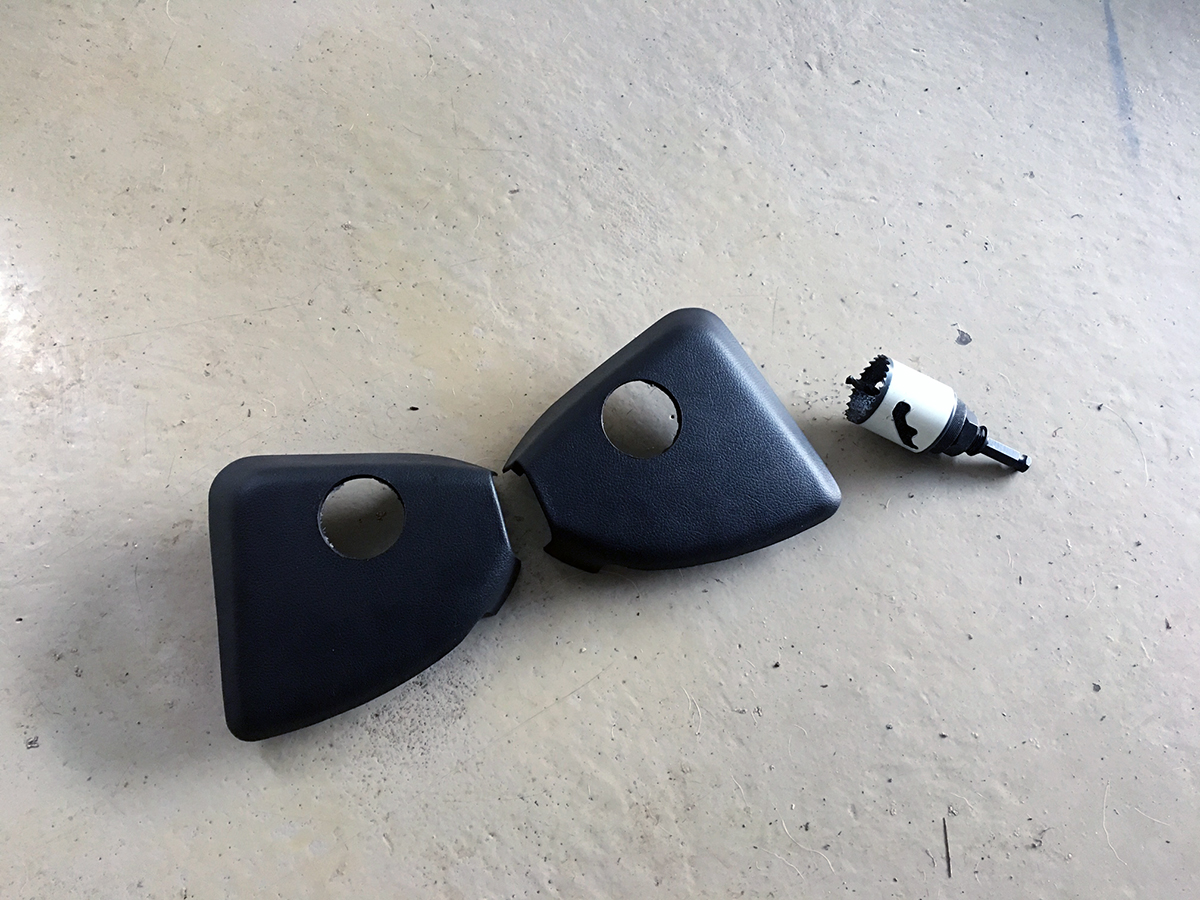
I used a 1-7/8″ hole saw for this task. Figuring out where to drill was not very straight forward. I ended up referencing installed pictures from others online and essentially positioned the holes with an eyeball method.
With the seats out of the car, the main hoop was hoisted into position. The front legs need to sit under the carpet and it was quite stubborn to place in.
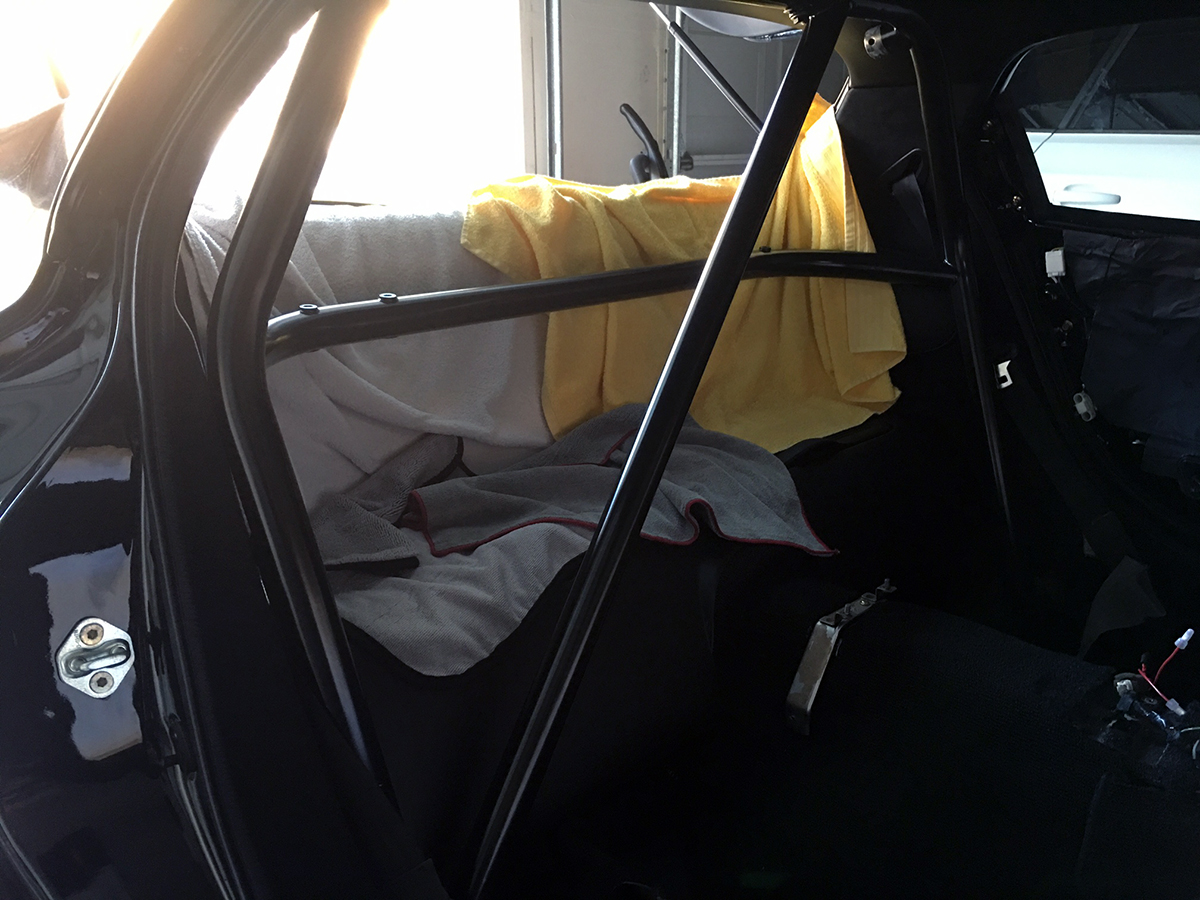
The view from the back.

The next step is to attach the rear legs and affix them to the strut tower mounts. I will cover this in a Part 2 post because there are still a few items left to do and I’m not completely done yet.
I’m looking for a RaceShop Rollbar for my FD. Do you know anyone selling one? Thanks