With my sights set firmly on replacing the roll bar and continually falling short of my needs, I realized I was being too singular in my direction and took a step back. My main goal was obviously to fix the rust that appeared on the old roll bar and obtain a replacement – but it didn’t have to be specifically a roll bar.
I was never going to use the roll bar for track or race purposes any way, I just wanted a statement piece in the rear half of the interior as that was one of the RX-7’s staple accessories. A little flash for a street car is fine.
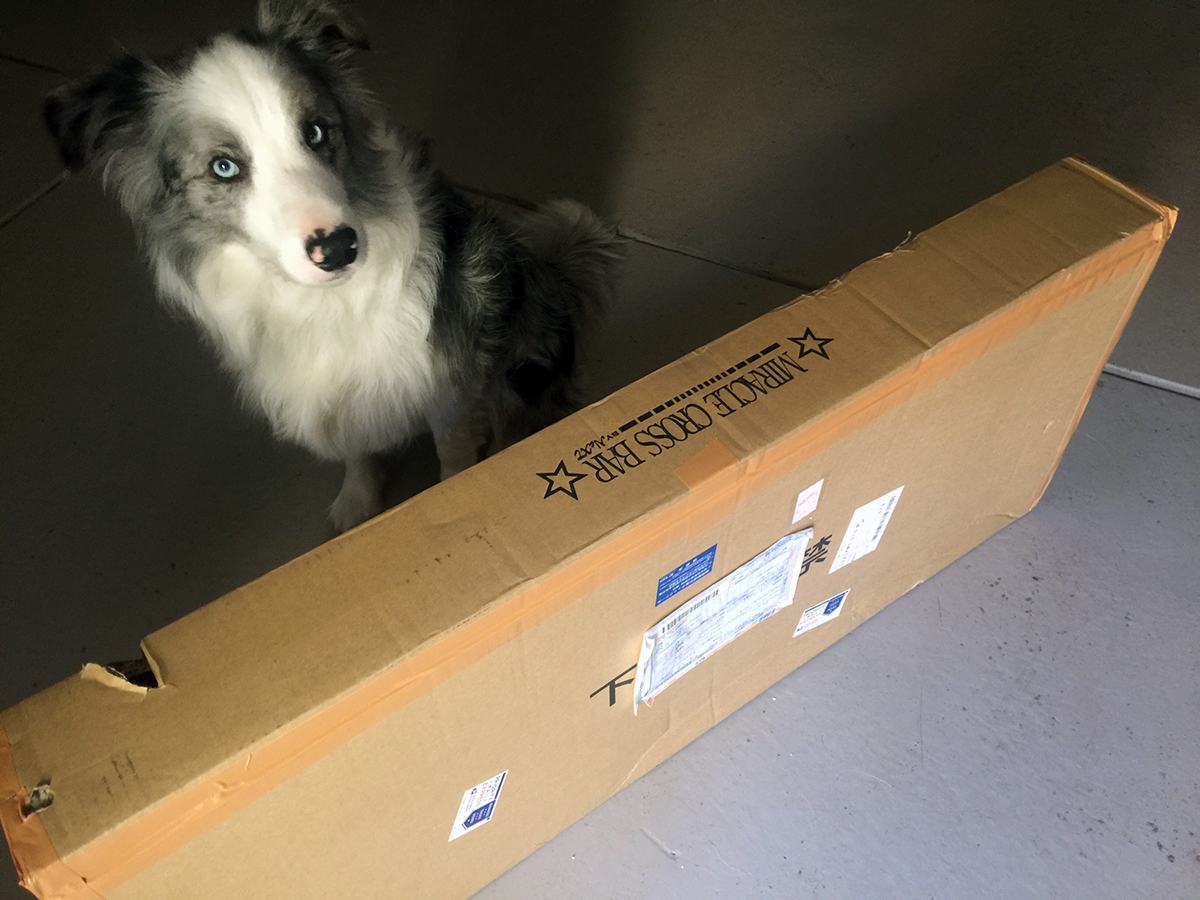
After broadening my scope, I discovered a superlative substitute from Japan – the NeXT Miracle Cross Bar. I quickly shifted gears and pursued this route instead. I started by shooting an email to NeXT directly.
The ordering process was a breeze. I exchanged emails with Suke of NeXT, who communicated with me in English, over the span of a few days to clarify the product questions I had. Once I was settled, I sent over the payment and the package arrived at my doorstep before I even knew it – literally. Later in the week I asked Suke if my cross bar had shipped yet and was informed that, not only had it shipped already, but was already delivered according to the tracking number. I had the shipping address set to my parent’s house, so I checked in with the Pops to confirm.
With the accessibility of the Internet and the quickness of EMS Airmail, a globalized and flat world really does exist.
Opening the contents.
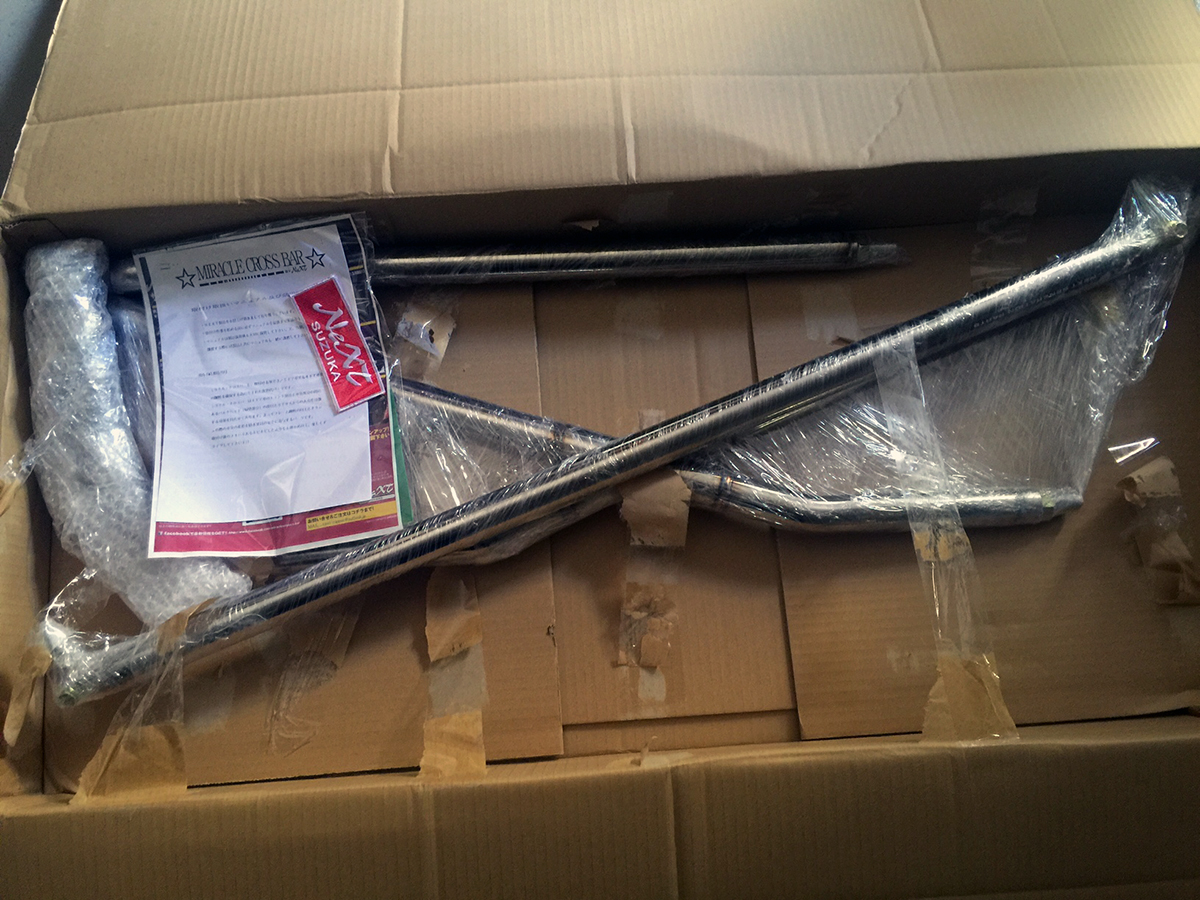
The plaque of authenticity. Surprisingly, even though the Miracle brand is relatively specialized, there are already “fake” copies, like this one from a place called “Minor Mirror Shop” in Thailand. They even include NeXT and Miracle Bar stickers. Caveat Emptor.

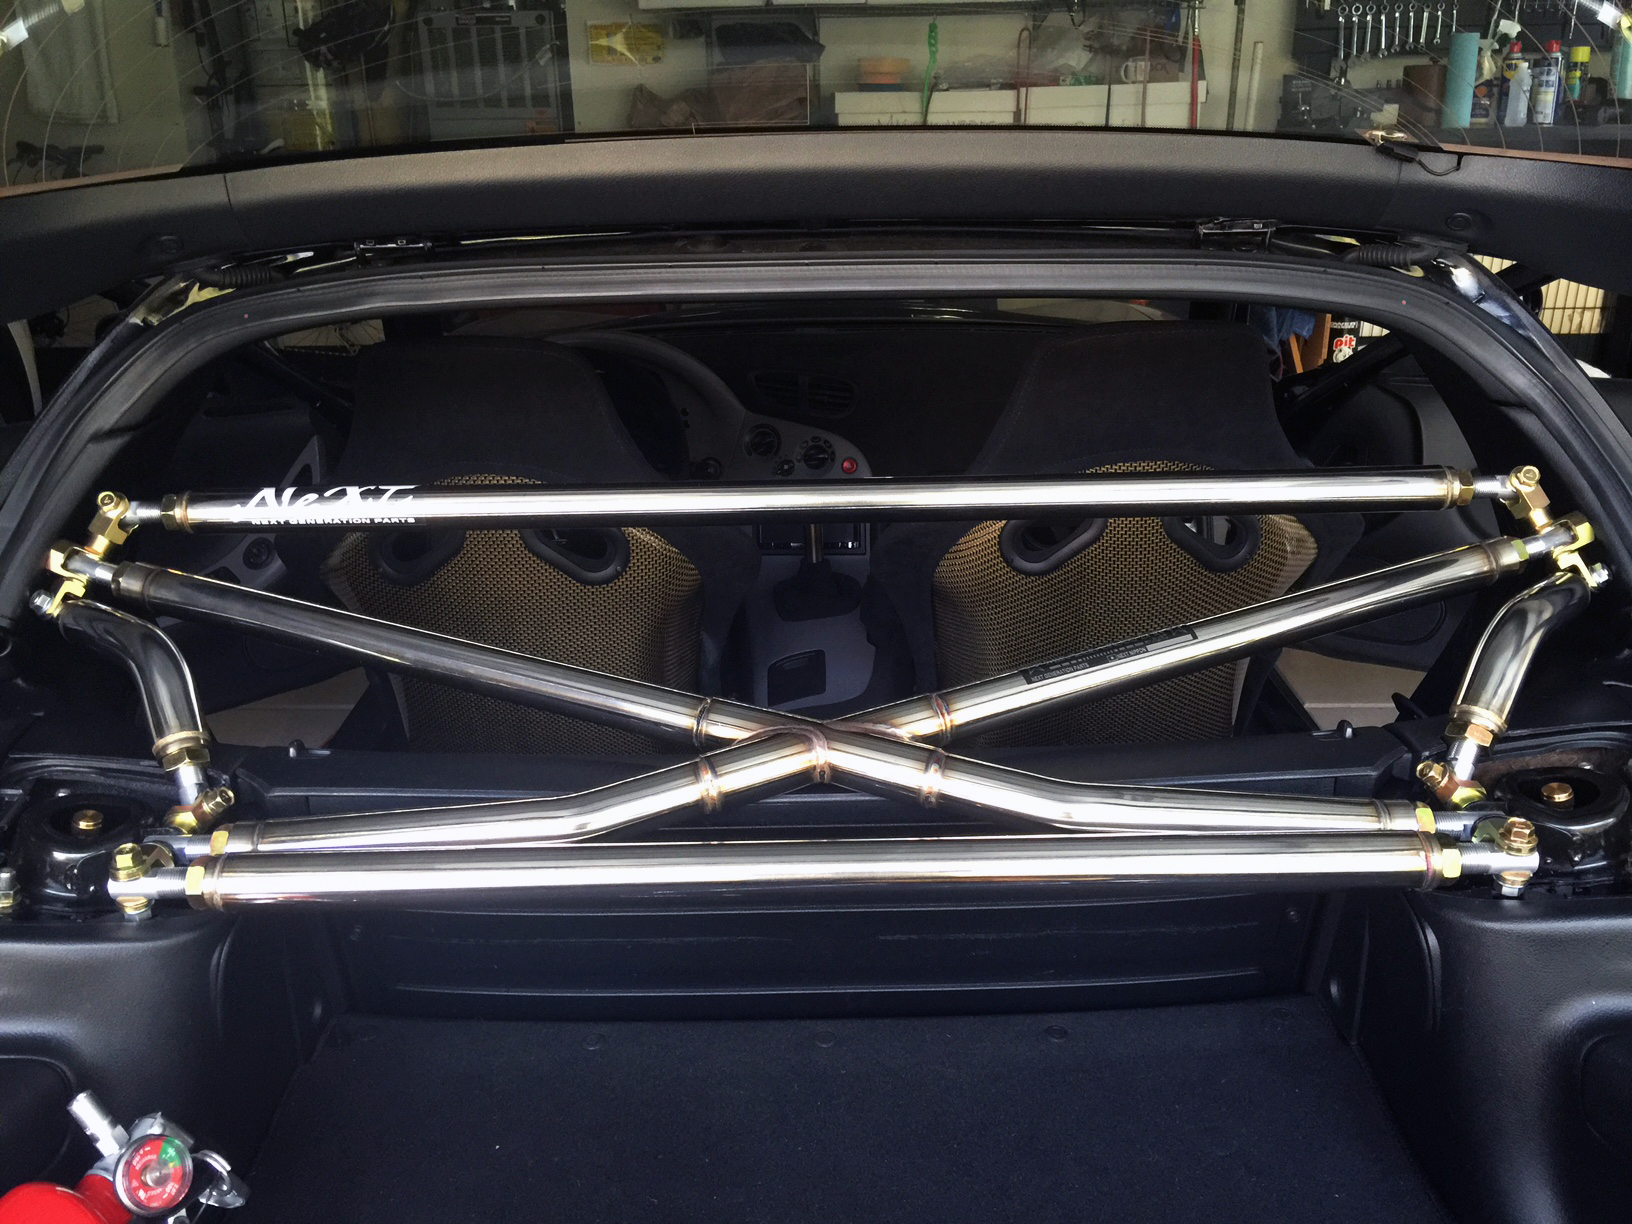
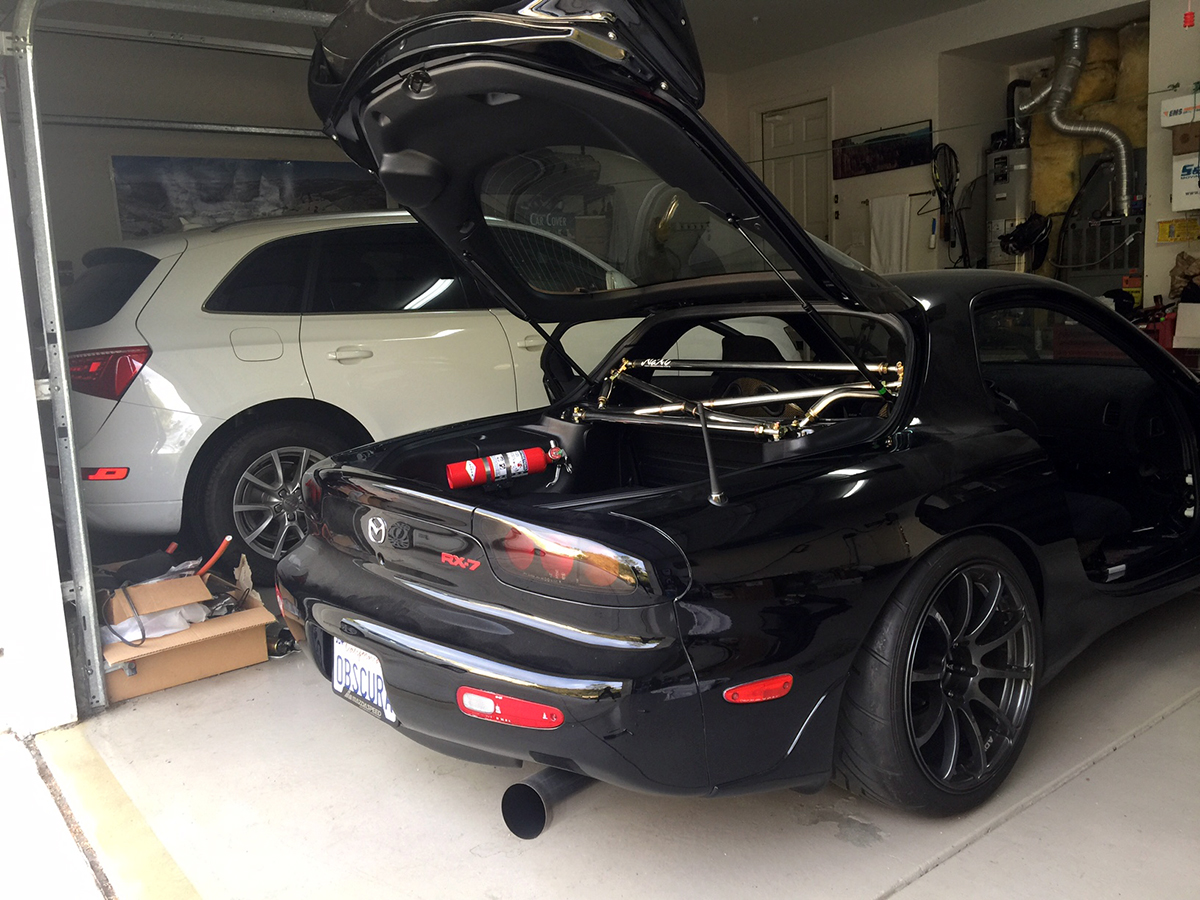
In configuring my cross bar, I chose to go with the works: the Type-II joints with the larger 35mm tubing and the full upgrade kit that includes the butterfly bars and the top and bottom parallel bars. The tubing comes in a fully polished Stainless Steel – no more worries of rust and the finish is attention grabbing. Quite dramatic, but that’s the goal.
Those with experience and a trained eye will be quick to understand the complexity of the install just by looking at the numerous pieces involved. I have one word to describe the installation process – intricate. It became a 2 weekend effort but I took my time and moved methodically.
The main cross bar attaches at the rear strut towers and at the rear seatbelt holes on the B-pillars. Although USDM RX-7s never came equipped with rear seats, these seatbelt mounts exist in the chassis. Obviously the rear quarter trim panels are different and covered in this area, so to begin, I carefully uninstalled them in order to mark their backsides for drilling.
I inserted a fastener into the mounting hole until it was nearly flush against the trim panel when reinstalled. I marked the head of the bolt with anti-seize in order to transfer the location of the hole to the backside of the trim panel. Once done, drill a pilot hole and repeated the same steps on the other side.

I finished off the hole with a 1″ hole saw and cleaned up the area manually with sandpaper.

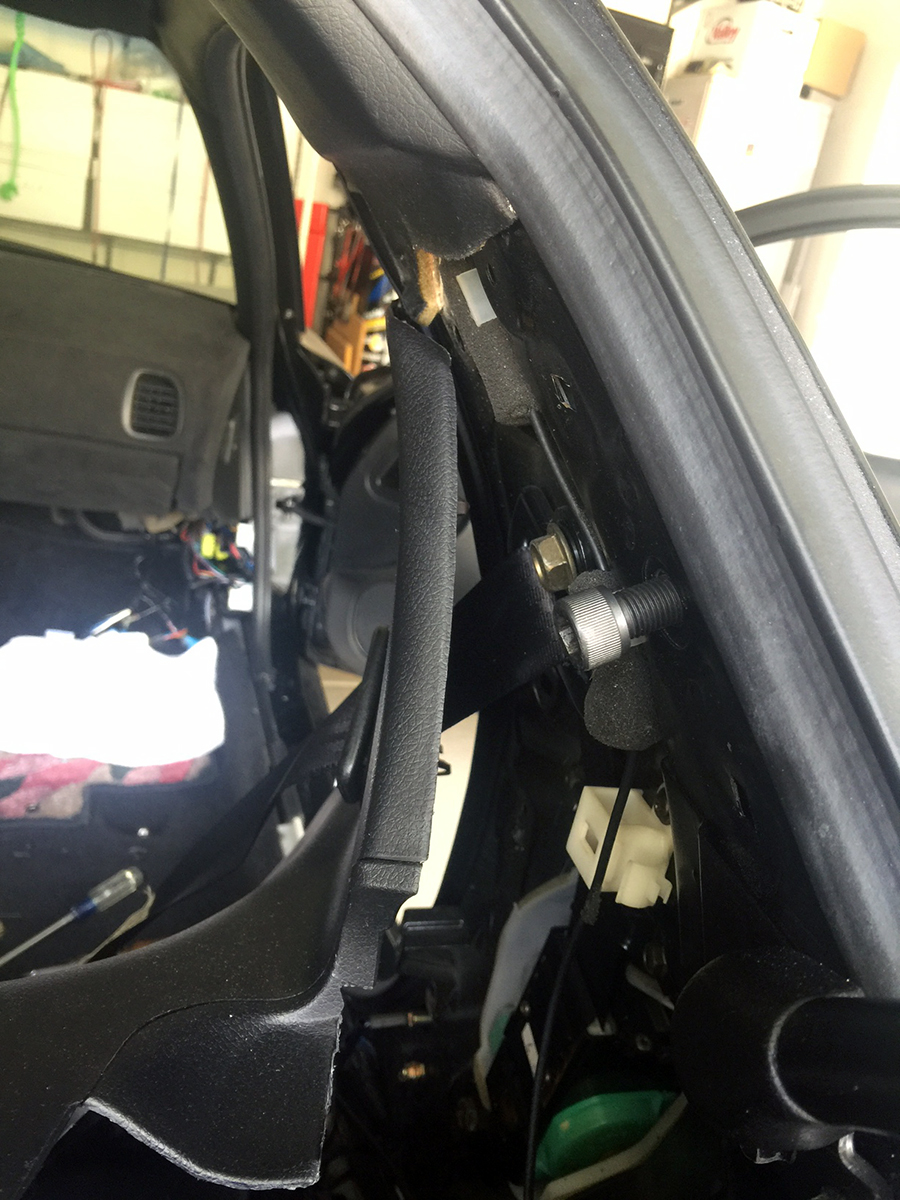
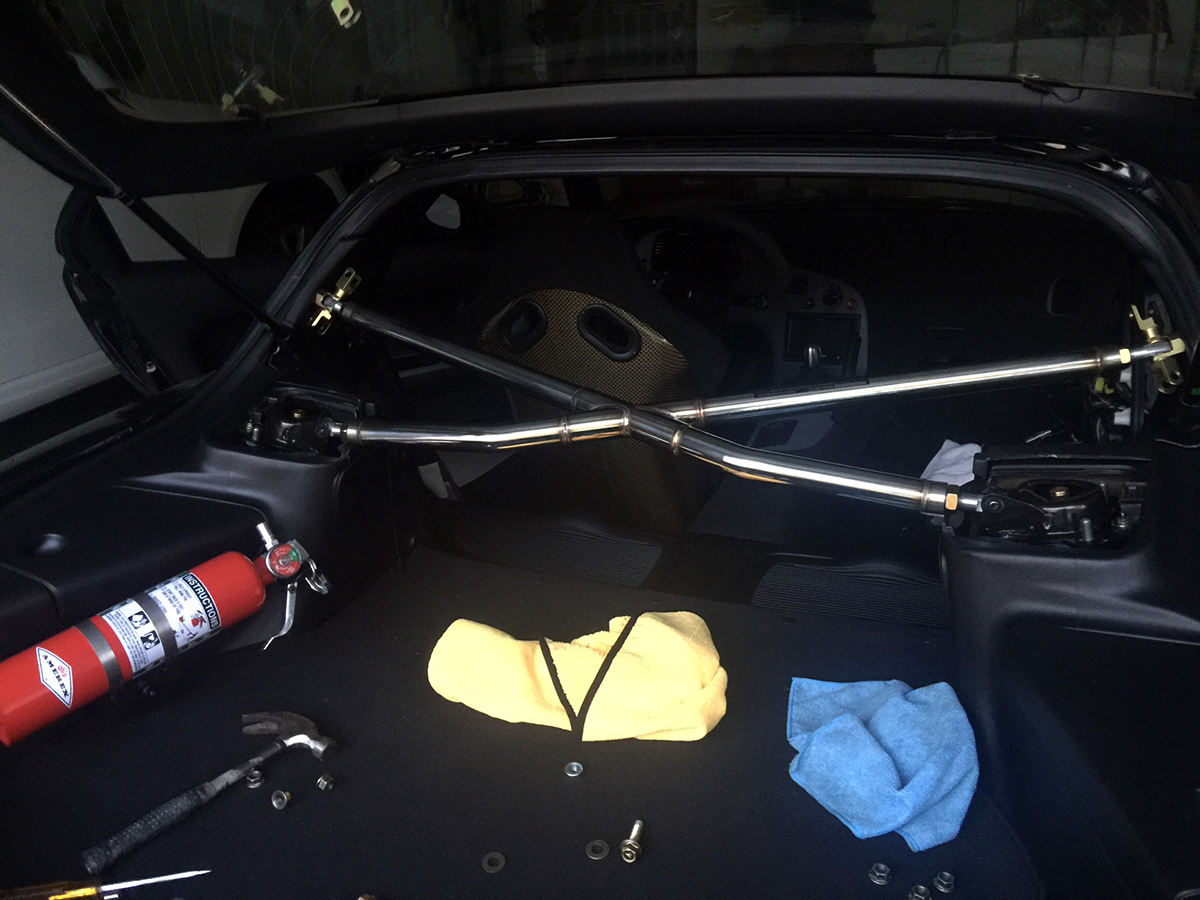
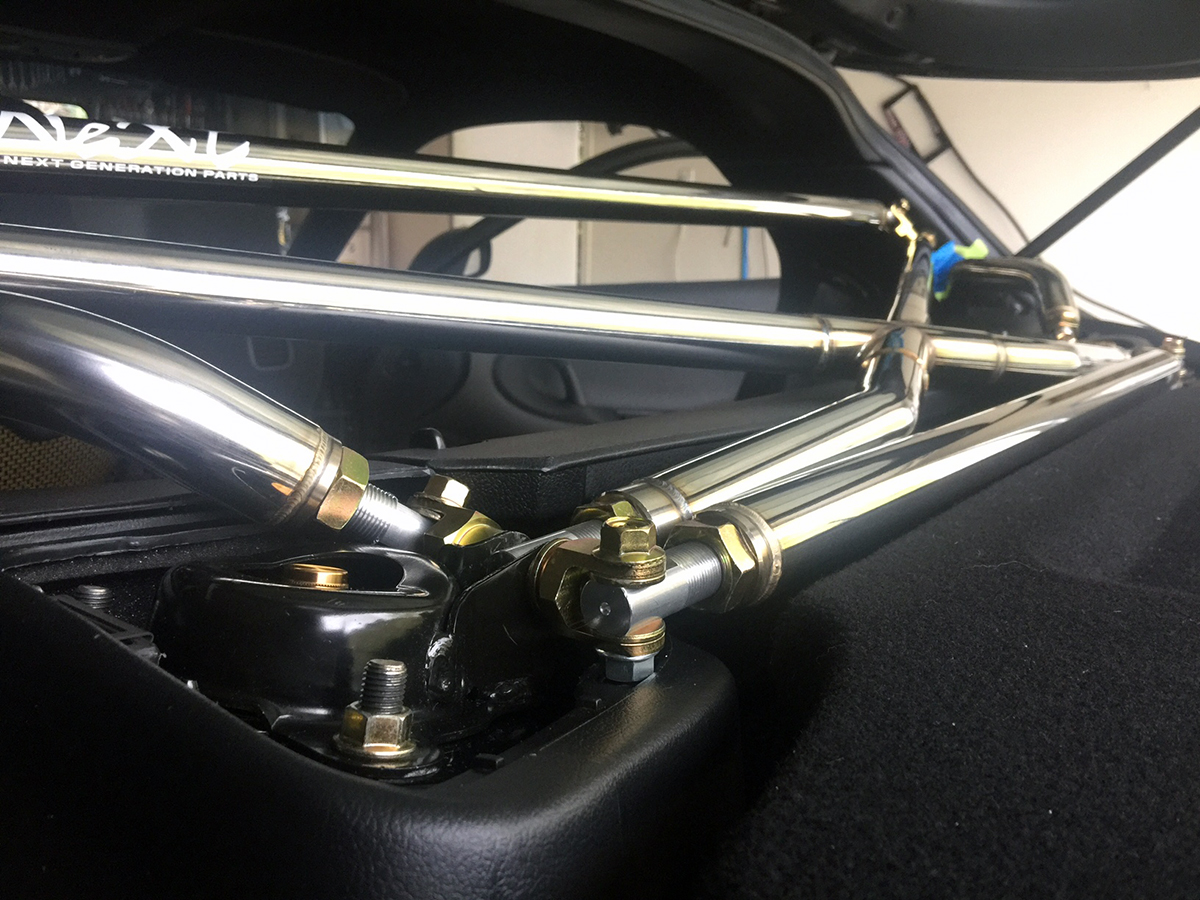
With the holes drilled and the trim panels back in place, now the cross bar could be placed into position. NeXT uses these nice, gold colored endlinks with their Miracle bars. Gold is the quarternary color in my car’s scheme, and the endlinks should match well.
Main cross bar in position.
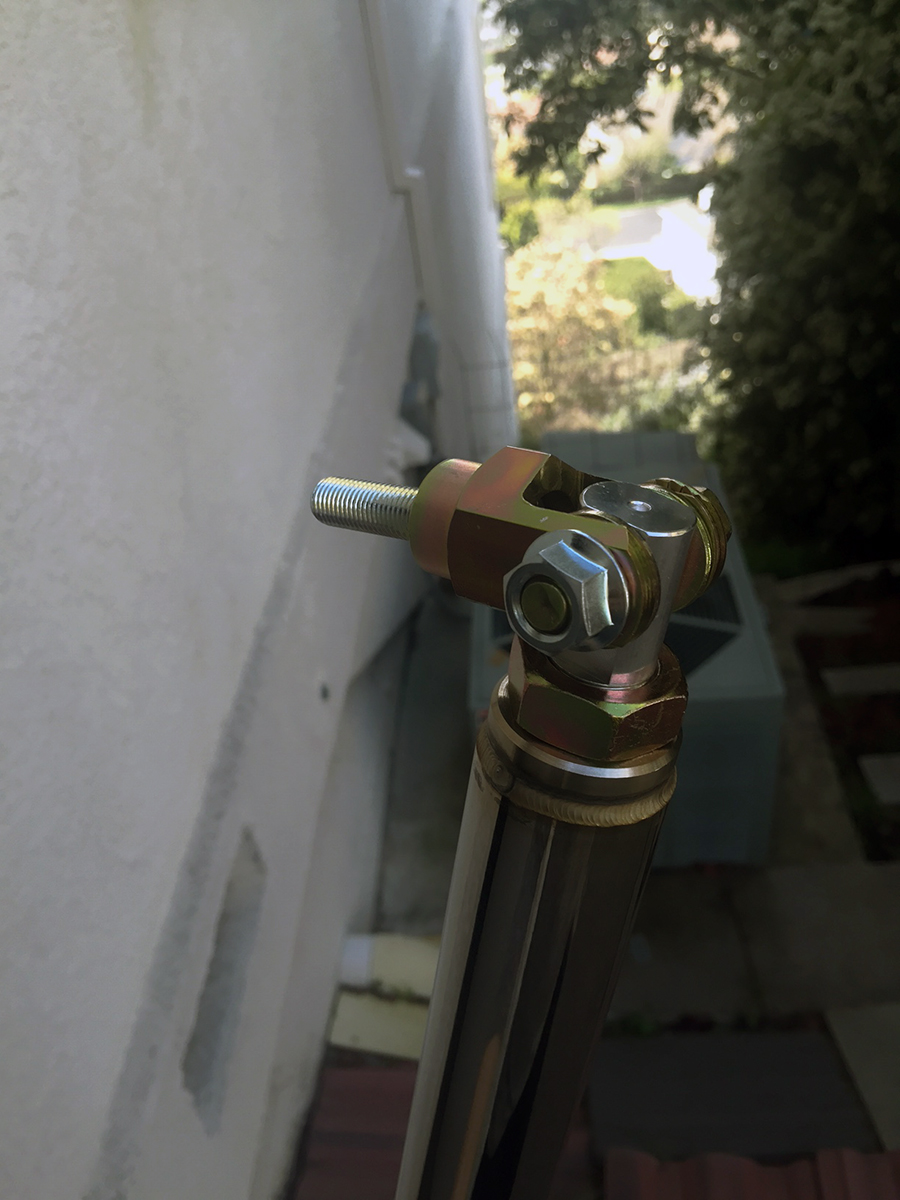
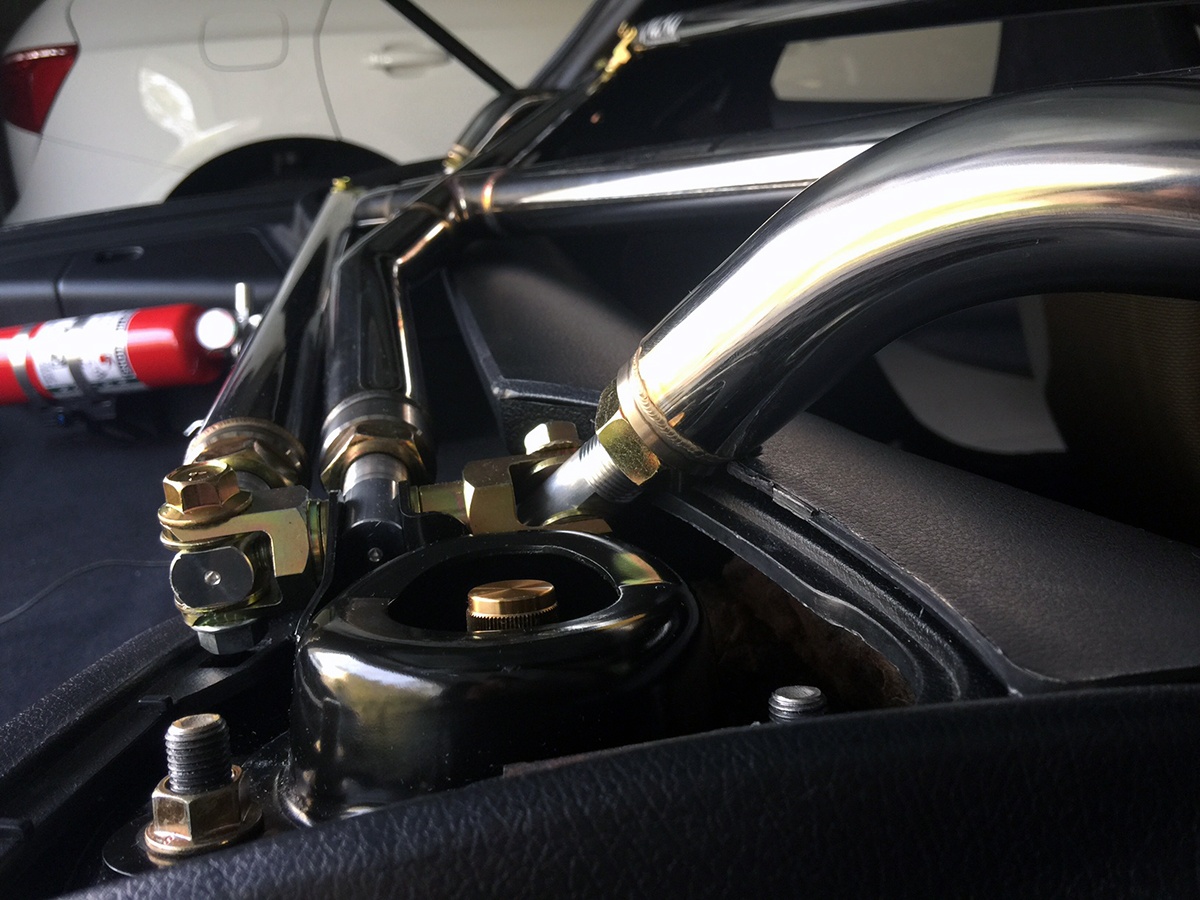
A closer look at the Type-II style intersection and the welds.

Next, the small butterfly braces on the side go on. The endlinks from these connect through and tie together the top and bottom parallel bars. Positioning the butterfly braces was the most difficult part. All of the bars require careful adjustments in order to remain symmetrical and centered. The butterfly braces compound the task by adding another dimension of adjustment.

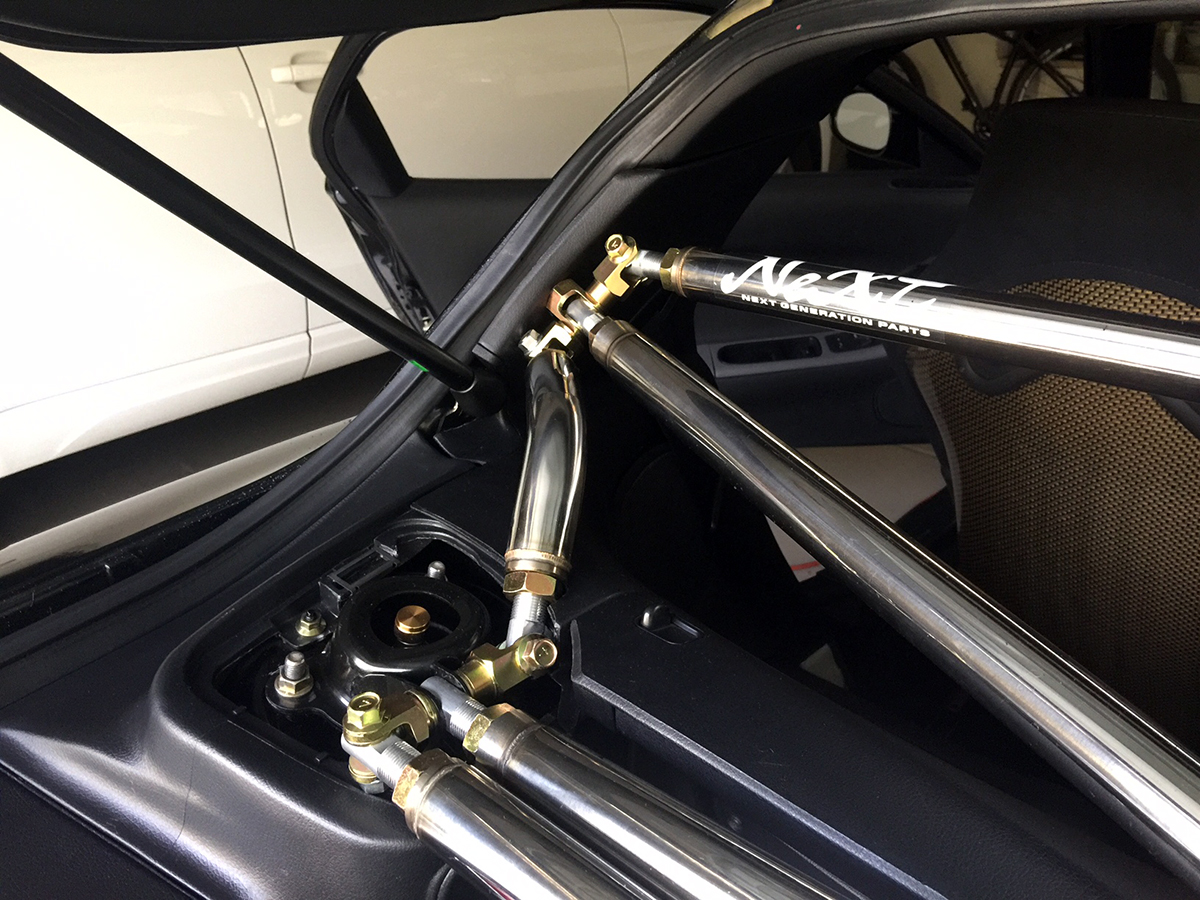
Basically, all of the bars assemble together in one configuration. Finding the correct orientation to rotate the butterfly braces took me 2 weekends to resolve. When I first had everything in place, I noticed that I did not have enough clearance to fit the nut on the top endlink because it was turned too far inward.

I eventually discovered that the butterfly braces need to sit in a flatter orientation in order to change the angle at the top endlink and gain the necessary clearance. However, the rear quarter trim panels needed to be trimmed near the strut tower area in order to let the braces rotate lower.
There were a couple options. I could lay the braces really flat and gain enough clearance at the top endlinks to feed their bolts entirely through from the backside, but this required more aggressive cutting of the trim panels. I decided on a compromise. I was able to find the position that would allow the nut to fit on the endlink just barely and therefore allowed me to cut the panel as minimally as possible.
Out came the trusty dremel, X-Acto knife, and sandpaper.
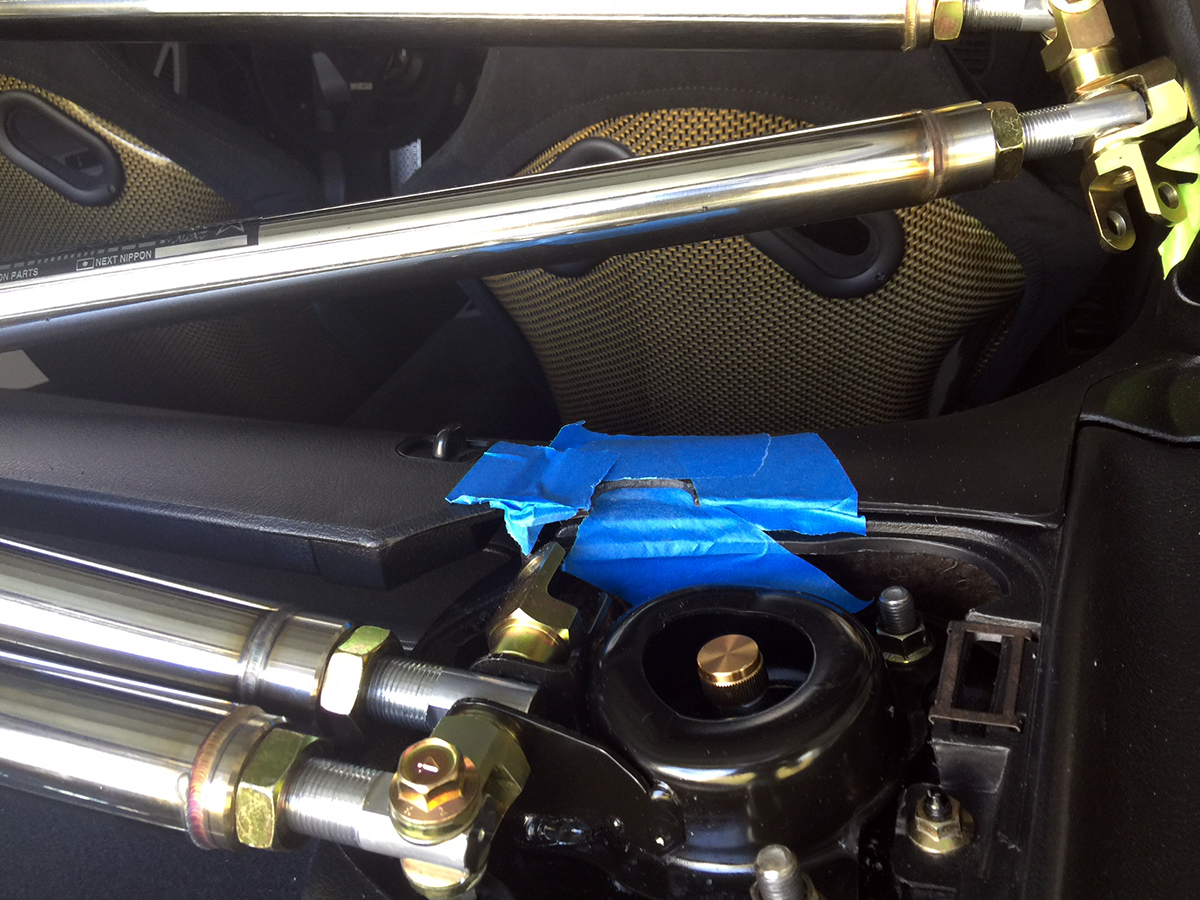
Cut just enough and only enough…
The parallel bars were a much easier affair to deal with.
Bottom:
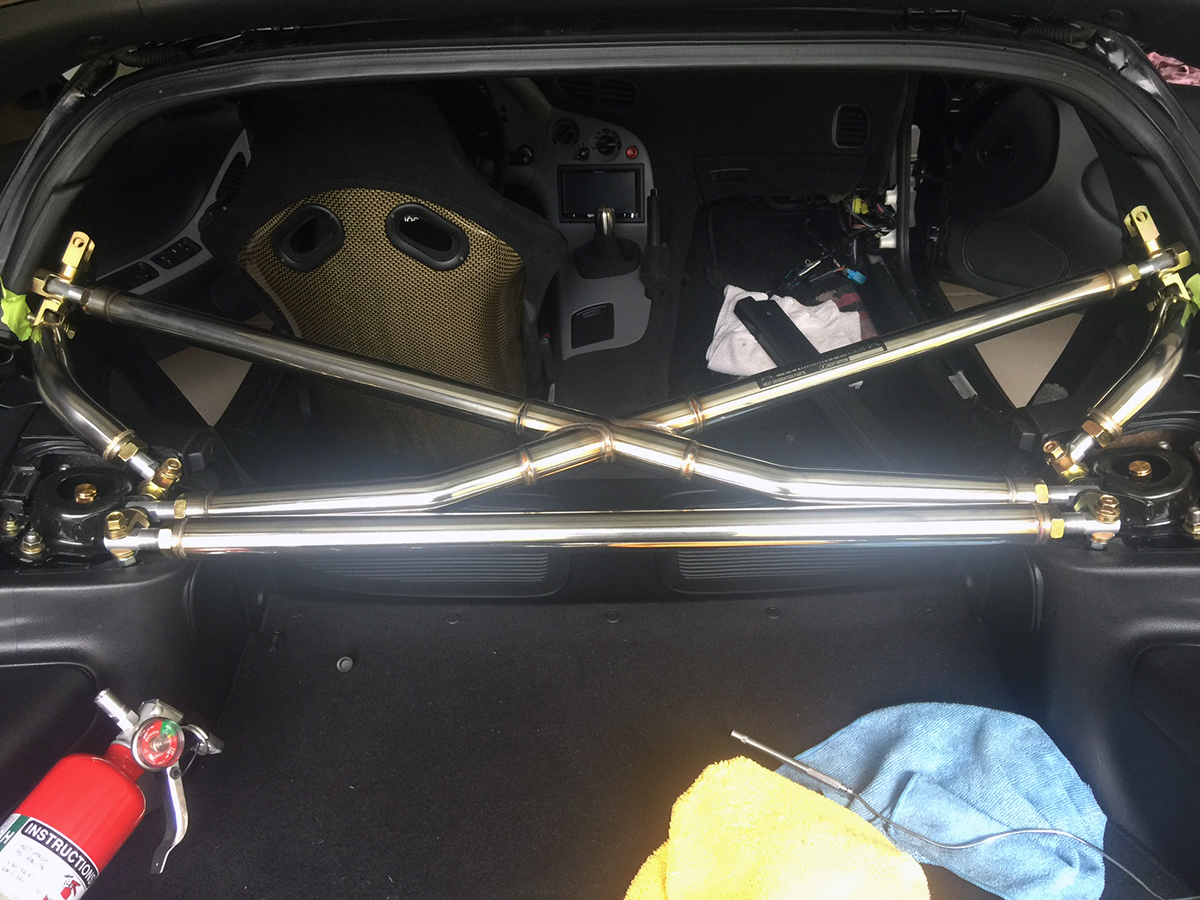
Top and all together:
View from the inside:
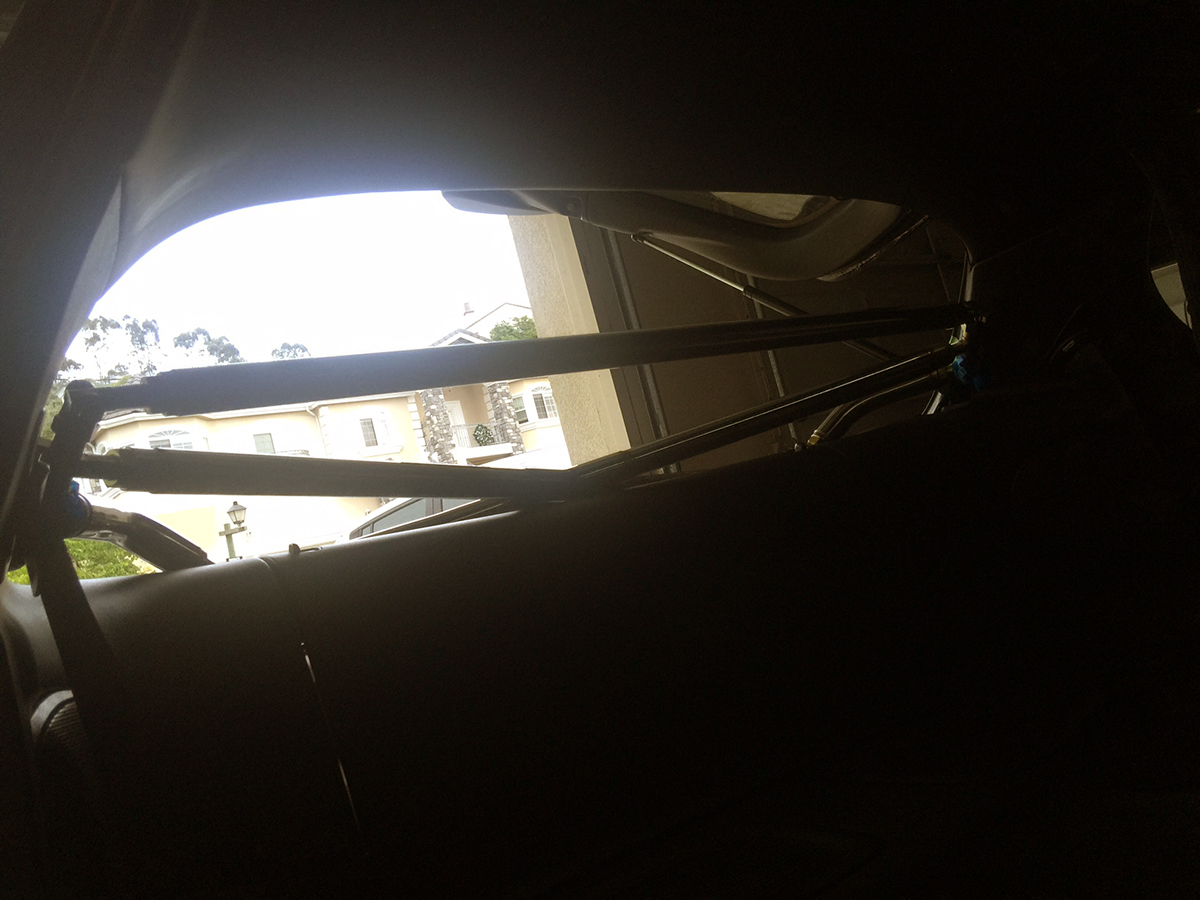
View from the outside:
And with that, I can finally close the chapter on a long lingering and dubious item from the list.
TO-DO:
Replace Roll BarReupholster Recaro SeatsRepaint Front BumperRewire Fuel PumpReinstall Fender LinersFix & Tuck RelaysInstall Driver Side Door PanelFix Intermittent Starting(this wasn’t on the on the original list, appending and crediting it)- Full Polish, Sealant & Wax Detail
- DRIVE MORE!!!
In closure, I think I have finally passed through the tunnel after the months of perseverance and effort. I’m not going to repeat my mistake from the past and prematurely proclaim that the car is now “DONE”… because we all know what got piled on to me shortly afterwards the last time I did that.
I can, however, state that this comprehensive sweep yielded a great deal of bug fixes and I am happy with the good progress. I’ve been systematic in making sure all apparent faults and annoyances are remedied, because in the end the prize is in the details.
The plan now is to keep up the diligence and stress test the car in the real world. This means putting much needed miles on the car and DRIVING. But first, a detail session is in order.
This is how I know you and I will always be FD buddies. My friends despise the idea of me getting a Miracle cross bar, and it’s one of my “must-haves” on my list of parts for the FD.
You’ve sealed the deal for me, I’ve been putting off getting a complete set, and I will buy one now. Keep it up, Eric!
Show me the goods when you get it! Tell Suke about me when you email him ;)
lol, I will. I actually hit him up last summer about buying 5 full sets
So, hows the car feel afterwards? I’m very interested in this setup!
My butt dyno isn’t that sensitive unfortunately. I’m sure tying together the open area between the strut towers and B pillars does help a lot with chassis rigidity. The bar may still be overkill, but who cares, it looks PIMP! This is one of the instances where form is allowed to triumph a bit.
On the other hand, I’ve always had a roll bar in my car, and to be honest, I’m not sure how much they actually did to strengthen the chassis rigidity.
I think it looks bad ass. I’d love to see a picture of your car with the hatch closed and dead center! The overall execution of this piece is pretty damn awesome, and I like it over your old set up hands down.
Fair enough, I just picked up an FD finally so I’m trying to figure out what route to go. How much was shipping if you don’t mind me asking?
Shipping was in the neighborhood over $100 IIRC. Everything including all the optional bars, shipped to me, was about $1450-1500 after the JPY conversion rate.
I agree, I do like this bar far better than the roll bar set ups I’ve had. This has way more baller points. Albeit with grief, it worked out that I had so much trouble with the roll bar experience because it led me to this.
Looks so rad man. Digging this build. Always loved NeXT Miracle Bars. Have one in my S14.
Thanks man. Share a pic of what it looks like in your S14! I’m guessing it fills up the rear seat area completely?
I’m interested to see this as well..
looks bad ass for sure