With much vacillation and deliberation, I have finally arrived into the correct zeitgeist to move forward with the Ganador Super Mirrors. I only wish now I had cut to the chase sooner and skipped the initial hesitations. I came across these mirrors in abundance in the past, but never pulled the trigger. Now, when I genuinely want them, they have become a scarce commodity and are rare even in Japan. Prices have also jumped up. A greater challenge should never be an excuse to deter persistency and resourcefulness. I eventually found a set from a friend of a friend, who took them off his imported Knight Sports FD and sold them to me.
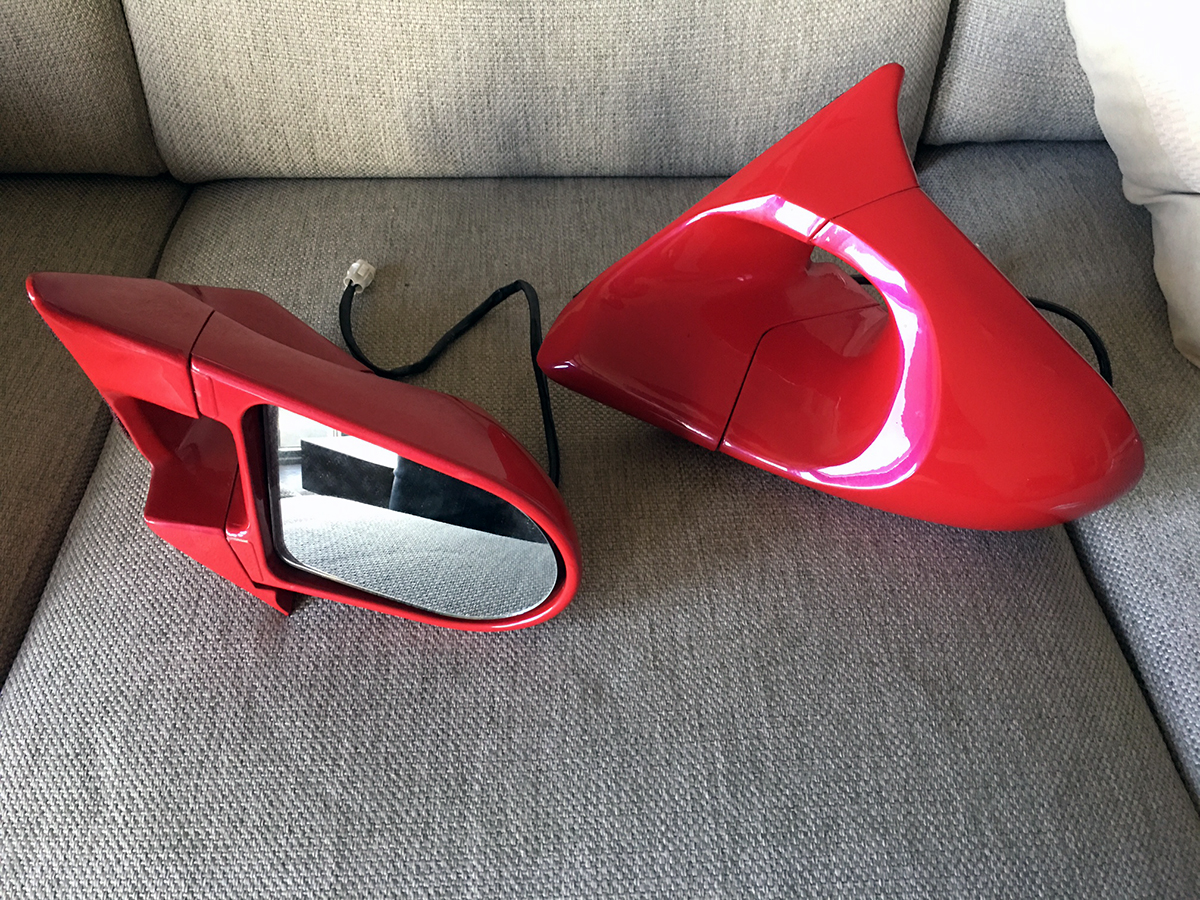
The primary discouraging feature of these mirrors is their Right Hand Drive orientation, and the passenger side mirror is known for having poor visibility. Unlike the 240SX where I don’t really care that the East Bears have horrible viewing angles, I have full intentions to prioritize functionality in all aspects with the RX-7. To convince myself on the contrary, I even regarded that the Ganadors were ricey at one point. It is interesting how the mind works and is able to manipulate perspectives to conform to convenience. One thing is for certain – your true preferences and feelings will always come around and cannot be hidden.
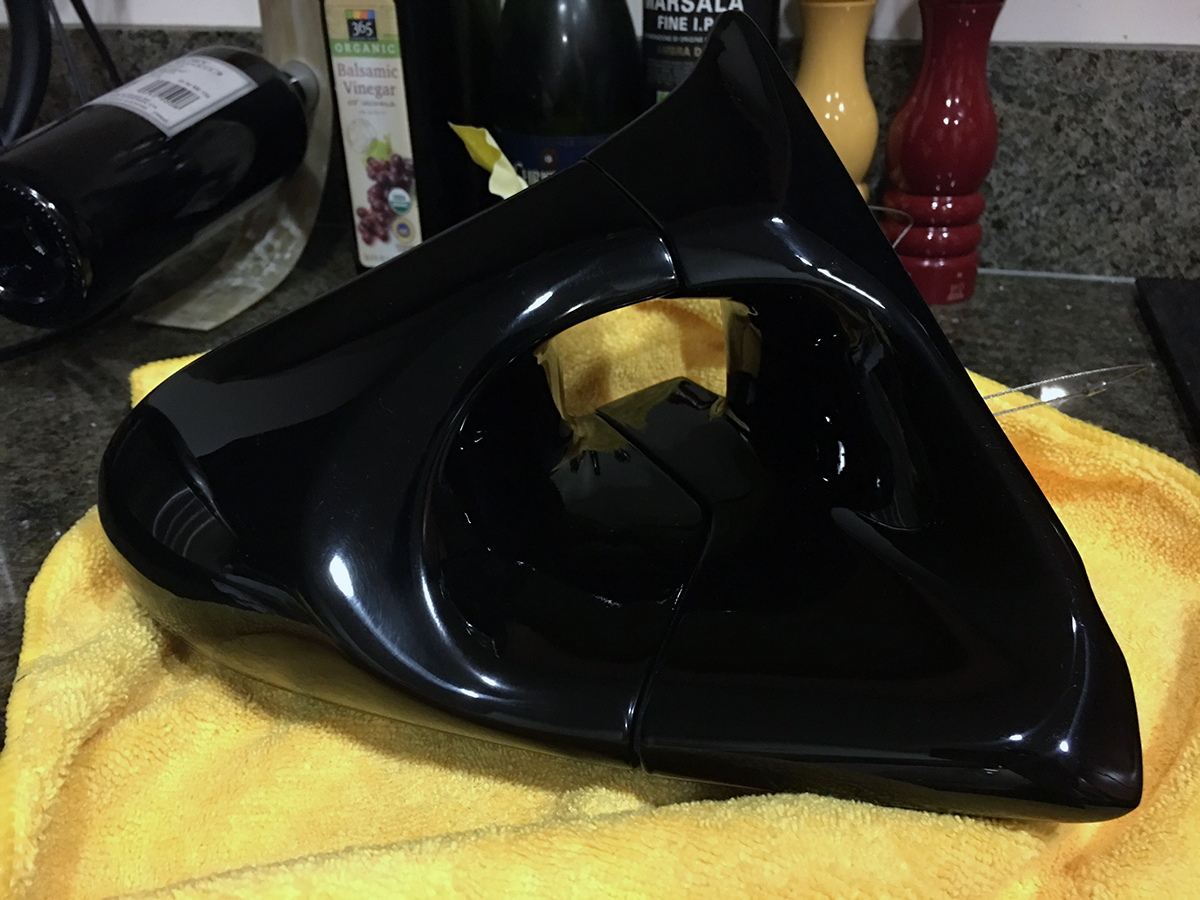
What pushed me over the hill was the eventual realization and acceptance that the stock mirrors on the RX-7 looked bland and dated the car. I am operating under the ideology that aesthetics take precedence. Following the lineage of the Turbo-II 2nd Generation RX-7s and the likeness of the newer BMW M3s, the Ganadors look like mirrors that Mazda would (should) have installed. In fact, the Mazdaspeed group actually rebranded a run of Ganadors. So did Fujita Engineering (FEED), for that matter.
From start to finish, getting these mirrors installed in their final form was a lengthy process and I think will serve to brilliantly showcase the extent of detail required for just one part. When looking over custom cars, you might give a cursory glance at a single part and be unknowing to its history. It may have been something that was purchased off the shelf and bolted on easily, or it could have been radically altered and painstakingly put together. Sourcing these mirrors wasn’t the only hard part.
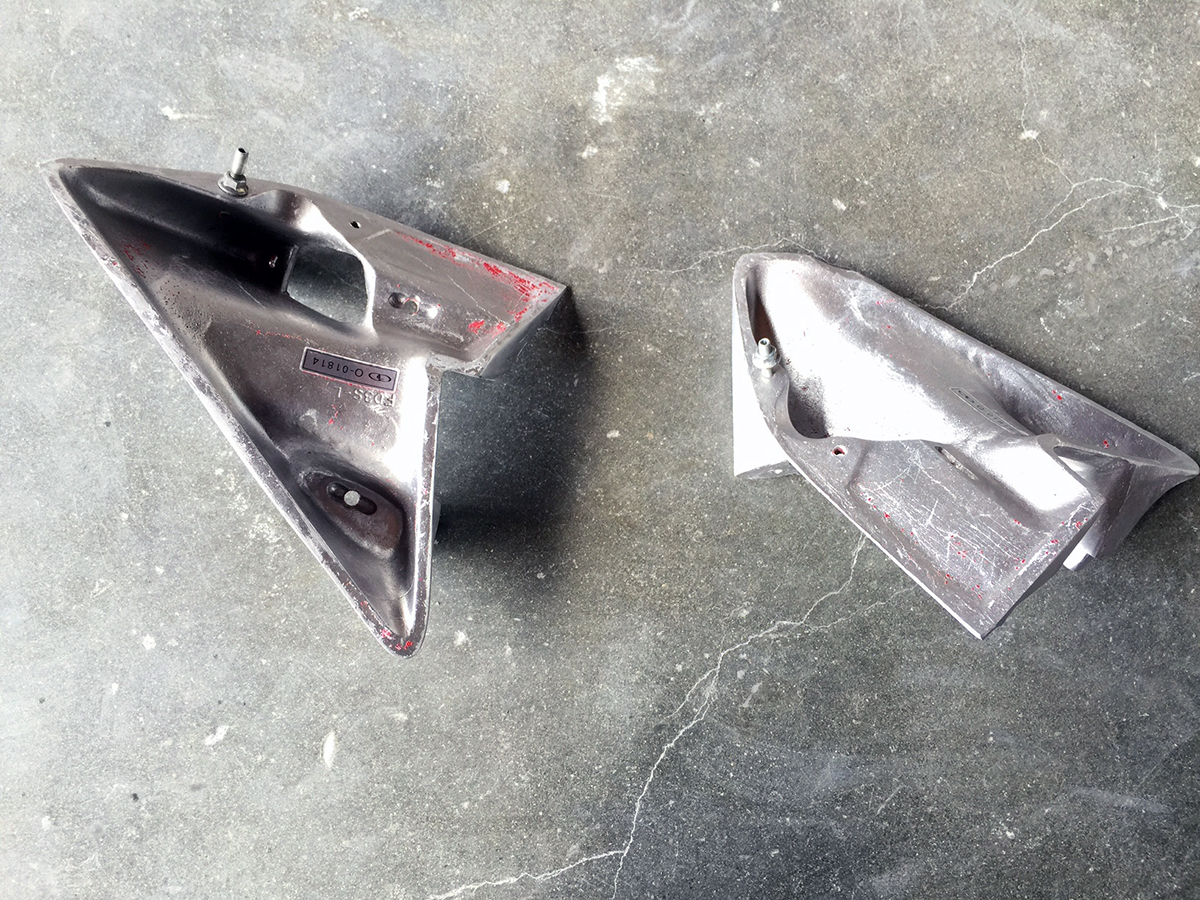
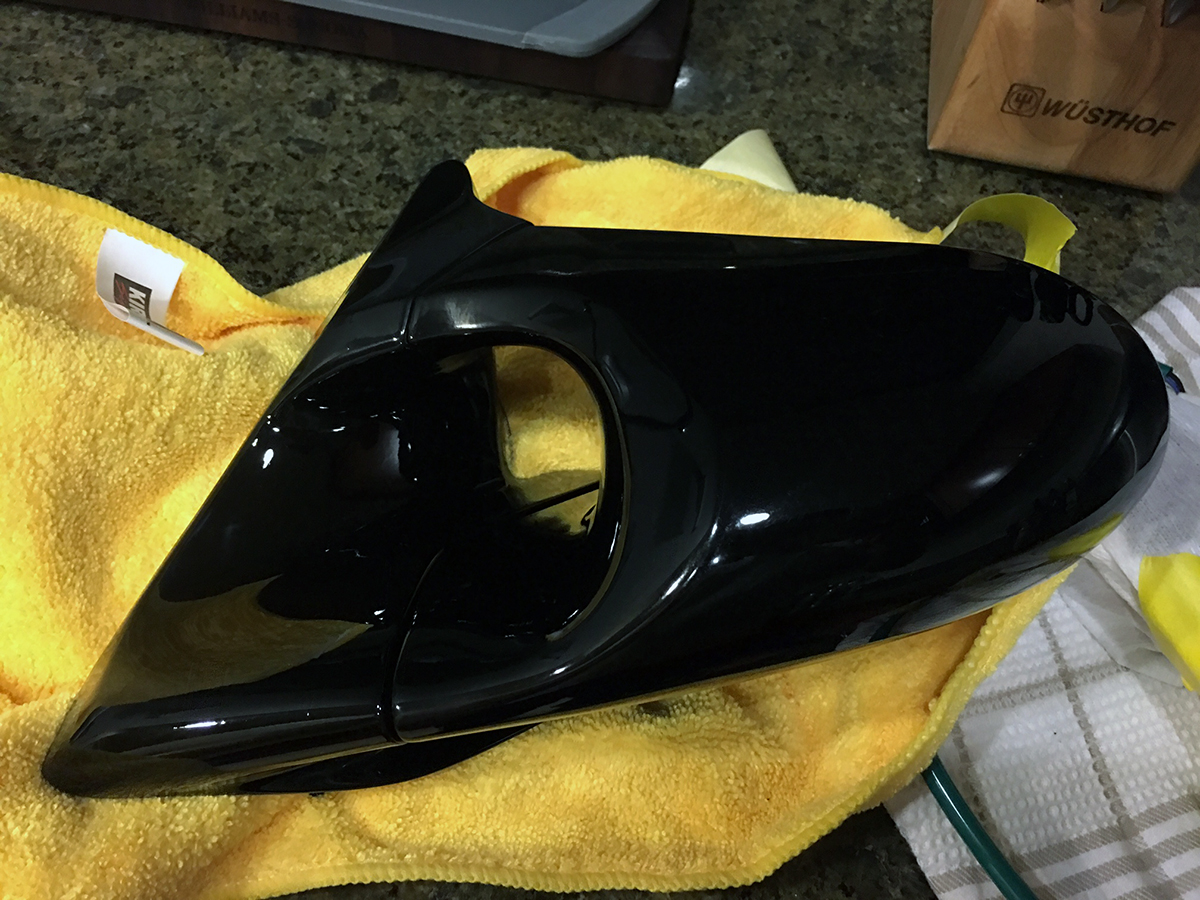
Obviously since they were painted red and used, I needed to take them to William’s, my preferred painter, for a refinishing in my car’s specific shade of Brilliant Black. He disassembled everything and separated the bases, which are actually cast aluminum whereas the mirror body is a molded plastic material. All of the old paint was stripped.
And done.
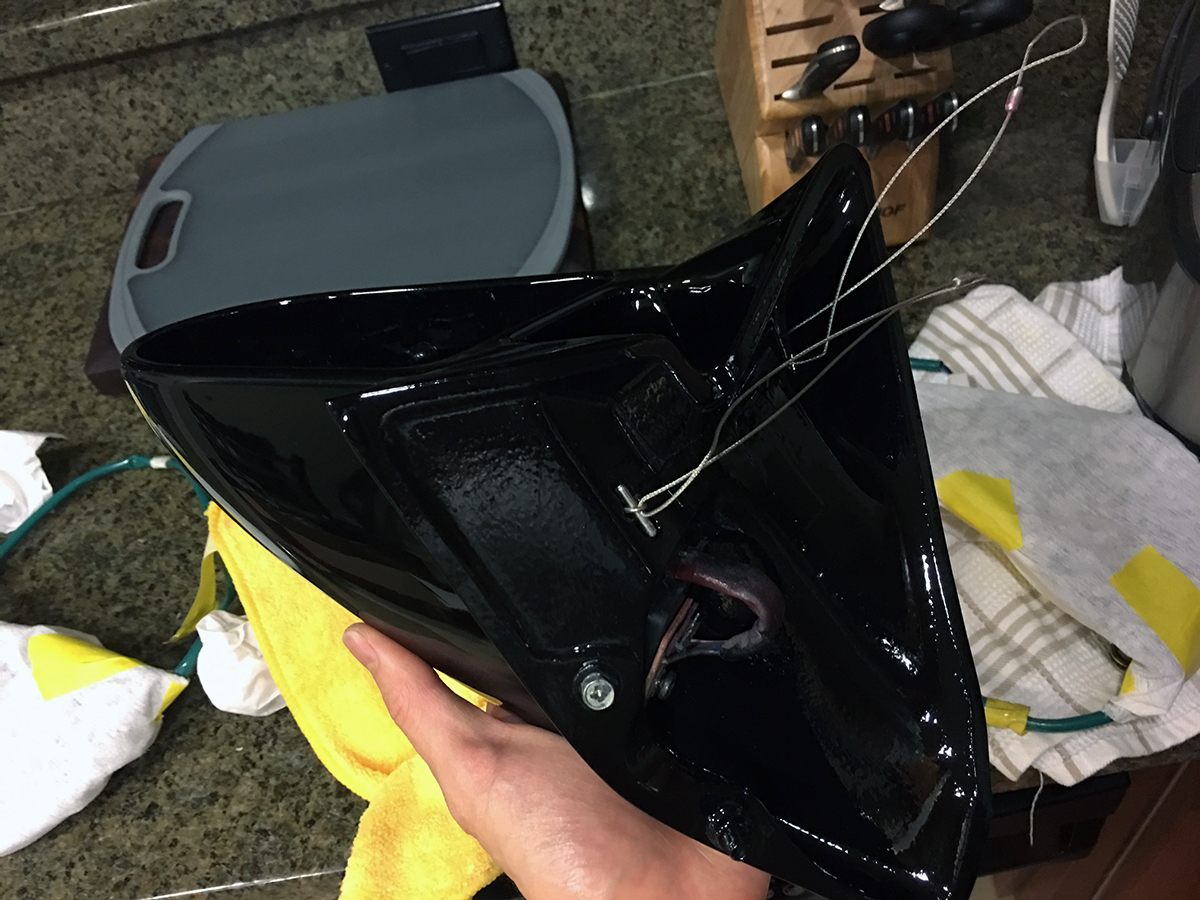
The next step was to figure out the foam stripping that circumscribed the mirrors on the backside. The original foam Ganador used tattered quickly and seemed too thin. I decided to go with Neoprene as the new material of choice. I initially found a roll of adhesive backed stripping that was 1/4″ x 3/16″ and used it to reline the back edging.
After partially bolting one mirror onto the car, I felt that the 3/16″ thickness of the stripping was too tall and visible. I removed the mirror and went searching for a more appropriate size. I purchased another roll of Neoprene stripping, this time in 1/8″ thickness.
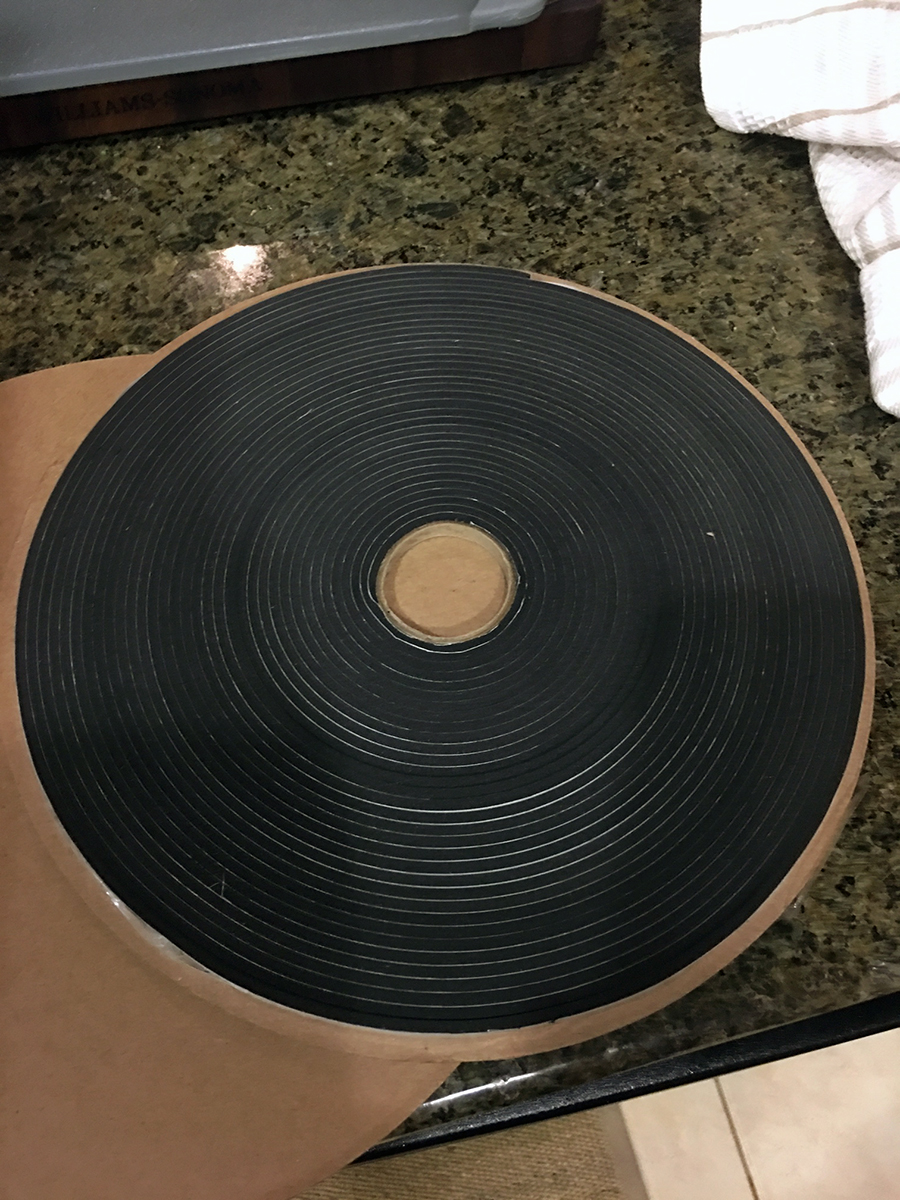
Previously, I also ran the stripping too close to the outer edge, so I made sure to keep a margin on this redo.
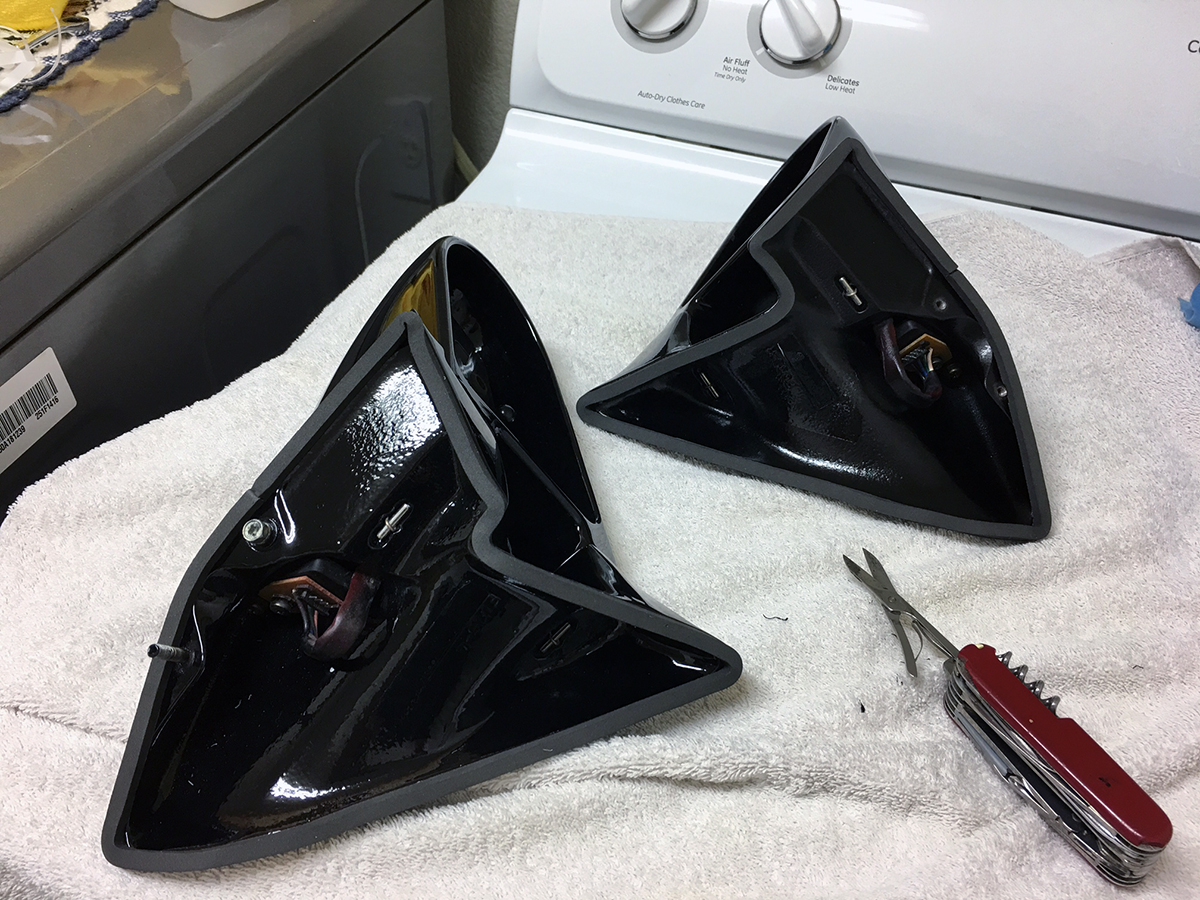
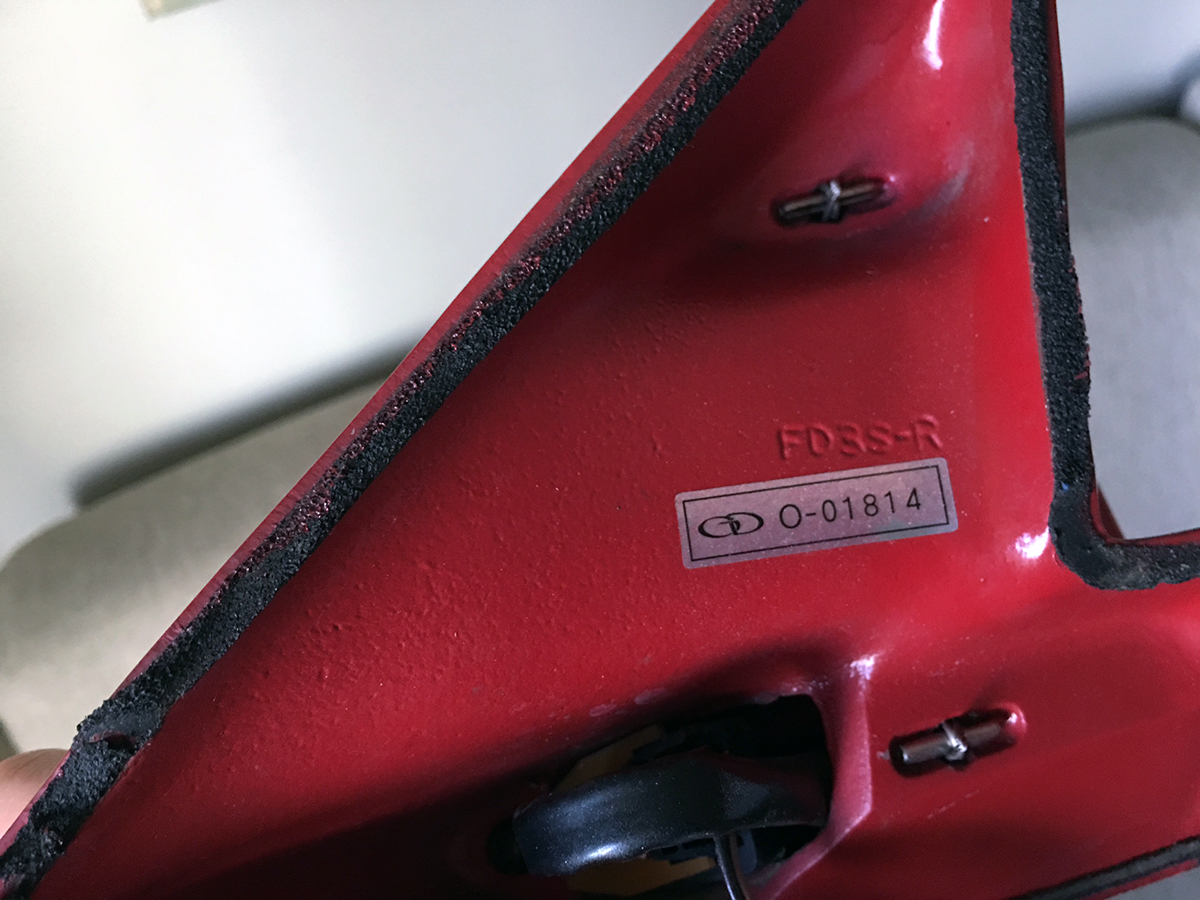
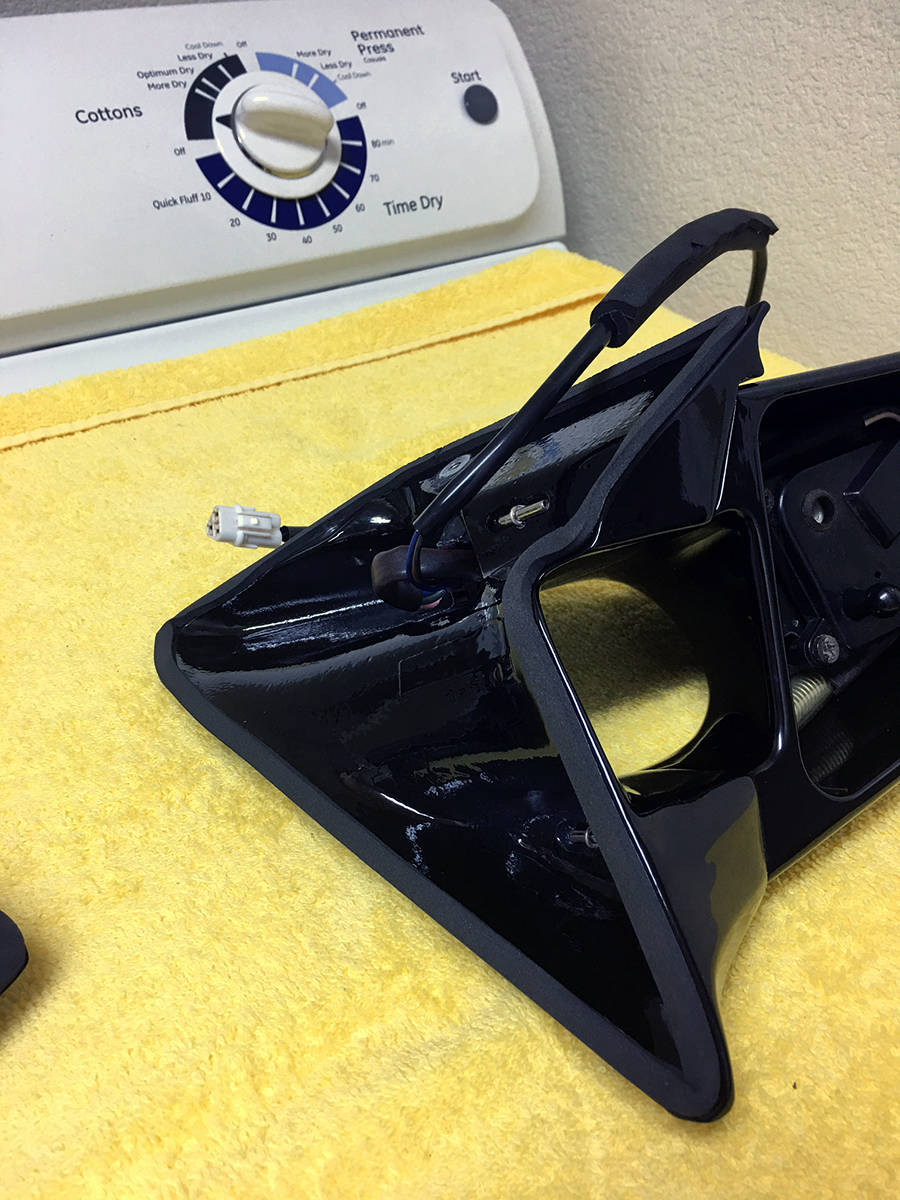
While installing one mirror, I noticed that one of the threaded holes on the base wasn’t clean and I had difficulty fastening it. The holes are M5-0.8 in size and I didn’t have the correct tap to chase the threads. Amazon Prime helps in a pinch for moments like these. I ran through all of the holes on the mirrors with the tap to be sanitary.
Figuring out the correct fasteners to use was another challenge. Each mirror came with a 30mm long stud and a bolt. Since the studs didn’t seat well to begin with, I opted to convert the mounting to bolts. A trip to the hardware store yielded an assortment of stainless steel button head, socket head, and hex head screws. The verdict was to use the hex heads, one in 20mm length and the other in 16mm (which I manually cut down) with stainless steel fender washers and split lock washers.
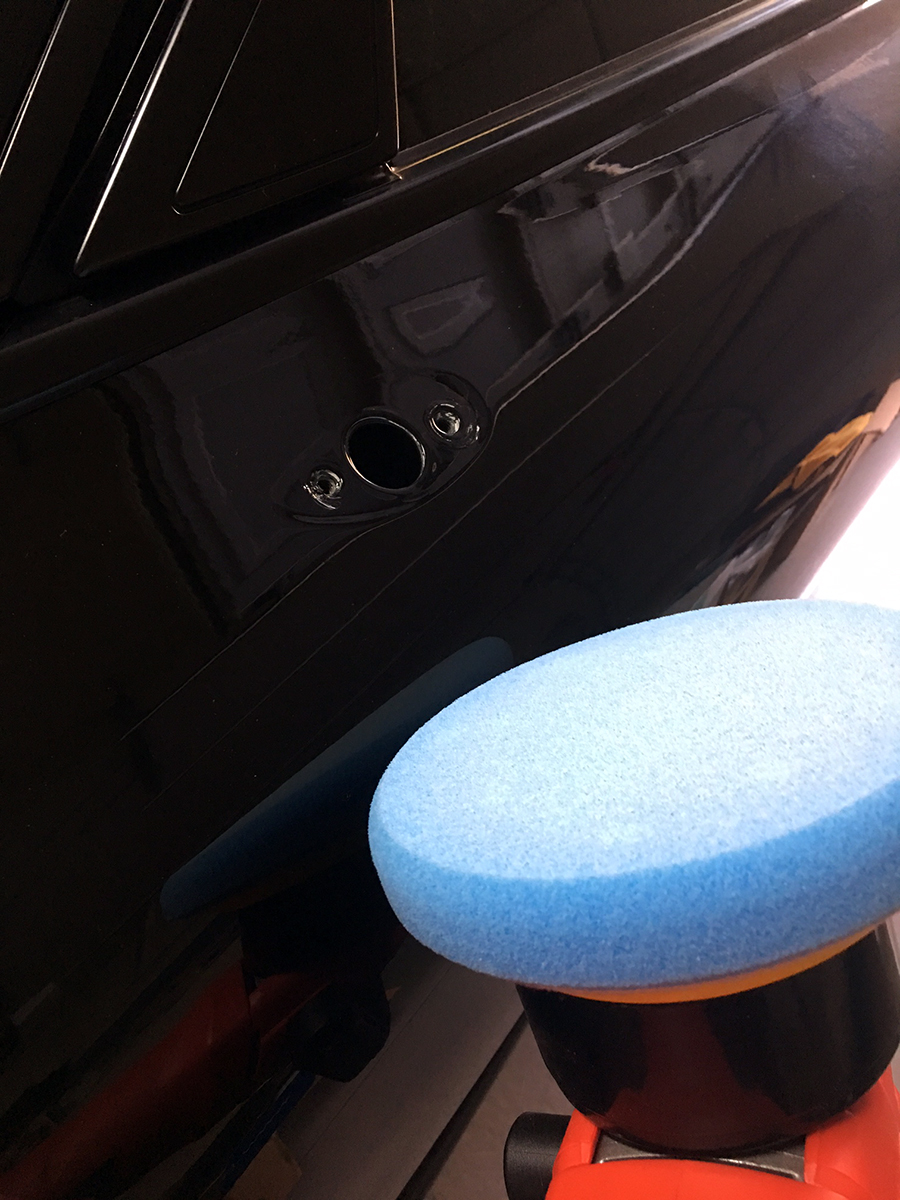
When the stock mirrors were removed, their bases left behind marring on the door. Granted the Ganadors mount to the same holes and cover that area, there was a small portion of the old base outline that could be seen. I busted out the random orbiter and detailing products to handle the situation, which cleaned the door up nicely.
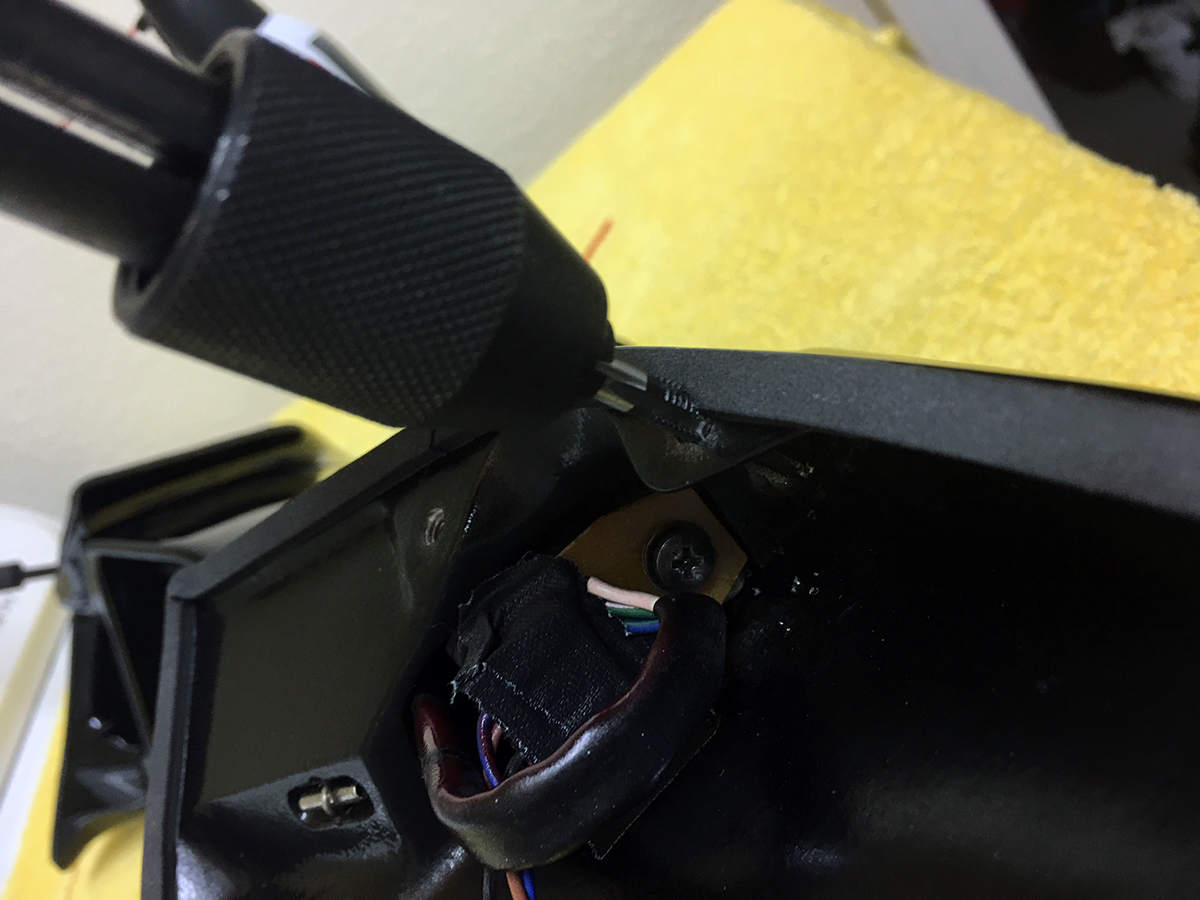
Finally, the mirrors were ready to be installed, but not quite. Along with the inner door cards, the front speakers need to be vacated to allow access up to the mounting holes inside the door. The windows also need to be rolled up. When I took my door cards and trim panels off and sent them away, I also included the window switches… and left my windows down. My buddy Tommy shipped me a spare driver side window switch, which I was able to use to roll up only the driver side window. I forgot that the passenger side switch needs to be connected, too, to complete the circuit. I was able to beseech a local FD owner and a friend of my neighbor to pop out his passenger side window switch and loan it to me (thanks Ken!). With both windows up and everything else in line… here are the Ganadors on the car!
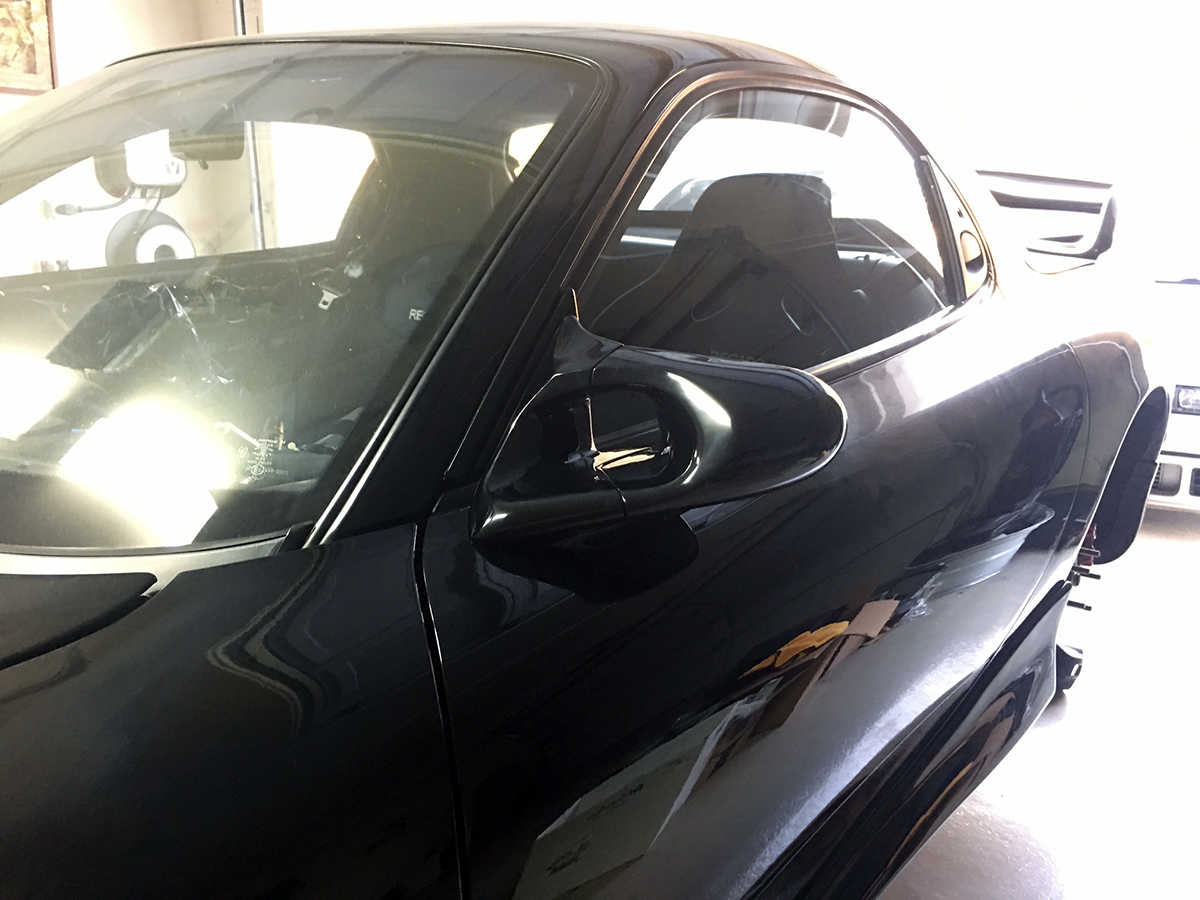
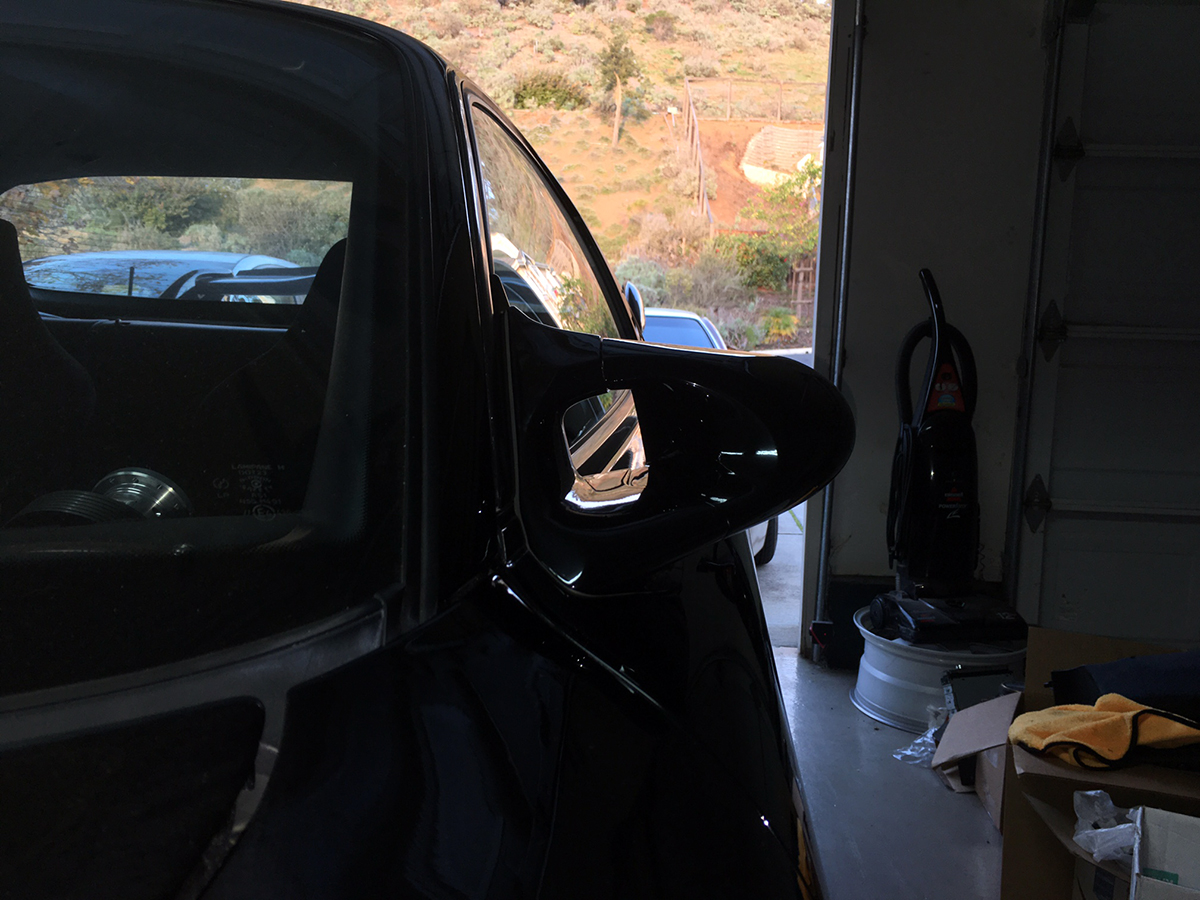
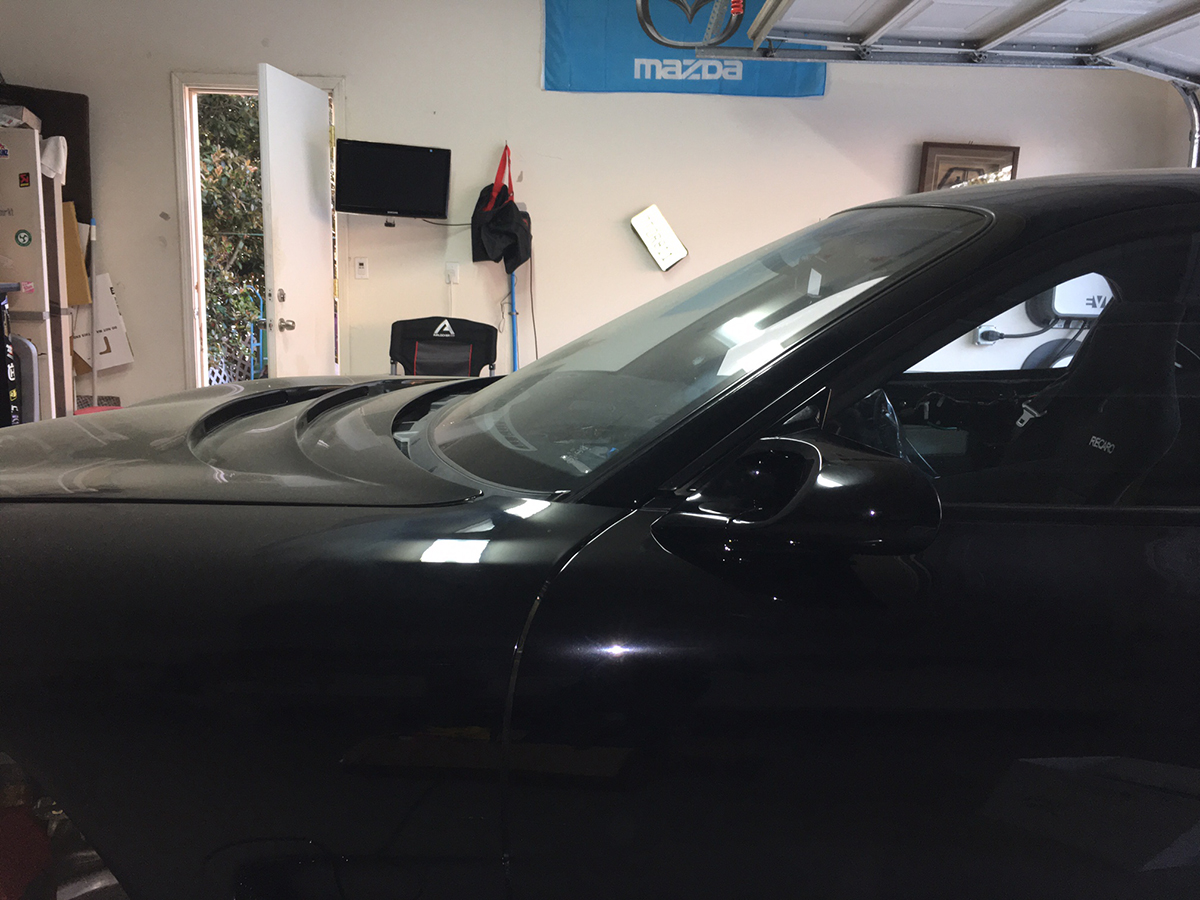
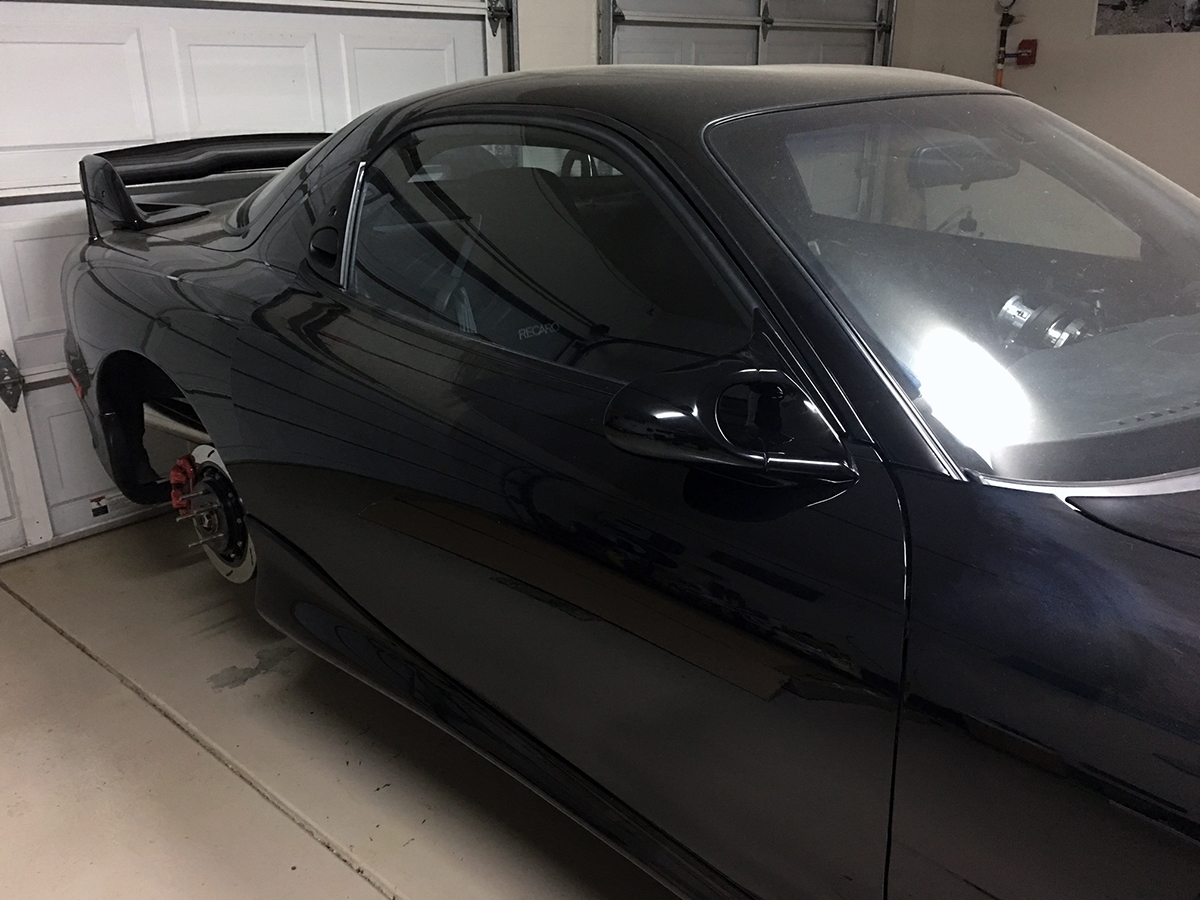
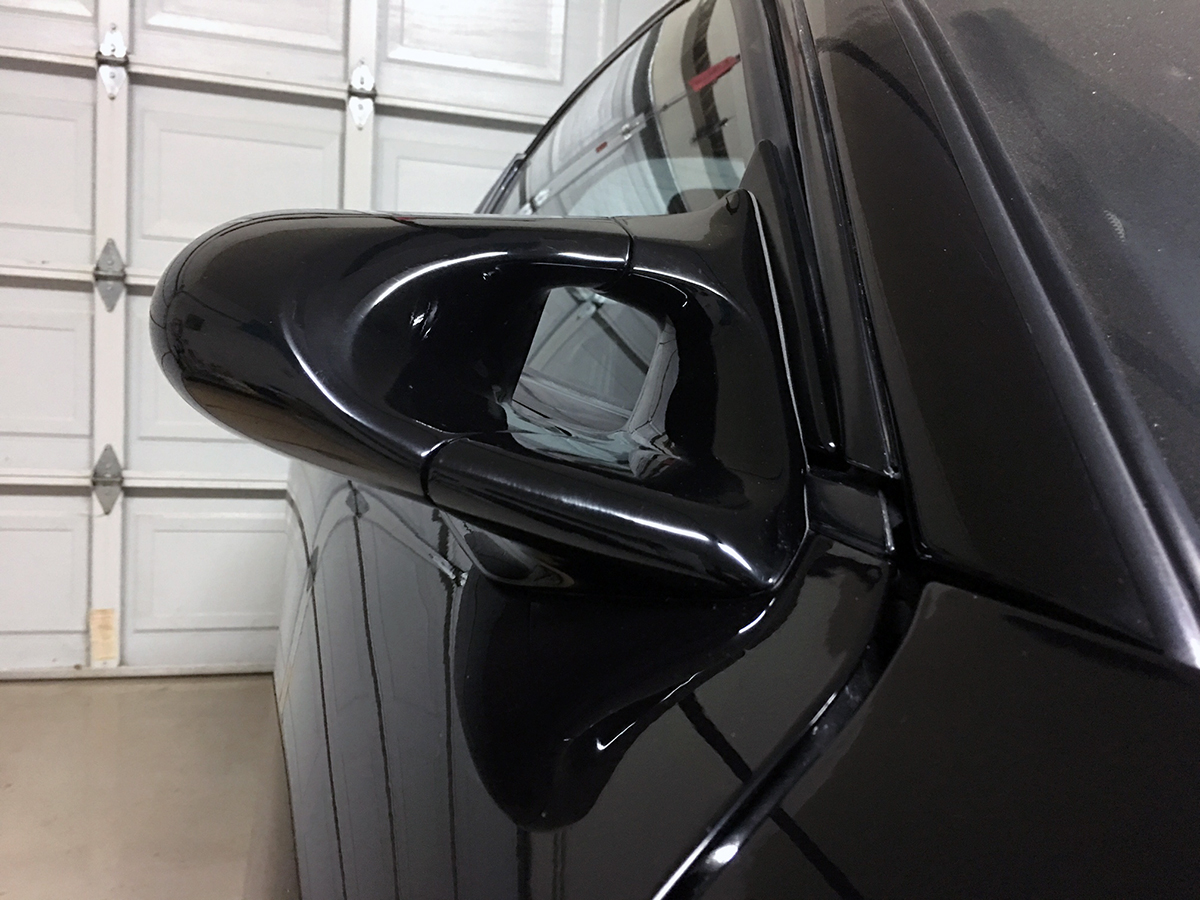
They fit well and the Neoprene stripping I used compressed perfectly. Due to the expansive bordering of these mirrors, and how the upper portion presses against the triangle trim piece on the door by design, the foam strip needs to have decent thickness to offer the necessary support.
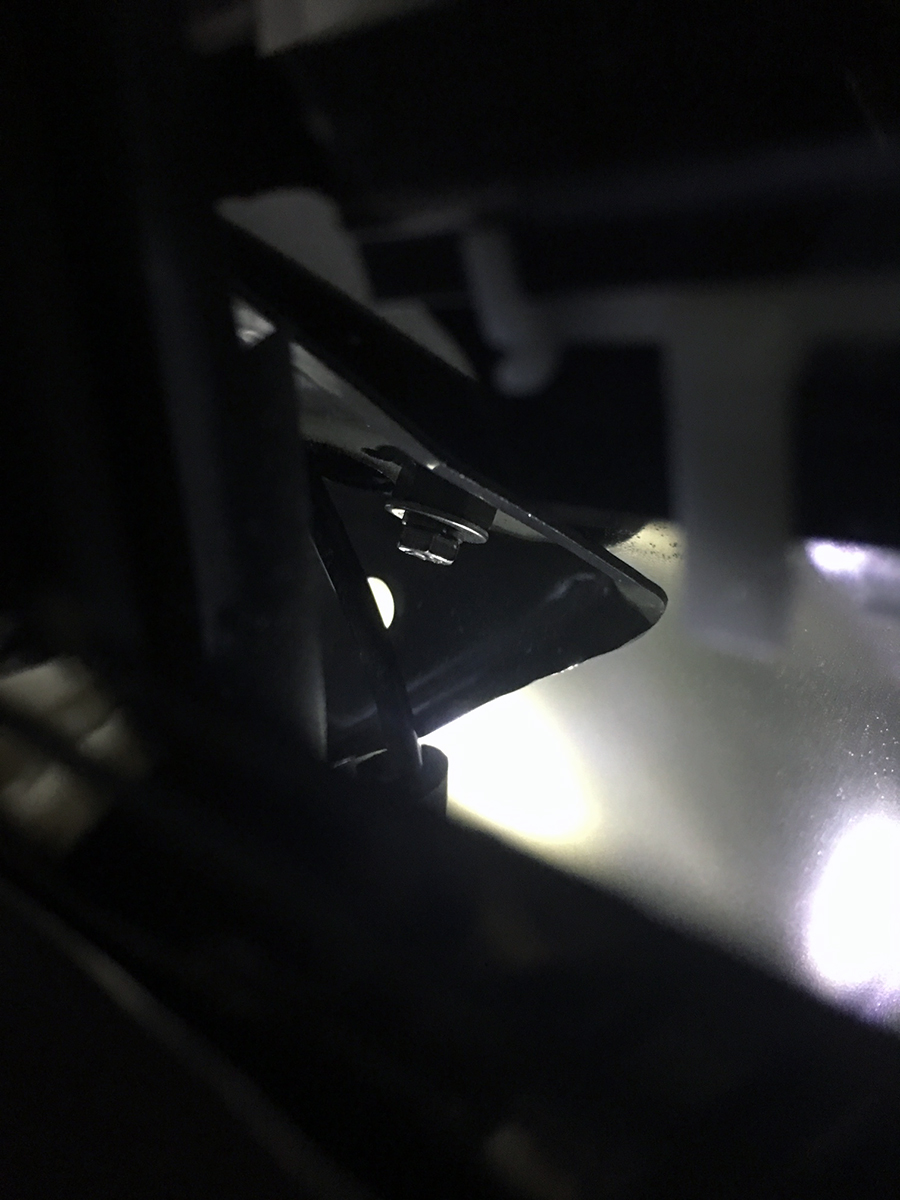
You might have noticed that the mirrors lenses are not installed… that’s because I’m still not done yet! To be continued.