I’m doing my best to chip away at the task list a little at a time. Since many of my parts are currently scattered and residing in various shops, there is no immediate urgency from my end. In fact, there are still items that I need to place new orders on, which I have yet to do.
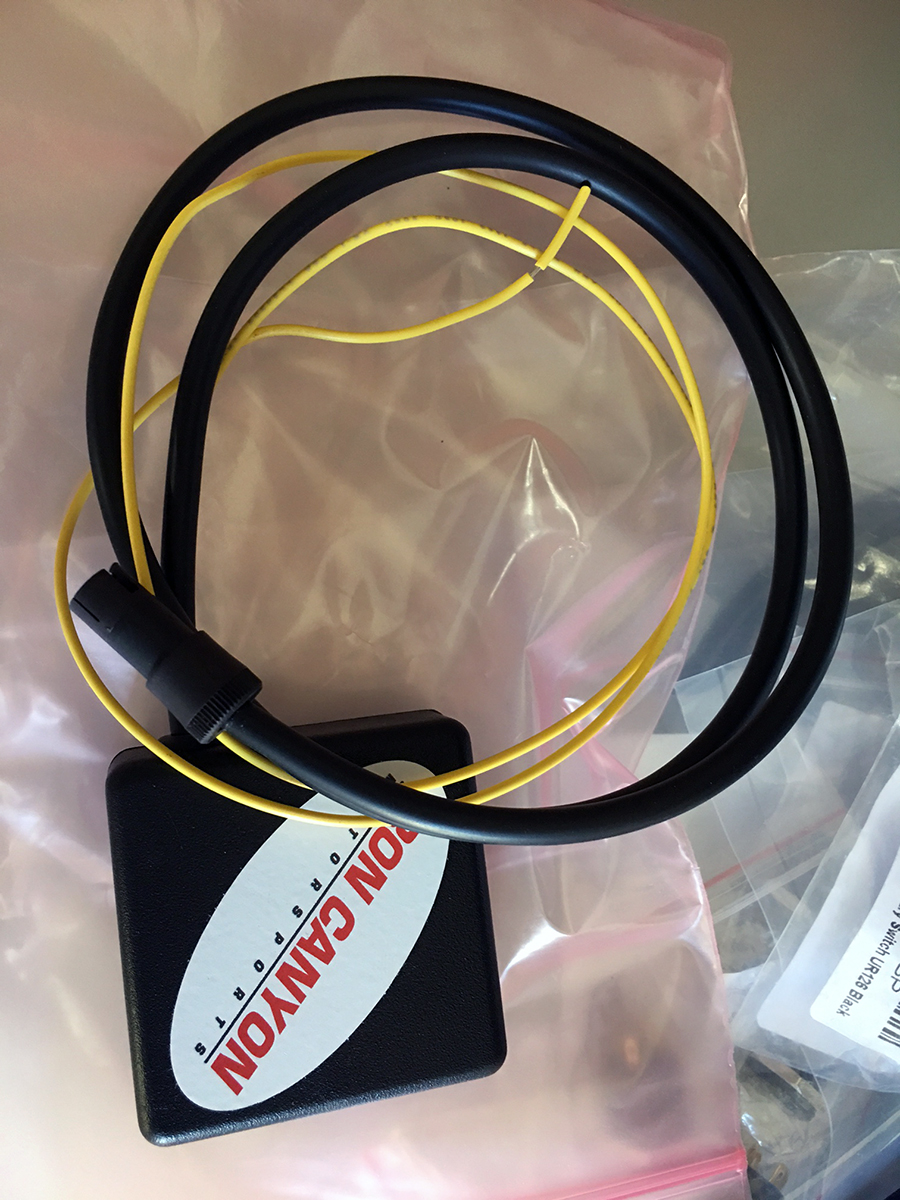
What did already arrive was my new Iron Canyon Motorsports Fuel Sender device. I provided the RX-7’s OEM fuel sender ohm range (7.4-75.9) and Iron Canyon was able to make me a custom box to help convert resistance into voltage. The savvy amongst you reading will remember that I already did this step when initially installing the AiM Dash. However, back then, I simply used a 2000ohm inline resistor, some math, and then the AiM software to do the rest. This yielded poor sensitivity. After the voltage conversion, my Full-Empty range only spanned about 150mV. Now, the Iron Canyon box has more sophisticated circuitry than just an inline resistor and should offer far more resolution and accuracy. In addition, it also features built-in dampening to minimize the effect fuel slosh has on sensor output.
Using the Iron Canyon fuel sender is the correct way of doing the install, and something I should have done the first time around. It is difficult to always nail it in one try without experimentation. That is what revisions are for. The only other option to obtain accurate readings with a digital dash is to replace the fuel sender entirely with a unit that is native in voltage, which is too beyond the scope of what is necessary.
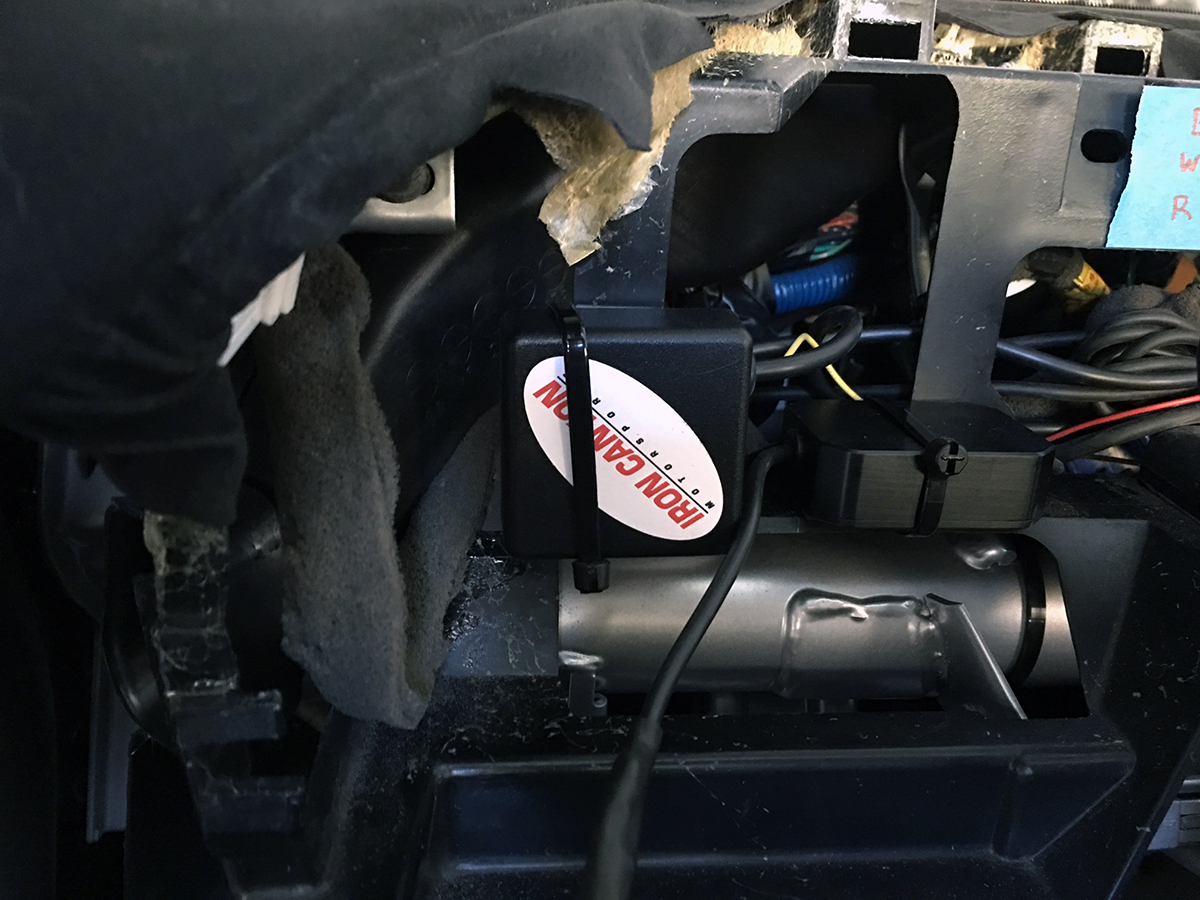
In order to connect in the Iron Canyon, I had to dig up the old connection to the fuel sender wire from the chassis harness and remove the line with the resistor. On the other end, Iron Canyon provided a 4-pin Binder 719 connector which allows for plug-and-play with the AiM channel module. I mounted the box vertically in this location (it’s double-sided taped down, the zip tie is just for added assurance).
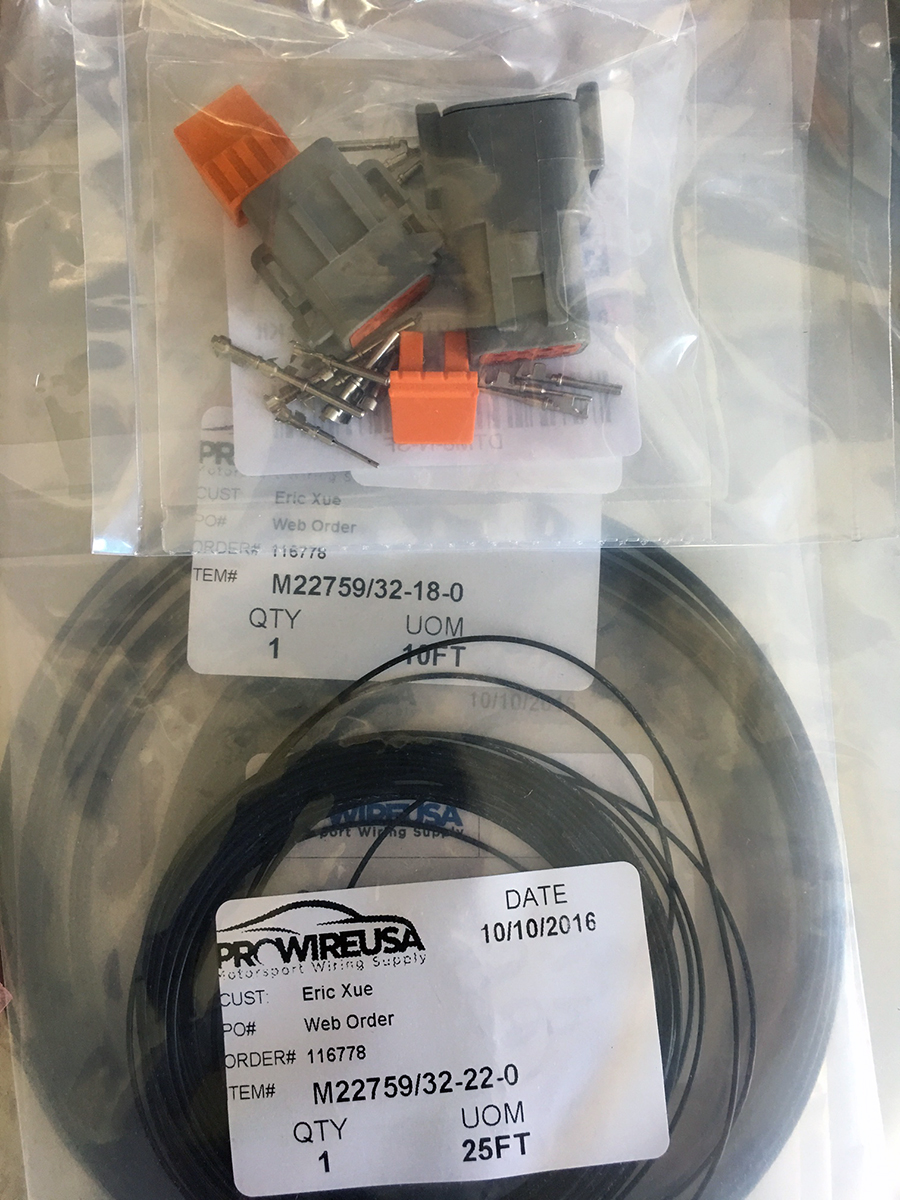
My wiring work behind the dash is not over. The next step is to redo the external menu buttons entirely. I previously used Computer-grade Molex connectors to make a quick disconnect harness for the buttons, which suited the purpose fine given the small gauge of the wires. Nevertheless, I didn’t feel 100% comfortable with my connector choice, so I plan to replace it in an overkill fashion – by using Deutsch DTM connectors. Deutsch products are renown in the professional automotive wiring field and many OEMs, like Caterpillar, use them. Weatherpack/Metripack is another popular OEM choice. I picked up my connectors and terminals from ProWireUSA and they carry a convenient selection of high quality components.
I also grabbed Tefzel wires in a few different gauges to use. I would love to try making my own motorsports-grade chassis harness out of this stuff one day.
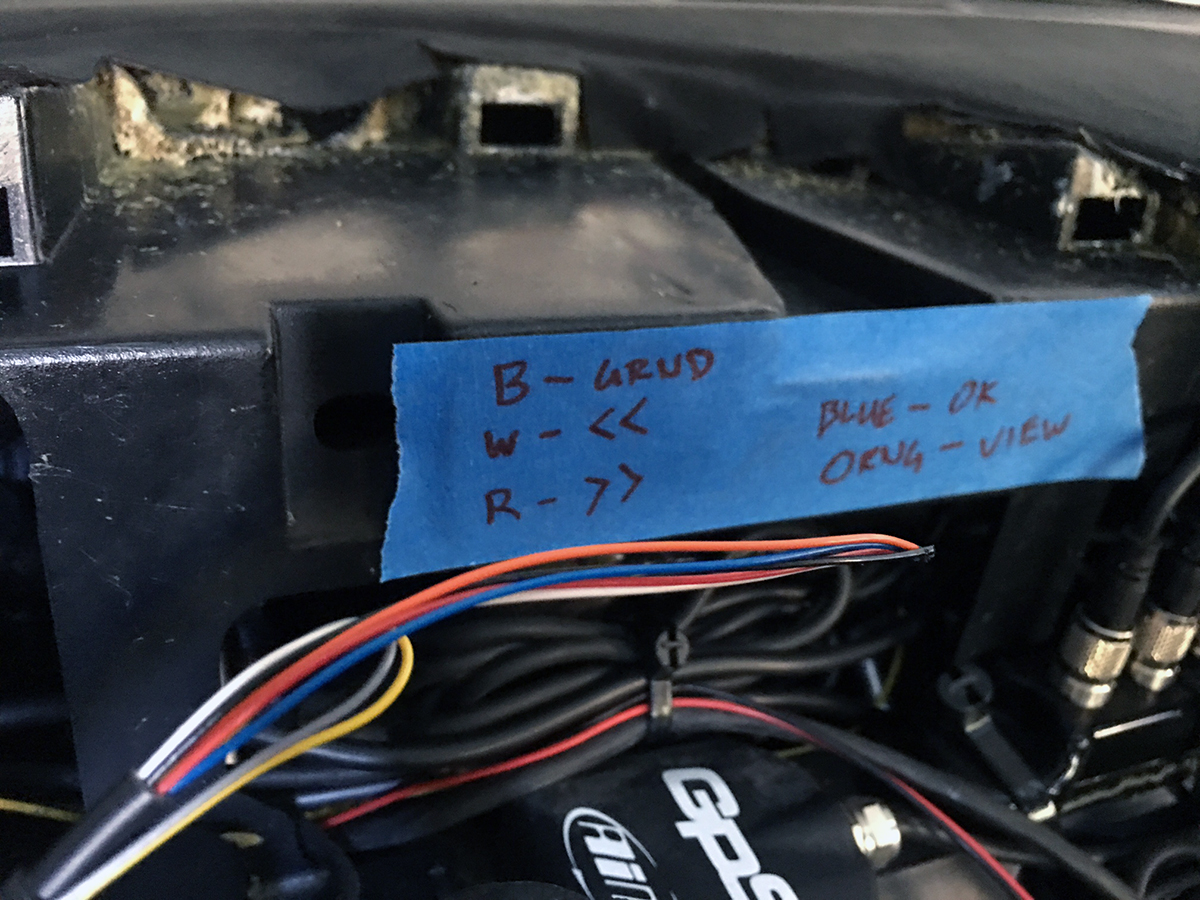
Here is a quick cheat sheet to track the functions of the menu buttons. These will all go into the new Deutsch DTM eventually.
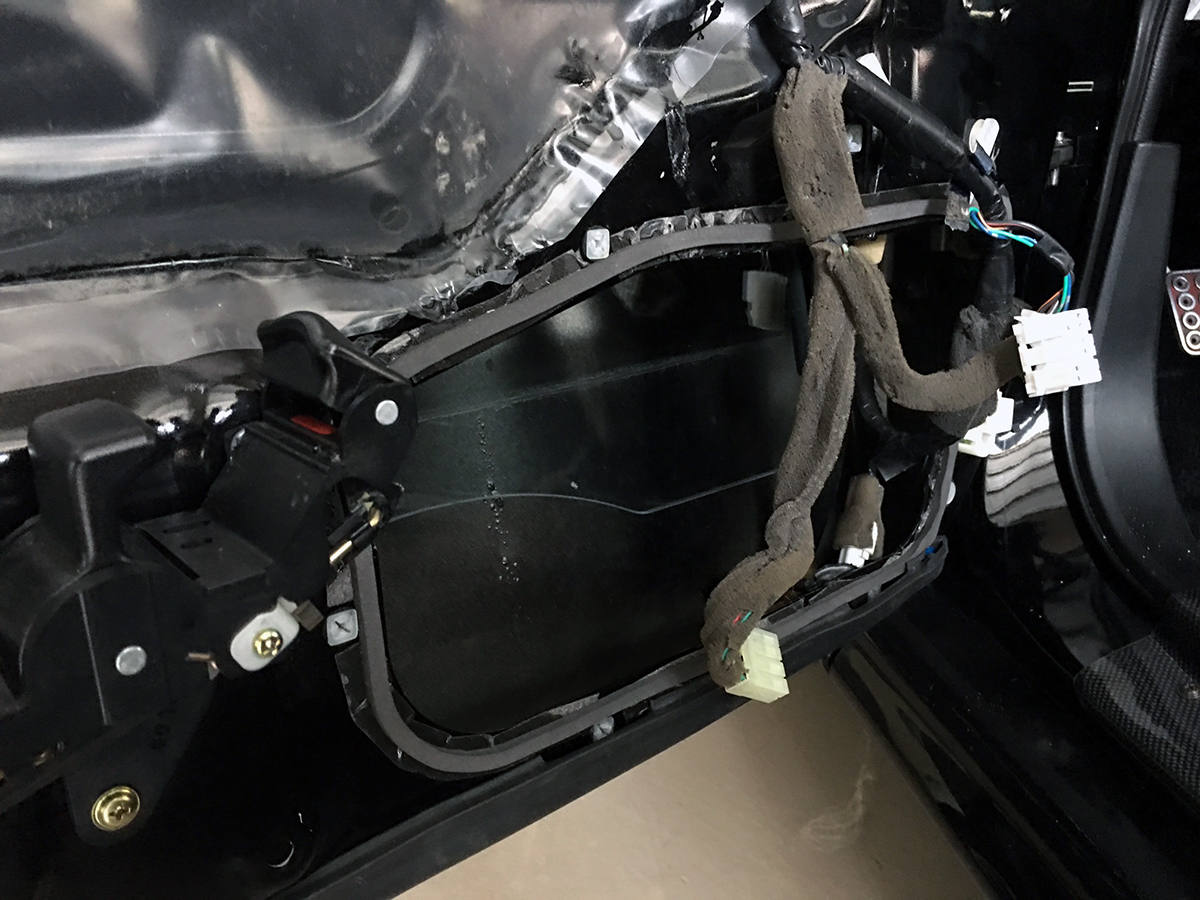
I must have felt like I was making too much forward progress because I then redirected my attention into taking more things OFF. Starting with the door speakers. I needed to remove them so I could access the hole and later uninstall the side mirrors. While the speakers were out, I decided to sell them. Because why not. In fact, I sold my Pioneer Double DIN head unit, too. There is a method to my madness… I think. Time will tell.
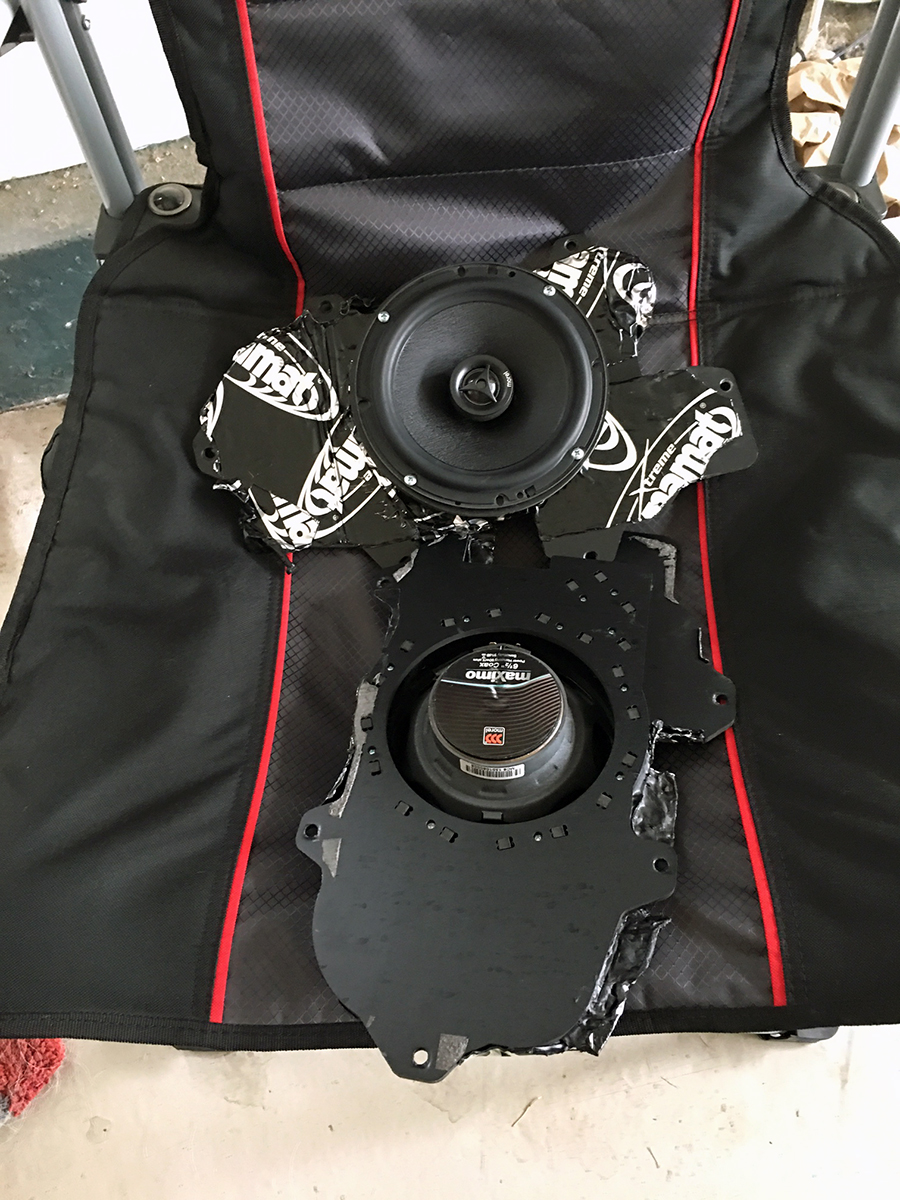
On a more positive note, I did trim the speaker openings with a length of neoprene foam.
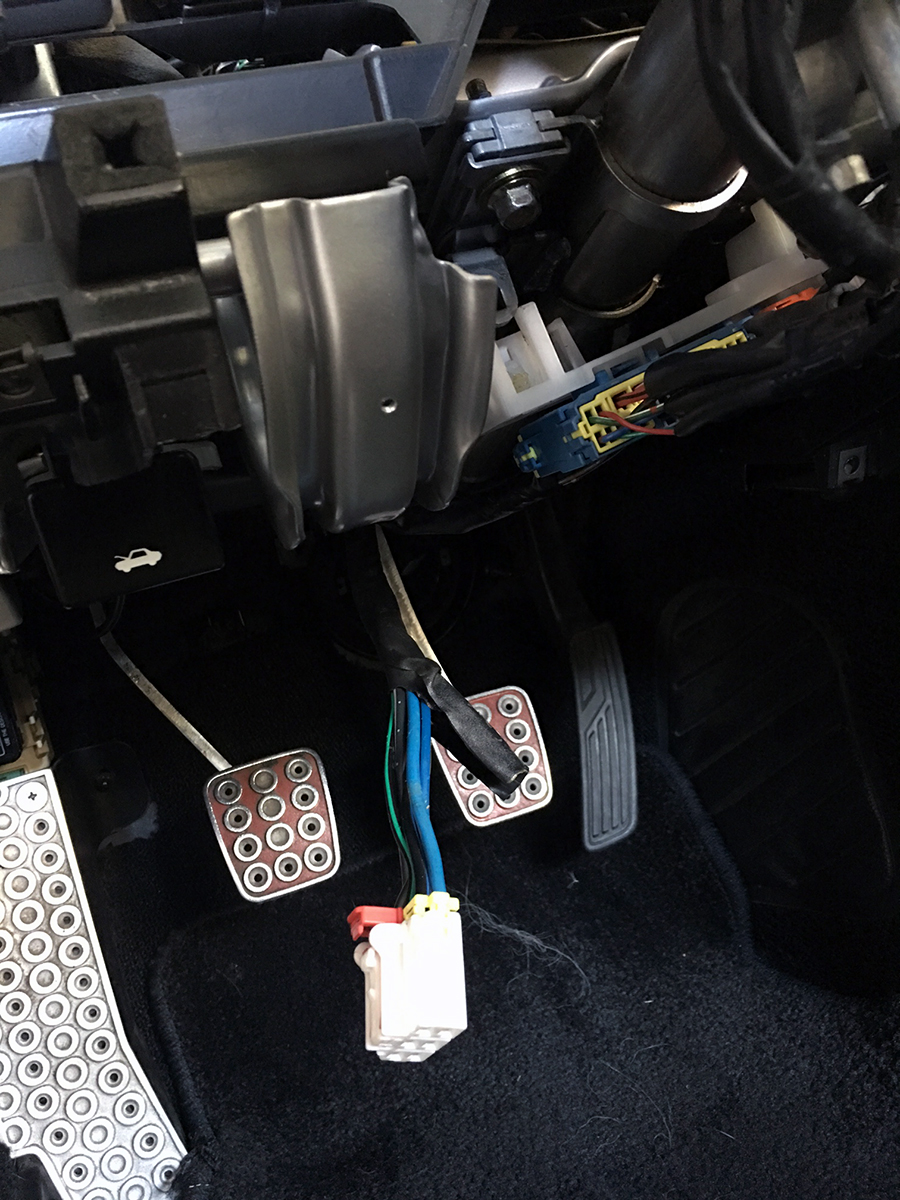
Underneath the dashboard, I unplugged and vacated the ignition switch in preparation for another, imminent wiring project.
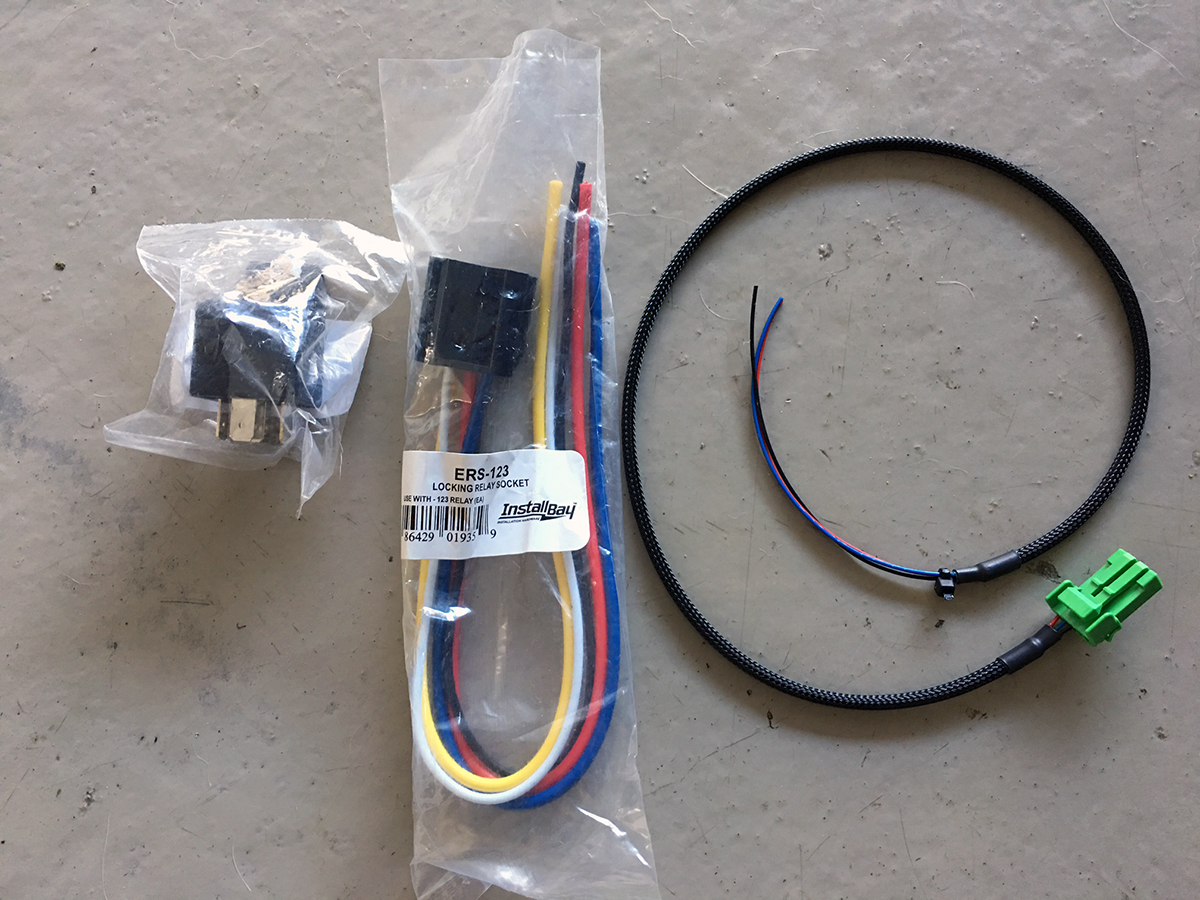
And that includes the purchasing of this Tyco/Bosch 30A relay and matching harness. The other small harness is for a Honda S2000 start button. Did I just give something away?
Moving towards the back of the car, I tore into the Miracle Cross Bar. Yes, I disassembled and removed what took me many laborious hours to meticulously install. Interestingly, I was mostly apathetic while I unraveled all of the hard work that I did. I admit it does suck given the fact that I only kept the Cross Bar for a few months. But this is strictly business, and you have to be cold blooded.
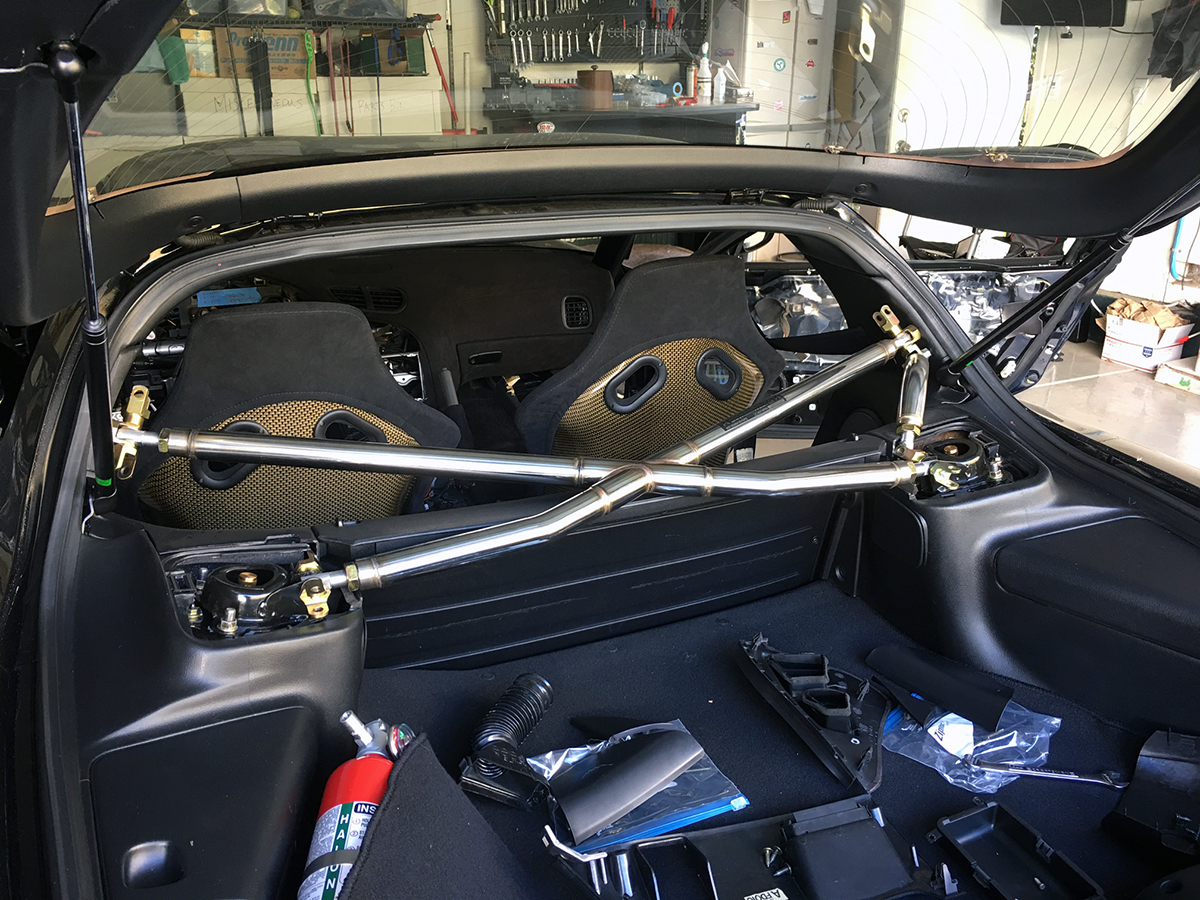
The RX-7 is falling more and more into pieces as the weeks pass by. And this isn’t even the end of it.
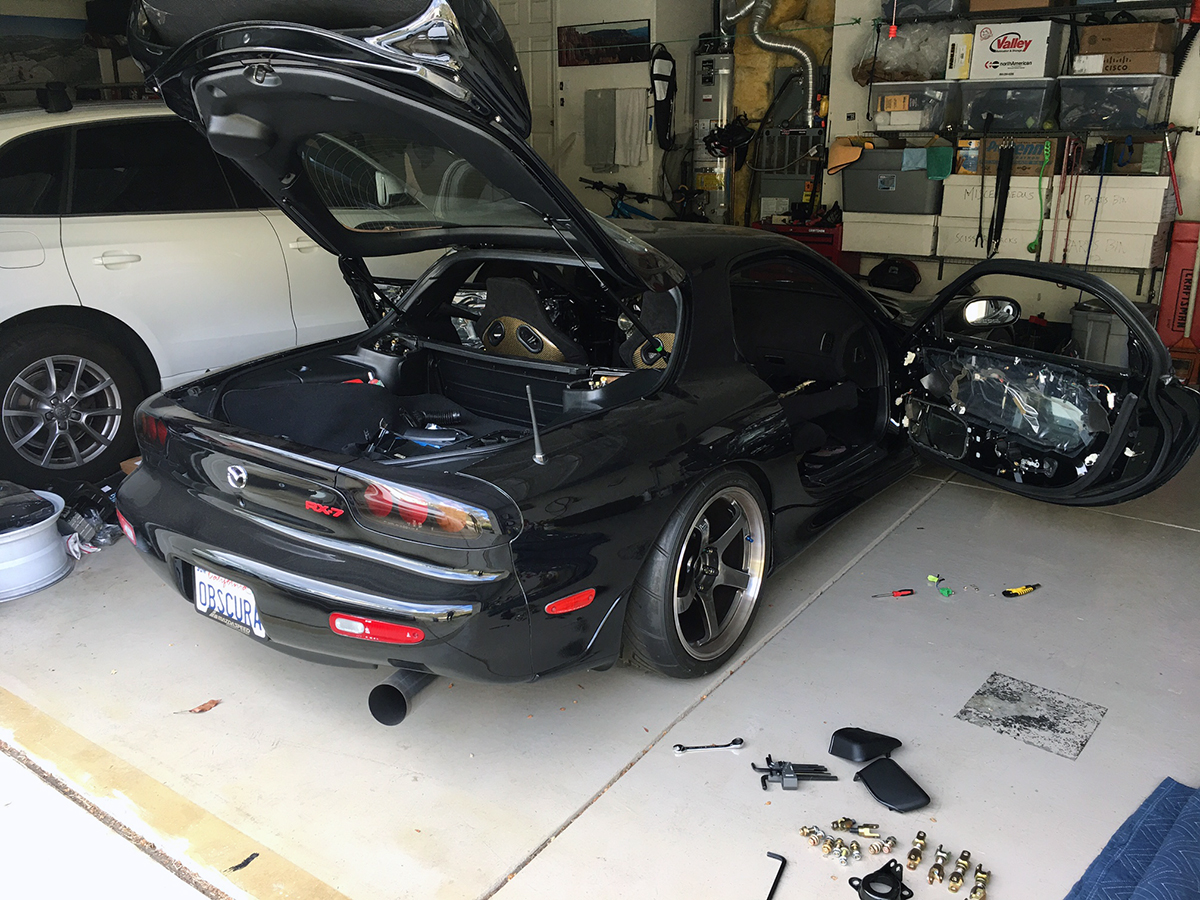
Have I legitimately gone crazy? Stay tuned.
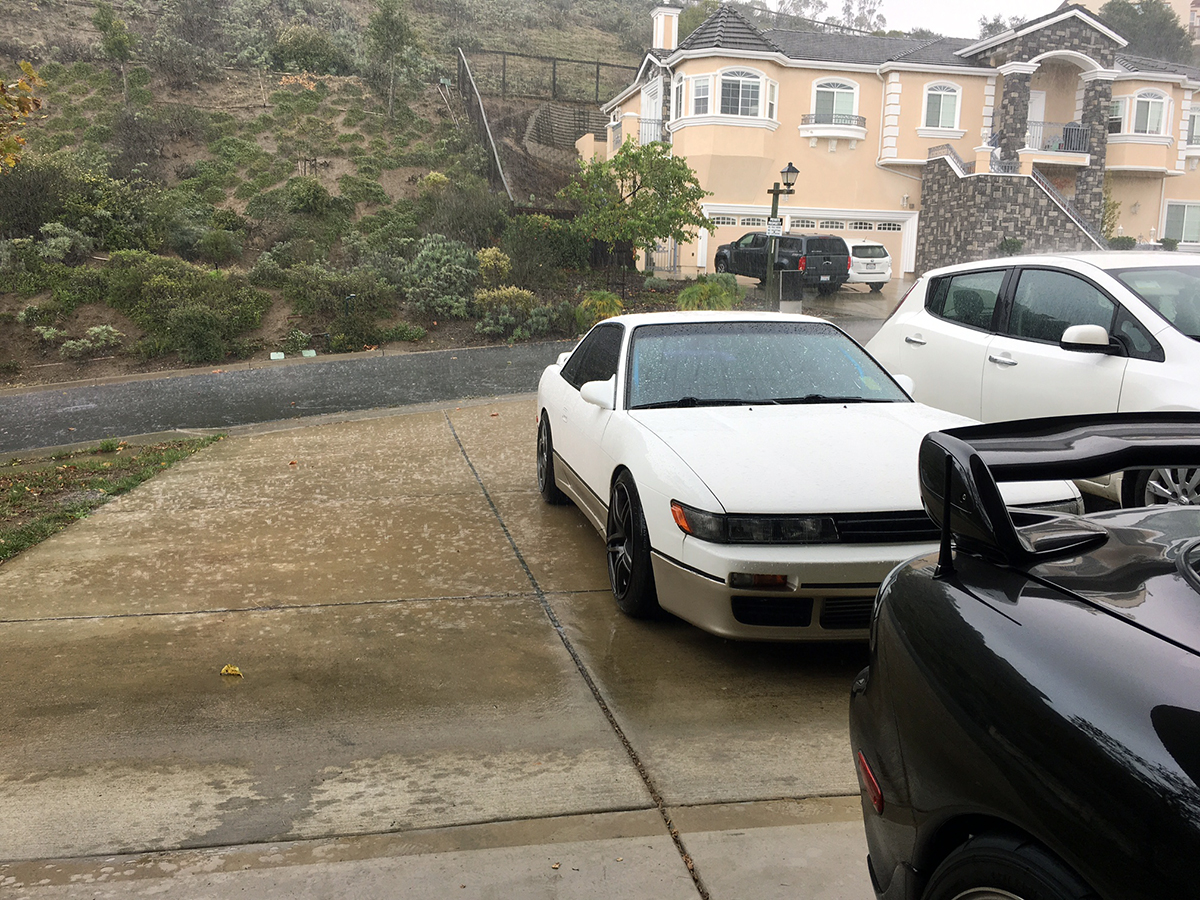
Bonus picture. Rainy Sundays.
Did you sell the Miracle Cross bar? id really be interested in it if it is.
I traded it!