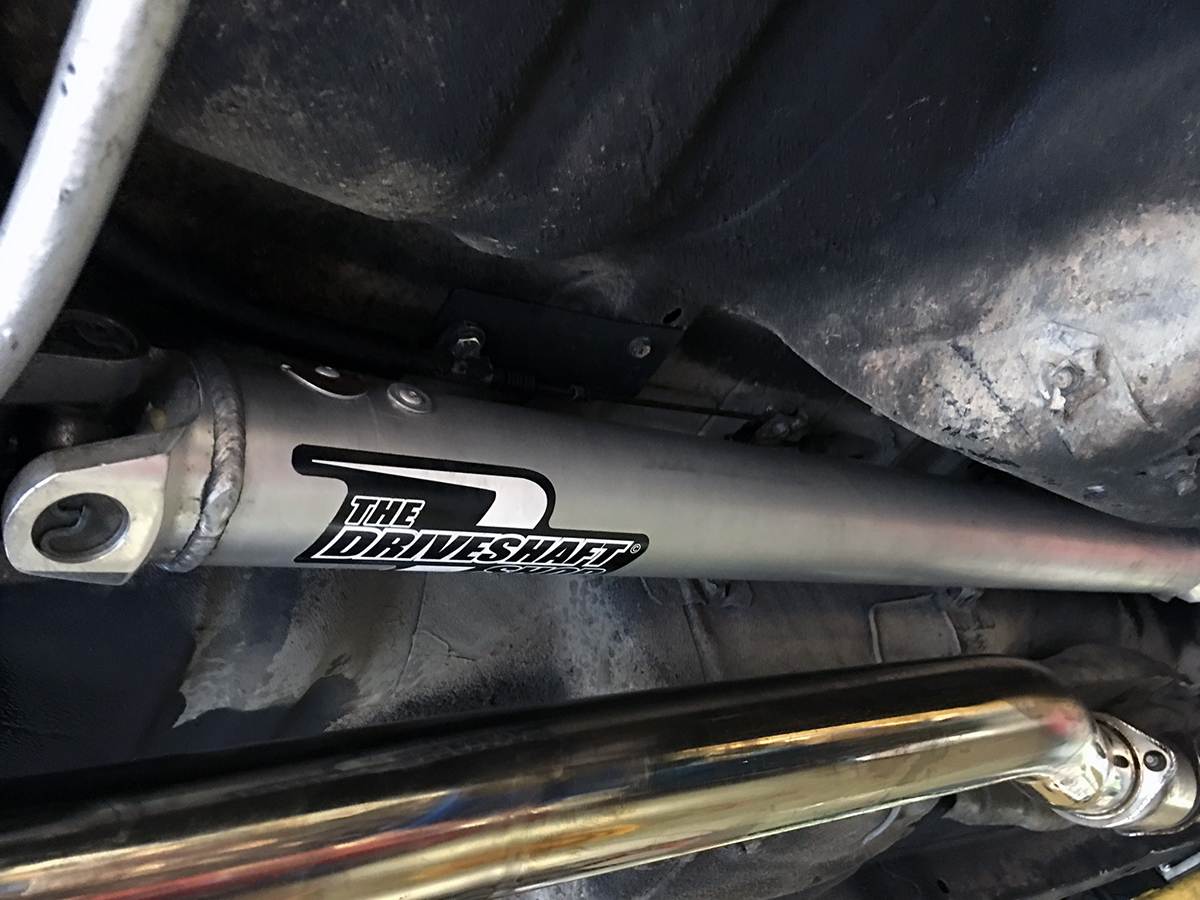
With a full array of parts acquired and corralled, the next phase in the operation was of course to get everything installed. I even picked up a new in box 1 piece aluminum driveshaft off the classifieds at the last minute, which is a decision I would soon regret. I’ll get to that in another post. First on the agenda was to rectify the missing stud that I failed to do previously. I ended up ordering a full set of 10 OEM wheel studs with the right knurl size from my local Nissan dealership to replace everything up front.
For such a simple task, that spanned through one weekend and into the next, it threw a surprising number of hurdles. This experience certainly emphasizes the necessity to have the right tools and the right parts. Although I had the right studs this time, my cheap Craftsman impact wrench had a dying battery that only held enough charge to pull 2.5 studs through the hub. So instead of blazing through all 10 studs and moving on with life, I had to arduously wait for the battery to recharge and then repeating.
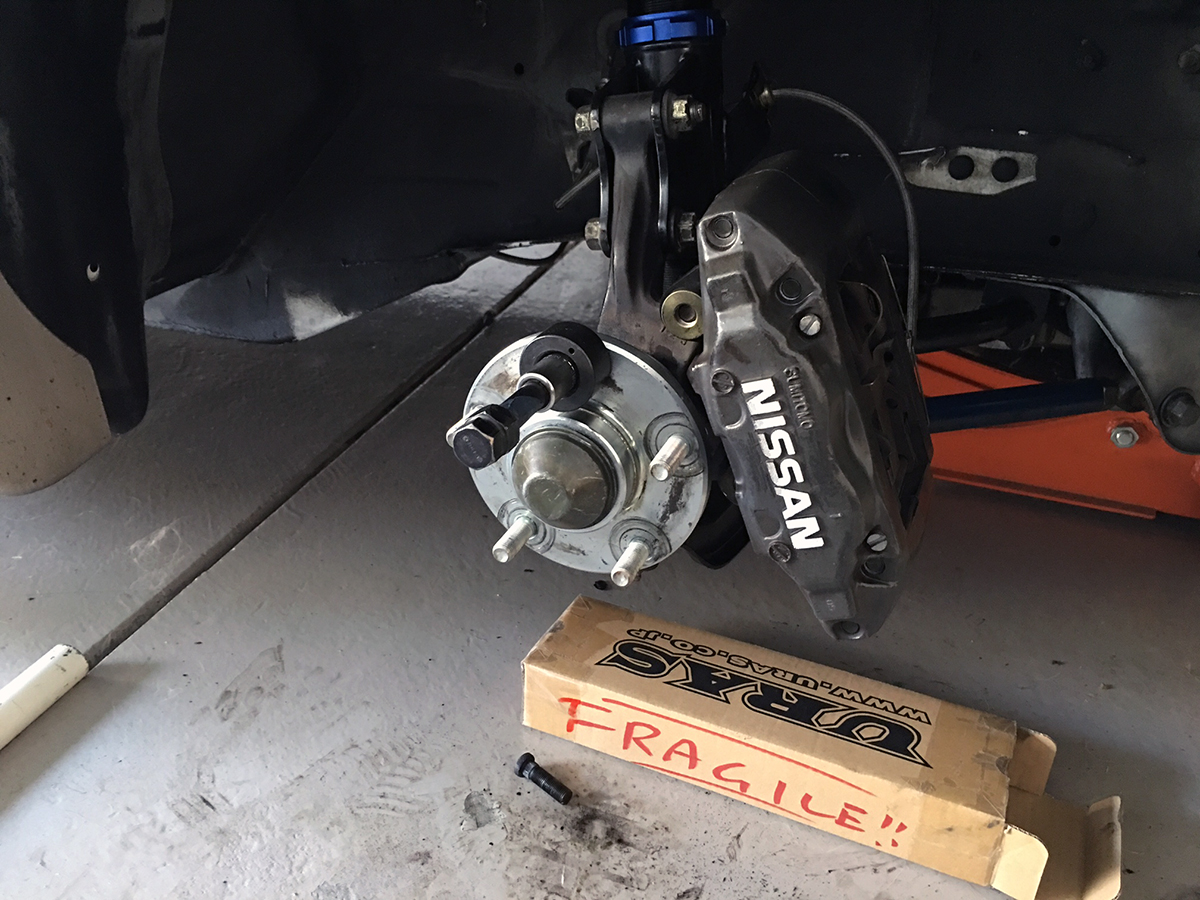
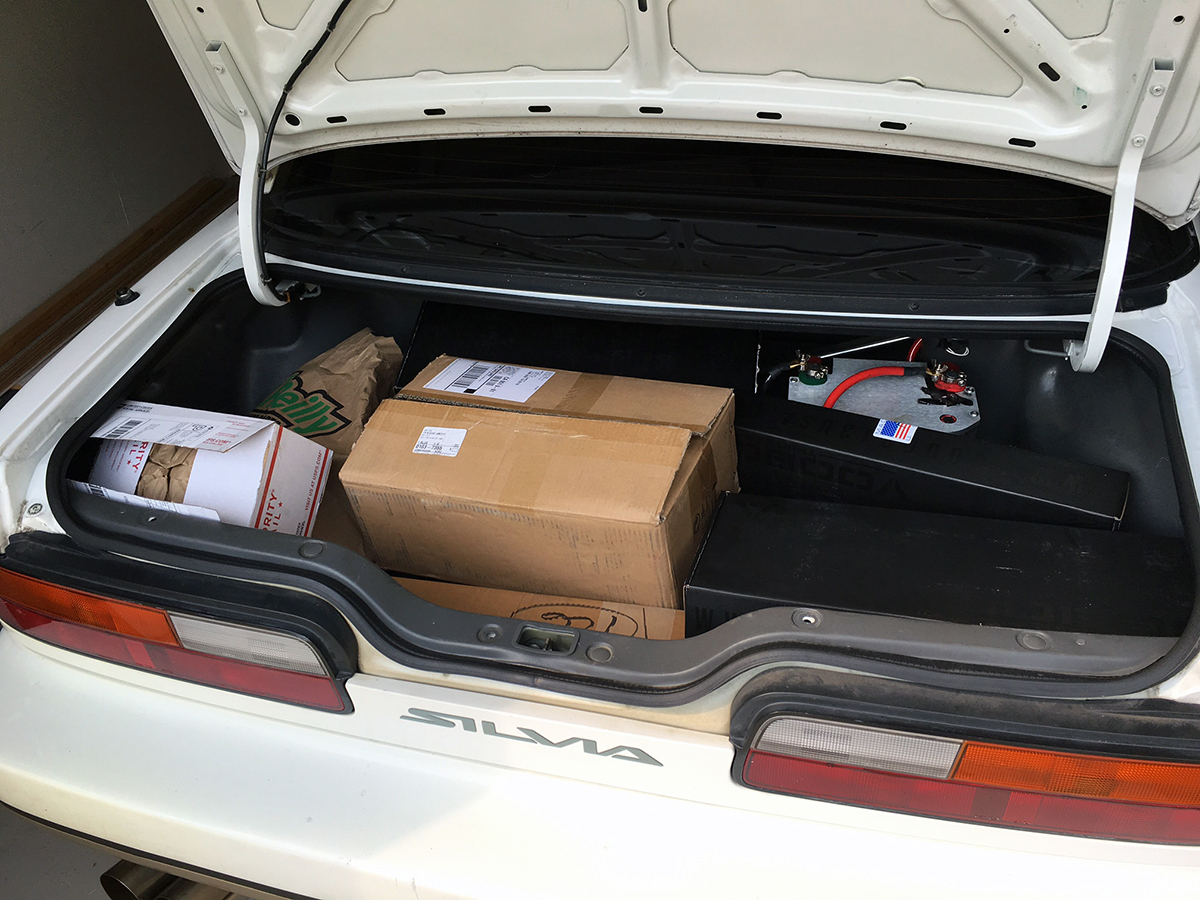
I ran out of time and couldn’t finish the last few studs, so I hustled back the next morning before zapping them through, reinstalling the brakes and wheels, and then loading up the trunk for the big adventure ahead.
I gave myself 1 month to get this car sorted and rolling… to deliver on schedule, there could be no lack of inertia or moments of laziness. Pushing forward and executing with resolve is the type of stuff I love. With that said, the goal was to try and get everything in the trunk installed in just one day. However, a task of this enormity is not physically feasible without helping hands. Thankfully, my buddy Christian came through HUGE and hooked it up with shop space at his work. He helped with an oil change on the RX-7 over a year ago in the same location.
With the studs complete and the car back on the ground, I met up with Christian and we drove over to the shop. Here is everything for the day’s feast unloaded and ready for consumption.

After putting the car on the lift and getting the ball rolling, it was already approaching noon. Which meant lunch time. I ordered us a set of surprisingly good pasta and cheesy bread from Dominos.

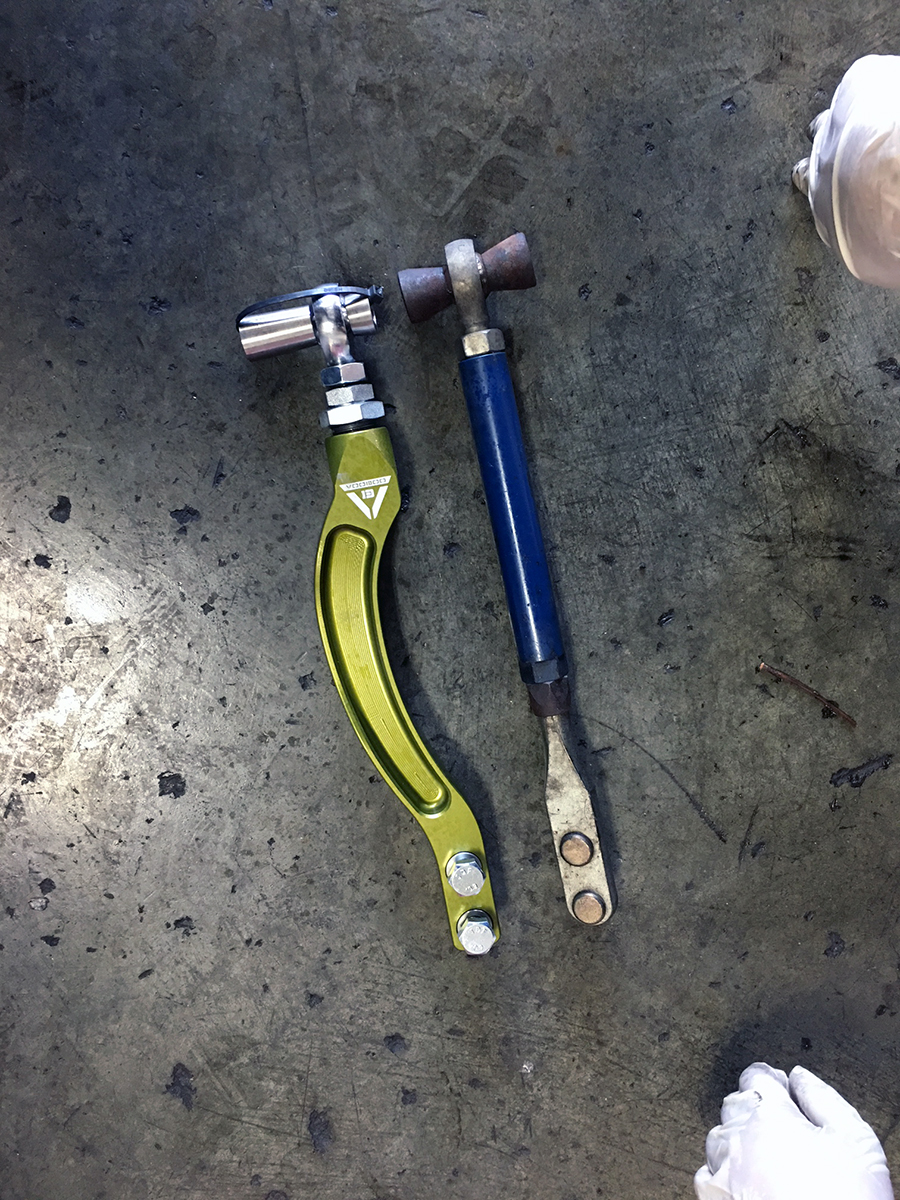
Carbo-loaded and full of cheese, we were ready. Starting at the front, the tension rods were removed and replaced. The S13 came with a set of no-name adjustable rods that hardly compare to the Voodoos.
In preparation, I bought bottles of WD40 and Brake/Parts cleaner so parts and surrounding chassis areas could be scrubbed down prior to reinstallation. Sanitary is how I like it, no matter if it’s my RX-7 or this daily driver/drifter S13, the treatment is the same.
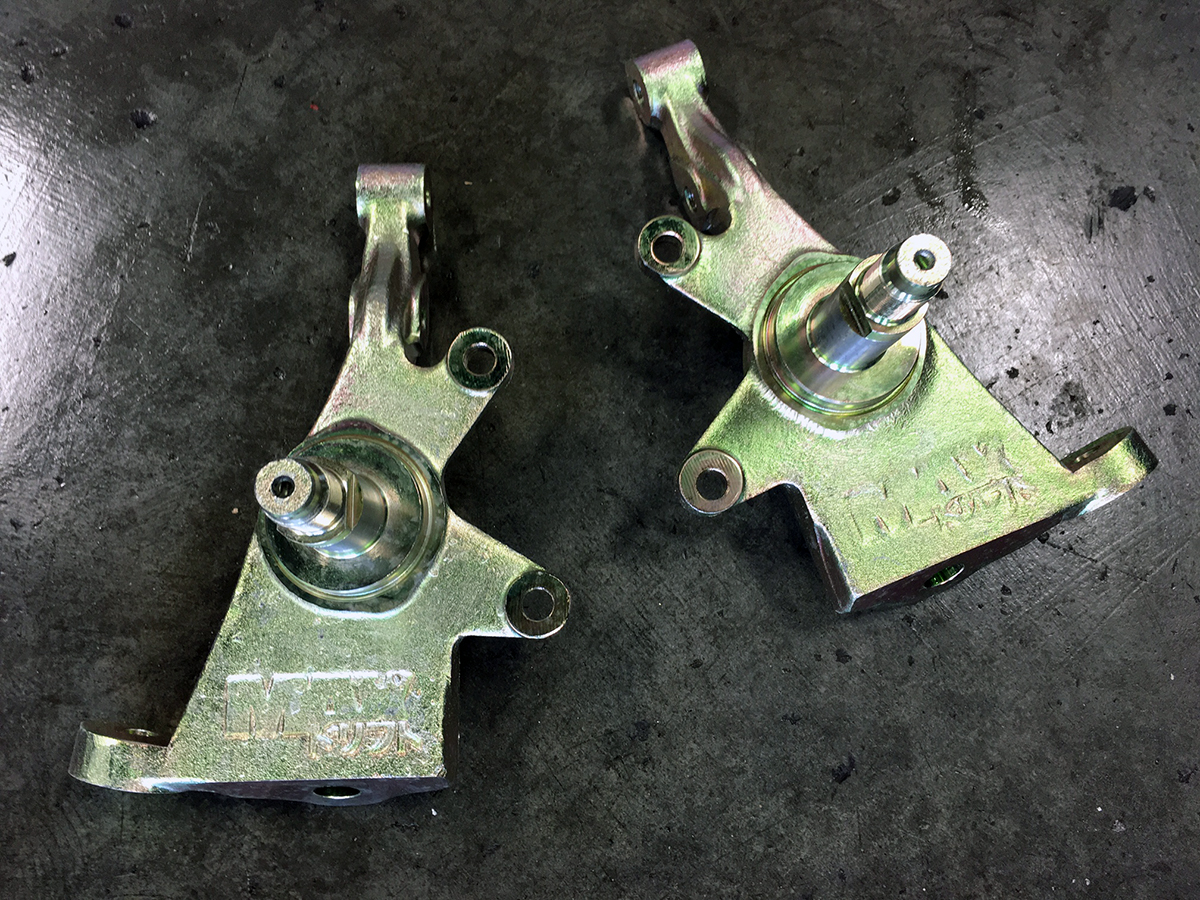
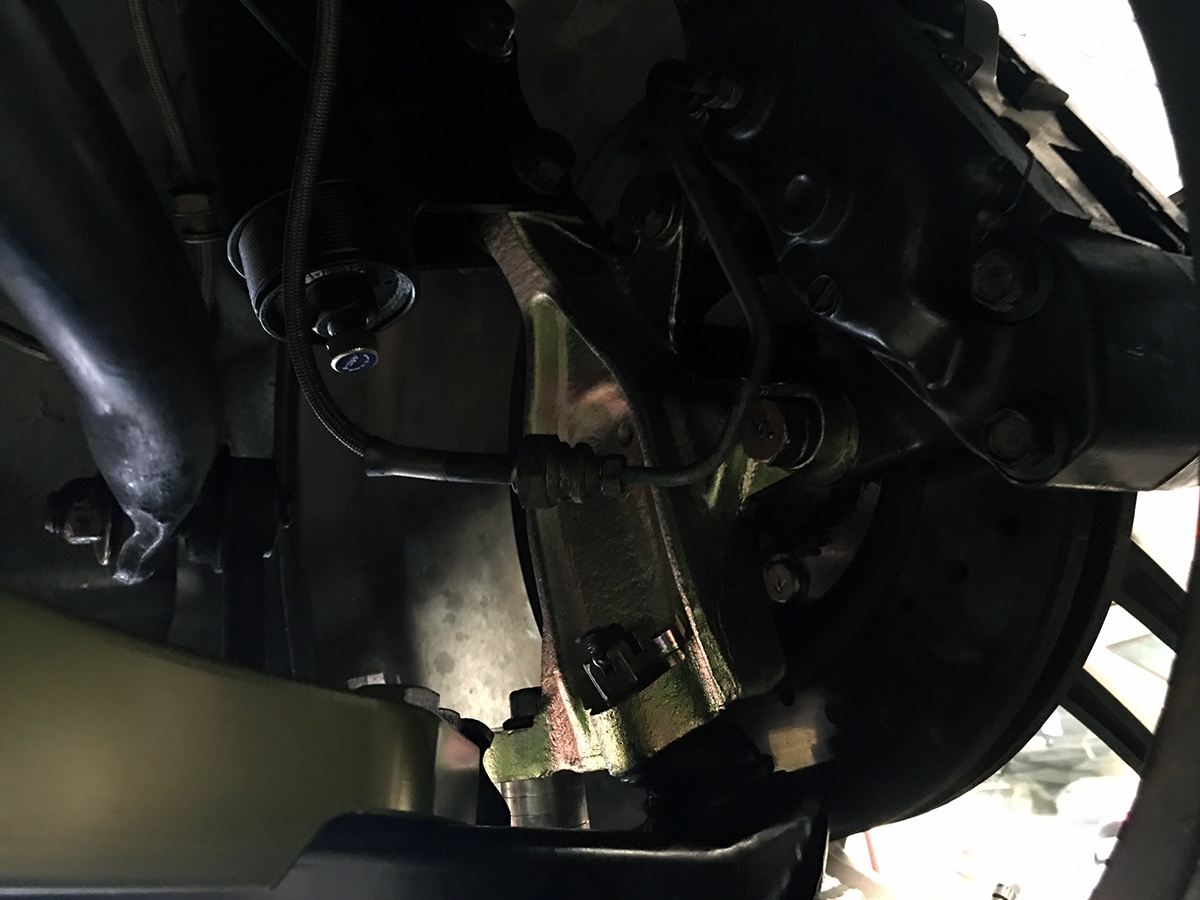
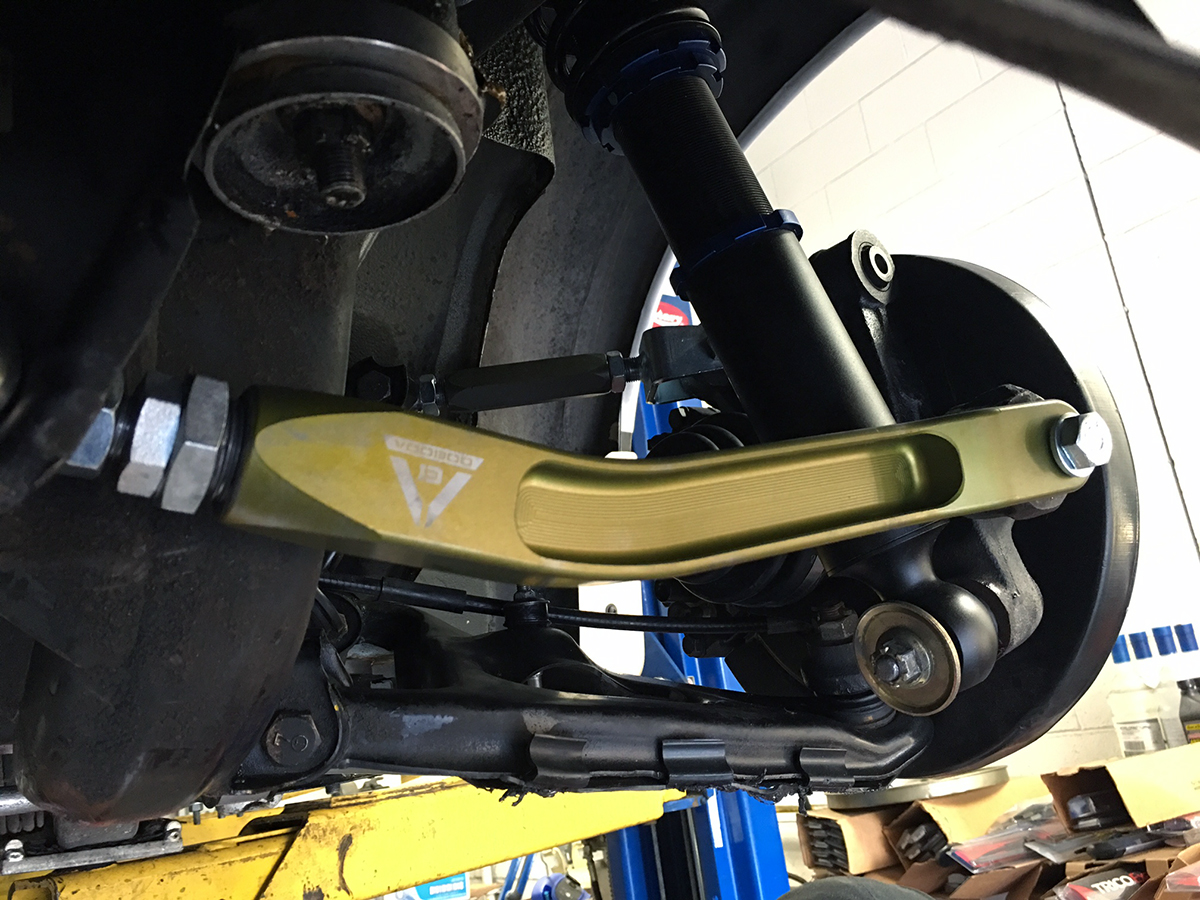
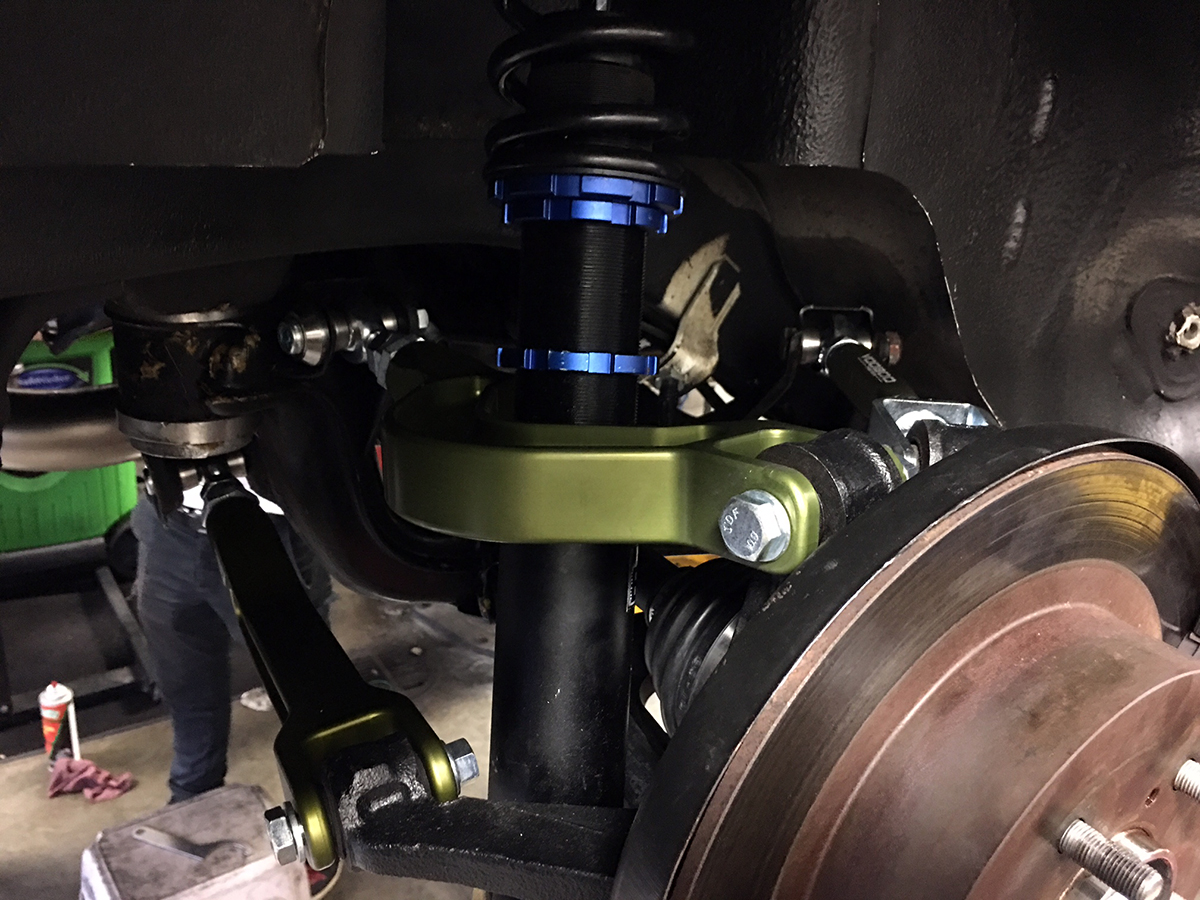
The appropriately finished in gold PBM front knuckles were next to go on. These not only add additional steering angle, but also have compensated mounting points to maintain good geometry for lowered cars. At $400, these are certainly a worthwhile modification.
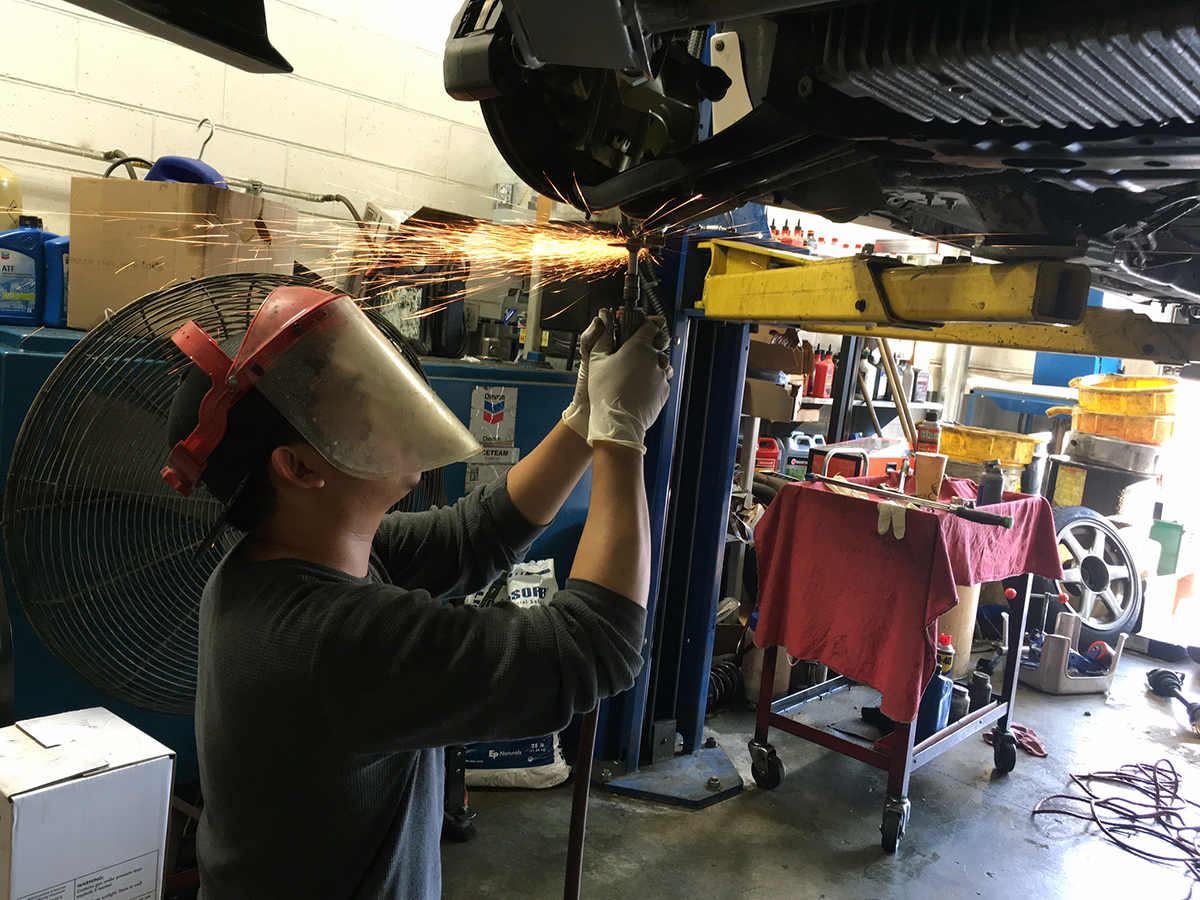
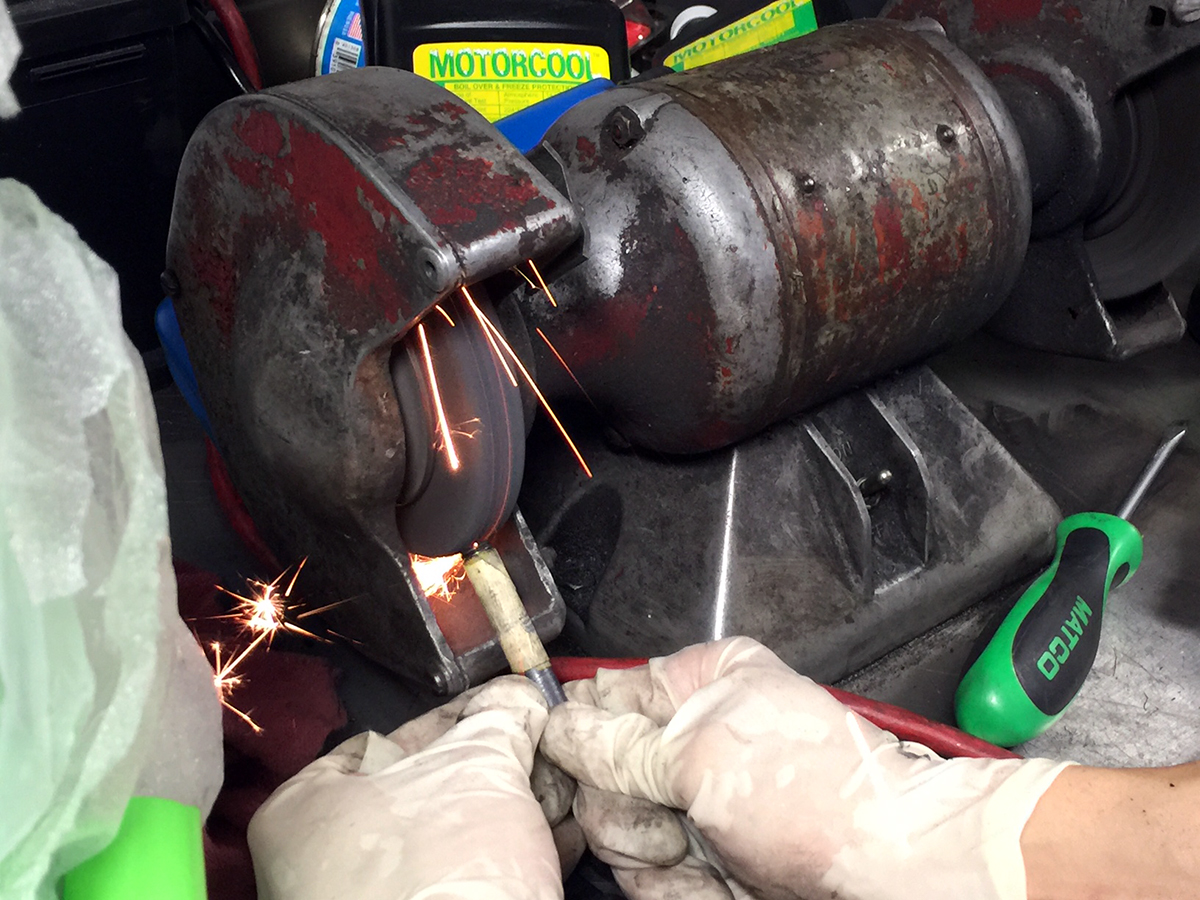
SPL Tie Rod ends were also installed, but their bolts touched the stepped lip inner barrels of the Model V’s by a fraction. Nothing pneumatic tools can’t fix. Here’s Christian getting smooth with the cuts. Safety first.
While Christian was working on the front suspension, I focused on the rear by unbolting all of the old arms and then removing the axles. Sometime later in the afternoon, Justin (who I bought the Advans from) arrived to help roll all 4 fenders. The previous owner did roll the fenders, but the lips were not flattened like they’re supposed to be, so the job wasn’t finished. Justin also brought friends, another Justin and Jeff… who I conveniently enlisted into the army and quickly placed tools into their hands to start assisting. That day was a fine display of multitasking and efficiency.
With the rear suspension taken apart and the stock axles removed, the new Driveshaft Shop 600HP bolt on axles were ready to be installed. The bars on the stock axles are quite beefy, but the CV joints are the primary weakpoints. The upgraded axles feature Porsche style oversized 108mm CVs. I waited nearly 4 weeks to receive these axles and I picked them up from the FedEx office literally the night before. After 3 weeks of production queue from Driveshaft Shop, there were still parts in the backlog. My retailer, Enjuku Racing, came through for me in the final week and was able to source the last remaining set of axles already built and sitting on a shelf from a distribution warehouse.
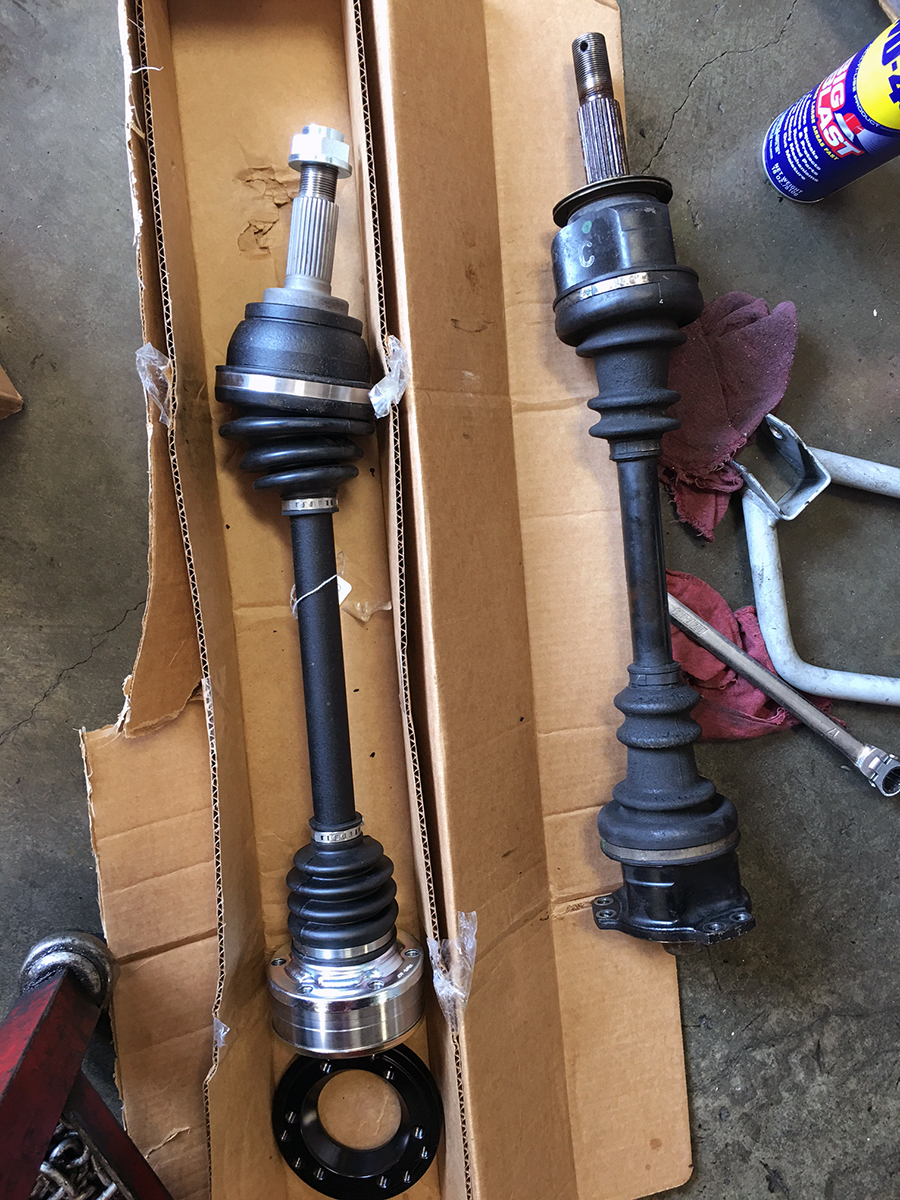
The axles came with billet adapters that bolt onto the factory differential stubs. The supplied bolts that then fasten the axles to the adapters were slightly too long and bottomed out when tightening. This meant I had to manually shave down 3mm for 12 bolts. Fun times.
Otherwise, the axles installed quite easily. Driveshaft Shop shortened the overall length of the axles versus factory to, again, compensate for a lowered ride height.
Once the axles were in, the remainder of the arms for the rears could bolt on.
Traction Rods:
Technically, I have no real need for traction rods since I will be keeping them at stock length and will not be driving at a level that requires dialing them in. However, I picked them up anyway to be comprehensive and it was a good way to replace the old bushings.
Rear Toe Arms:
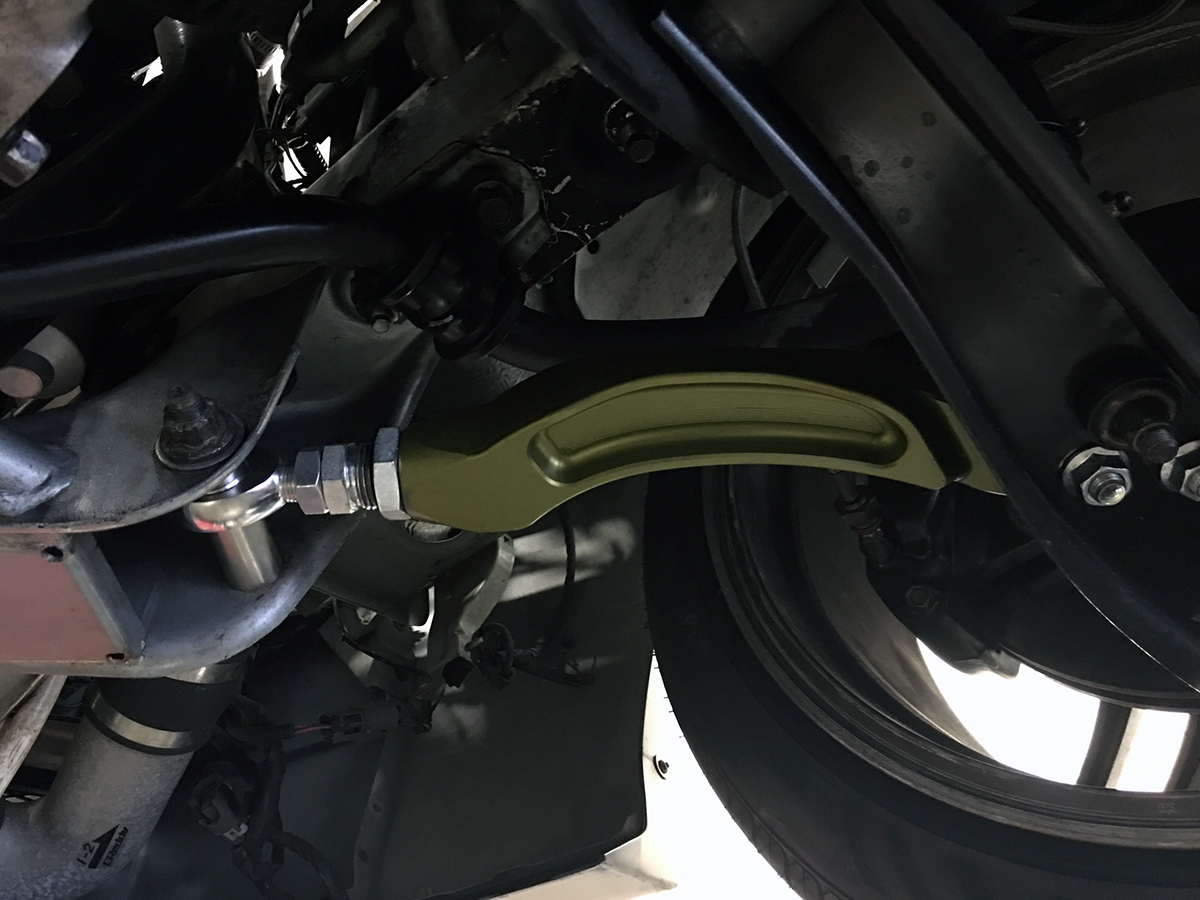
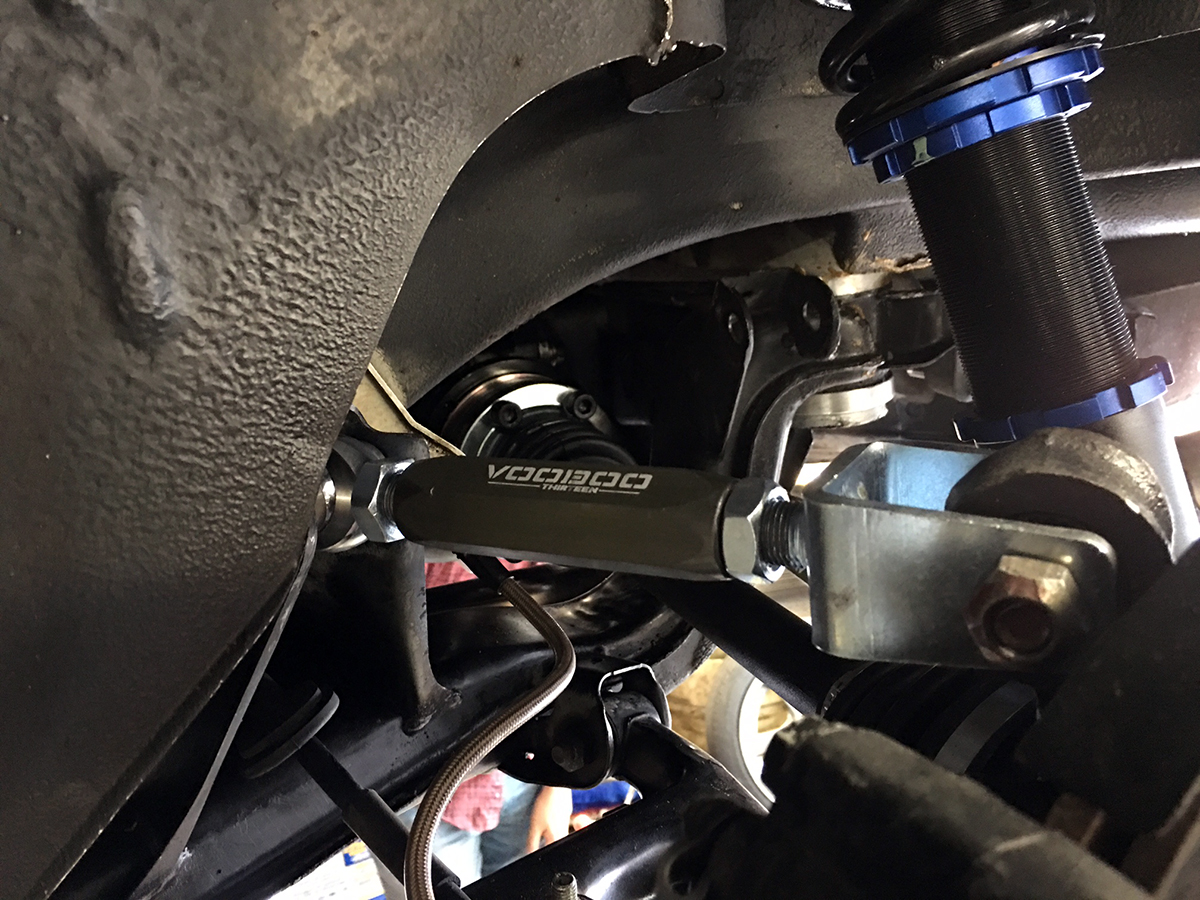
Rear Upper Control Arms:
The RUCA in the above picture is facing the wrong direction, the curve should actually be towards the front of the car, hence the close clearance to the strut. By the time I installed this, it was late and I guess the weariness caught me. It was promptly corrected.
In the middle of everything, we threw on the 1 piece aluminum driveshaft… this won’t be the last time I have to do this.
And that’s a wrap.
![]()
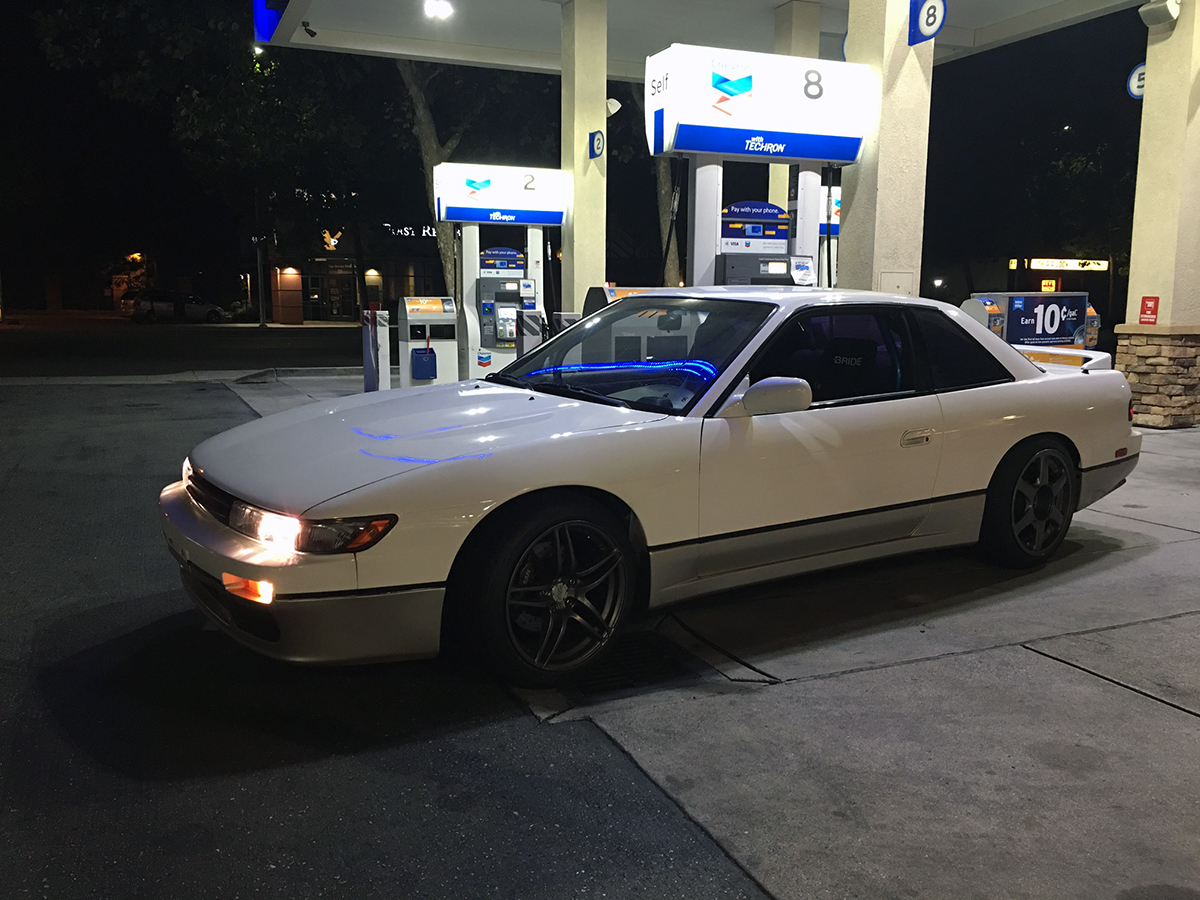
It was a long, sweat-filled day of 10 hours of nonstop work, but rewarding at the same time. Big shoutout to everyone that helped that day, we couldn’t have finished in one day if it wasn’t for the teamwork, and even still, we barely finished. The one thing we didn’t get to was flushing the transmission and differential fluids, but I can do that at a later date. Christian, Justin, Justin #2, and Jeff… you all rule.
Do you no longer have the Evo X? Are you just going to be dailying the S13 from now on?
I actually got rid of the Evo X about 3 cars ago, that was a great daily now that I think back, except for the small gas tank. The plan is to keep dailying the S13.