After removing the Miracle Cross Bar, the large, rear quarter trim panels would no longer suffice because they were modified and drilled into for fitment. The plan was to include the trim panels with the Cross Bar but that left me with a decision to make: I could either find unmodified, black panels as replacement or I could find unmodified panels and have them wrapped in Alcantara. I opted for the latter, because why not.
Surely all of the interior work is adding up significantly, but the quarter trim panels make an appreciable difference when wrapped due to their large surface area of plastic and proves to be a strategic choice. Just like the door cards, these panels were always on my list to convert into Alcantara, and this was the best opportunity to do so.
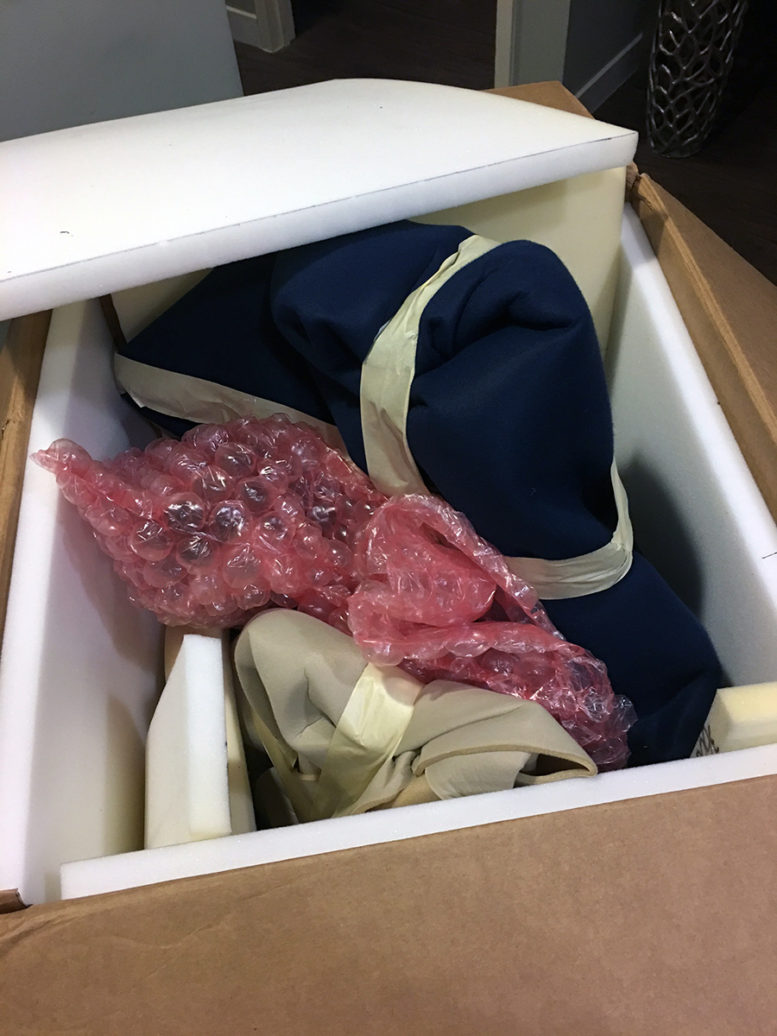
ESH Upholstering was already done wrapping the door cards and were just waiting on the carbon fiber trim pieces before final reassembly, so I kept them busy by having them handle this task. Conveniently, they had a pair of good condition, tan quarter trim panels laying around and could start the job immediately. This also saved me the hassle of having to source and purchase a set separately myself. And right on schedule, during the week of Thanksgiving, I received a generously sized box. I was especially impressed with their packaging.
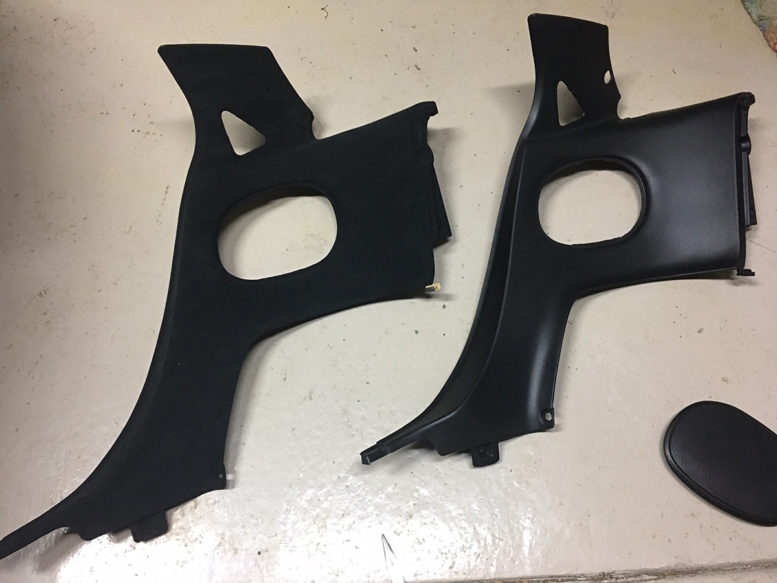
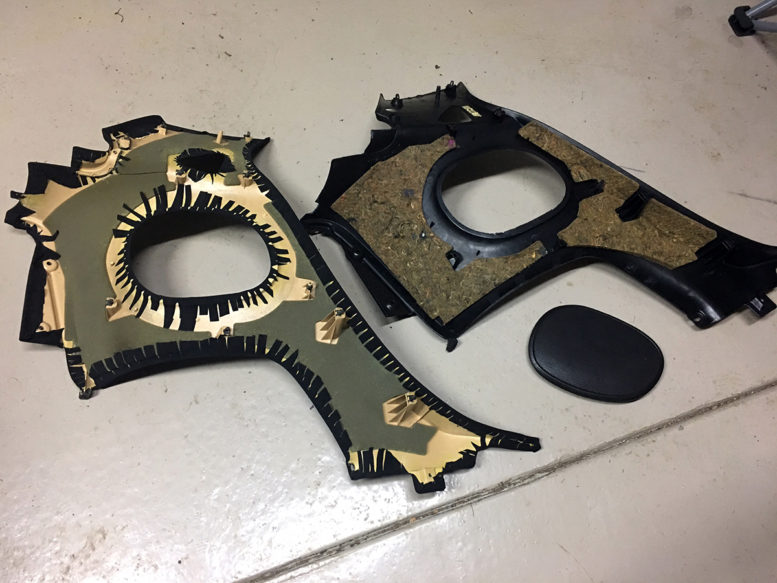
Here are the trim panels side by side.
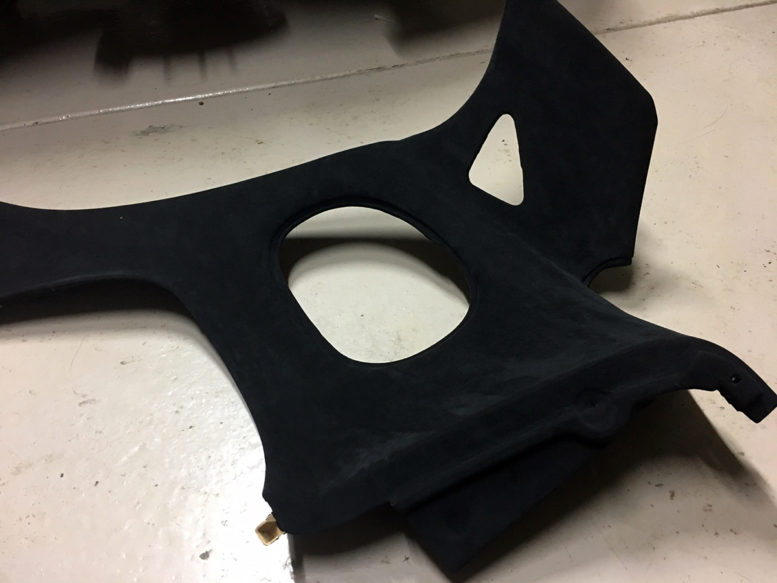
Up close on the wrap work. Evidently, after speaking with ESH, there is a particular method and direction to wrap these panels. In order to successfully wrap the panel in its entirety without seams, you must start and finish in a certain way. Luckily ESH has done this before, which eliminates the need for trial and error.
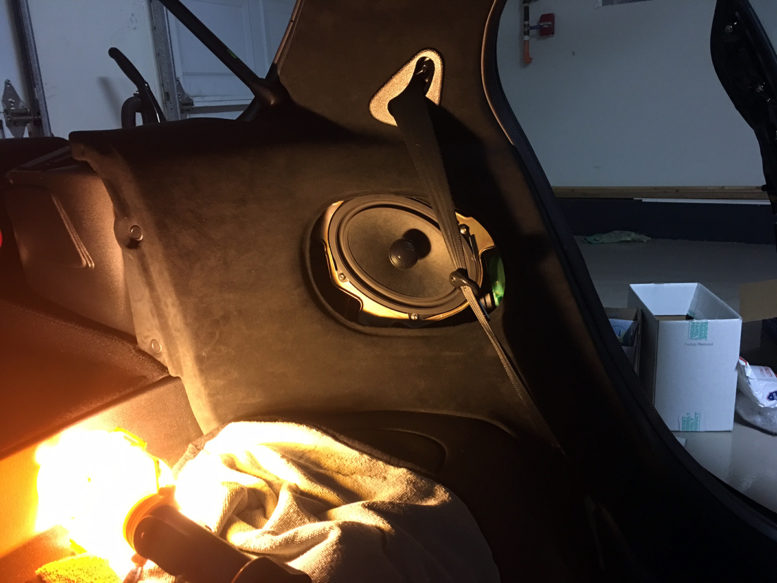
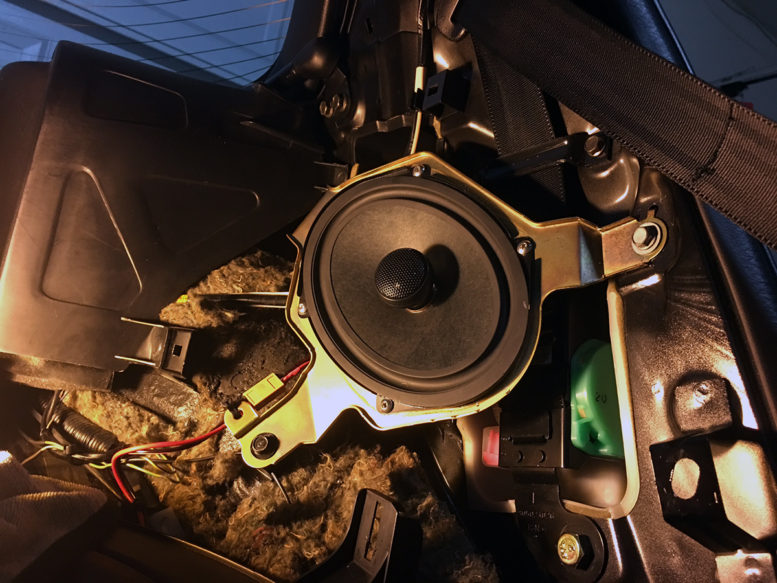
Installed, with the new rear Hybrid Audio speaker pictured.
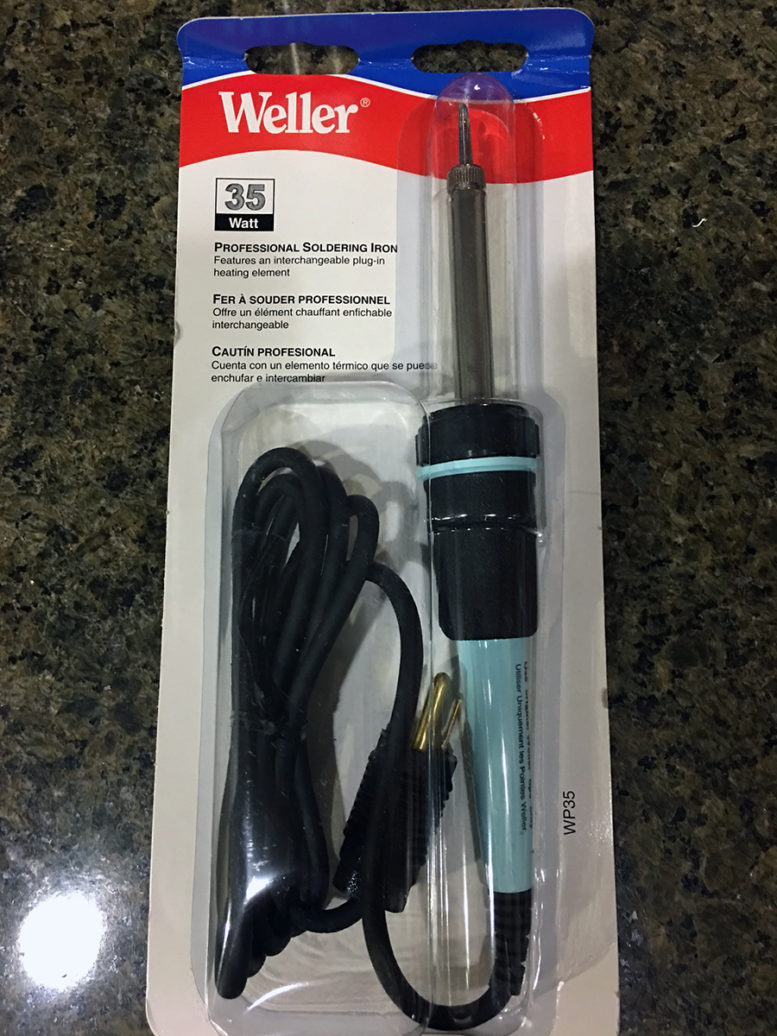
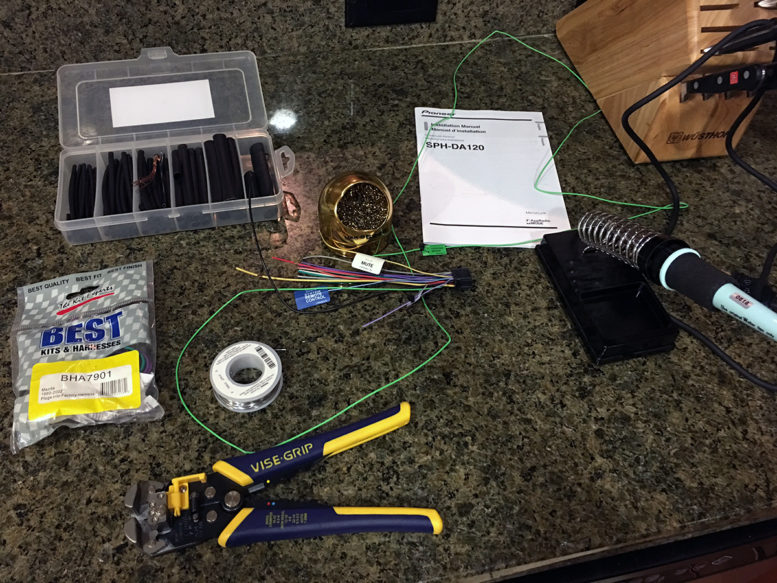
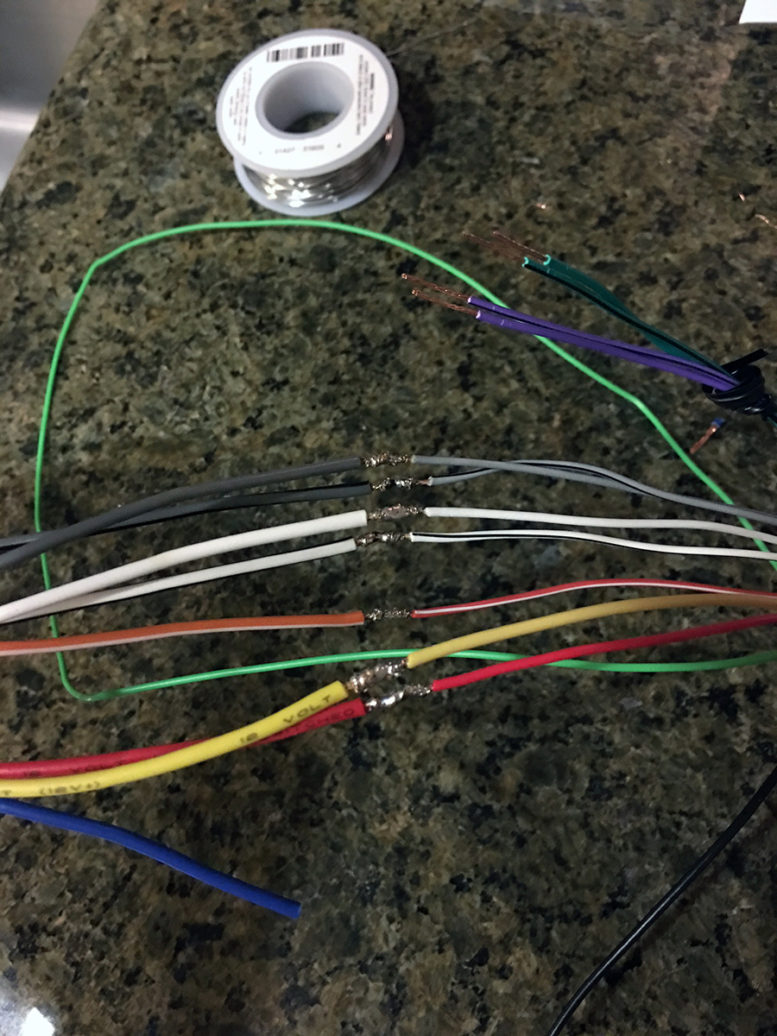
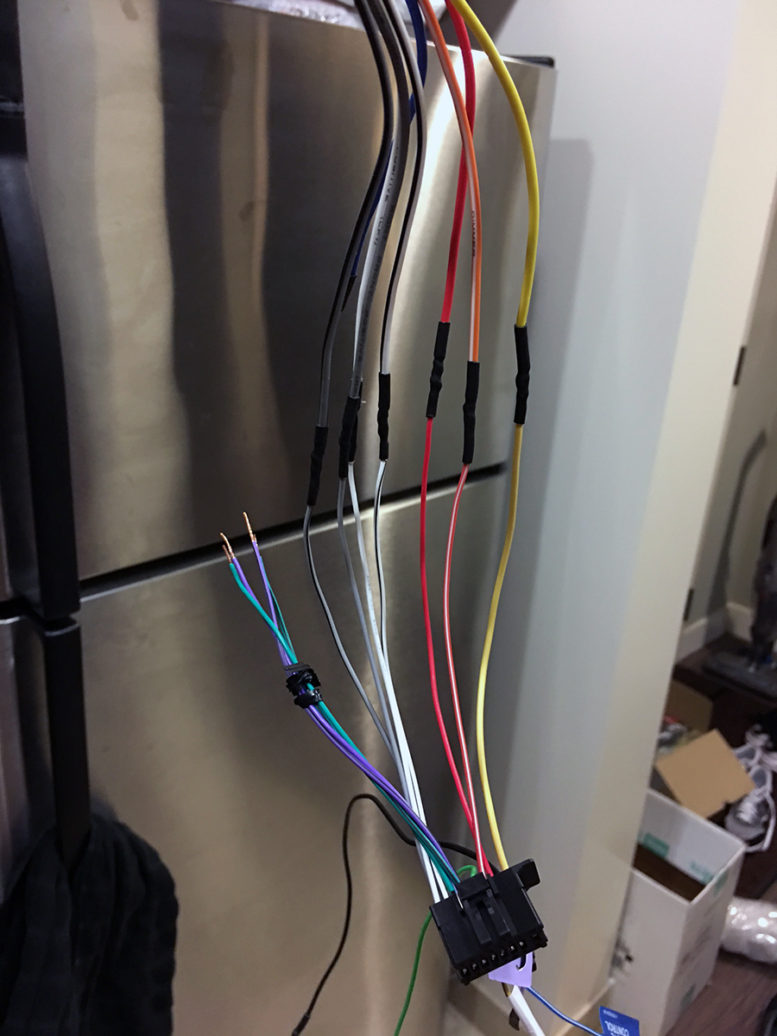
On the subject of the speaker, I spent a great deal of time sorting out things in the sound department. Starting with the soldering together of yet another headunit wiring harness. I even purchased a new soldering iron to move forward with. Through all these years, I made due with cheap irons that required sensitive awareness of temperature since they would get increasingly hot when plugged in.
This new “Professional” model Weller maintains a consistent maximum temperature and I noticed it warms up quickly.
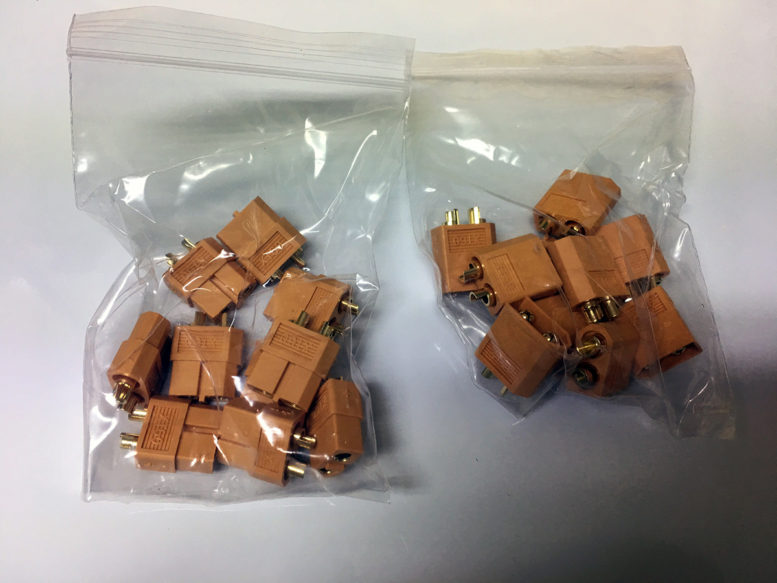
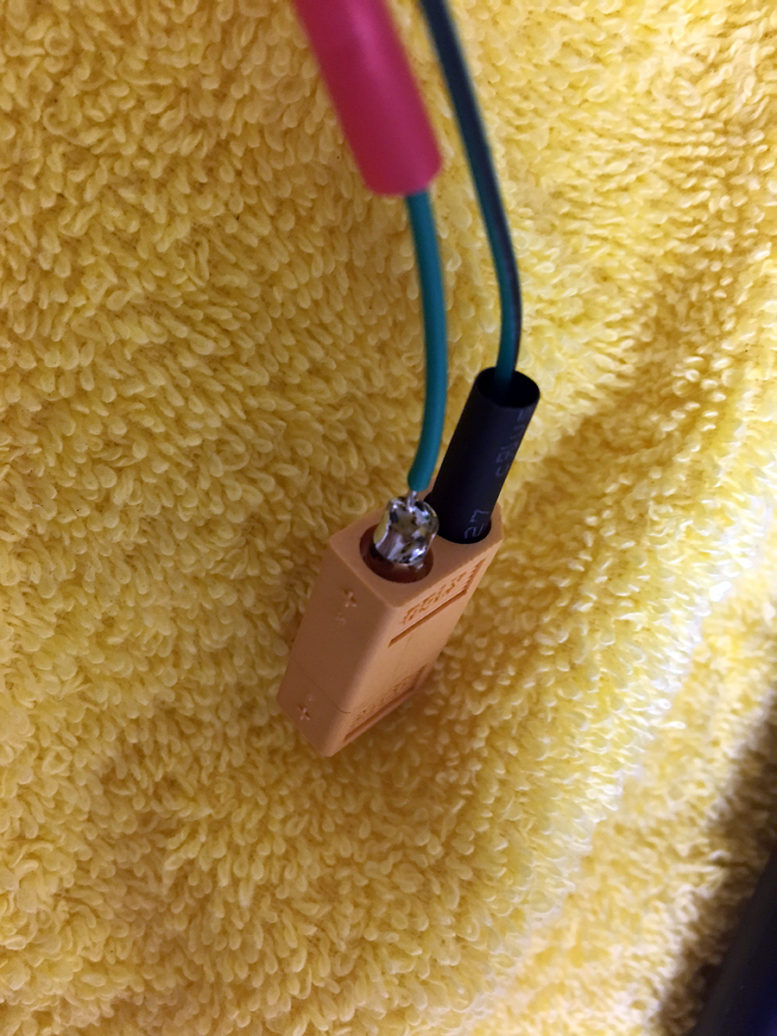
I wanted to figure out a clean and effective way to patch in and connect the speakers. After some researching, I decided on using XT60 connectors, which are commonplace in the R/C helicopter and airplane field. These connectors are labled with positive and negative and feature brass cups that you can fill with solder to attach a range of wiring gauges. The R/C folks use XT60s for their battery packs, but they function fantastically with speaker wiring as well.
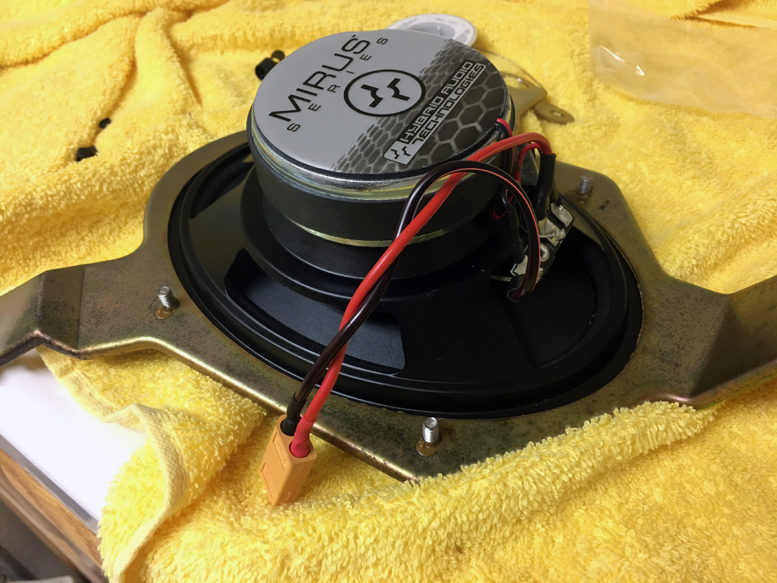
I made pigtail harnesses with the connectors right off of the speaker terminals.
A better look at the driver side rear speaker before I installed the trim panel over it.
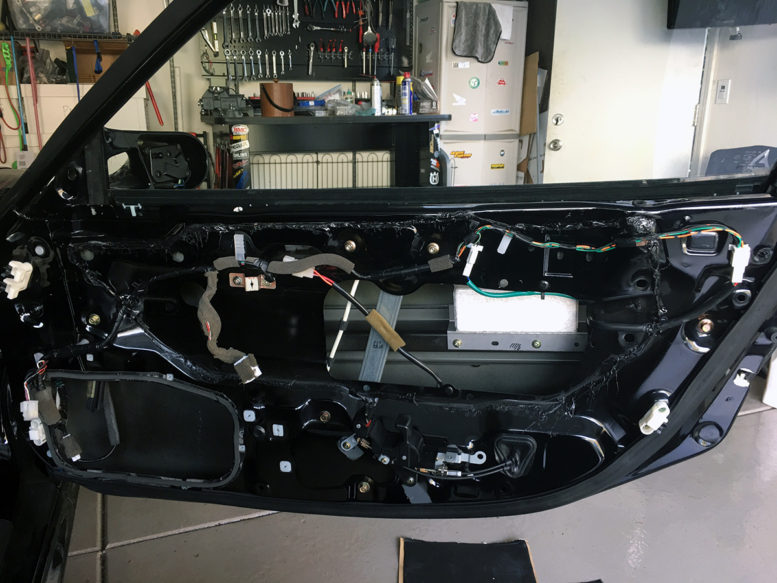
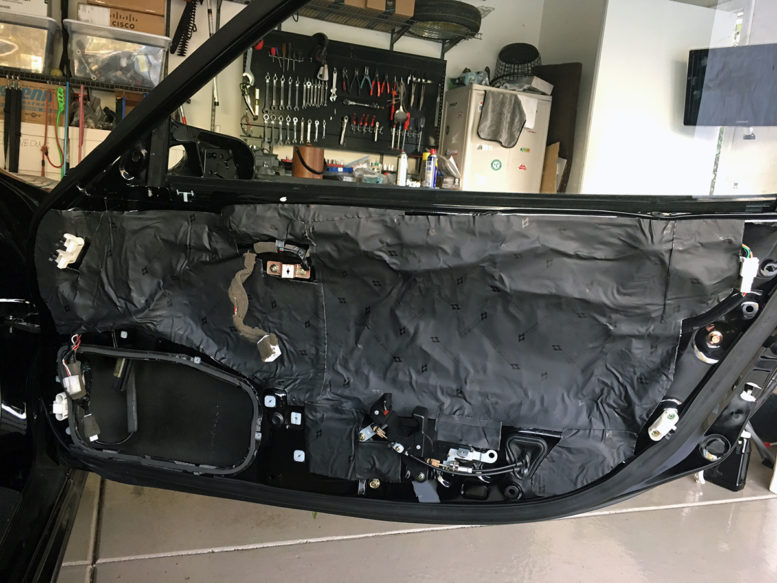
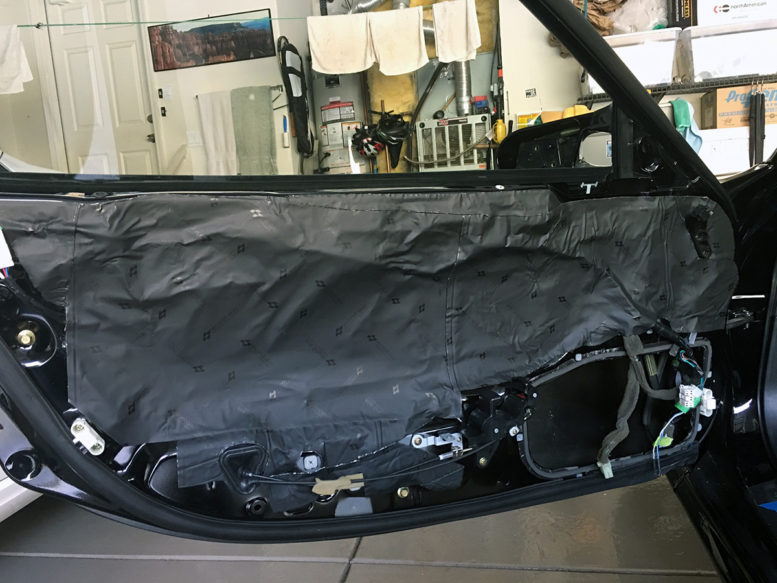
For the front doors, I sealed them up with Second Skin sound deadening in an effort to improve midbass performance. All open holes aside from the ones that the door cards attach to were closed up. This should also give the doors a more solid feeling when closing, hopefully.
Before…
…After.
I still have to install the front speakers and hook them up, which I will get to next.

How did the sound deadening go? Considering doing this to my miata.