The goal of everything that I’m doing during this Winter round of modifications is to pursue what I’ve always wanted, with no compromise. The RX-7 allocates a substantial amount of realistic to these plastic panels. If I want to elevate the materials game, those panels will serve as the starting point. My conclusion is that while they can look good when painted or refinished, they are still plastic through that layer of color.
And the truth is, I was never fully content with the textured grey that was most recently done. The shade just wasn’t right. Under indirect lighting or shade, the grey had a decent hue to it; however, under light, the hue was too blown out and reminiscent of primer. I wanted to try and achieve the Spirit-R OEM grey finish, but fell short. I knew I wouldn’t be happy with this deficiency lingering in my mind, so the only way to rectify it was to rip everything out and redo it.
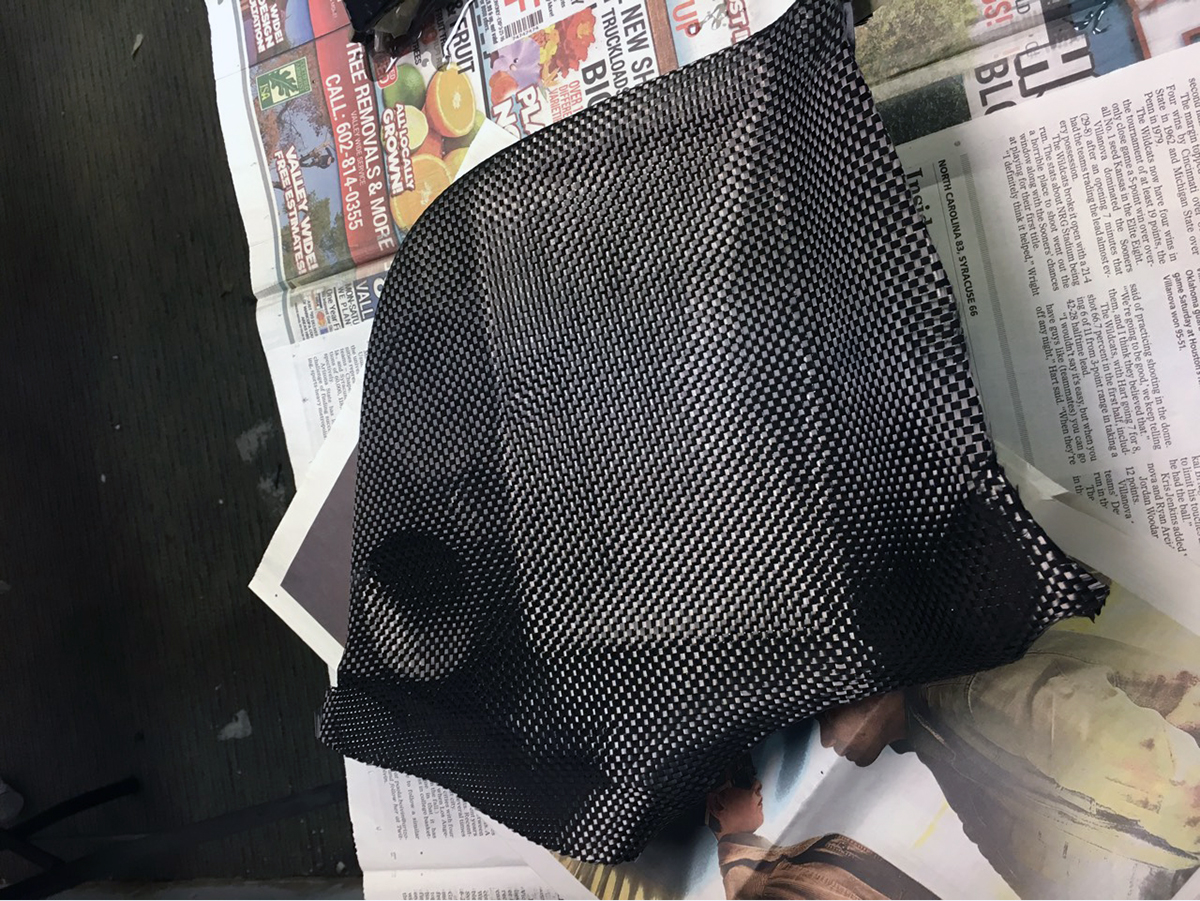
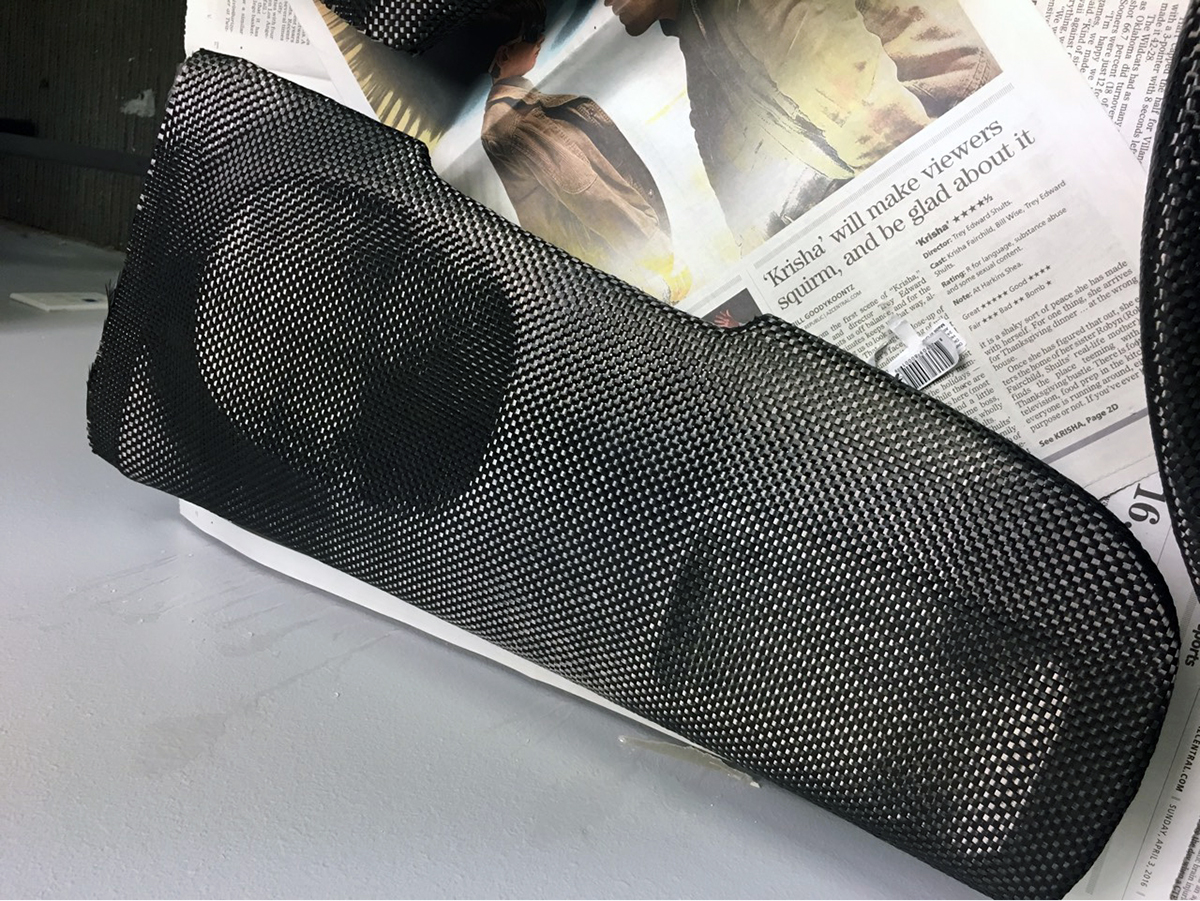
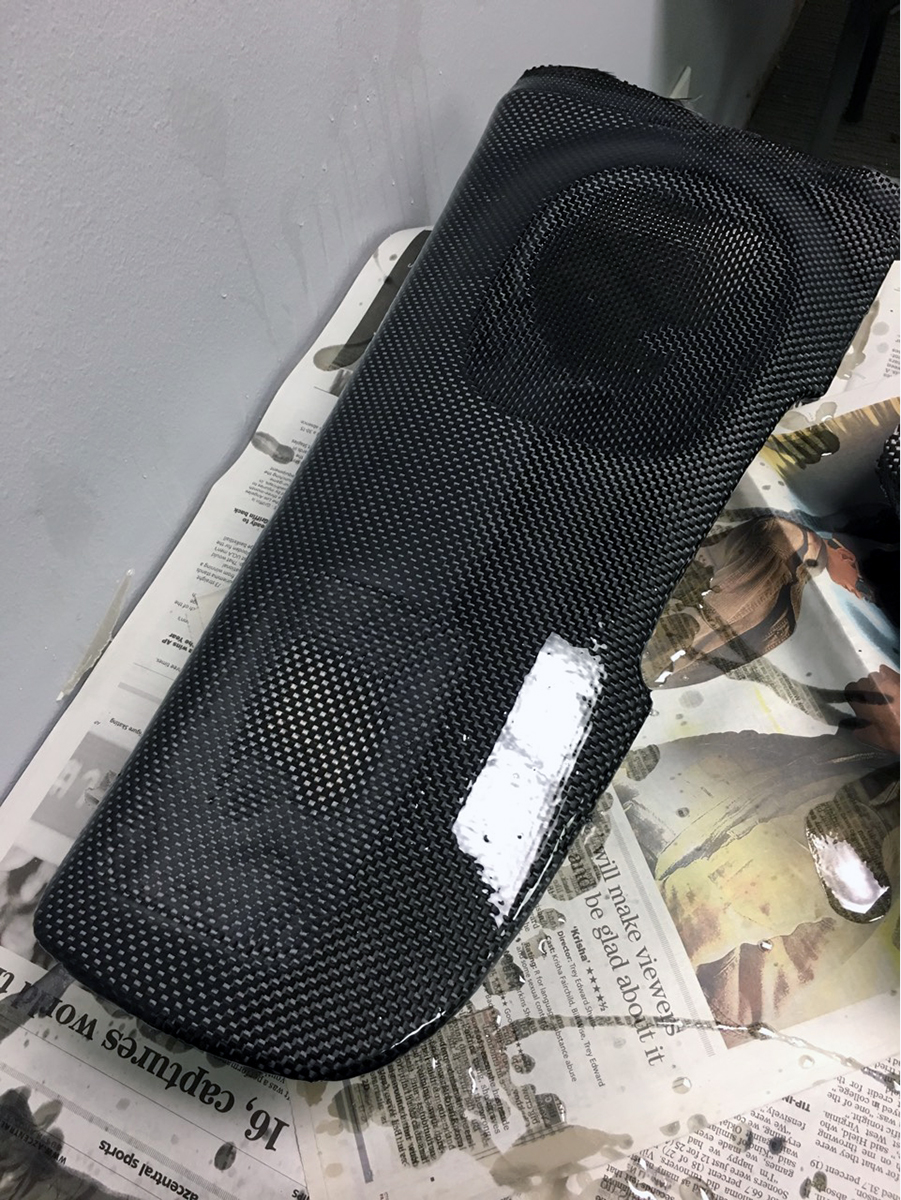
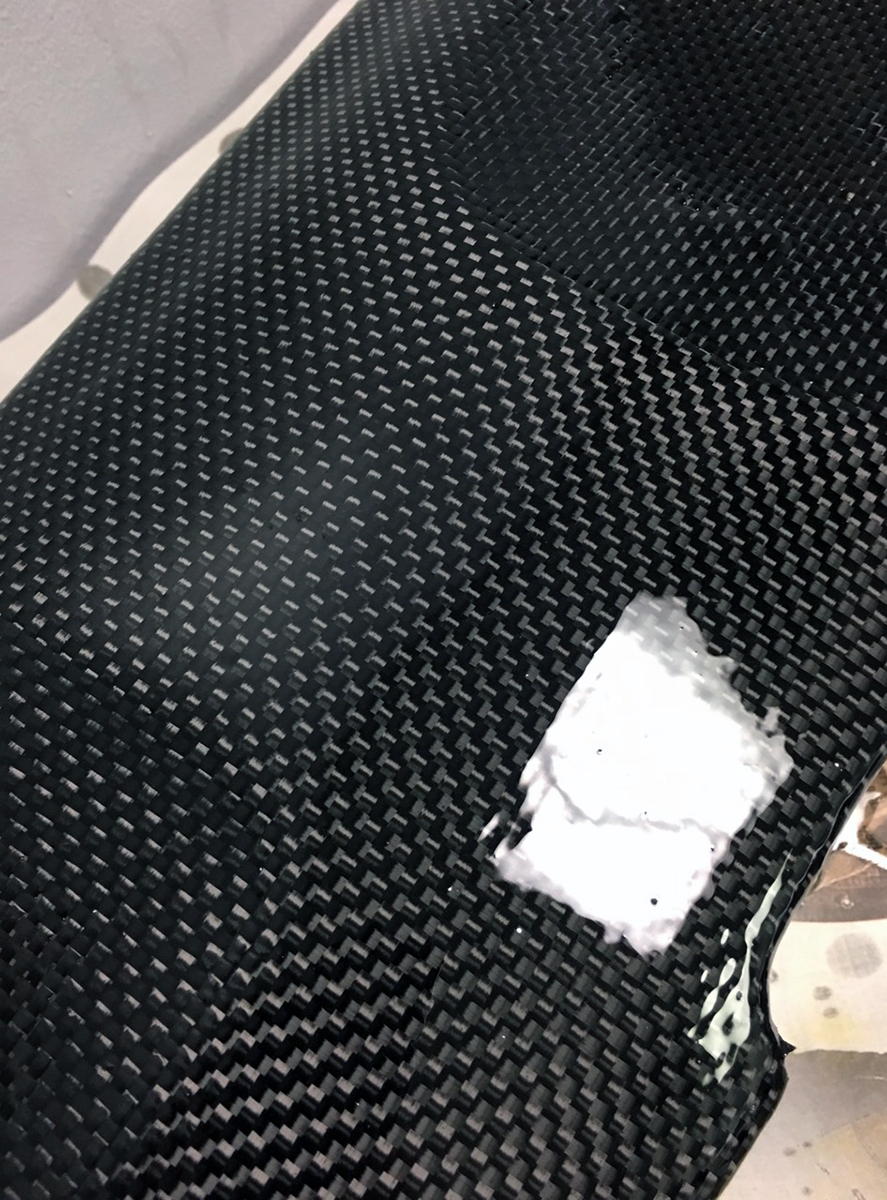
Going back to motif of no holds barred, one of the things I’ve always wanted is a full carbon fiber set of interior trim panels. I decided to send everything to oCarbon in Arizona, makers of fine carbon fiber products since 2004. They primarily specialize with German brand interior trim, but intend on stepping into the Japanese market and actually did a set for an RX-7 in the past. From the words of oCarbon, they use the best epoxies with minimal shrink to help combat shrinkage in the carbon fiber from temperature changes and UV inhibitors and high solids clear coat to protect against fading.
There is no substitute for real carbon fiber. Doing carbon-look vinyl wraps is popular and easier, but the rich depth and texture is lost and inimitable. There are also a number of vendors now that offer relatively cheap carbon fiber trim panel replacements, but going this route wasn’t even on my radar. The manufacturing process for these pieces is rudimentary and they are known for poor fitment. The only way is the hard way… to take my already blanked and shaved OEM trim panels and have them overlaid with real carbon fiber. It’s more expensive and double the work, but at the end of the day, ensuring OEM fitment is paramount.
I chose 1×1 plain weave carbon fiber for this project, albeit the majority of people pick twill.
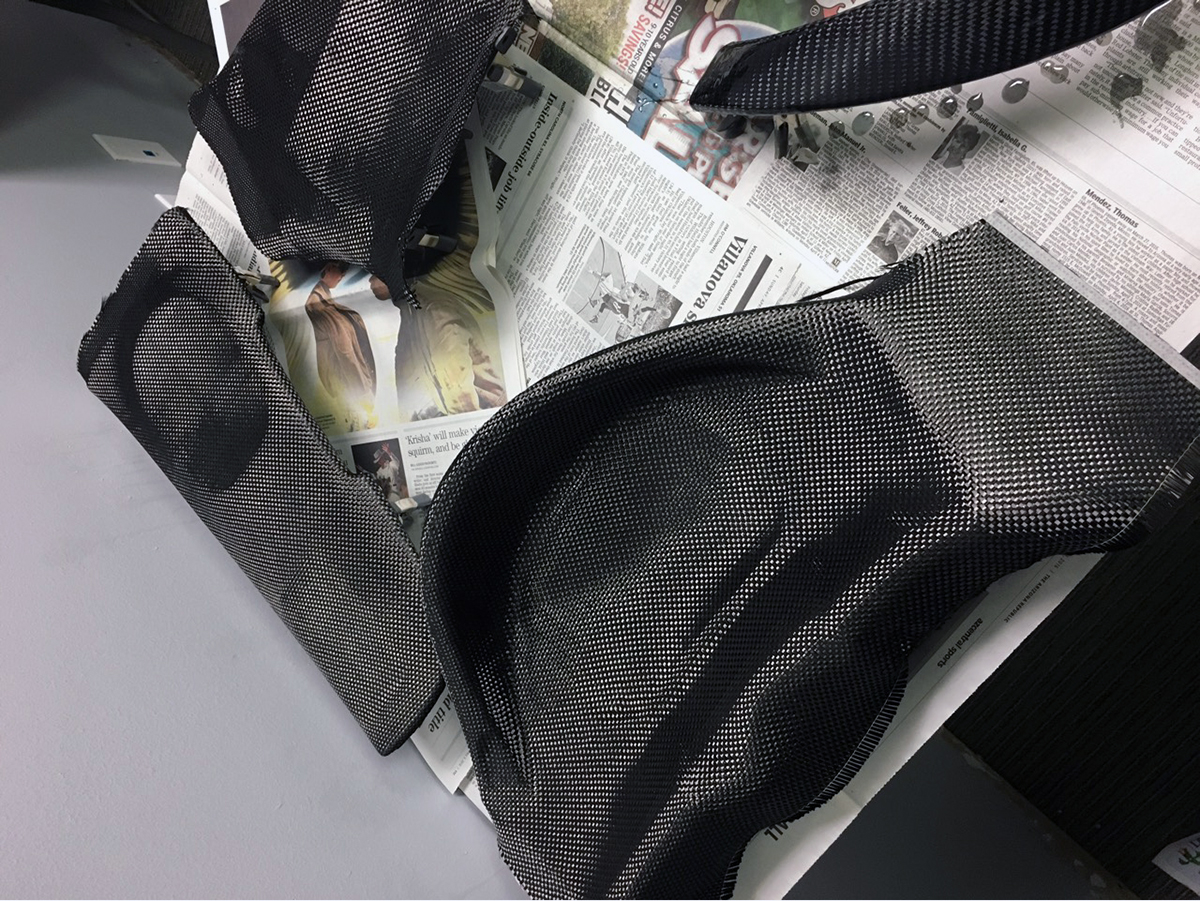
Here is what the pieces look like after an oven baking process, with many more rounds to come.
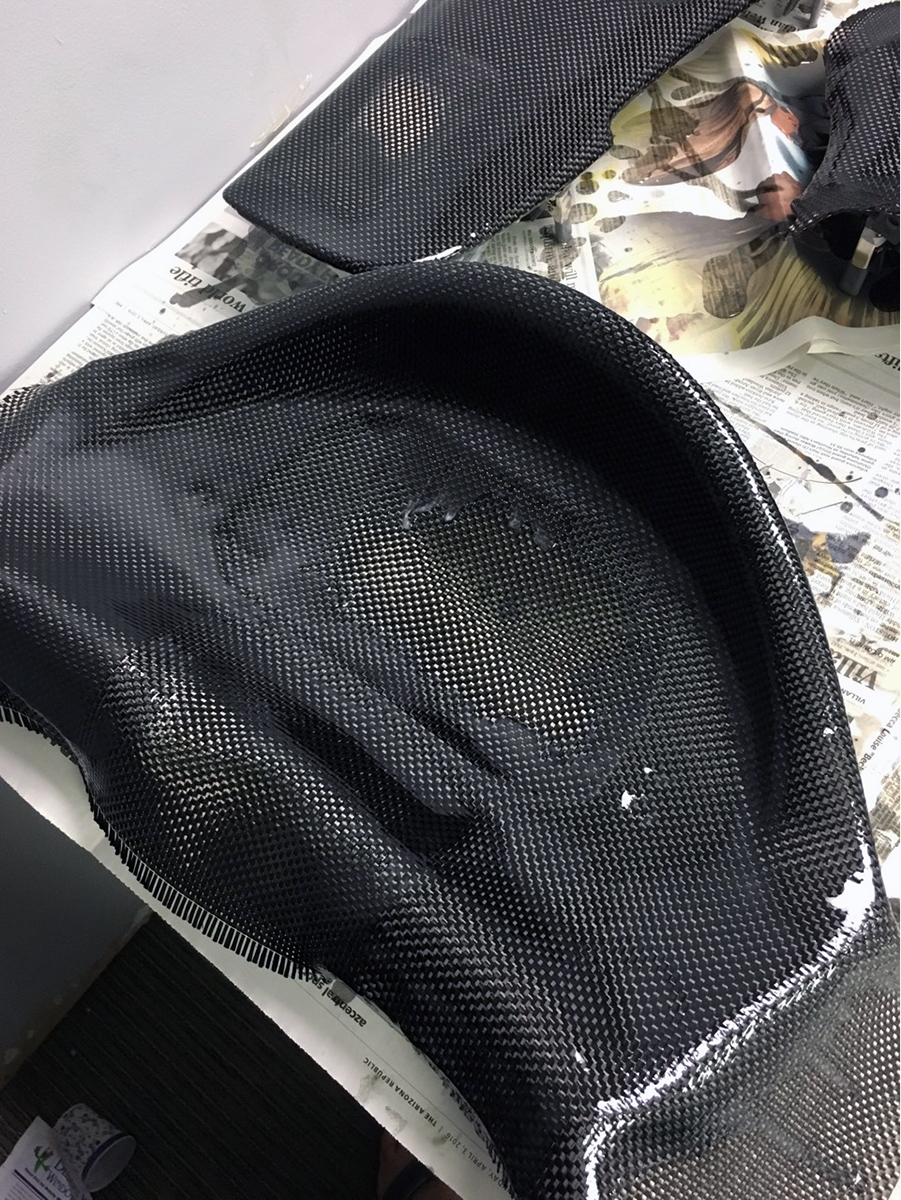
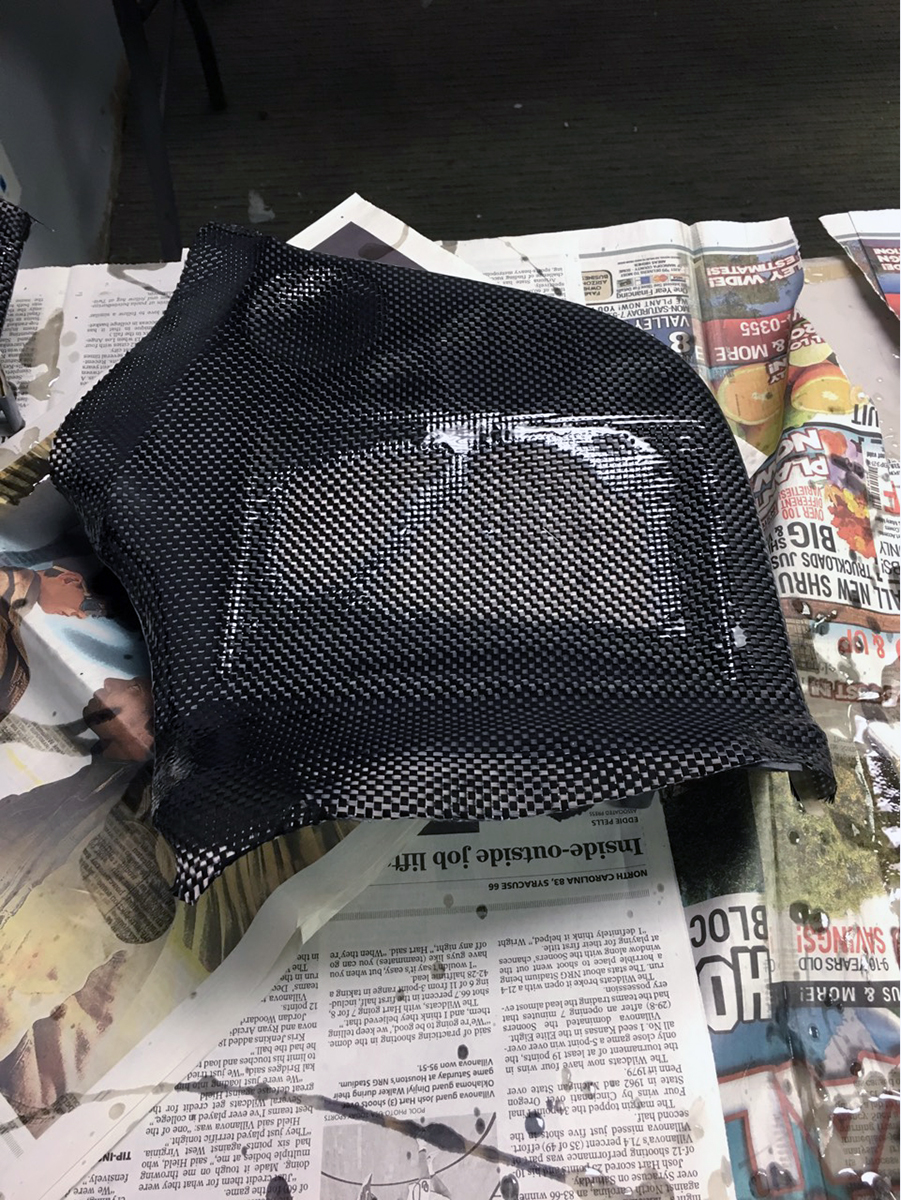
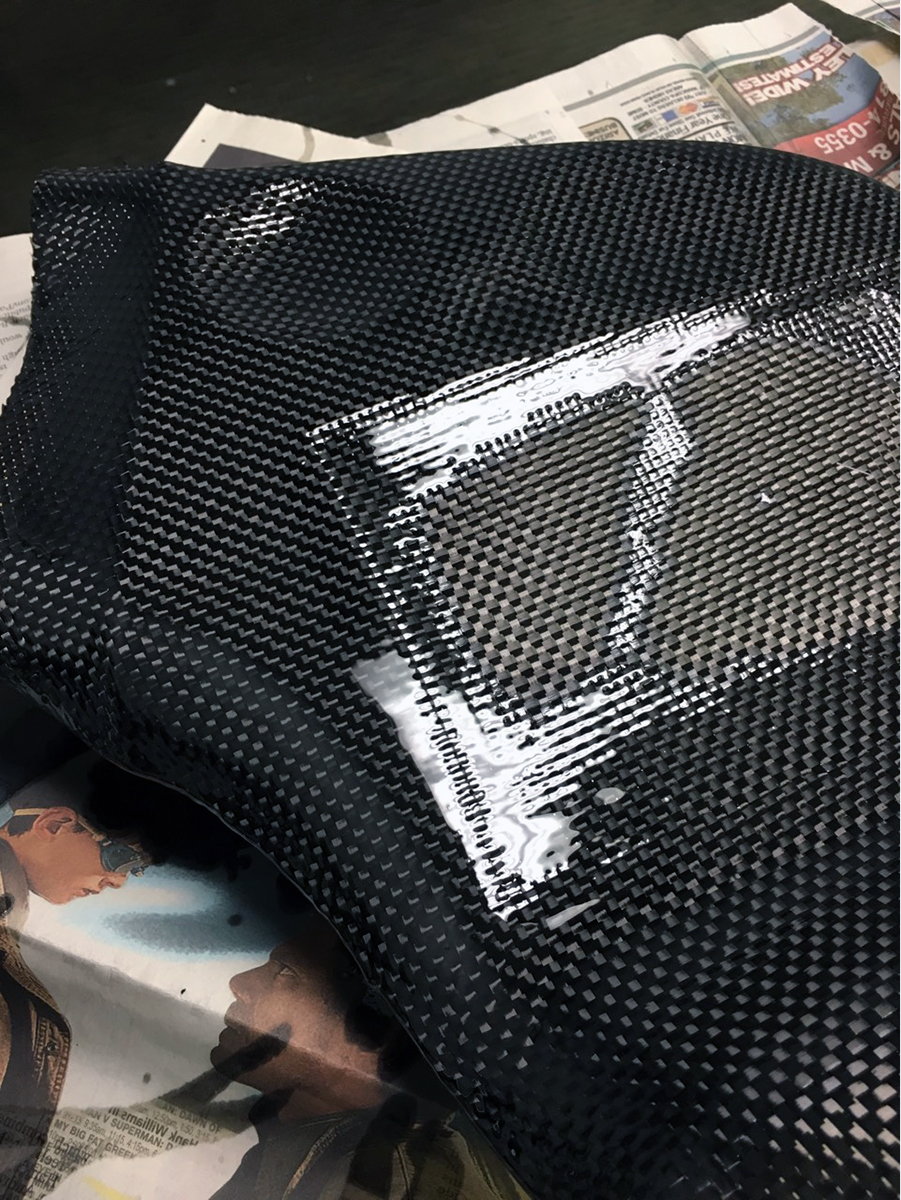
Baking the parts increases their tG (coefficient of thermal expansion) which also help thwart against the aforementioned shrinkage that can occur with carbon products.
I’m having the 2 door trim pieces done as well, but am still waiting on their pictures and updates. I sent everything to oCarbon around early-mid October, so fingers crossed on the results and timing! I will continue to update as I receive more information.