While I was kicking goals and tackling the wiring work and performing other bug fixes, I admittedly overlooked and excluded 2 items that should have been on the list: optimizing the radiator hoses and fixing the back up lights. I guess I just needed a break and to drive the car for a bit, but it is with certainty that those items would be addressed. In actuality, I wanted to consolidate the workload and wait for the next occasion I needed to have the car on jack stands before beginning.
During the night of Wekfest, after leaving the convention center, I drove back home and went straight to work lifting the car into the air and removed the wheels. I had sold the Advan RS/RZs so I needed to get the tires dismounted and the wheels packaged and shipped to the buyer. More on this in the upcoming post.
People have asked me how I have time to work on my car and probably assume I have too much free time or no life. They are even baffled at the fact that I can maintain this website. The truth is, my schedule these days is always packed. For example, I’m writing part of this post at 1AM on a Monday night, and will finish it in intervals the next day. I can’t remember the last time I had a dull, idle moment or even the opportunity to watch TV. I do what needs to be done by being efficient and stressing the importance of time and its management, but that’s what it’s all about. I yearn for economic freedom not so I don’t have to work anymore, but rather so I can commit to stuff I really want to do.
I dedicated last Saturday to finally get the last of the bug fixes and minor annoyances resolved and out of the way. I drove up and got started at around 11:30AM. I skipped eating lunch and worked nonstop until 9PM that night, which also included mounting the new wheels and dropping the car back down to the ground. Since the car is no longer a short walk out to the garage away, I don’t have the luxury of working leisurely… I had to push and get it done in one day.
Finding the right hoses for the radiator didn’t quite formulate during the swap. The top hose was spliced with a metal tube and 2 90* rubber elbows. I wanted to remove the splicing and have it all one hose to reduce the number of connections and clamps. The bottom radiator hose was poorly kinked and the wrong shape. In preparation for this, I bought 2 off-the-shelf Gates hoses that should have been the right fit.
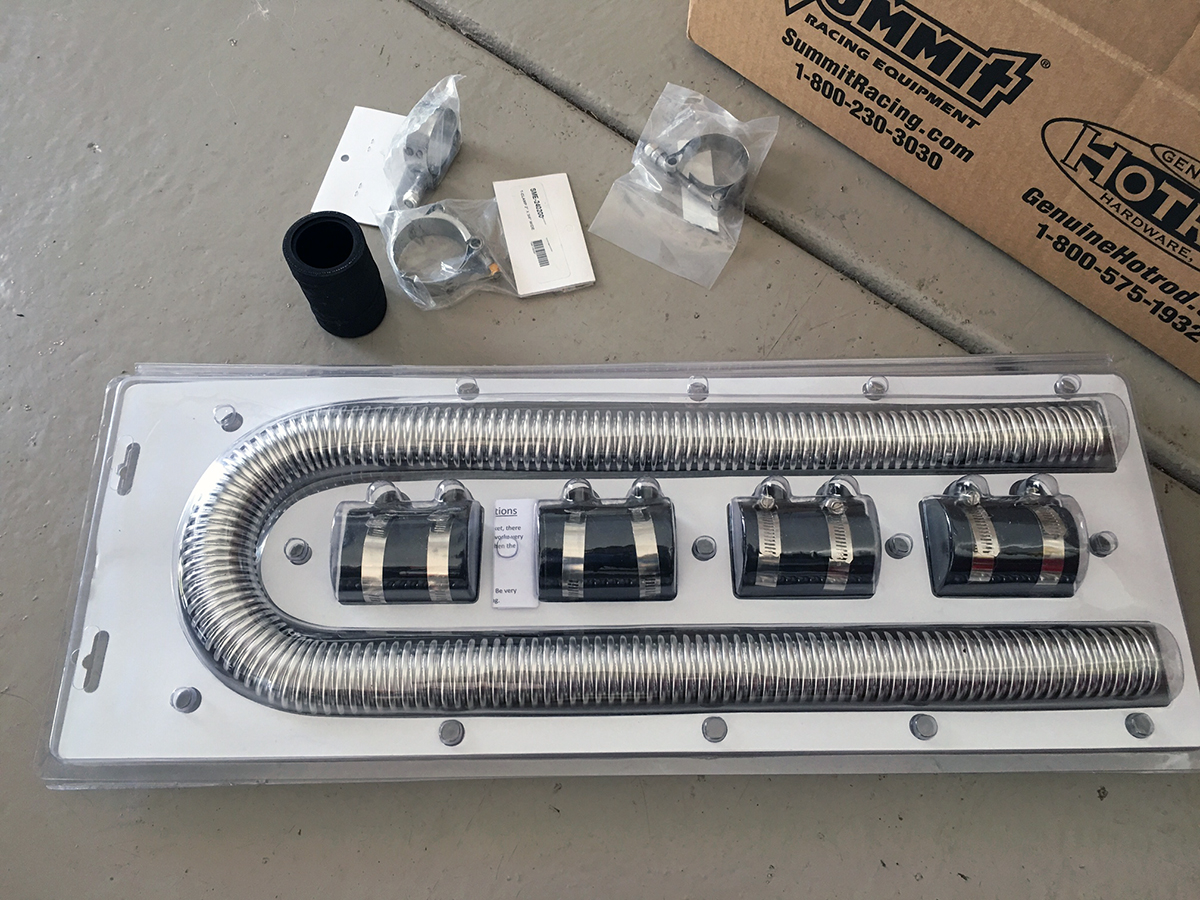
At the last minute, I decided to give the Summit flexible stainless steel radiator hose kit a try. They are a popular item and I thought the hot rodding look would be cool, but I soon abandoned that idea in favor of the correct-fit rubber hoses. The stainless steel piping felt cheap and gimmicky, and the fact that you have to double clamp/splice it with the end couplers contradicted my original intentions. If I wanted steel piping, welding on AN fittings and running braided lines is the better way of executing.
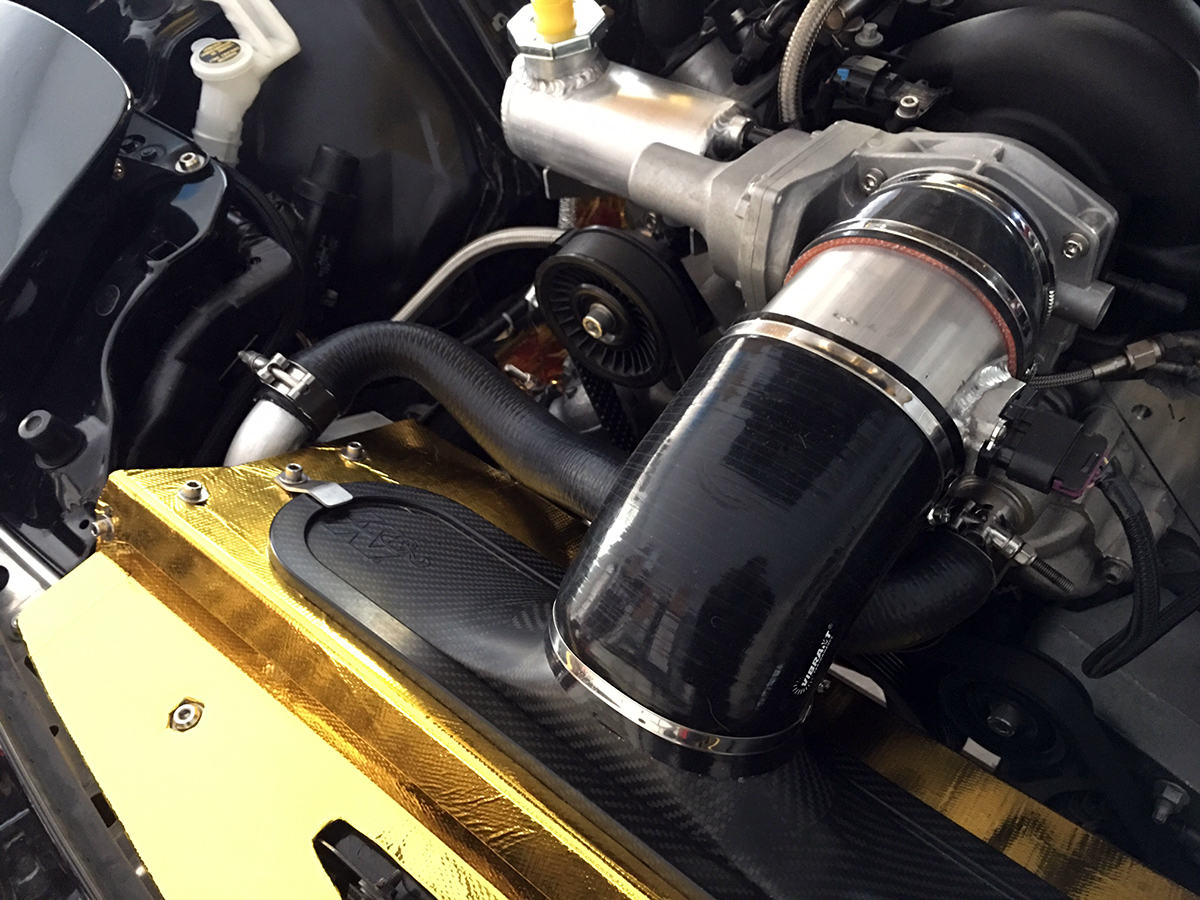
After scrapping the stainless steel kit and putting it back into the box, I pulled out the 2 rubber hoses I bought previously. The top hose fit great with a little trimming at the ends. It is now one clean line.
The bottom hose was tougher. The outlet on the water pump housing is larger than the radiator outlet. I had to heat the end of the hose in order to stretch it on. Although I was able to push the hose on, it was apparent that the hose was simply too small in diameter and too stretched, which left a kink.
I went down to the local Pepboys to hunt for a better solution. After rummaging through their expansive collection of radiator hoses in the backroom, I was able to find one that was the right shape and size. All while the awkward cashier girl stood there blankly watching me sift through the shelves, for a good 15 minutes.
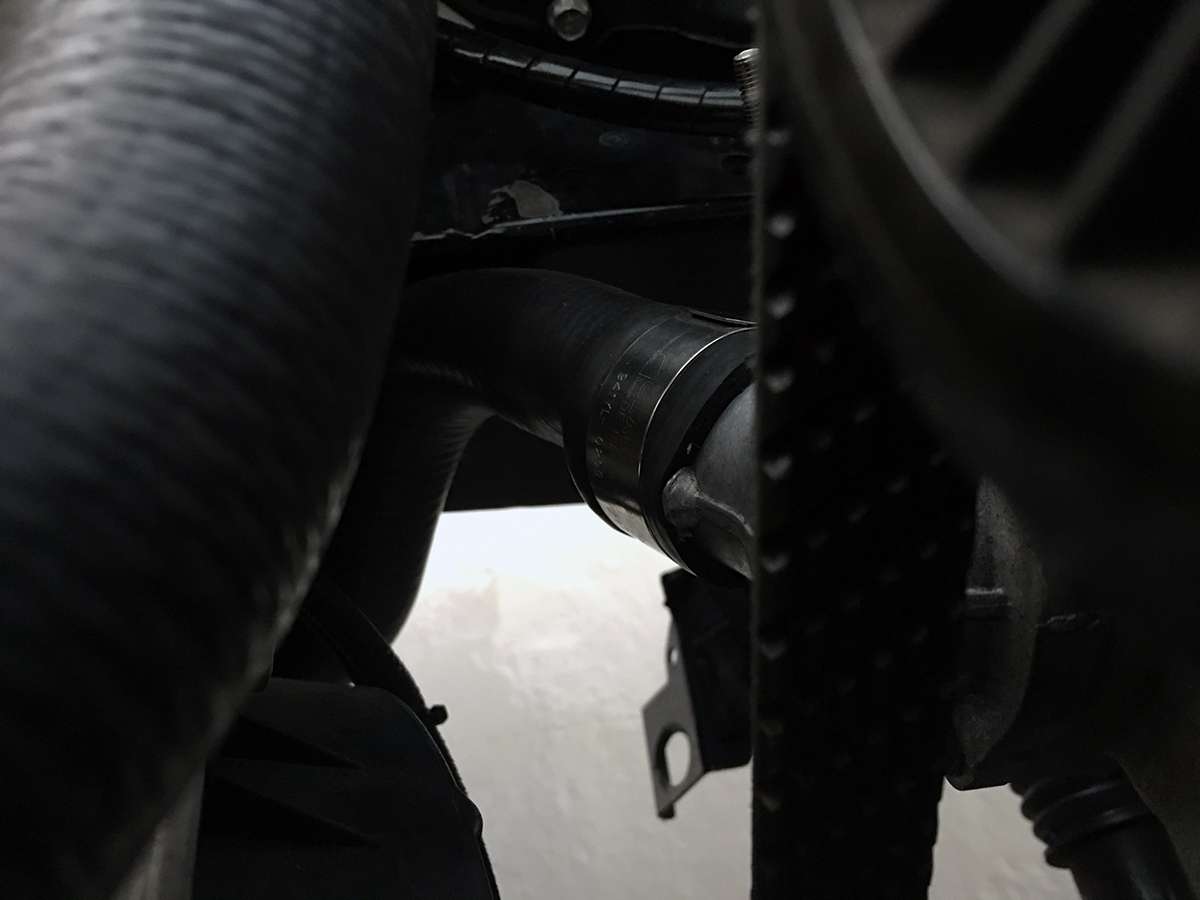
Bottom hose trimmed and installed:
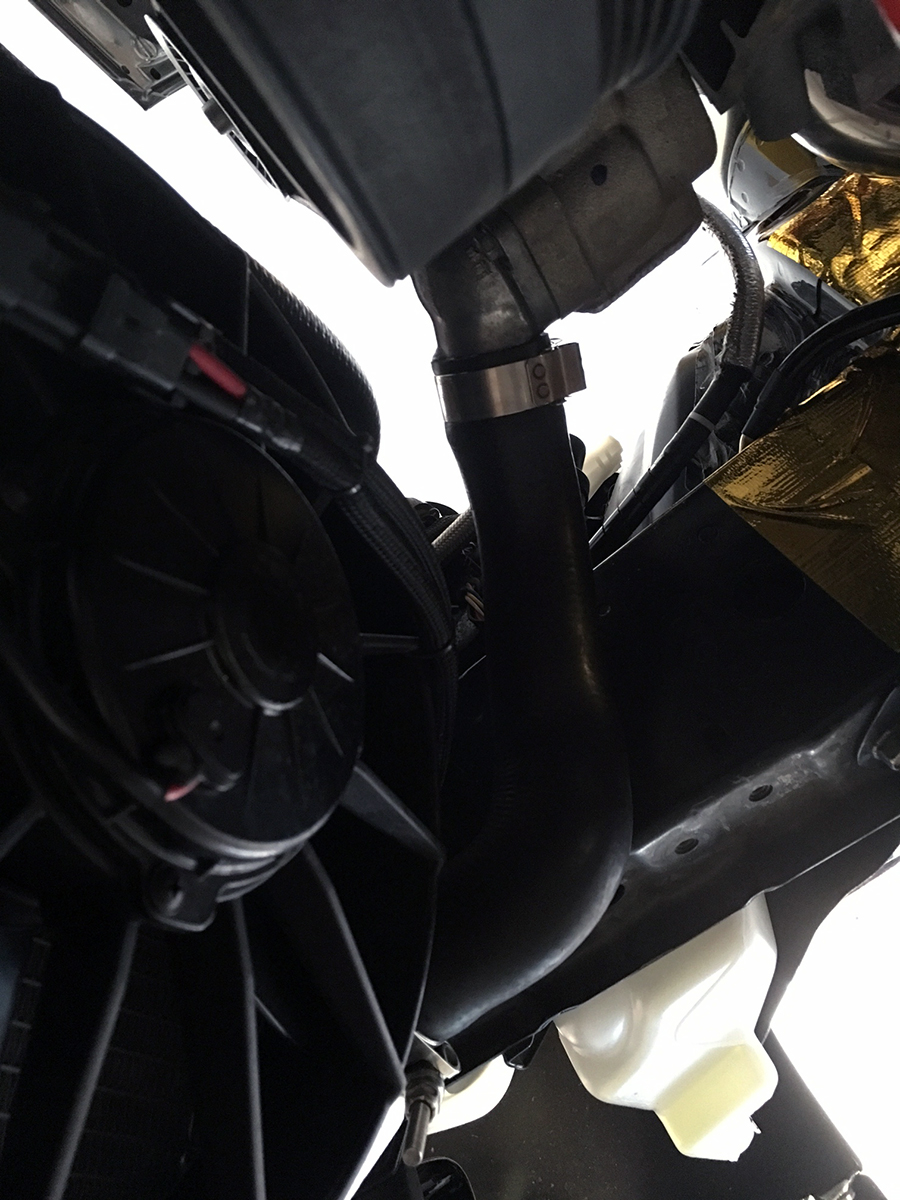
The fit and routing was great. I’m thankful I bought the stainless steel hose kit because its couplers came with various rubber adapters to fit different outlet diameters. Since I had to find a hose with a larger diameter to fit the water pump housing, I pilfered an adapter from the kit for the smaller radiator outlet.
Next up, the back up lights. Yes, all this time I never had working lights. The solution is to connect the reverse switch on the passenger side of the transmission to the chassis harness at the X-14 connector located near the firewall in the passenger side footwell. I bought a new GM reverse switch connector and then contacted a rotary shop in L.A. to send me the X-14 harness. The latter was part of the old 13B’s engine harness, which is why I had to get crafty and source another one.
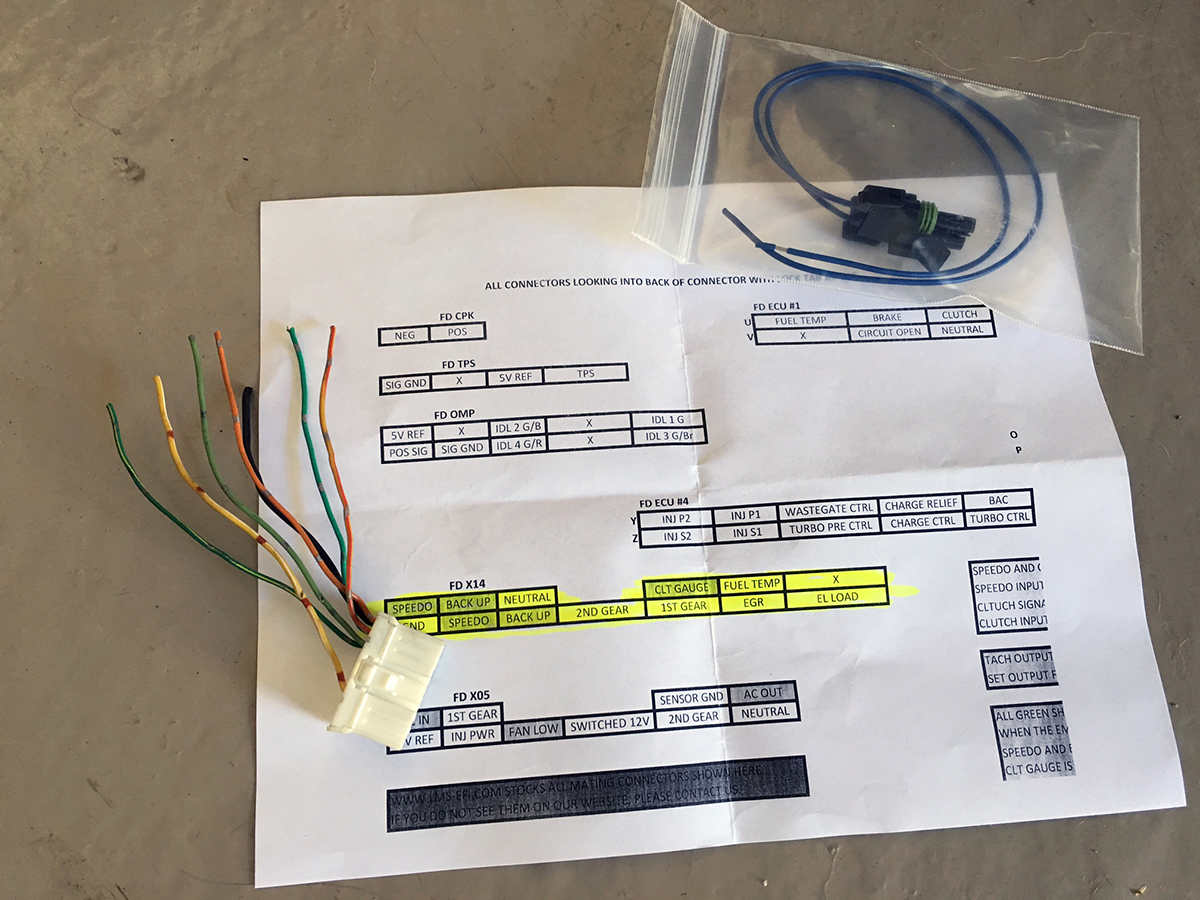
Only 2 wires are needed so I depinned everything in the X-14 connector except for the back up lights, the other slots were superfluous.
Making the splice and extending the wires.
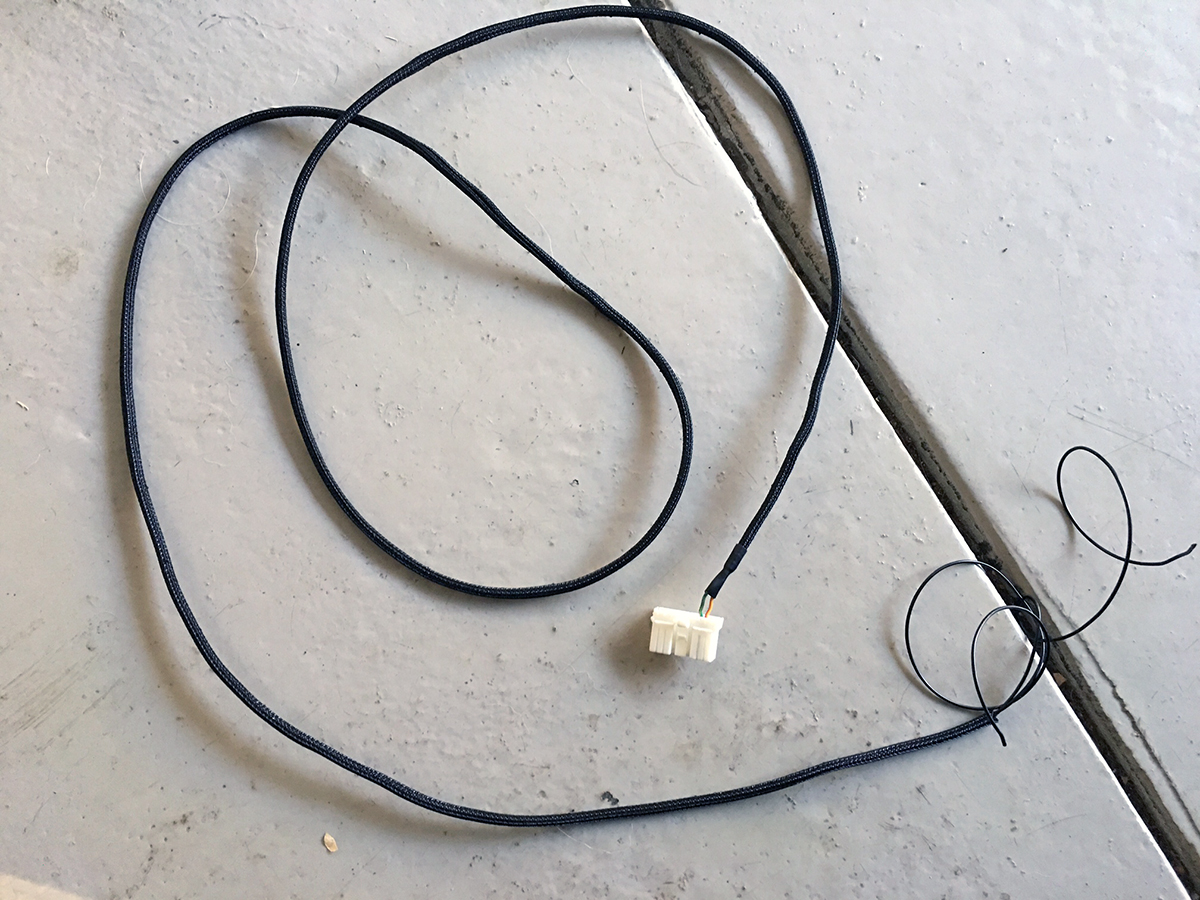
I routed the wiring from inside of the cabin out to the engine bay and then down past the starter to reach the transmission. Since this area was in close vicinity to the headers, I had to make sure that the length of the wiring was exact so there would be no slop.
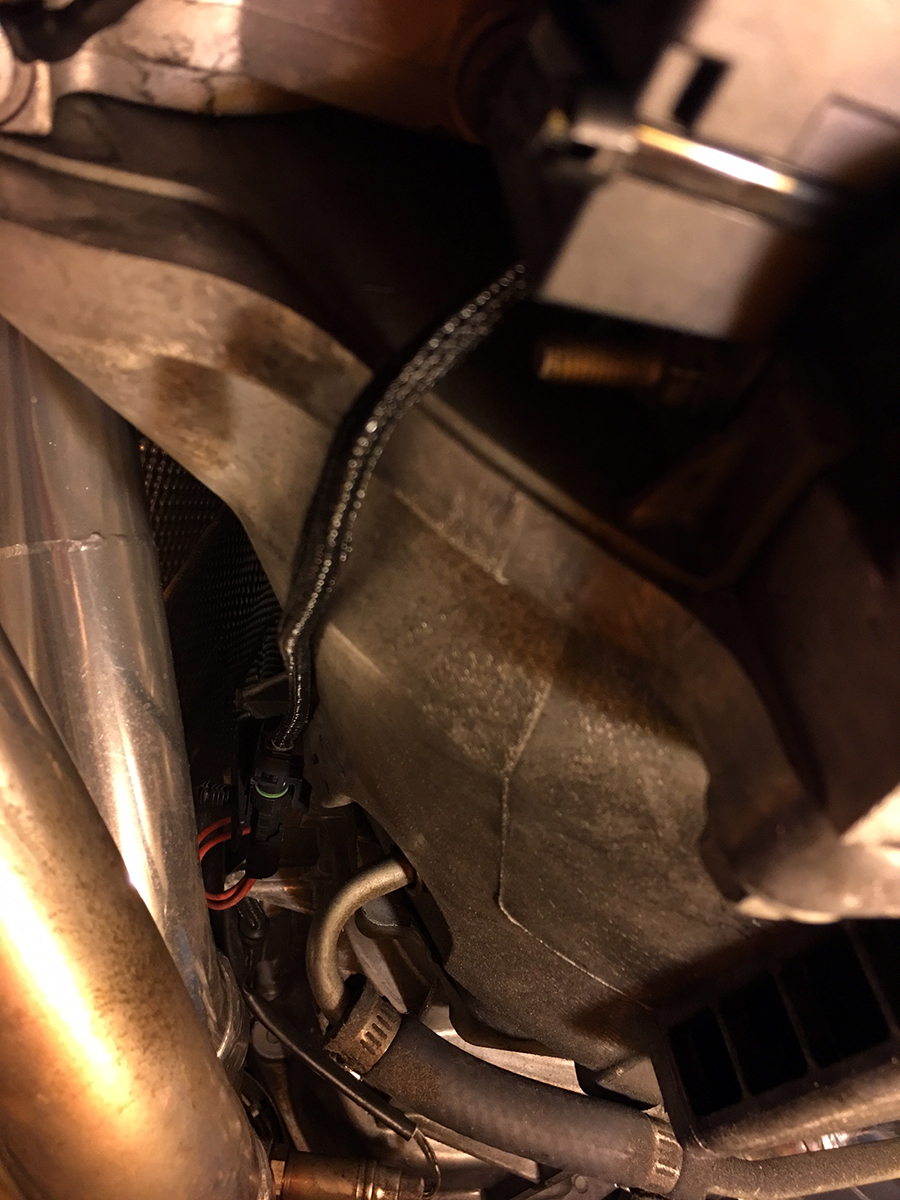
I then soldered on the GM transmission connector, plugged it in, and BINGO BABY – working back up lights!
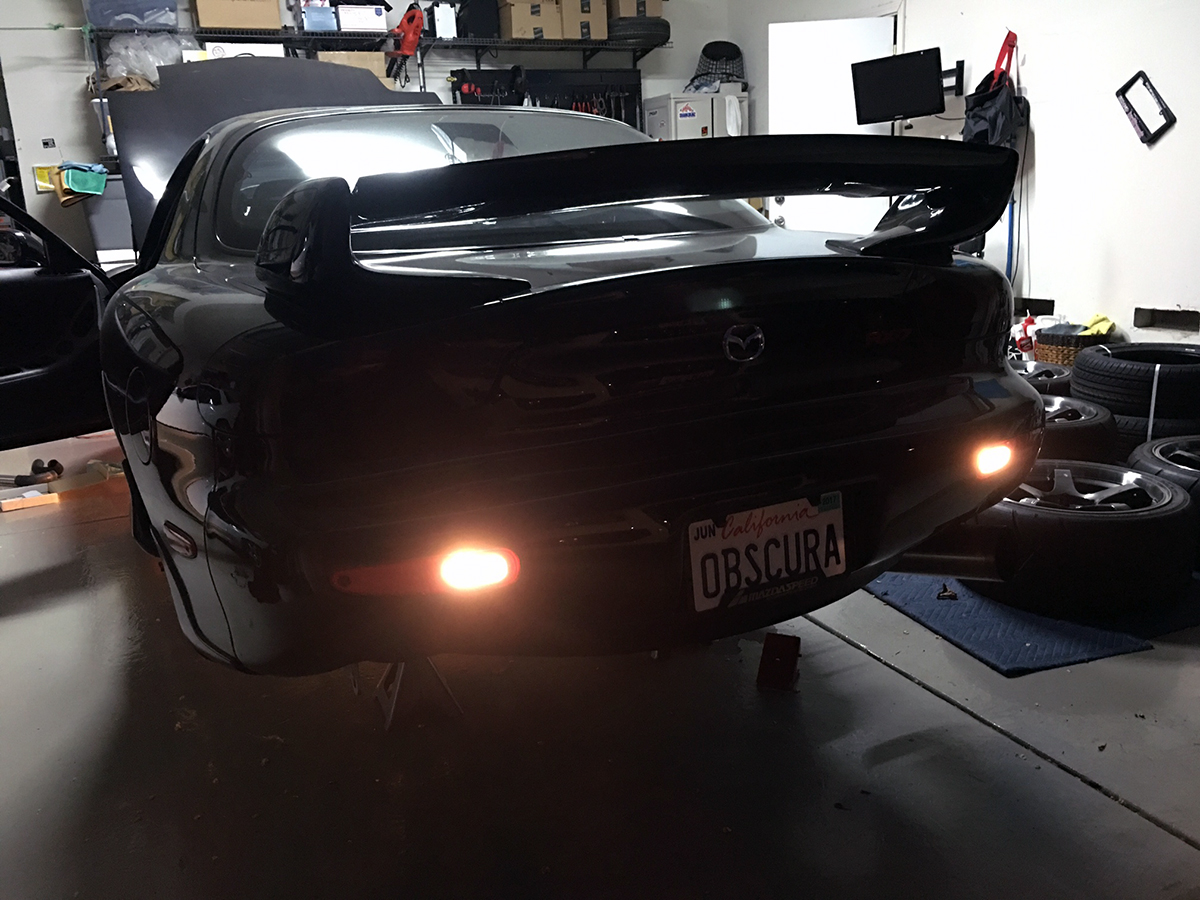
It is great to finally check off the last of the small bug fixes that have been lingering for so long. The car feels that much more wholesome and complete now.