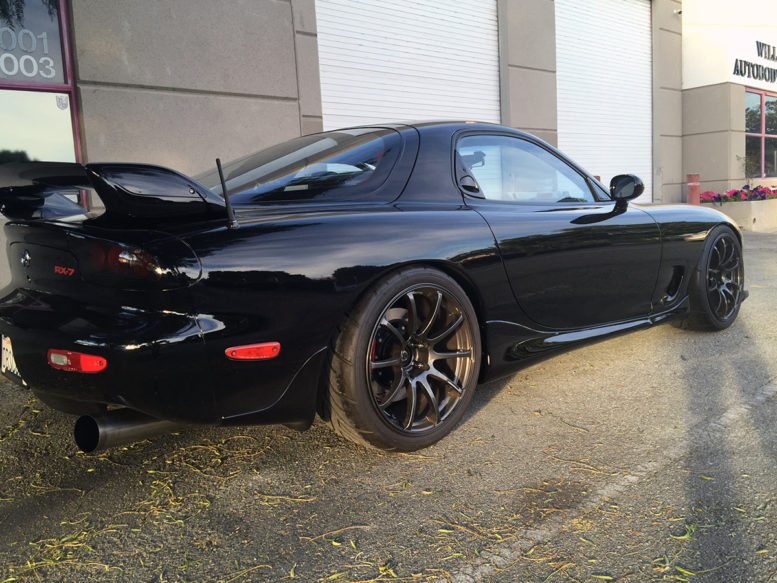
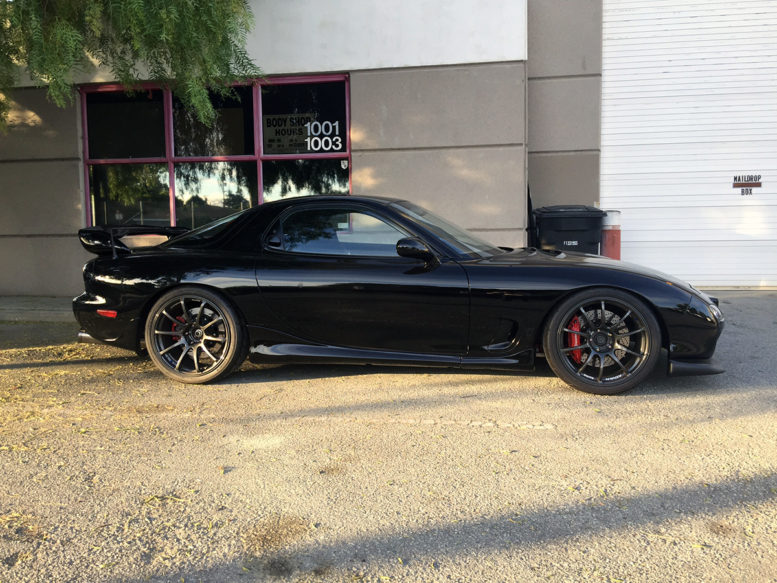
Over the course of these years, I’ve remained steadfast and withheld from adding on sideskirts. I wanted to prioritize the simplicity and natural design of the RX-7. Instead, I opted to run front and rear mudflaps, which I think are cool, somewhat ironic items for a sports car to have.
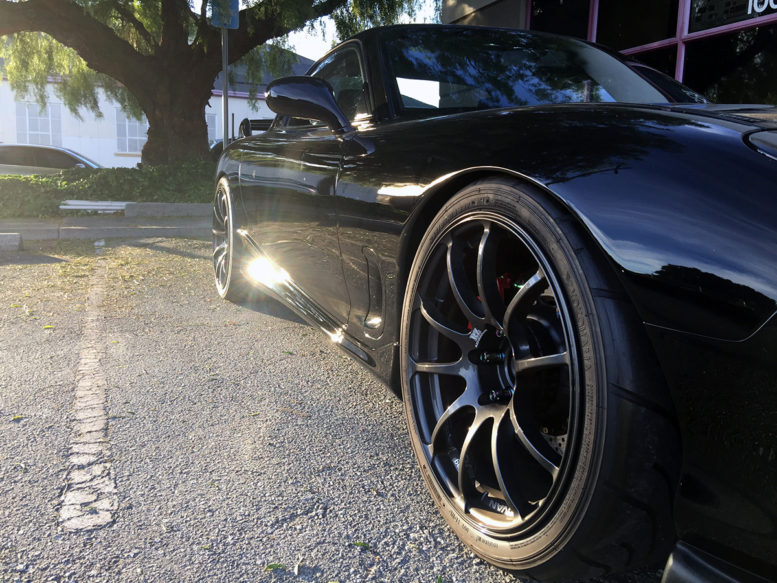
Recently, as I revisited the car’s exterior and stance by looking over it with a critical eye, I finally reached a breakthrough where I determined sideskirts are in fact necessary. The rockers of the body curve inward and tuck under and, from a side profile, the sills are exceedingly high off the ground because of this. Additionally, the car’s midsection is too narrow and lean. Even though the wheels fit great and the suspension has been lowered to zero finger gap, I always felt there was something slightly off – the fact that the car still looked relatively high, body-wise, even though it wasn’t.
The only sideskirts on the consideration list are the OEM ’99+s. This is another reason reason why I didn’t install them sooner – these OEM sideskirts are difficult to work with. In fact, I bought and then resold TWO previous sets of OEM ’99+ sideskirts between my first RX-7 and this one… both times, I ended up chickening out and couldn’t pull the trigger on having them painted and installed.
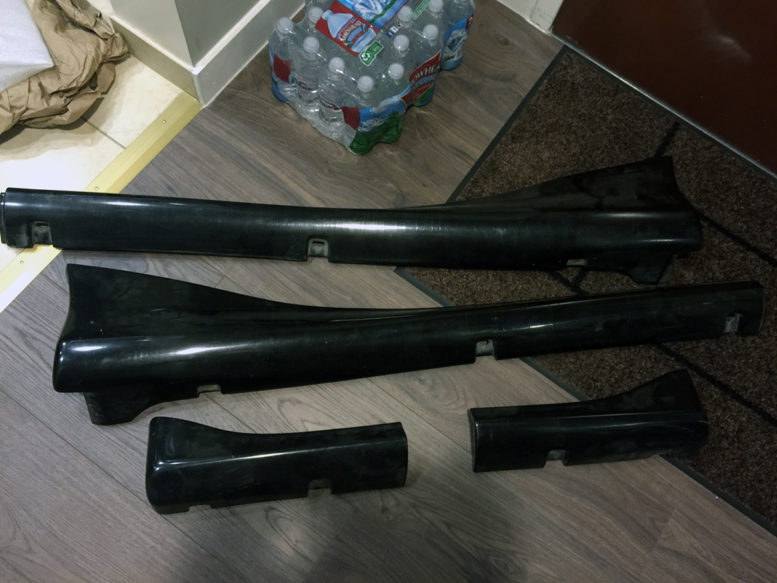
Fast forward to now, and of course the value of the sideskirts have gone up due to their increased scarcity. Luckily, I was contacted by a fellow RegaMaster aficionado, named Tommy, who sold me a clean set he had been storing at a fair price. They happened to be black too, but that didn’t really matter.
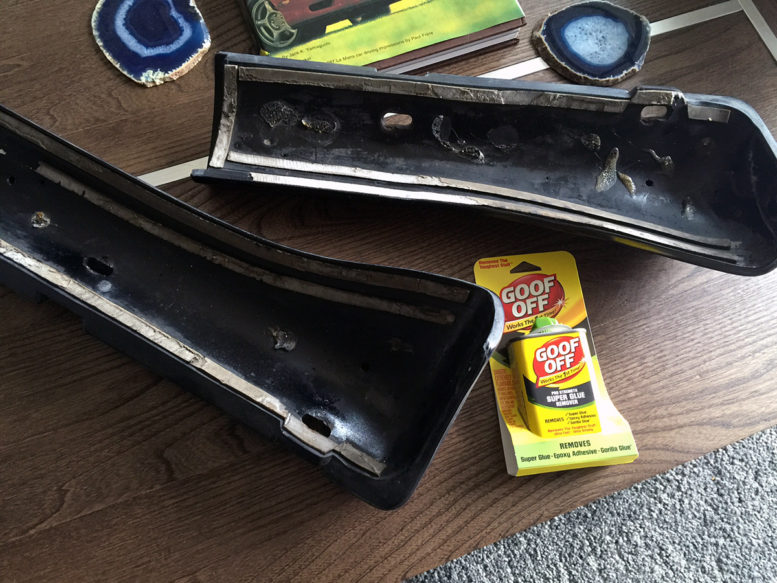
Clean as they may be, the flexible, spongey urethane material they’re constructed out of meant unavoidable paint cracks and lengthy prep work – regardless. Since these sideskirts can only be found on the used market, the first step is to remove all of the old double sided tape from the back, which alone is an arduous task.
After spending hours painstakingly scraping off all the tape with my fingernails and later with a drill-attached 3M Stripe Off Wheel, I called it quits and left the remainder of the work for William to handle.
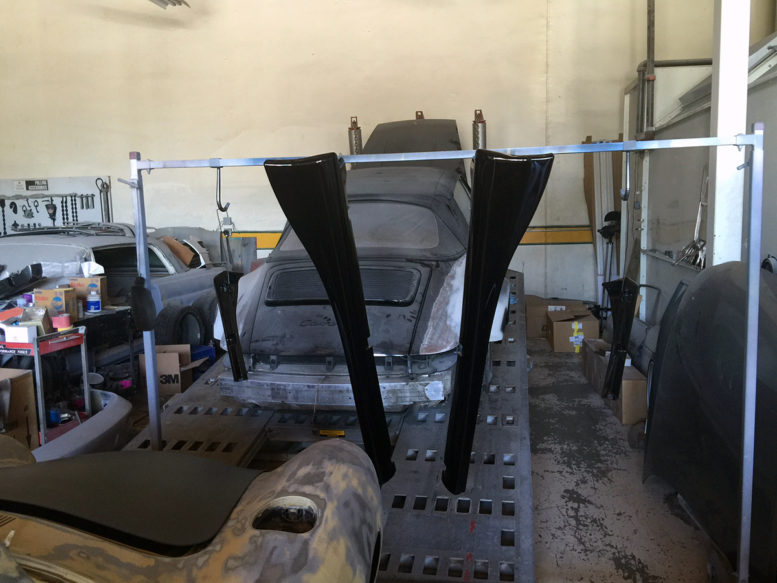
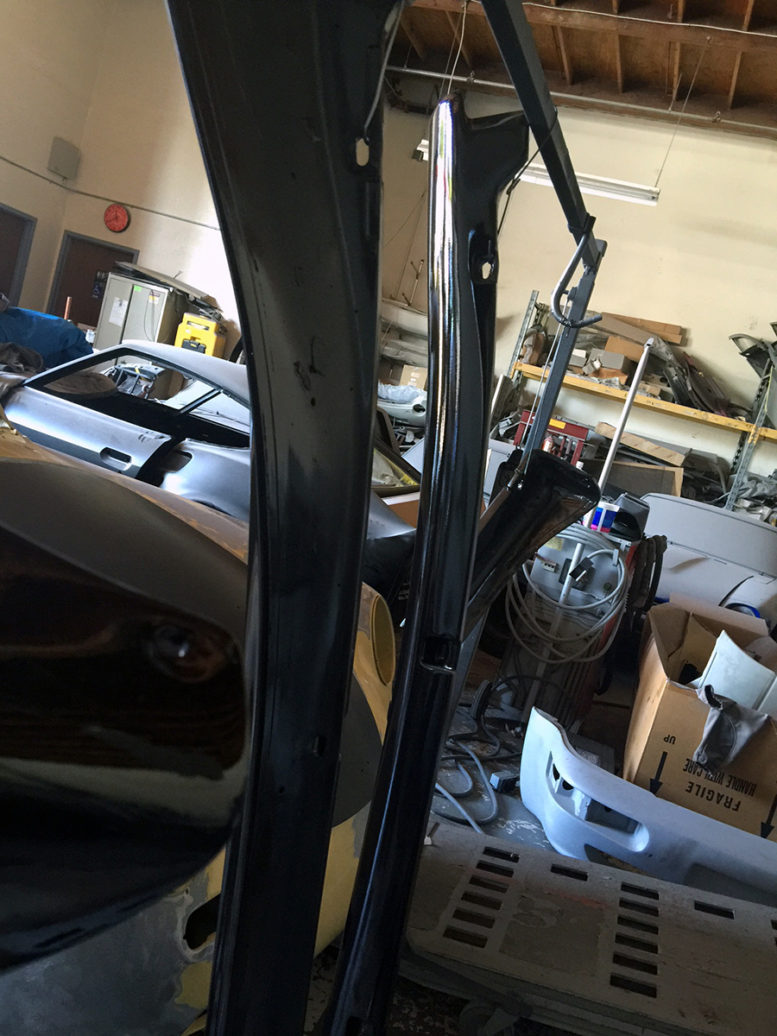
William also had to strip down the sideskirts down to the bare material so they could be primered from scratch. The prep process was difficult because the soft urethane heats up quickly and gums up the sanding discs, so the only way to take it down was to move slowly. And in order to give the paint more resistance from cracking due to their flexibility, generous amounts of adhesion promoter and flex agent needed to be used during the painting. Which equals added drying time in between coats.
Eventually after a few weeks, the sideskirts were fully prepped and painted, ready for the install.
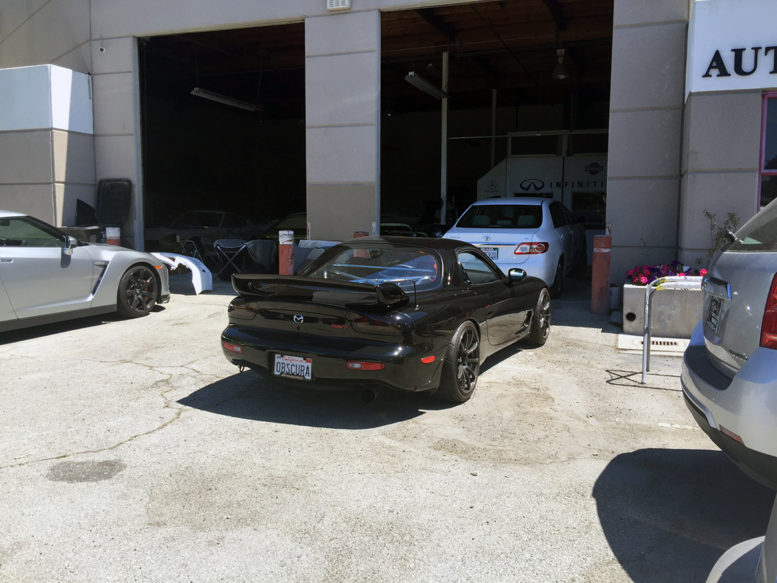
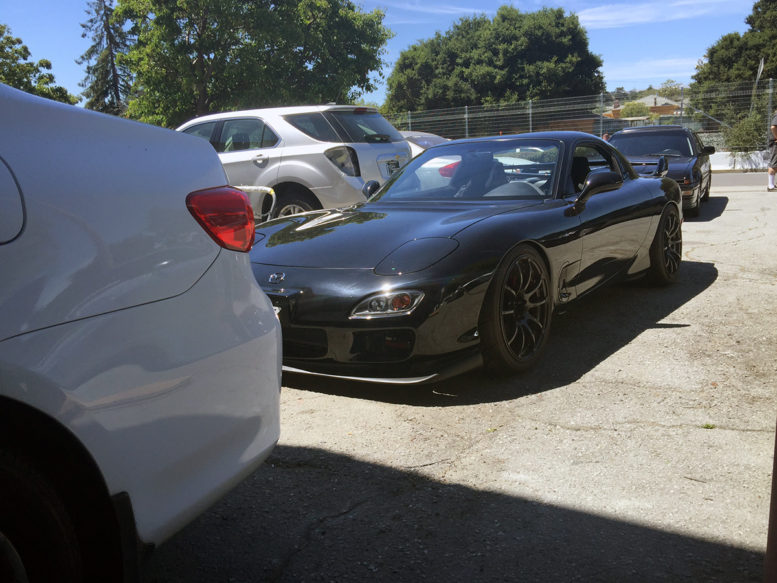
I drove my car over and let William handle the installation because I didn’t want to deal with having the sideskirts wobble around and risk incurring paint cracks. Some jobs are better left to the pros.
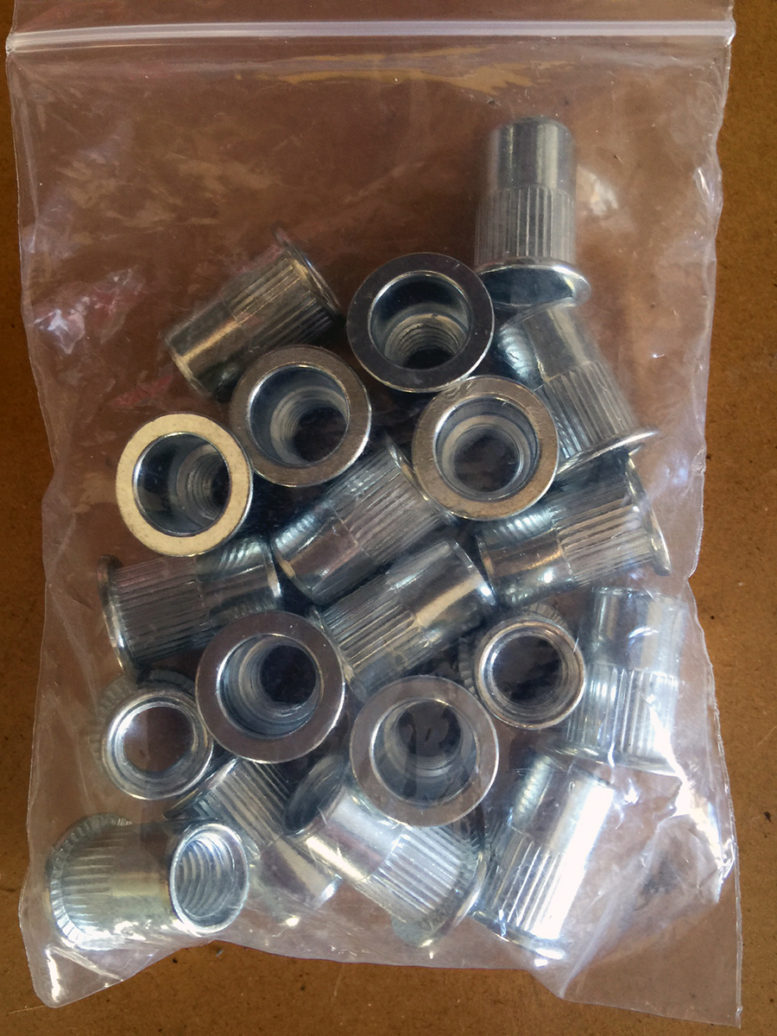
I gave William a set of M8 Stainless Steel Rivnuts with matching button head fasteners. There are mounting holes at the bottom that needed to be drilled into the car, and using these rivnuts will give a removable and clean approach. Since making sizable holes in the car was unavoidable, I wanted them done as OEM like as possible.
In addition to the bottom mounting points, multiple lines of double sided tape were used and silicone was added to the middle areas, just like factory. The OEM 99+ sideskirts have a fair amount of heft to them, which requires a through installation to compensate.
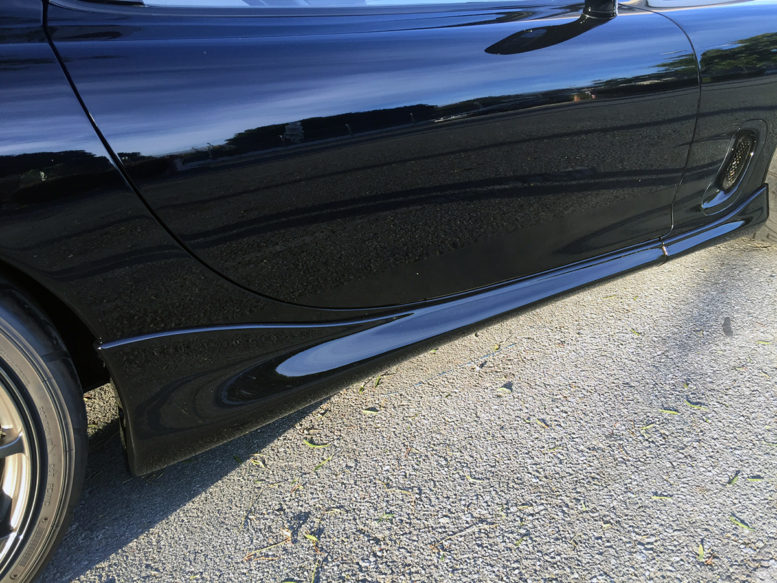
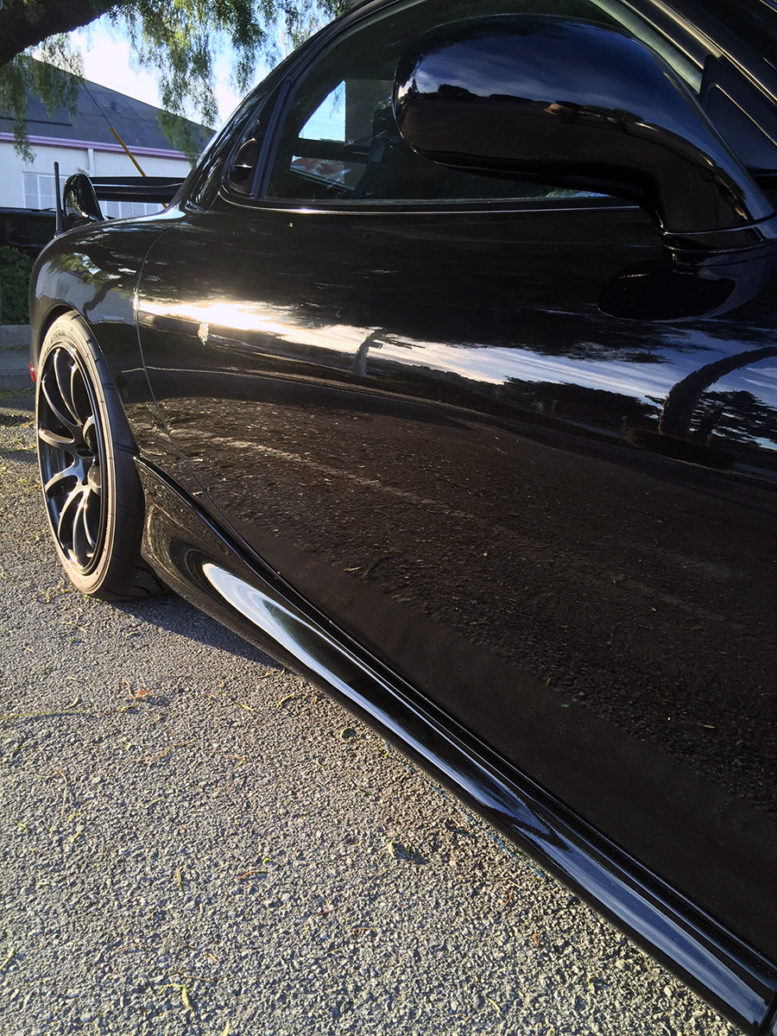
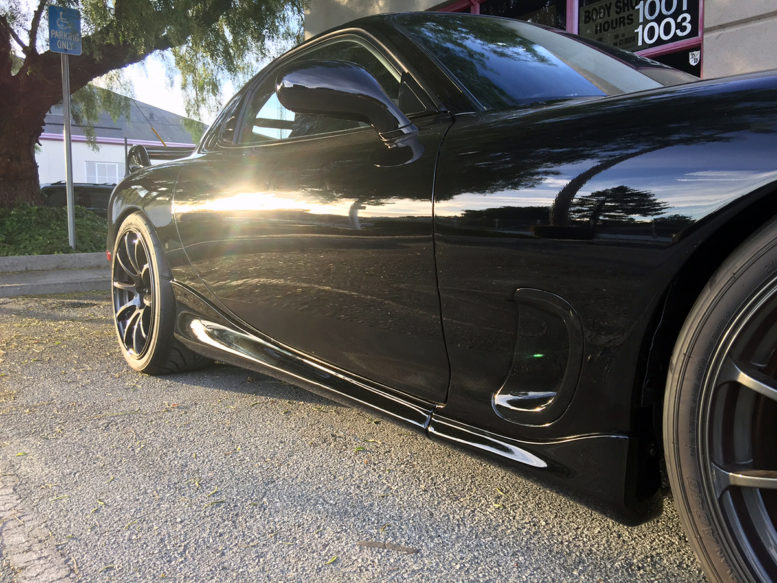
Once I saw them on the car, the immediate thought that crossed my mind was that I should have installed these the first time around! While the OEM urethane is a questionable material choice, the exceptional fitment cannot be denied.
Now, the car looks lower and wider and more “complete”. My favorite type of mods are the ones that make subtle yet impactful differences, and these sideskirts fit that category.

