I knew from the beginning that the AiM MXG dash would be the exemplary choice for my needs. However, as I started formulating through all the different demands to ensure a feature-rich final product, I realized that buying just the dash was a piece to a larger puzzle.
In the end, the list grew to encompass all of these additional components. I purchased everything from Matt Romanowski of TrailBrake.net, who has been great in fielding support questions.
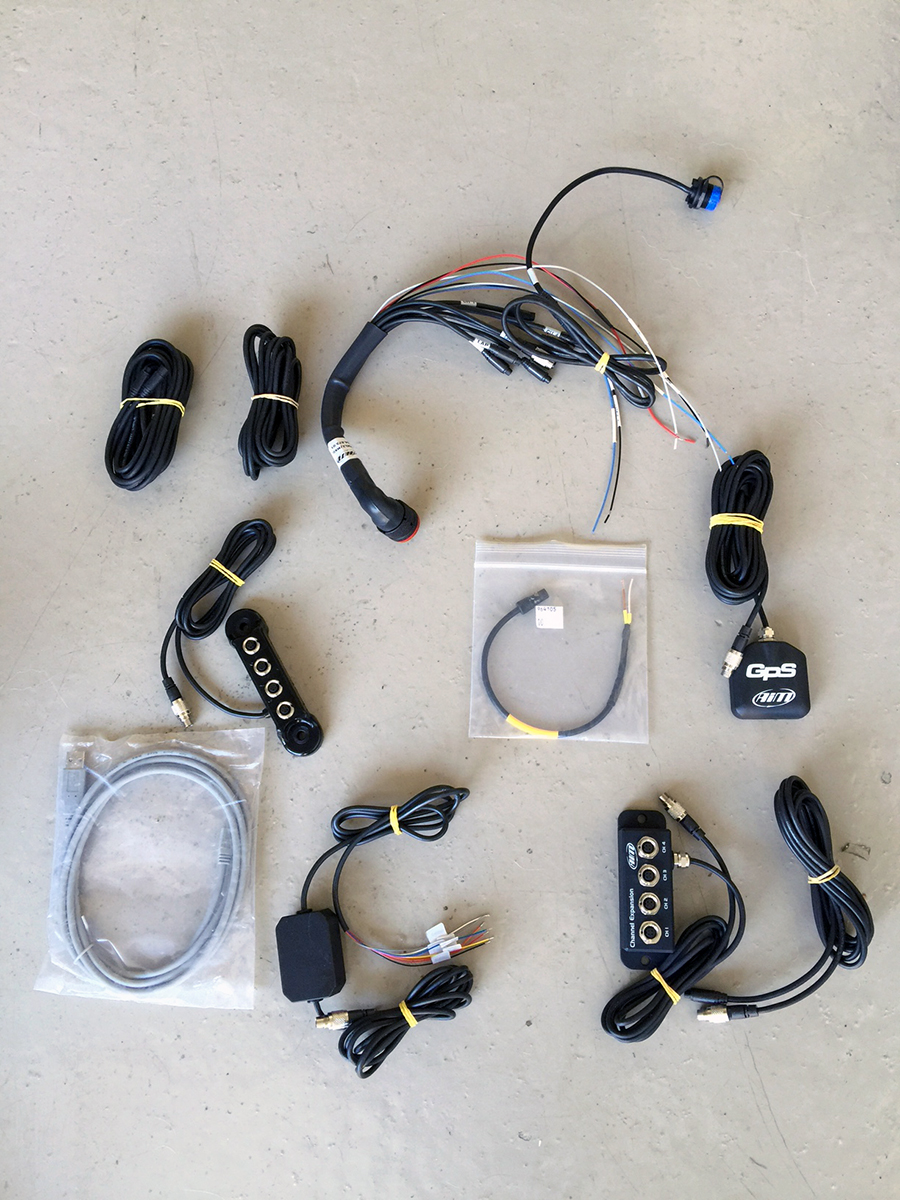
- Button Relocation Kit to adapt externally mounted menu buttons
- Data Hub to connect aforementioned BRK +more
- Fuel level sensor harness with pull-up resistor
- Oil Temperature sensor
- Oil Pressure sensor
- 2 Patch cables to tie in the L/R turn signals
- Channel Expansion Module because now I ran out of the allotted 4 standard channels
- Patch cable to connect aforementioned CEH
Figuring out how to neatly package everything shown in the picture below proved to be the most methodical and time-consuming aspect of the install. And, of course, performing all the necessary wire splices and taps.
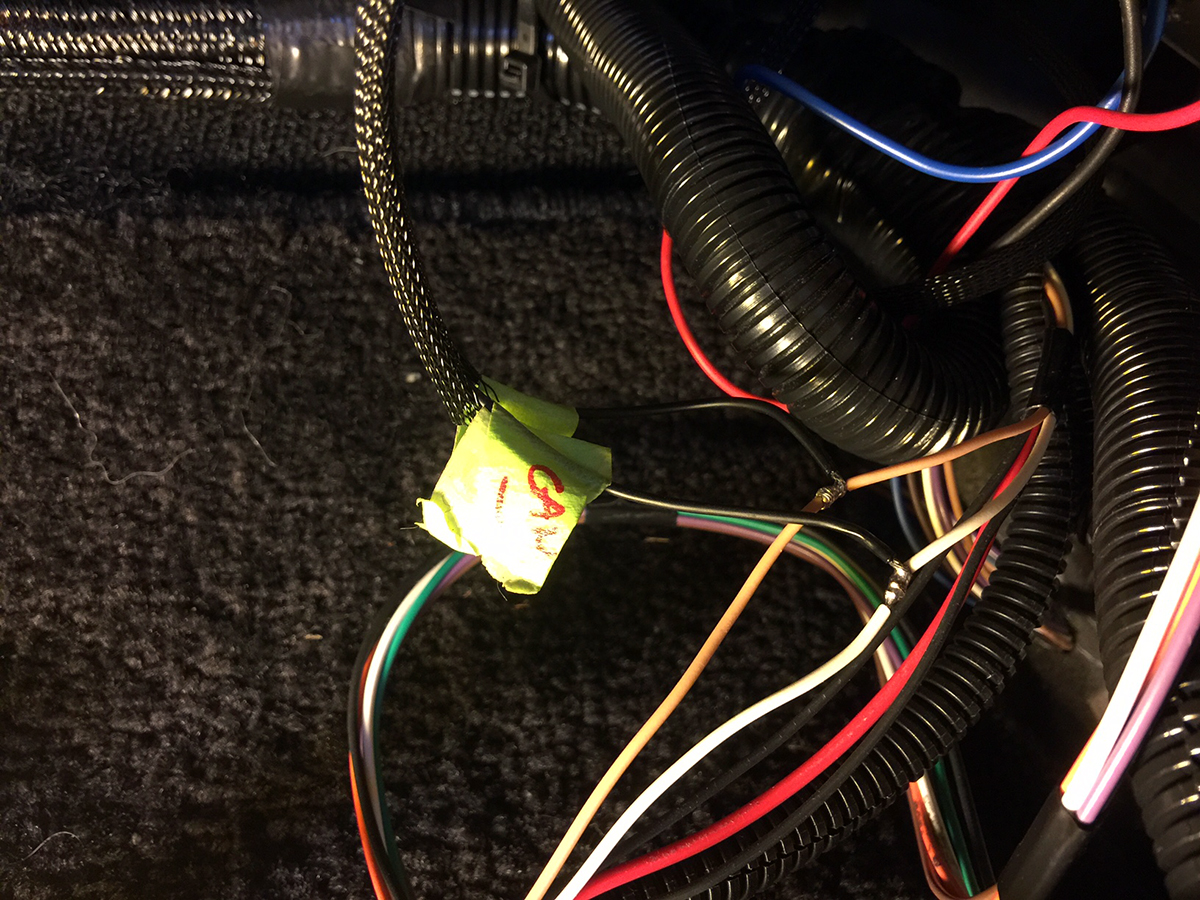
One of the crucial advantages of switching to the MXG is its ability to pull readings from the ECU. This consolidates everything into a single source, with the exception of the oil temperature and pressure, which I had to augment with native AiM sensors.
The dash harness on the MXG has 2 CAN Bus leads, which I could then tap into the ECU’s OBDII wiring. From there, AiM’s software is able to propagate and articulate the signals from the ECU into channels and display them accordingly.
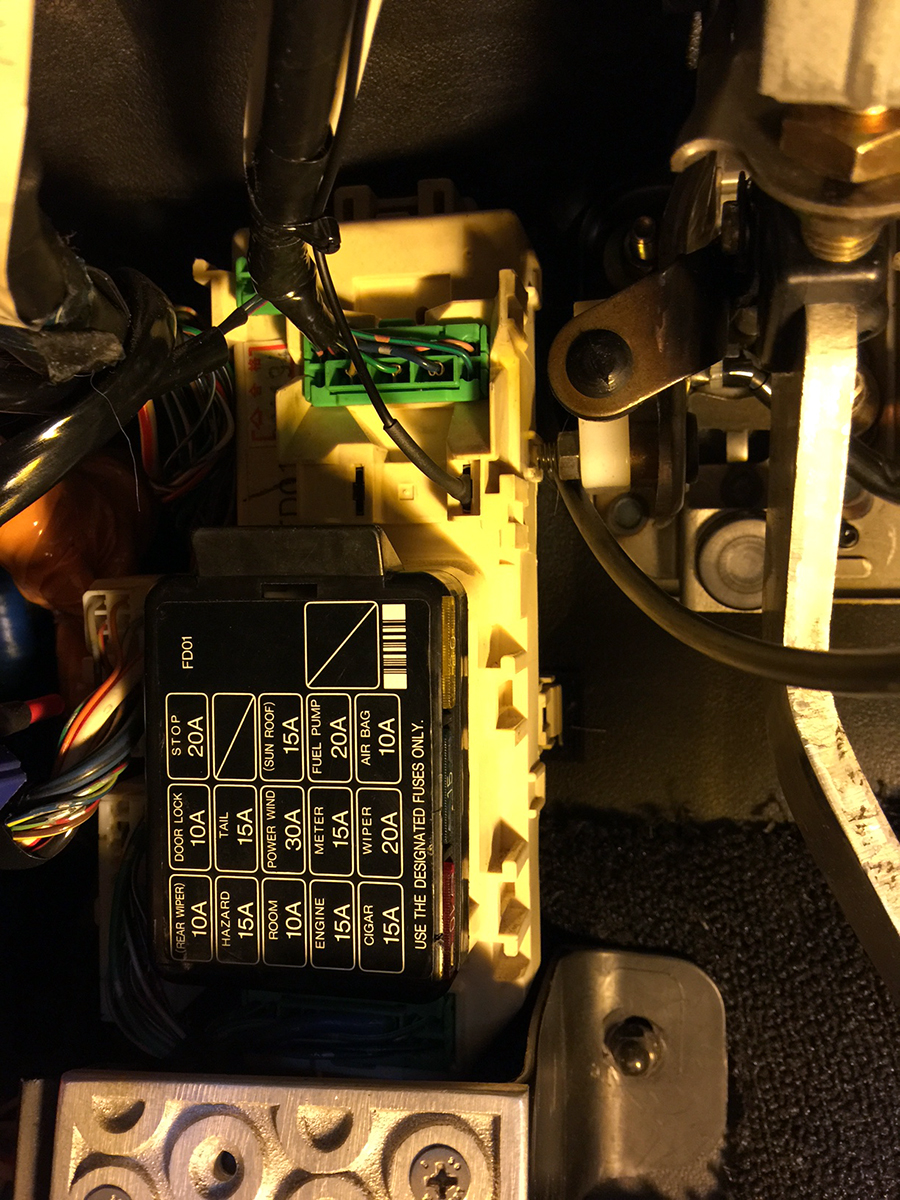
Like any other electrical device in the car, the MXG needed a 12V power source. I was about to trace out a switched wire from the ignition until I came upon a most opportune location… the fusebox by the driver side footwell.
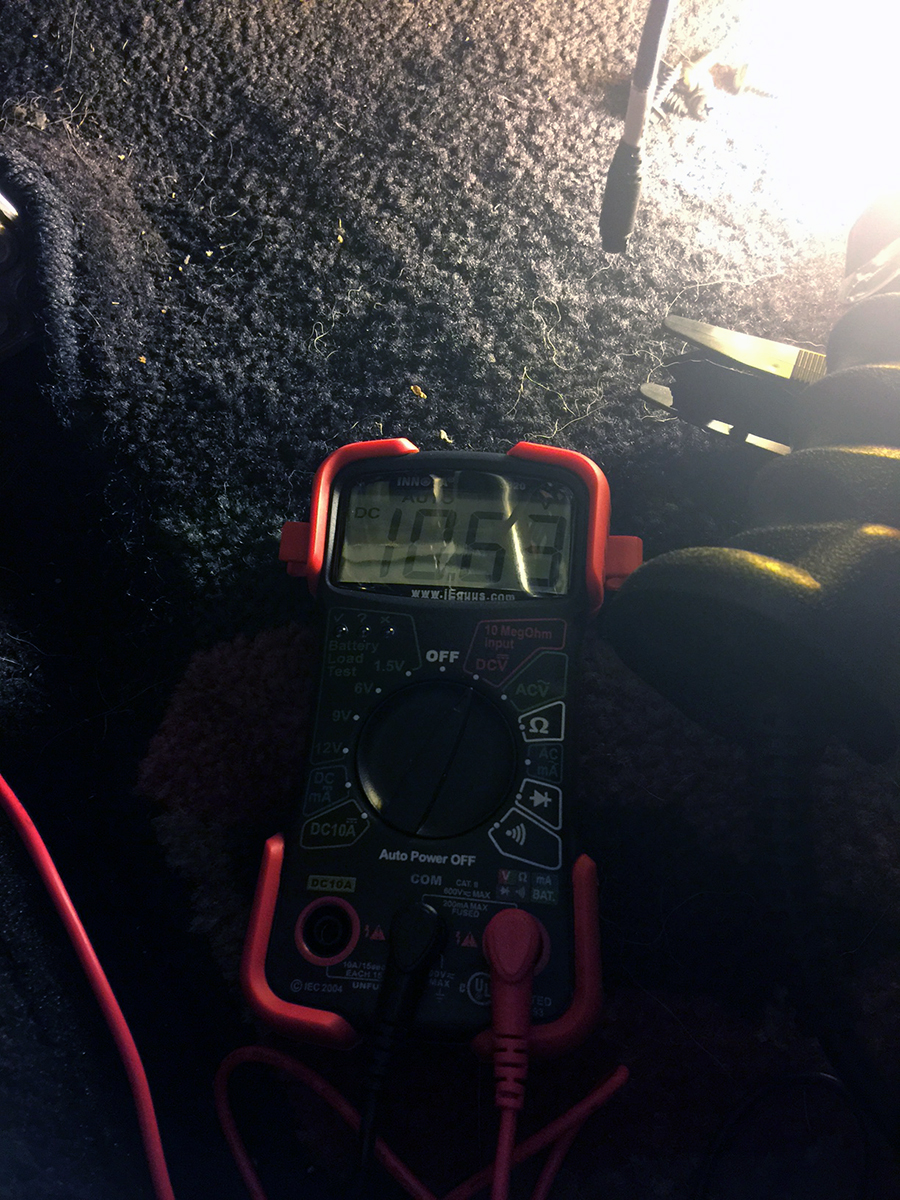
Mazda, in their infinite wisdom and foresightedness, conveniently left 2 open slots at the top of the fuse box area. I probed them with a multimeter (battery was running low in the picture below) and the left-most slot provides a constant 12V source of power, while the right-most slot is switched. The latter was perfect because I wanted the MXG to turn on when the key is at the “On” position in the ignition.
I extended the MXG’s power lead, added a spade connector, and plugged it right in.
Furthermore, this location is ideal because it provides a dedicated source of power to the MXG. Theoretically, tapping into another wire invades its predefined circuit and may potentially overload it.
The button relocation kit was yet another task on the agenda. I needed to arrive at a solution that could connect the 4 momentary buttons on the gauge fascia to the leads coming off the button relocation kit, in a reversible fashion.
The stage was set when I made a trip to my local Fry’s Electronics and found various molex connectors. I ultimately used a 5-pin .062″ molex connector, to be exact. The leads in this application are tiny 24-gauge.
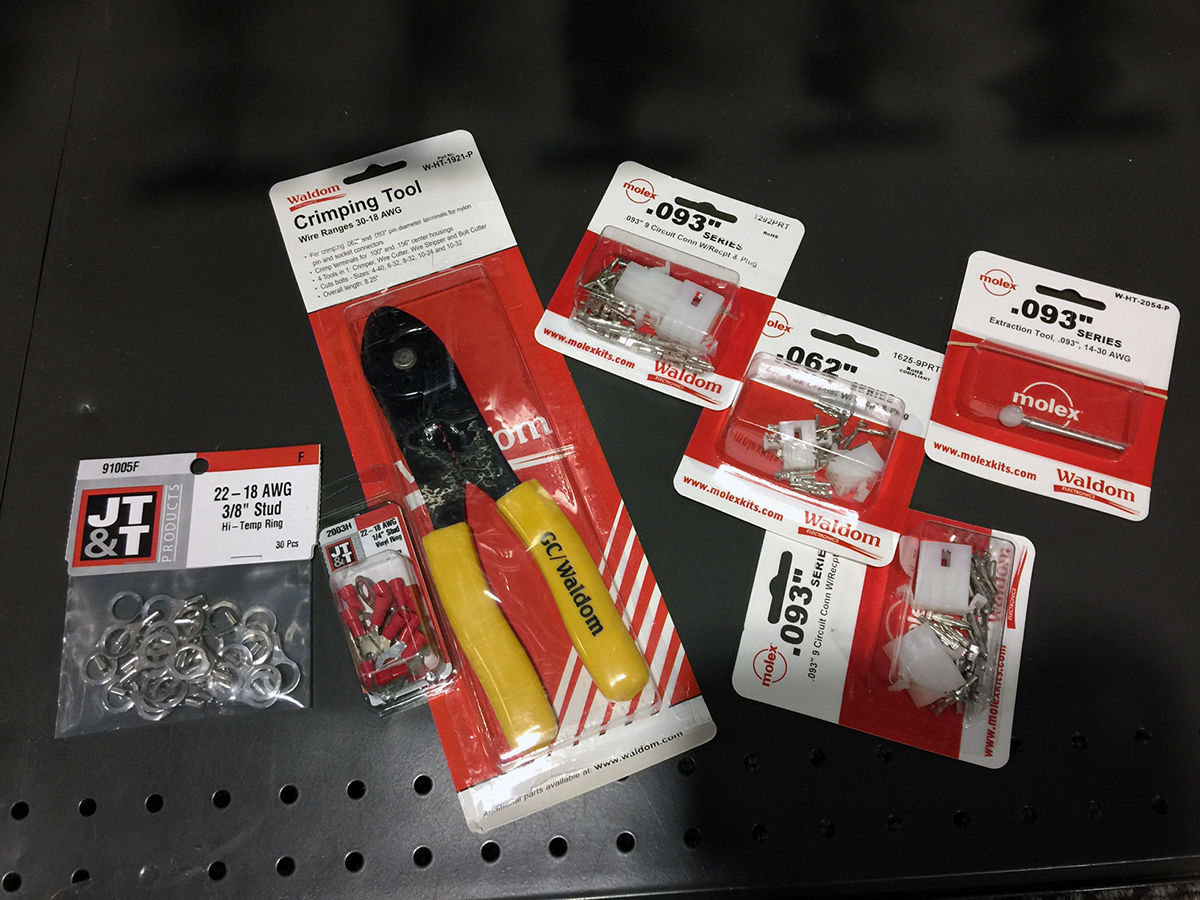
I could route each of the positive terminals on the momentary buttons to their respective pin in the molex and keep everything at one point of connection. The button relocation kit calls for a common ground to be shared by all 4 buttons, so I had to daisy-chain all of the ground leads off the buttons into one wire, and this would be the 5th pin.
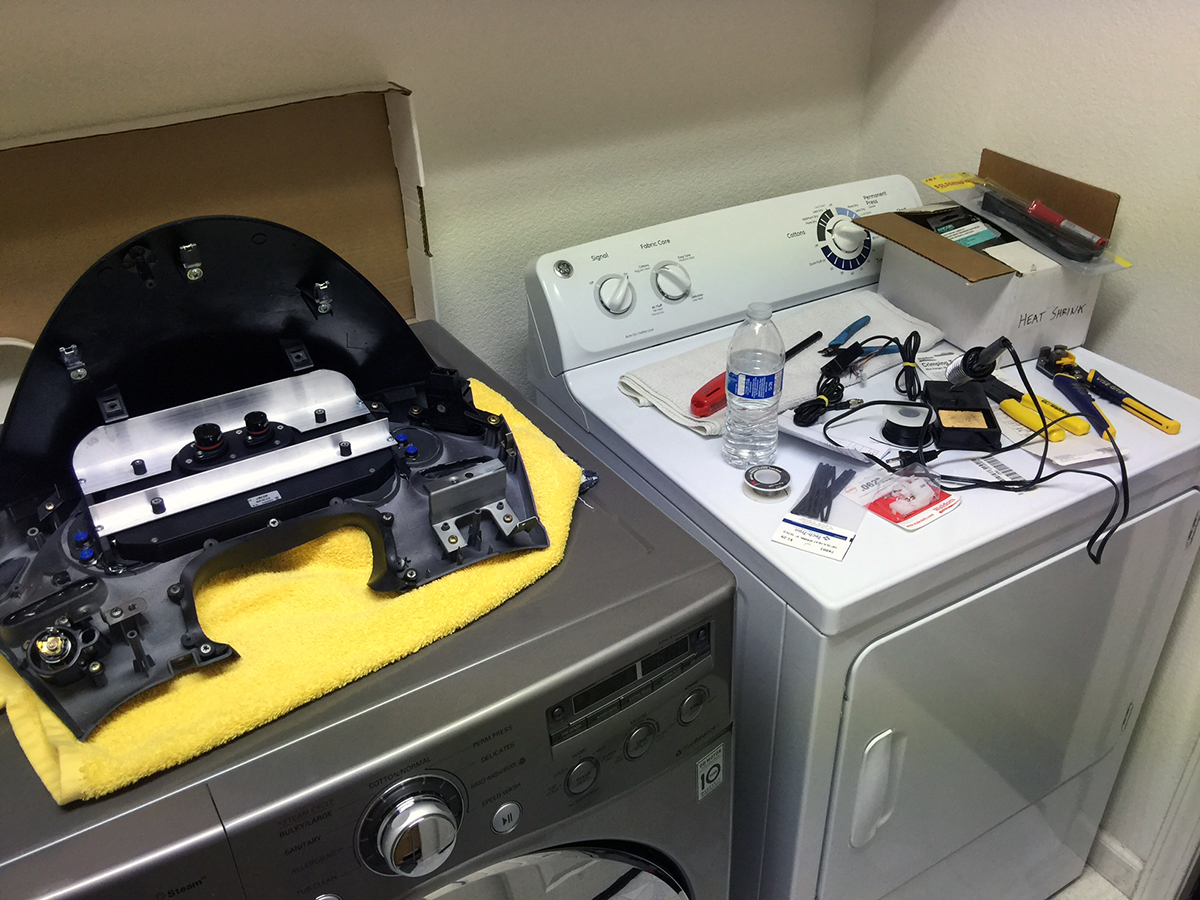
Being pressed for time, I actually dedicated a Thursday evening after work to drive up to my parent’s house, where the car is, and knock this task out. The laundry room proved to be the most favorable space as it had the brightest lights in the house… and laundry machines are pretty good workbenches…
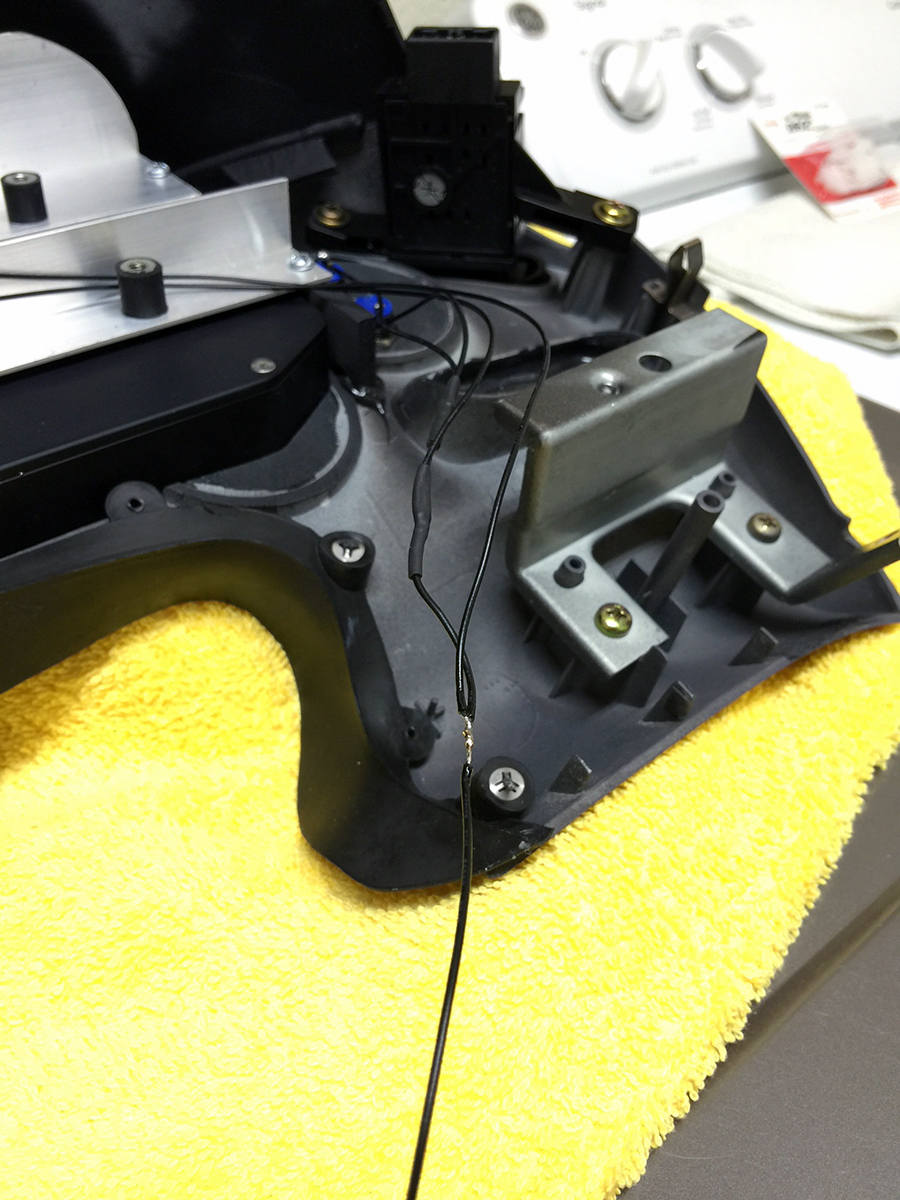
Leads attached to the terminals and pinned into the connector:
