Not too long ago, I thought that the RX-7 was “pretty much done” and I could finally give it that stamp of approval. My definition of “pretty much done” is extremely open to interpretation because I slapped that stamp out of my own hand and proceeded to teardown like there was no tomorrow.
As if selling my entire ’99 front end, second bumper et al, wasn’t invasive enough – I turned my attention to the interior and ripped out half of it. In addition to molding on ugly sideskirts and a big rear wing, the first owner continued the trend of disregard and questionable taste by screwing on a PowerFC Commander holder… into the side of the dash. I was left with 3 little holes, which I immediately plugged up with plastic inserts. Obviously, this continued to bother me, and I was bothered even more when I noticed minor bubbling above the passenger airbag area. Although this is only noticeable upon close examination, it’s one of those “what has been seen cannot be unseen” dilemmas.
The moment was right to tackle the issues, and I vowed to do so in a substantial way. Step one: pull out my dash.
All associated trim pieces had to be removed, along with the steering wheel, center console, shifter, e-brake, hood release, and headunit.
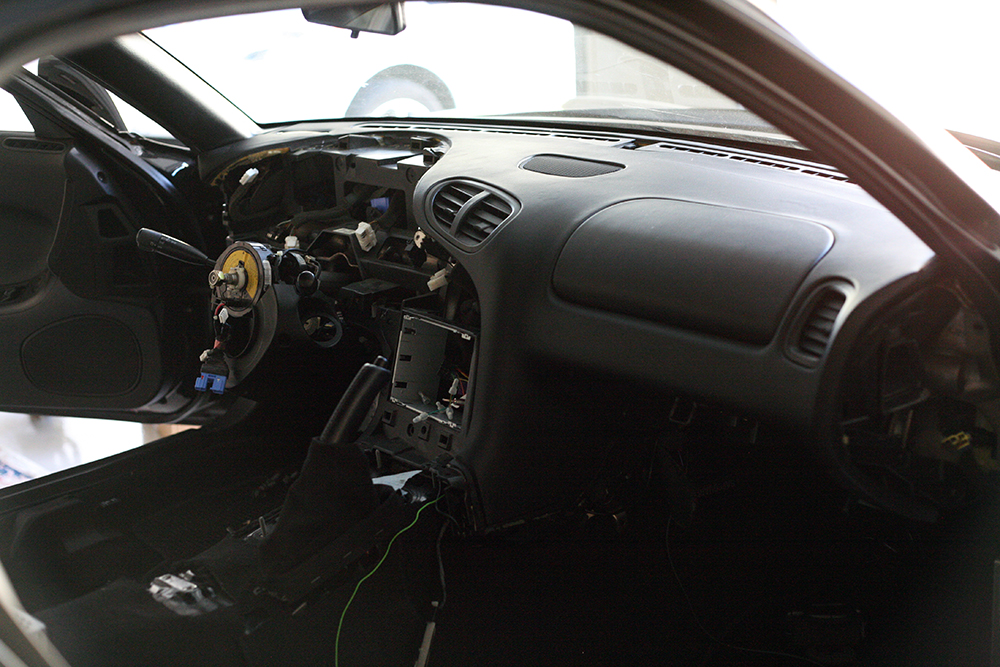
After dropping the steering column and then unplugging all the connectors behind the dash, it pulled right off.
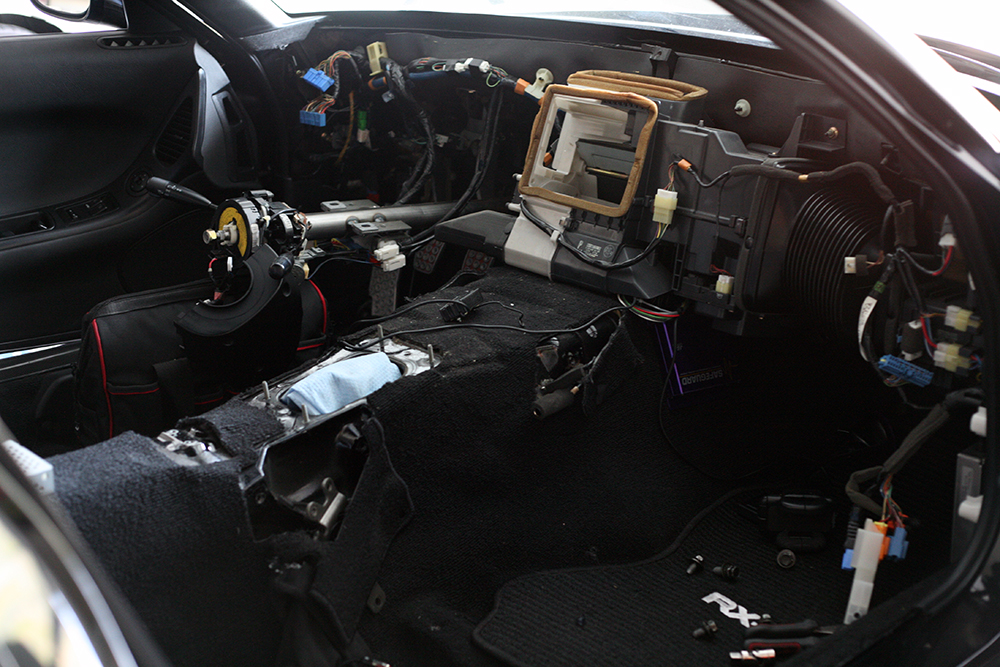
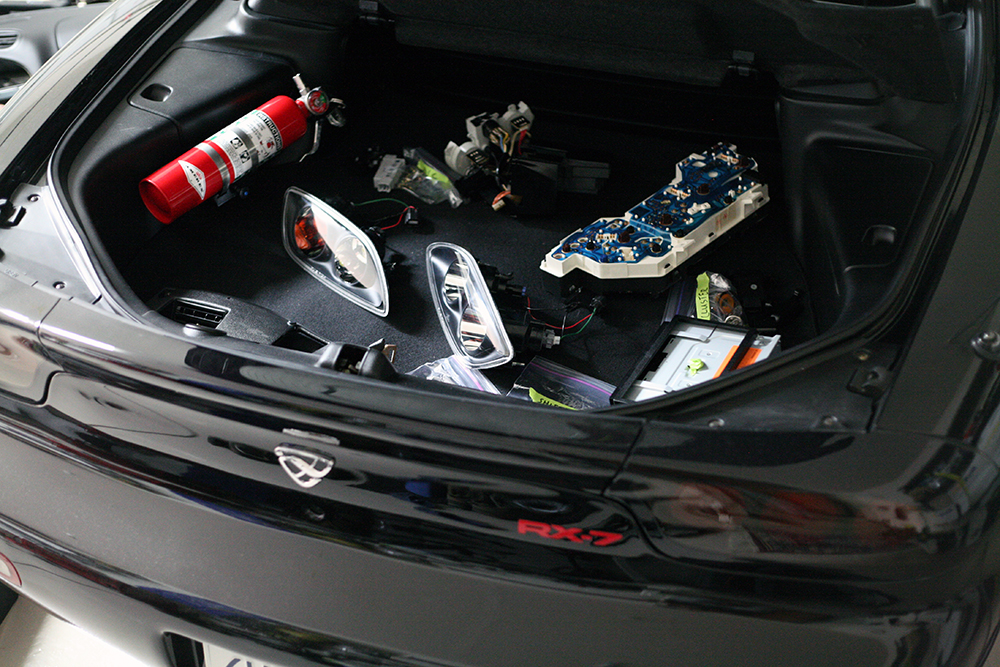
Surprisingly, the job was relatively straight forward and only took me an afternoon to complete. Once the dash was freed, I moved on to break down the various trim pieces: gauge cluster & hood, radio surround, and shifter console. I was eventually left with many small items and fasteners. The trunk provided a great area to store everything in the time being.
I later divided my focus back to the dash. The master plan is to not simply fix the defects on the dash, but to replace it entirely. This was a great opportunity to perform a ’93 dash retrofit. While ’94+ cars are superior in many ways to their ’93 counterparts (many bug fixes), I still prefer the first-year’s more simplistic dash. The passenger side airbag in ’94+ dash looks out of place and ruins the flow, in my opinion.
I was able to pick up a complete ’93 dash locally from someone who was stripping out his car to turn into a track machine. Unfortunately, I noticed 2 areas that had broken plastic on it. This incited me to unearth the globe to find an alternative. I invested a couple of weeks calling every single Rotary-centric shop I knew that may have a spare dash laying around. I checked out another local car that was recently involved in an engine fire, but decided its dash was inadequate. Mazmart had a dash available, but their service was slow (I called back over a span of 2 weeks and never got anywhere with them) and they wanted a small fortune; plus, I wasn’t convinced a dash would survive being ground shipped from the East Coast. SR Motorsports told me they had one from a “low mileage” ’93 that was in straight condition… cool, sounded promising, so I took a morning off on a Friday and drove 50+ miles out into the boonies of Brentwood to see it. Can you guess what happened next? That dash turned out to be an total piece of junk. The molded structure had large creases and the crossmember had more rust than the Titanic.
After wasting all that effort and time to find another dash, I realized that a perfect ’93 dash simply does not exist and is not for sale. This is where I took a step back and realized I was over thinking too much. All along, the ’93 dash I already possessed up was still the best condition one I could find. I decided to move forward with it and just have the broken plastics repaired and reinforced, they would be better off this way anyhow. The interior plastics in this car can break if you breathe on them too hard, so I’m not sure why I so dead-set on finding an entirely new dash in the first place.
ANYWAY – back to the regular programming. I proceeded to strip down the ’93 dash entirely for its overhaul. Dropping it in directly would be too easy. Another item on the agenda is to have it rewrapped in Alcantara first. Since I was running out of space in the garage with so many interior parts and wiring harnesses laying around (even my dog was exasperated at the sight)…
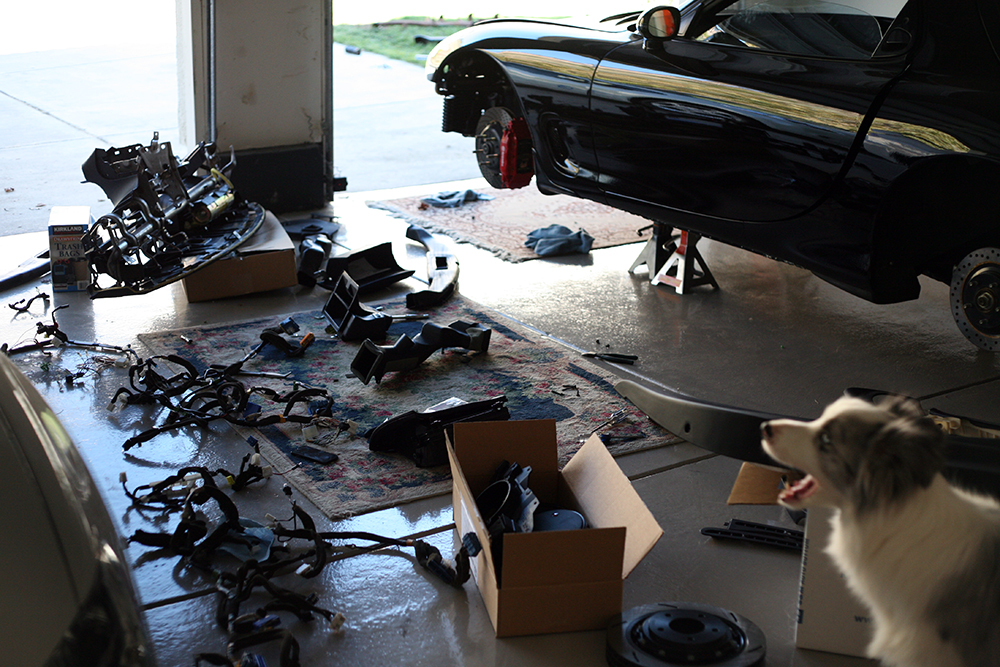
…I utilized the front yard to dismount the crossmember.
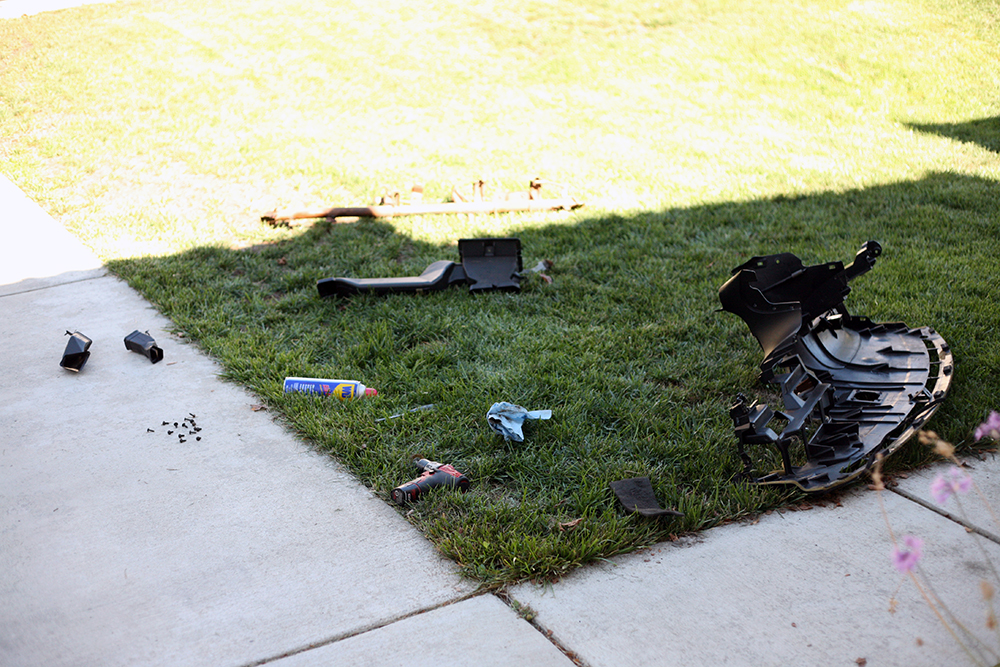
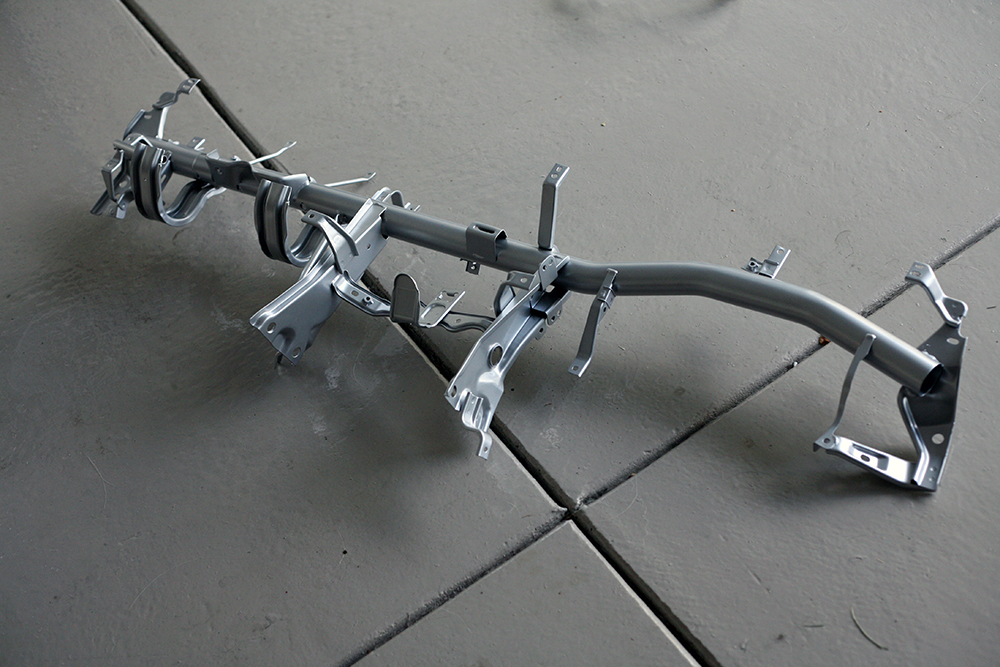
Typical on most cars, the steel crossmember behind the dash is UNCOATED steel… the combination of any kind of moisture or humidity and the span of 2 decades will yield inevitable surface rust. I didn’t like that, so I brought the crossmember over to the powder coaters and had it bead blasted with glass and then powder coated with a silver metallic. Rust will now be in the past. As an added note, the rust on the crossmember from my car’s original ’94 dash was unusually minimal, which certainly speaks to its overall care and storage over the years.
I’m still busy working ahead on this project, more updates to come hopefully soon!
holy shit. you are one crazy dude eric. painting the dash crossmember? keep it coming…