Given that a stock NA Miata is like a wet noodle, an inherent trait of a lightweight convertible, increased bracing was a must. From what I know… the suspension components are what’s supposed to handle articulation, not the body of the car. Mazda cheated a little in obtaining the car’s low weight number; there’s a reason why the newer Miatas weigh more, it has a lot to due with added bracing and supports. For example, in 1990, the cars were reported to weigh 2182 lbs. Then in 1997, they weighed 2359 lbs.
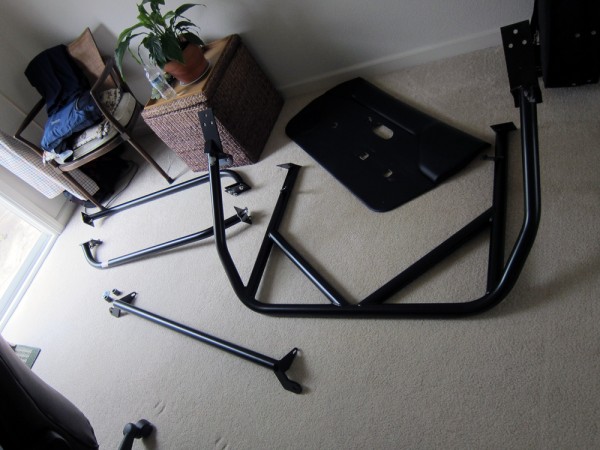
I didn’t play around when it came to the chassis. First thing I bought was a Hard Dog Hard Core Double Diagonal M2 Roll Bar (mouthful). I chose not to get the Hard Top variant of this roll bar because it sits about 1-1/4″ lower and isn’t flush with the roof line. The M2 version does not have the welded harness bar on the rear legs (versus the M1), this allows for a potential soft top with a glass rear window to fold down and fit. I didn’t like the position of the welded harness bar on the M1 anyway, and paid extra instead for the separate bolt-in bar. A pair of Door Bars were picked up as well. Things definitely add up quick when you shop at Bethania Garage/Hard Dog, but worth every penny because their stuff is quality and FITS. I didn’t have to enlarge any holes, everything bolted right up.
Added weight is a worthy trade-off for a stiffer chassis and increased safety (the front windshield won’t do anything in the event of a roll over). With all the stuff I’ve removed and the replacement parts, the car’s weight shouldn’t be too far off from original.
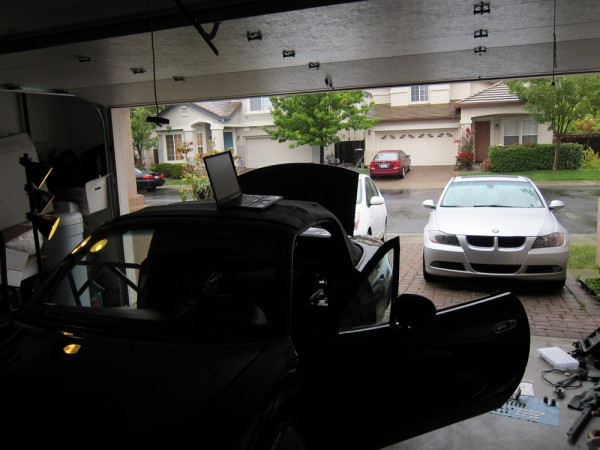
Working in the garage on a rainy Saturday… in June.
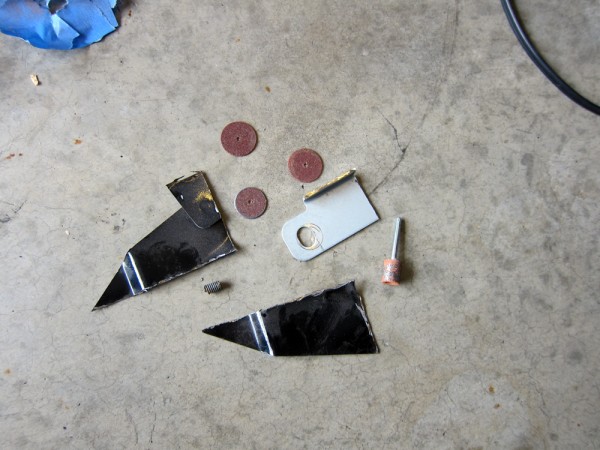
Installing a roll bar is not for the scared. Most people average an install to be around 8-10 hours. I’d say I spent a good combined 12+ hours on mine, and that’s without having to put back any of the rear interior. If you choose to rush it, it’s possible to do everything in 4-6 hours. The reason why I took so long is because I was meticulous and did a lot of cleaning in between. Anything worth doing, is worth doing right. Making all the necessary cuts consumed a fair amount of time. I’ve seen people just hack away at the rear sheet metal with tin snips, looks jank. I’m glad I bought a proper dremel instead of the $10 Harbor Freight toy I’ve had… this job would not have been possible otherwise.
Some material removed:
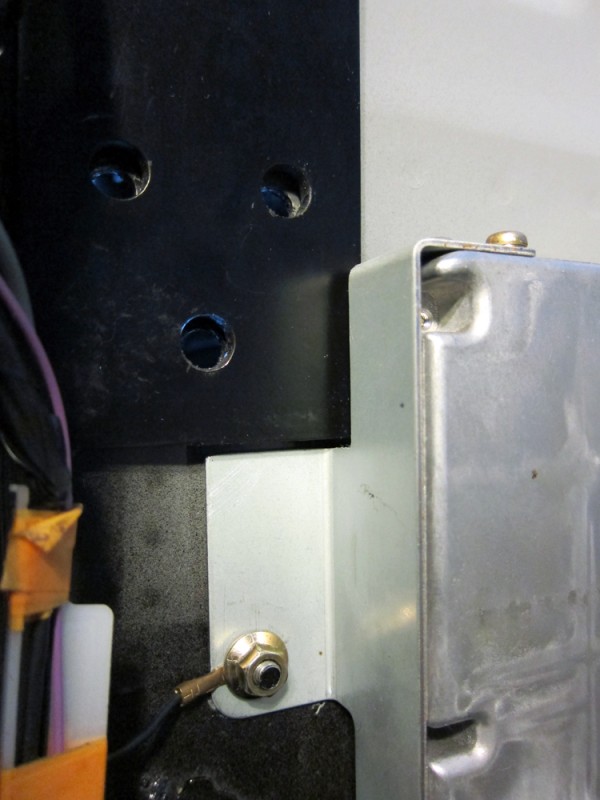
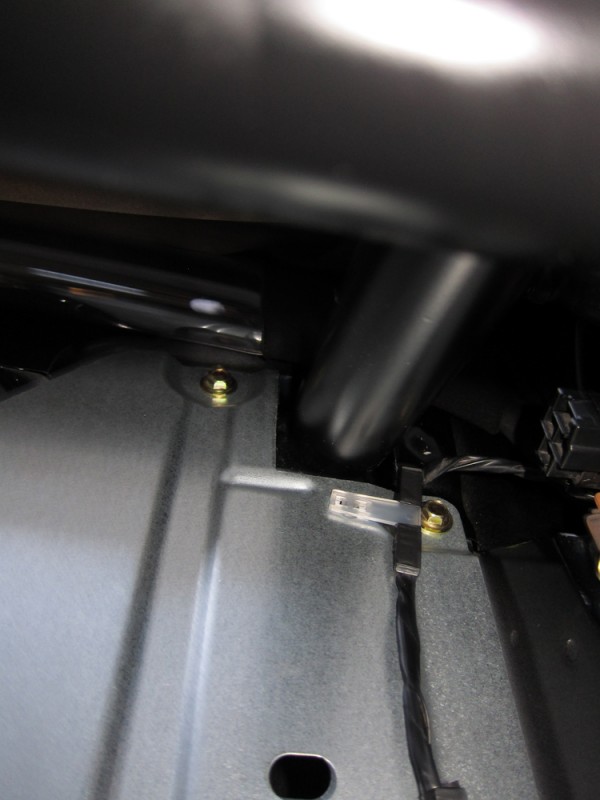
I got pretty gangster with the cuts, here’s the ECU bracket that needed to be trimmed to clear the lower leg of the roll bar. A bolt behind where the leg sits also needed to be shaved off.
Okay, I won’t lie… I got lucky with the ECU bracket’s cut. I actually just eyeballed it and decided to try the fitment. Turned out to be spot on.
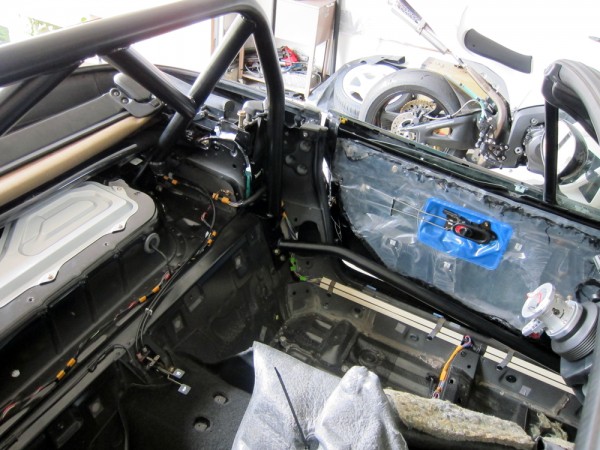
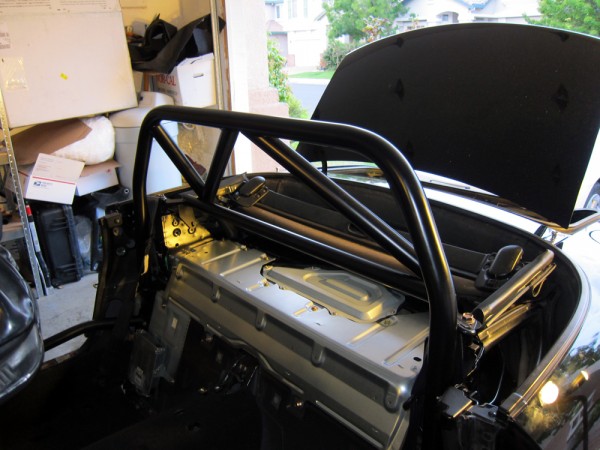
But here’s how one of the rear legs fits through the rear parcel shelf.
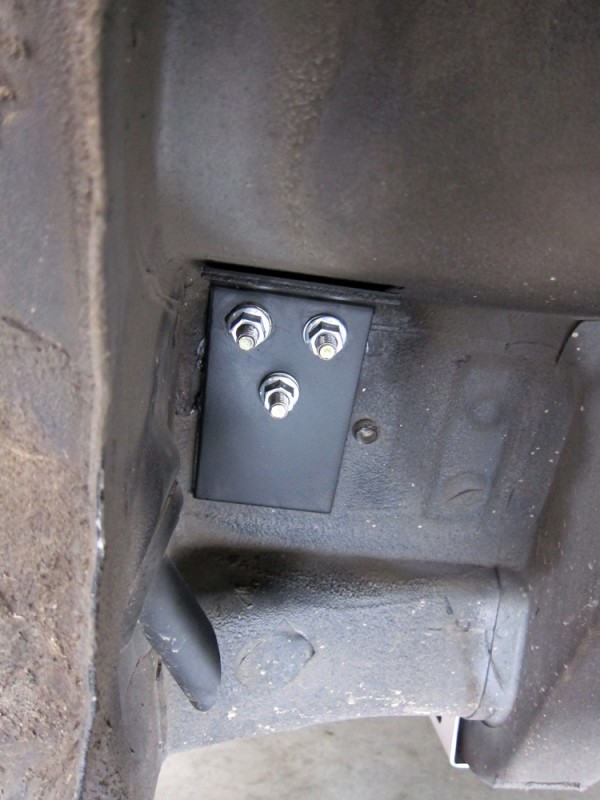
A look at one of the backing plates and bolts.
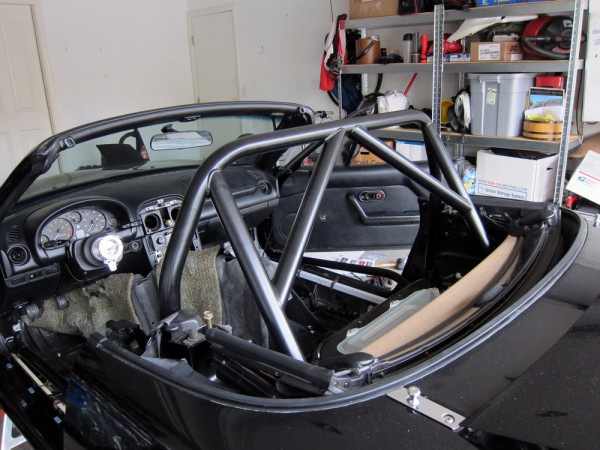
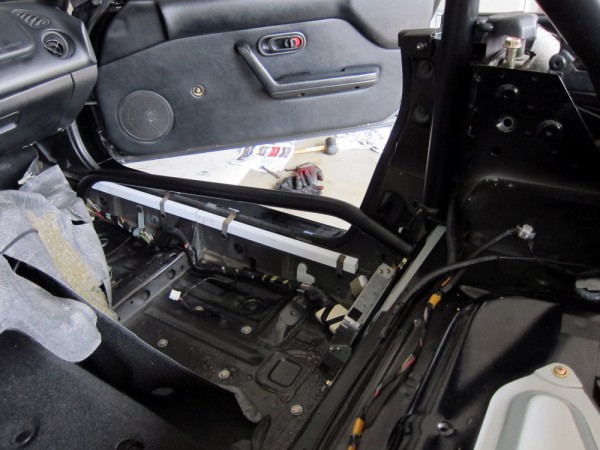
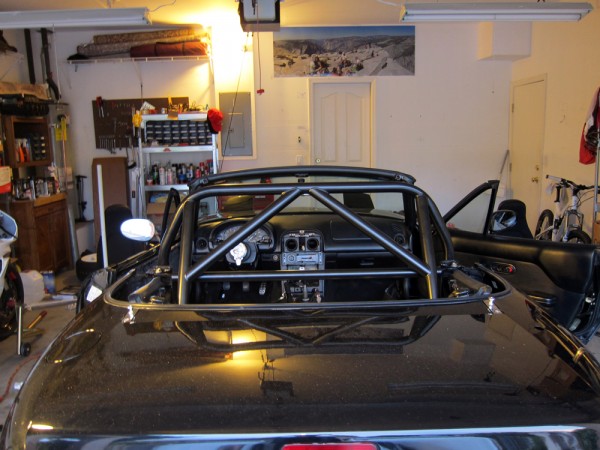
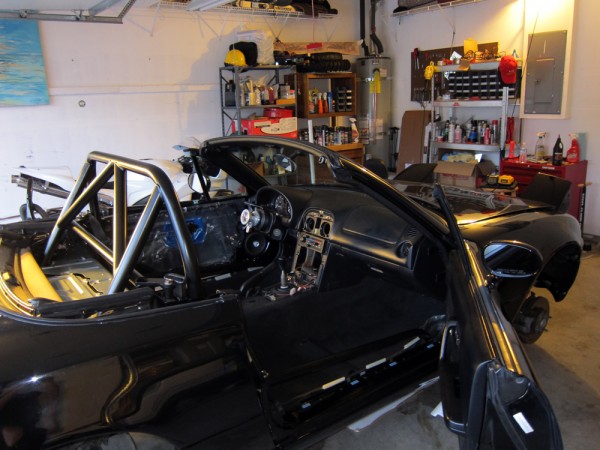
Roll bar erected. I fit the bar in the car a total of 1 time. I basically measured, made the cuts, and the bar slid in… no need for repeated test fitting.
Next was to move onto the door bars, which attach to the same front leg mounting points of the roll bar, then into the floorboard at the front.
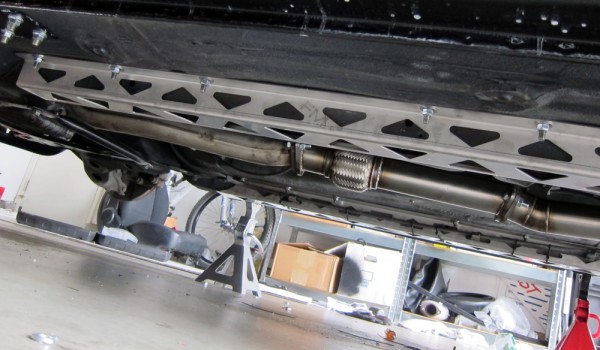
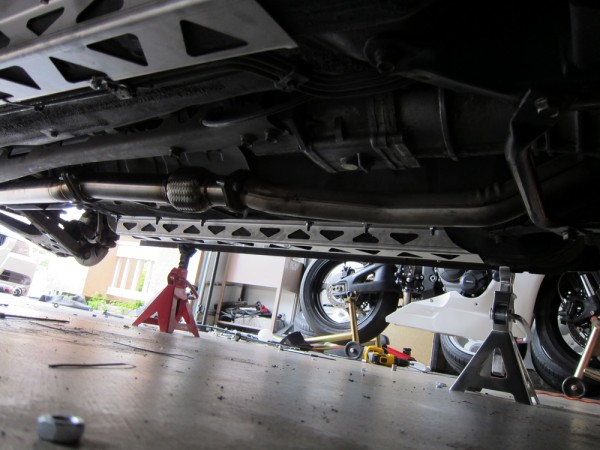
Not done yet. It was then time to install the Flyin’ Miata Frame Rail Reinforcements. I chose Flyin’ Miata, the original, over other alternatives because these rails are stainless steel. If they ever get scraped, rust won’t be a concern. Obtaining torsional rigidity is priority for a convertible. These rails will supposedly reduce chassis twisting by about 30% (on a 1993 test car, anyway), but my main motivation were to use these as guards for the easily deformable frame rails.
Thankfully, the car’s frame rails were in good shape, because I presume fitting these reinforcements over mangled rails would be quite a task. The fit was snug and even. I used a jack to raise the reinforcements into position and drilled 12 holes, each rail. When tightening, the floor pan will be manipulated slightly by the bolts.
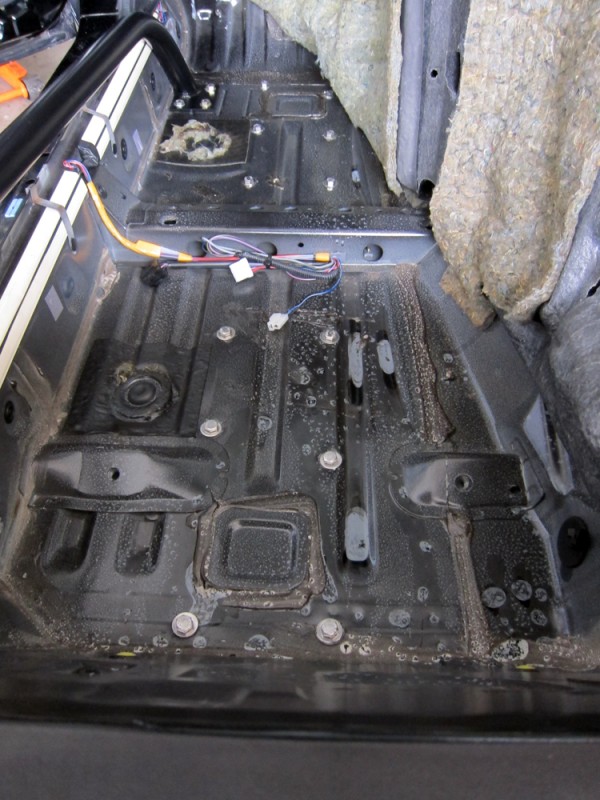
Here’s a picture of all the fasteners on the inside.
In total, if I tallied everything correctly, 40 holes were drilled and bolted up. That was no easy feat… Would have been 42, but luckily, I assume on later year Miatas, there’s a pair of plugged holes in the trunk. These holes are exactly where the outside holes of the roll bar’s rear mounts go. I applied rubberized undercoating to all the holes, as well as some silicone sealant to the backing plates. Roll bar and door bar mounting points were torqued to 40 ft-lbs.
Lastly, the harness bar was bolted on, and, alas, 2 consecutive 10 hour labor days came to an end.

holy shit…….
Wow your chassis must be a lot stiffer now! Do you plan on taking it to the track when you’re finished?
The track on the streets… haha
Motorcycle track days take my focus