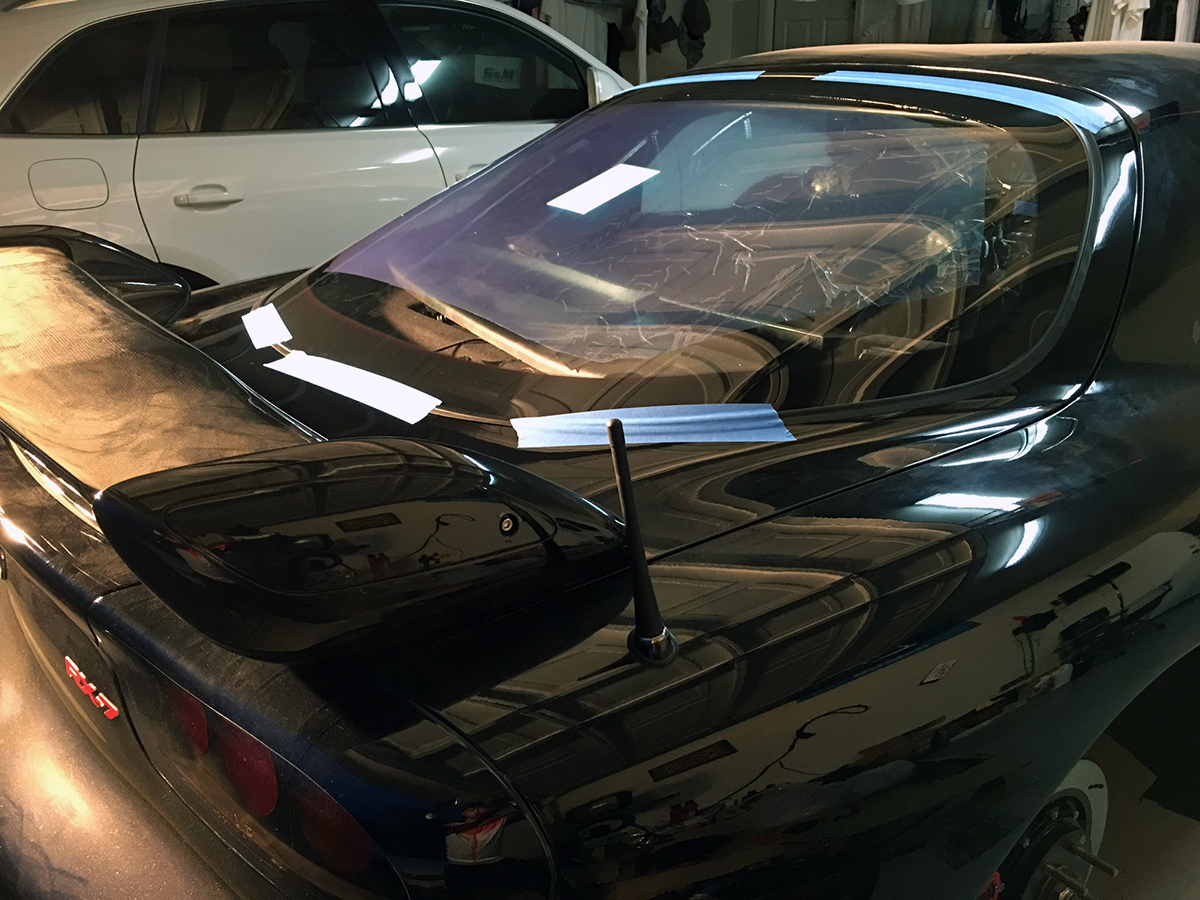
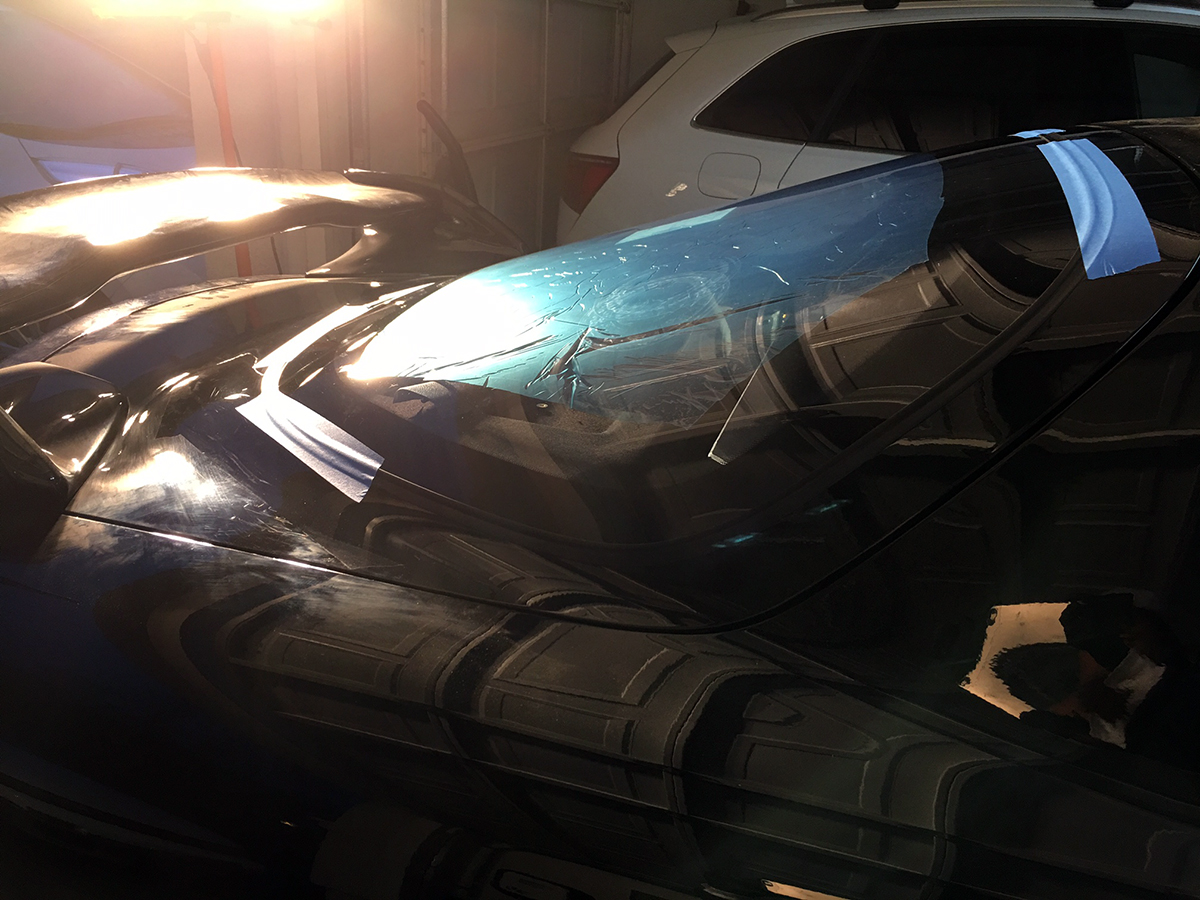
The defroster lines on the rear glass were always distracting to me and an aesthetic element that I wanted to improve. Trying to mask them with dark window tint is not only ineffective but not preferable because I removed all of the tint on the car purposely to achieve a clear, greenhouse look.
I knew of companies that made Lexan rear windshields for the FD RX-7, the more popular one being Flex-a-Lite (FAL), but I shied away due to concerns of durability in the long run and overall unfamiliarity with the product. My attention was piqued when I discovered Plastics4Performance by way of another RX-7 owner’s purchase of their rear windshield. They are based out of the United Kingdom and offer a detailed level of customizability in their windows – which ultimately instilled the confidence I was looking for to make a choice. In fact, I bounced emails with their sales representative for about a month back in early September so I could learn about every aspect. We eventually commissioned a window in early October and I received it mid November.
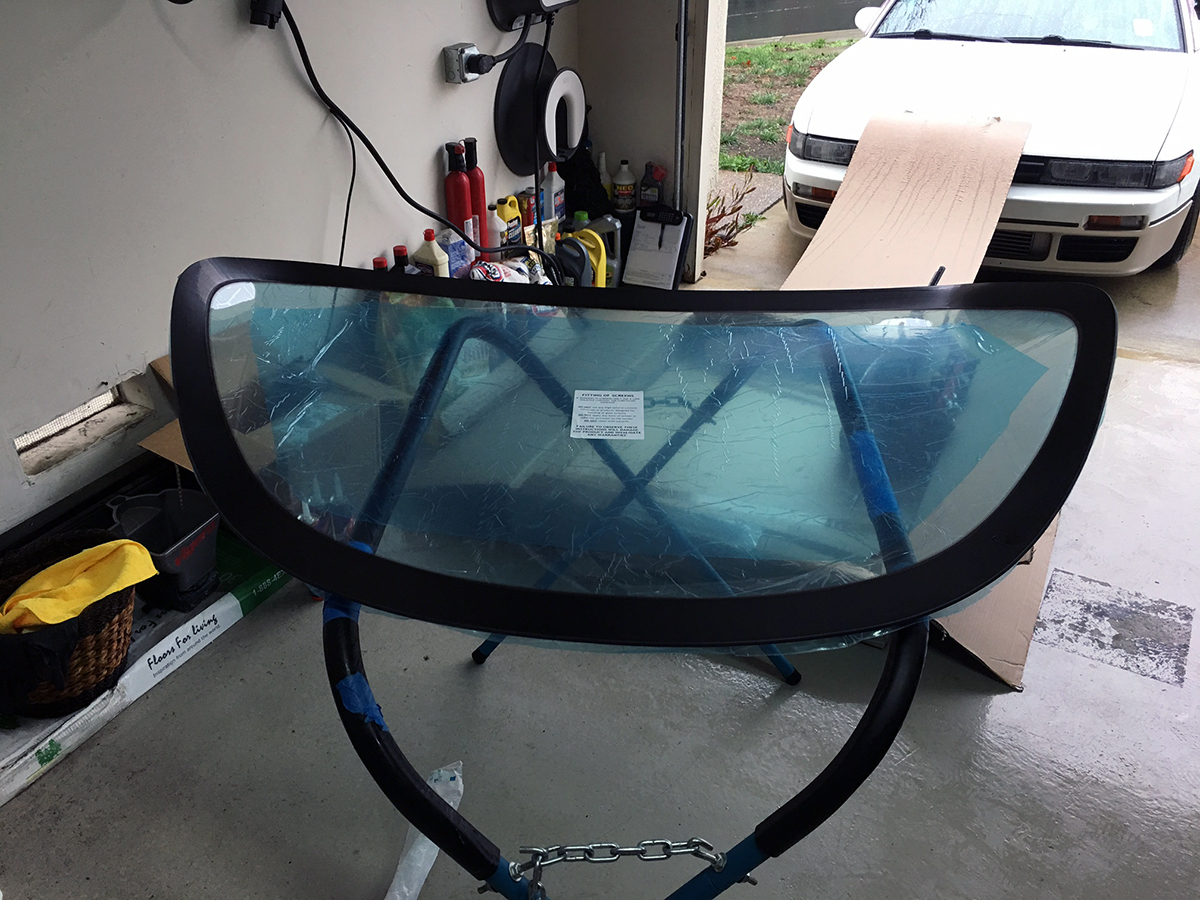
The final configuration for my rear windshield are as follows.
- 5mm Thickness
- AS4000 Hardcoating
- Dot Matrix Border
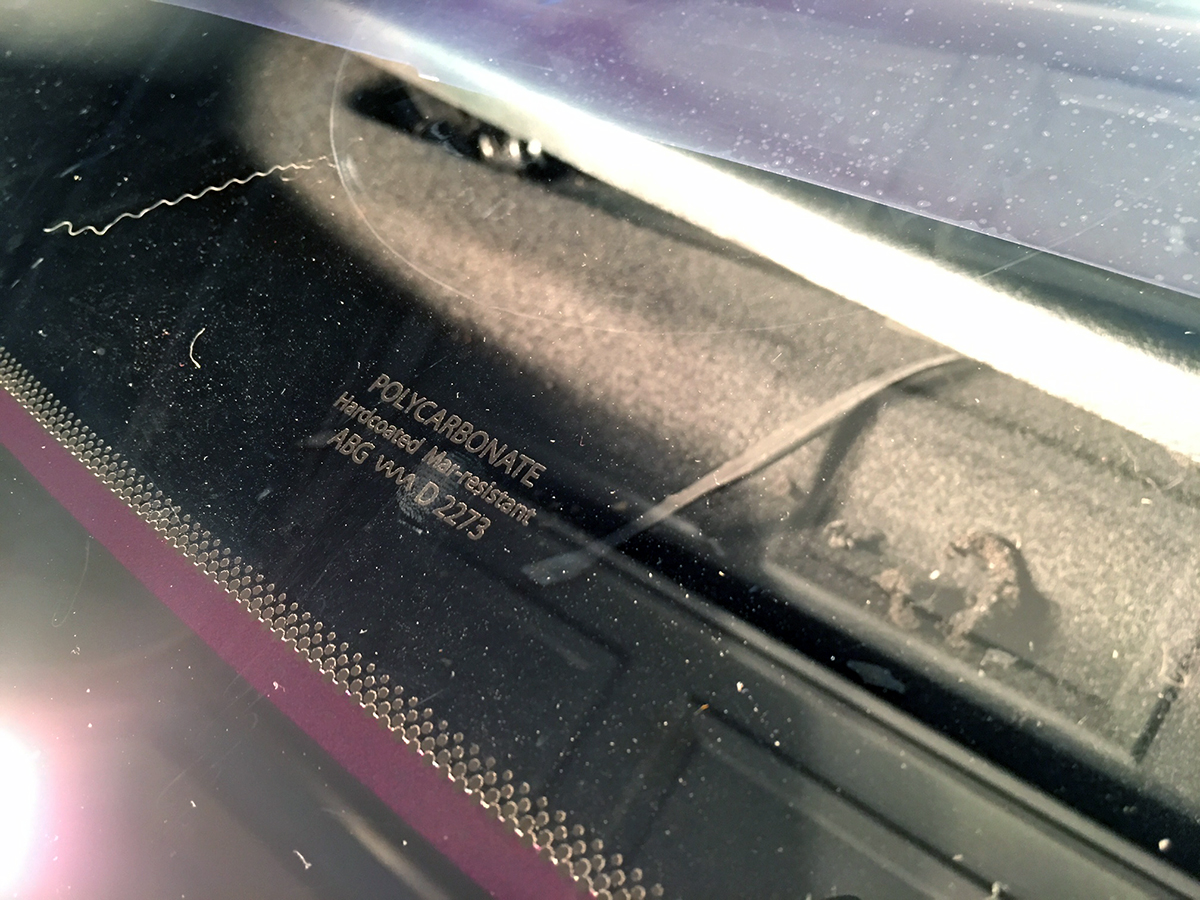
- Technical Specs Printed with No Branding
Plastics4Performance performs the construction and thermoforming of the windows in house and ship to a company in Norway for the hardcoating part of the process. Once the window is back from Norway, they then finish the final trimmings. Their normal upgraded hardcoating is a silicone based MR5 Margard, but I later uncovered an unadvertised option known as AS4000, which is another step up… so I of course opted for that. The hardcoating should make the window impervious to scratches from basic usage, which is usually a concern with plastics/polycarbonates. I was shown a footage of a hardcoated window being scrubbed with steel wool and holding up, which was quite impressive. I don’t plan on testing mine in that manner, though.
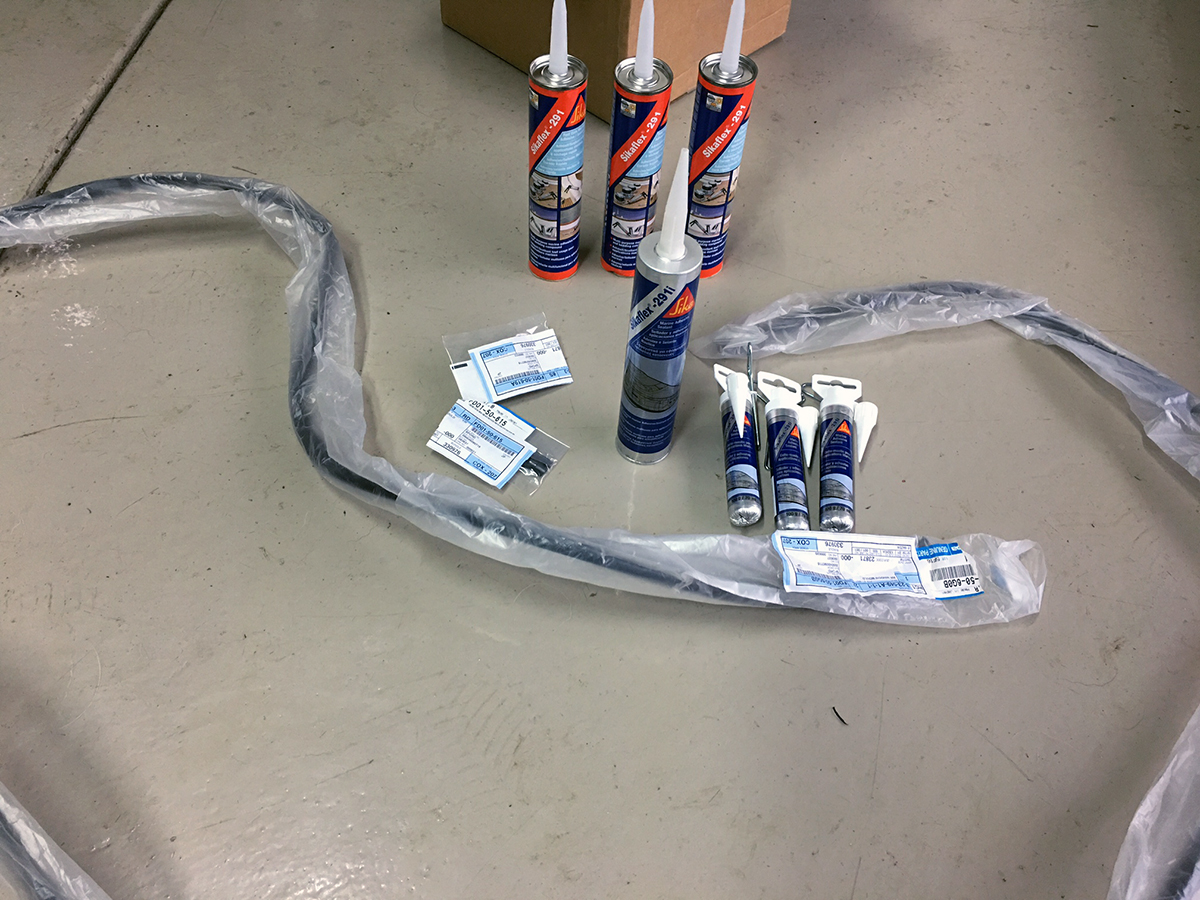
Given the unique nature of Lexan, I wanted an installer that would be capable and confident of the task. I ended up finding Chris from Cal Bay Auto Glass who handled the job perfectly and did great, methodical work. We actually had to postpone things for 2 weeks because of the provided adhesive. I purchased Plastic4Performance’s recommended UV rated adhesive to ensure compatibility. When dealing with polycarbonate, low volatile adhesive should be used and not the typical stuff for glass. The adhesive that I was sent was a 300mL tube of Sikaflex 291i, but the concern of its quantity was raised. In order to avoid a scenario where we potentially run out of the specific adhesive mid-install, we rescheduled and I went hunting for spares.
I found the Sikaflex online from a marine supplier, but they mixed up my order and sent me tubes of 291 instead of 291i. Although the difference in the adhesive is slight, there’s no way I would proceed unless the match was perfect. A couple of days before the install, I was able to track down another marine retailer that was in-state with inventory, and had them Next Day me the correct goods. I also purchased a new OEM window molding with the center clip a while back, so everything was ready to go.
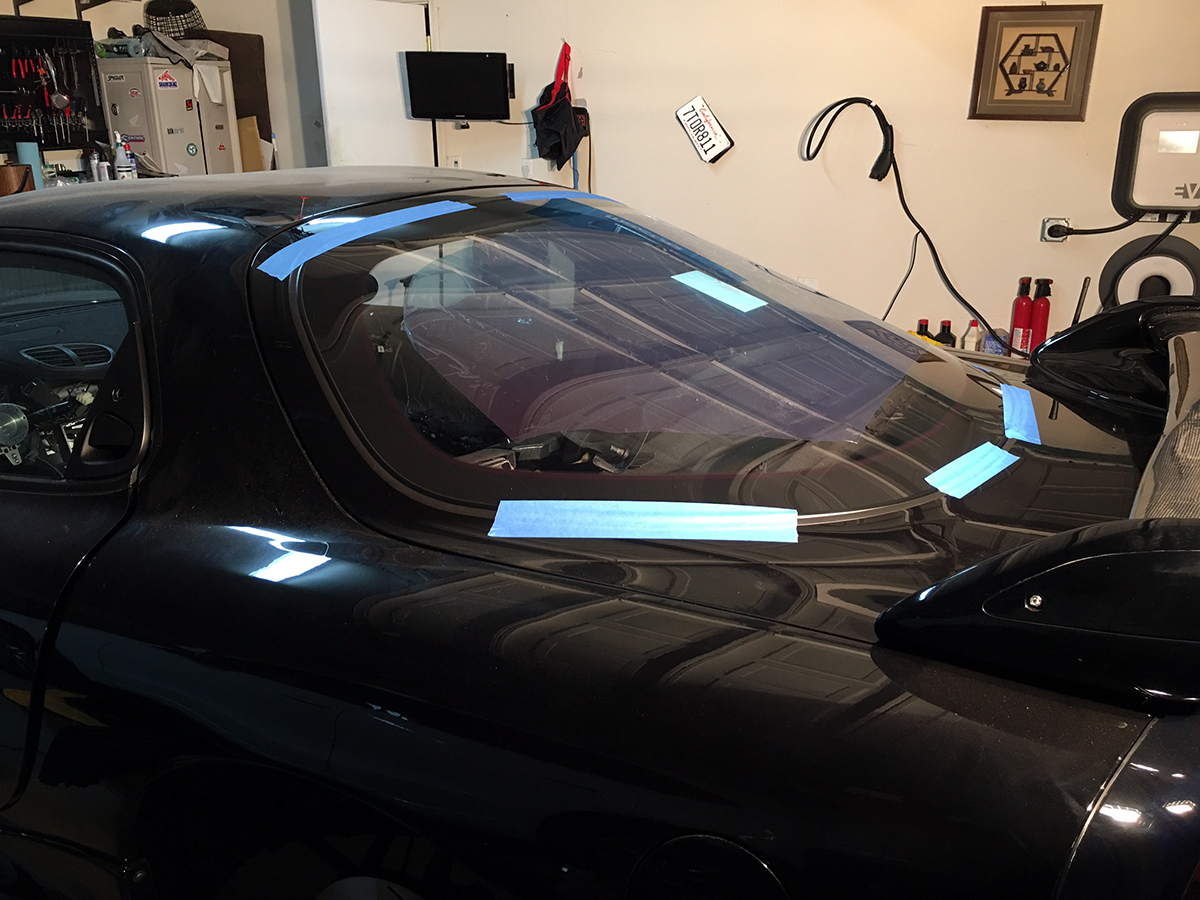
To begin, the rubber molding was installed around the windshield and the center split was lined up.
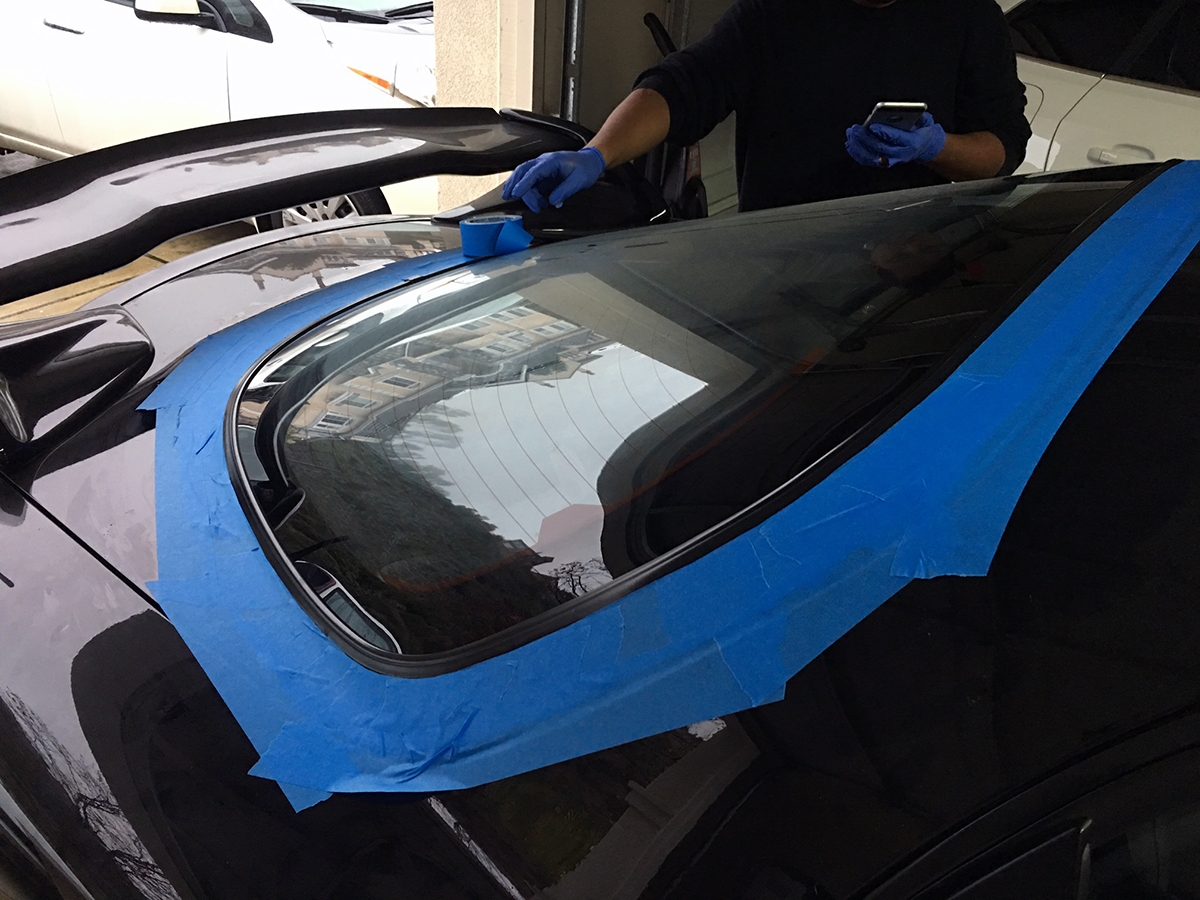
Next, Chris covered the area bordering the window on the hatch with masking tape.
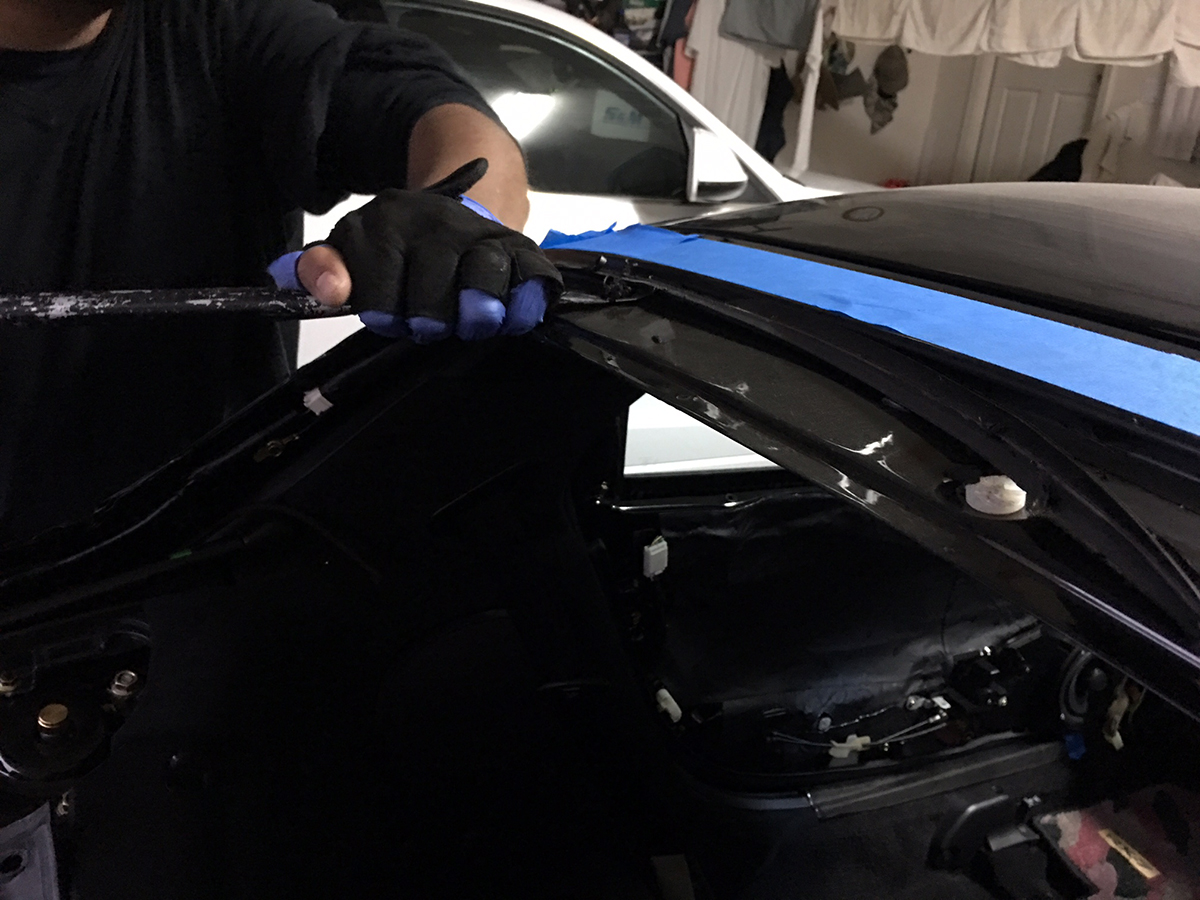
And then the old rubber molding was cut away and removed.
The most difficult part was carefully cutting the 22 year old adhesive holding down the glass and severing it from the hatch. After much finesse and wrangling, it was out.
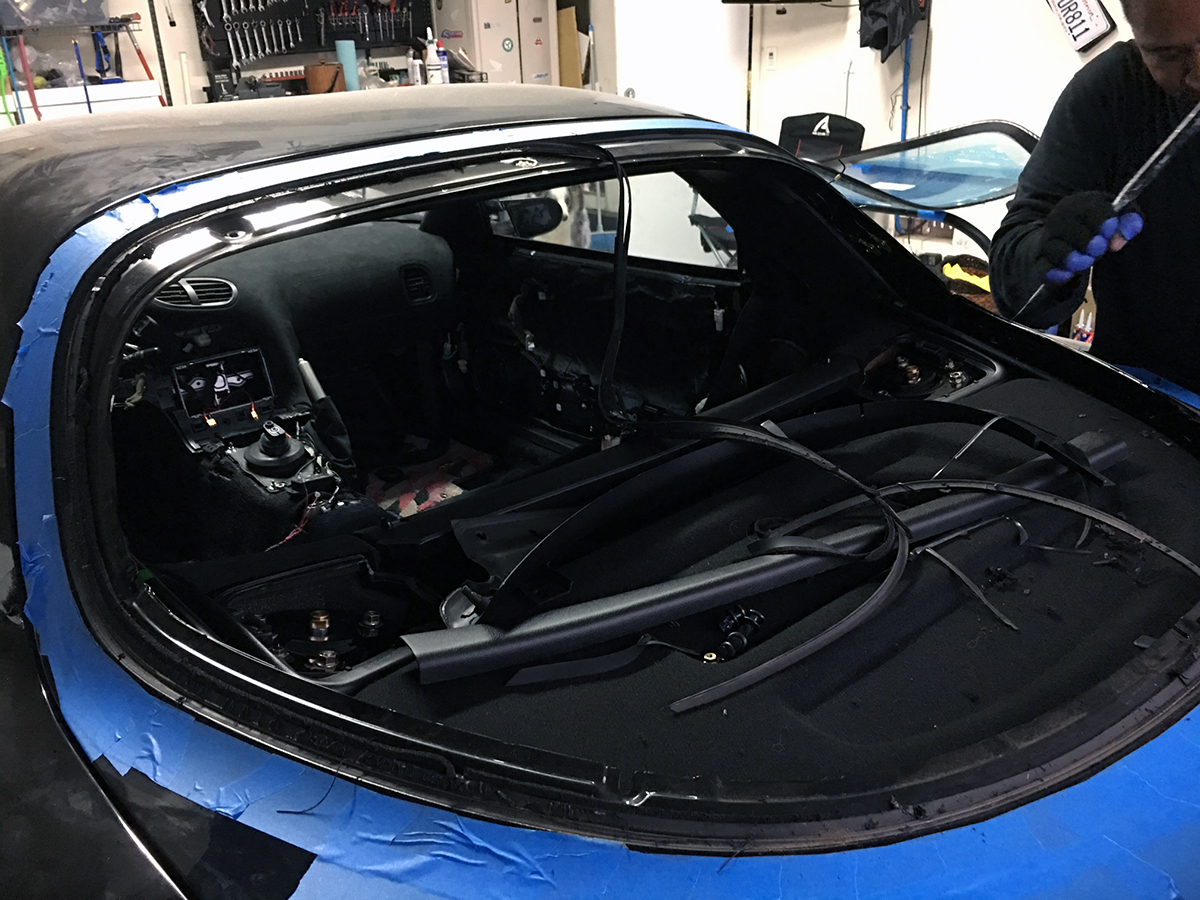
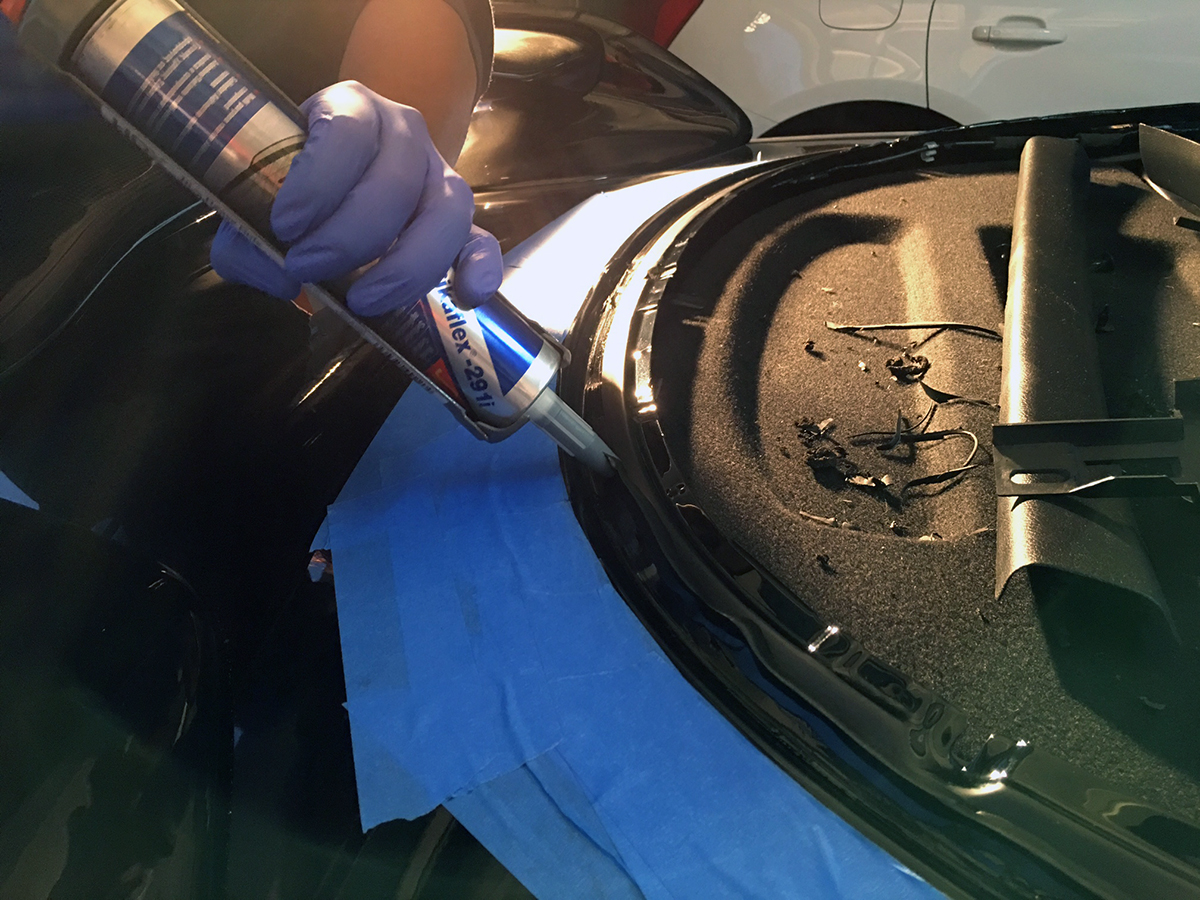
With the glass removed, remnants of the old adhesive was sliced away with a razor blade and cleaned up.
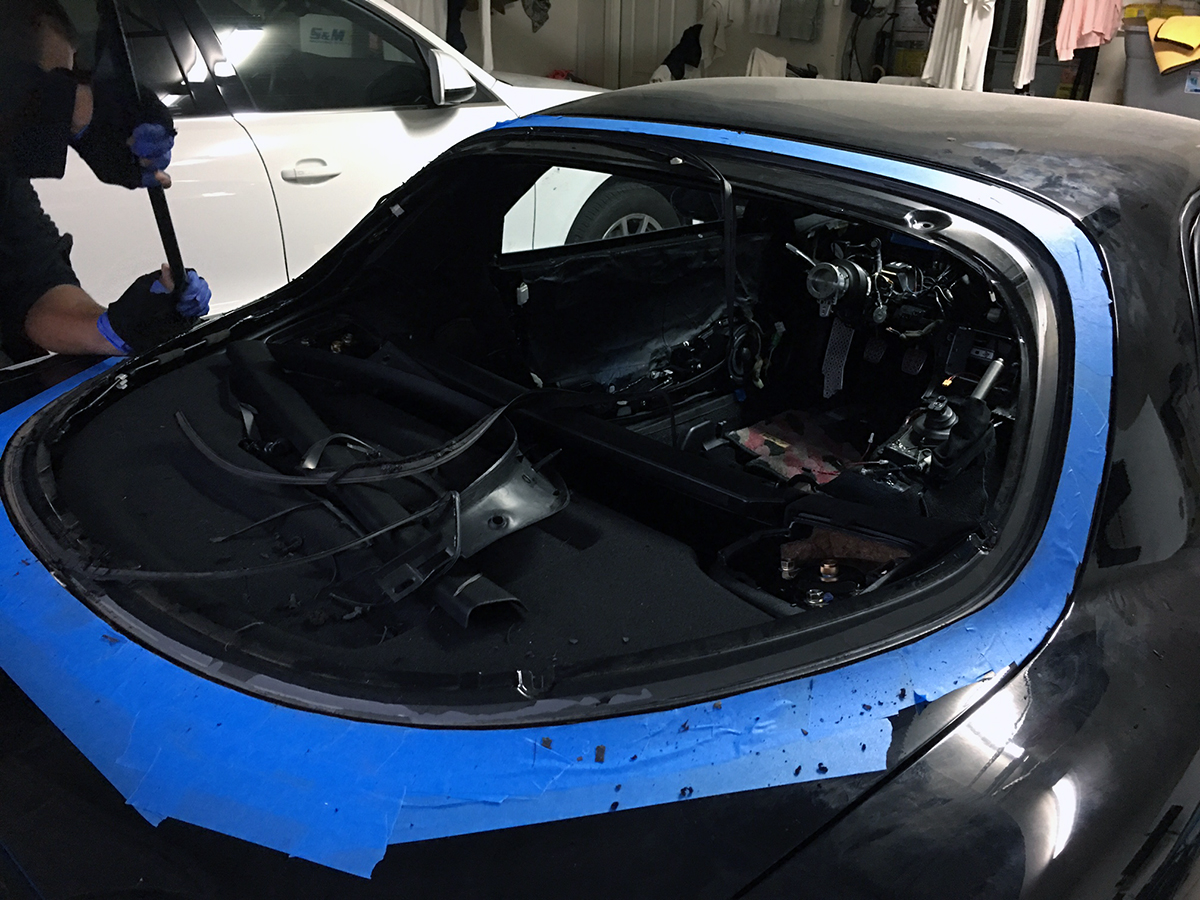
A layer of primer was applied to the outer border to protect exposed metal from corrosion.


A generous bead of the Sikaflex 291i was then laid. The original tube had just enough quantity to finish the line, but the exercise of buying extra was still a worthwhile safeguard.
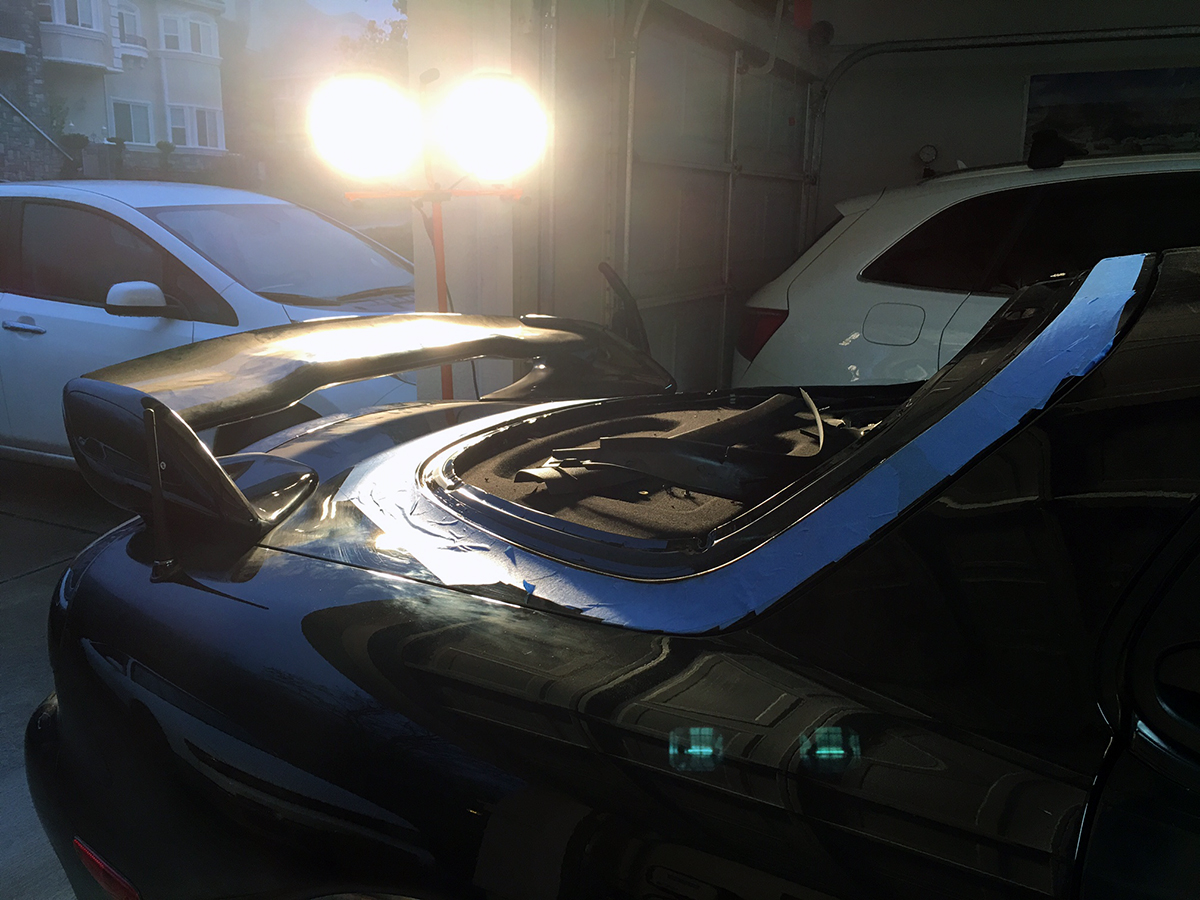
Finally, the Lexan windshield was set into place.
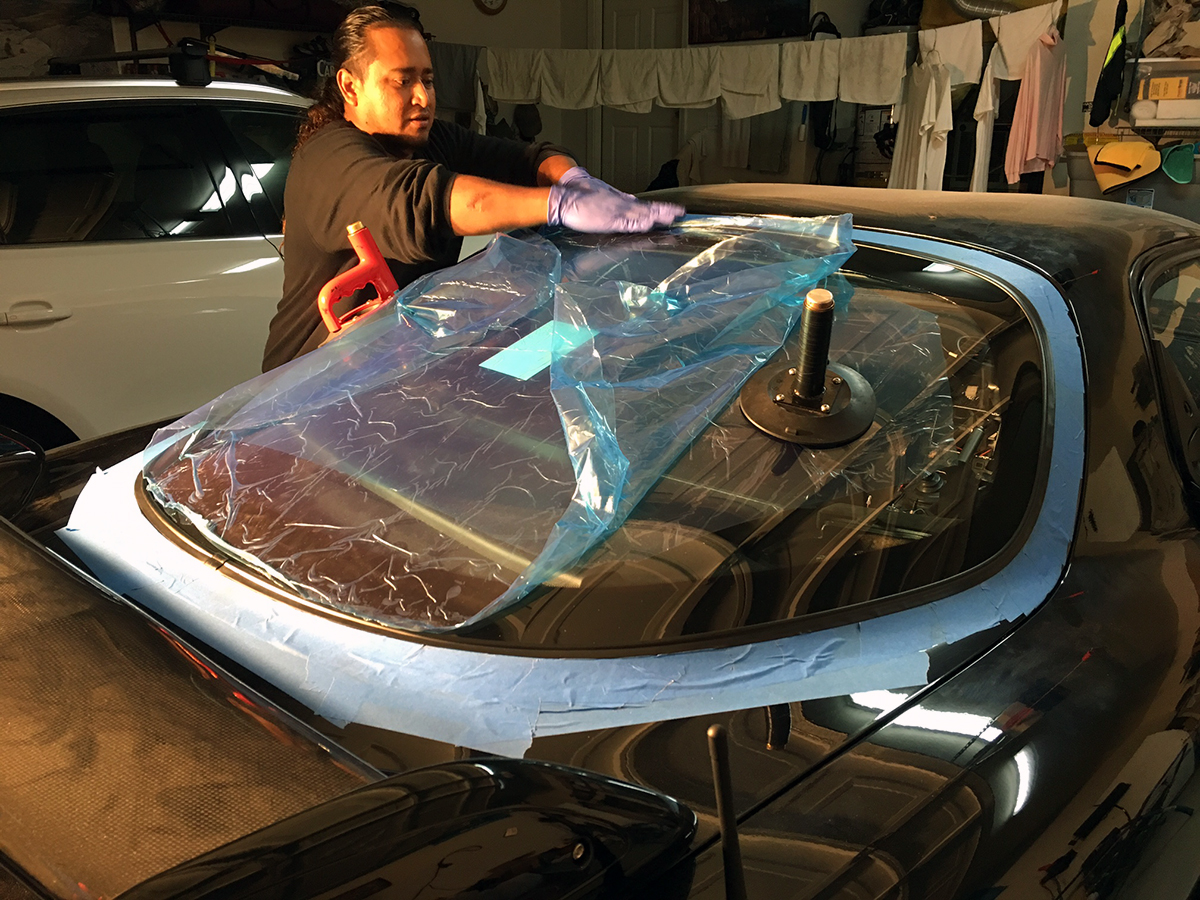
All done and waiting for the adhesive to cure.
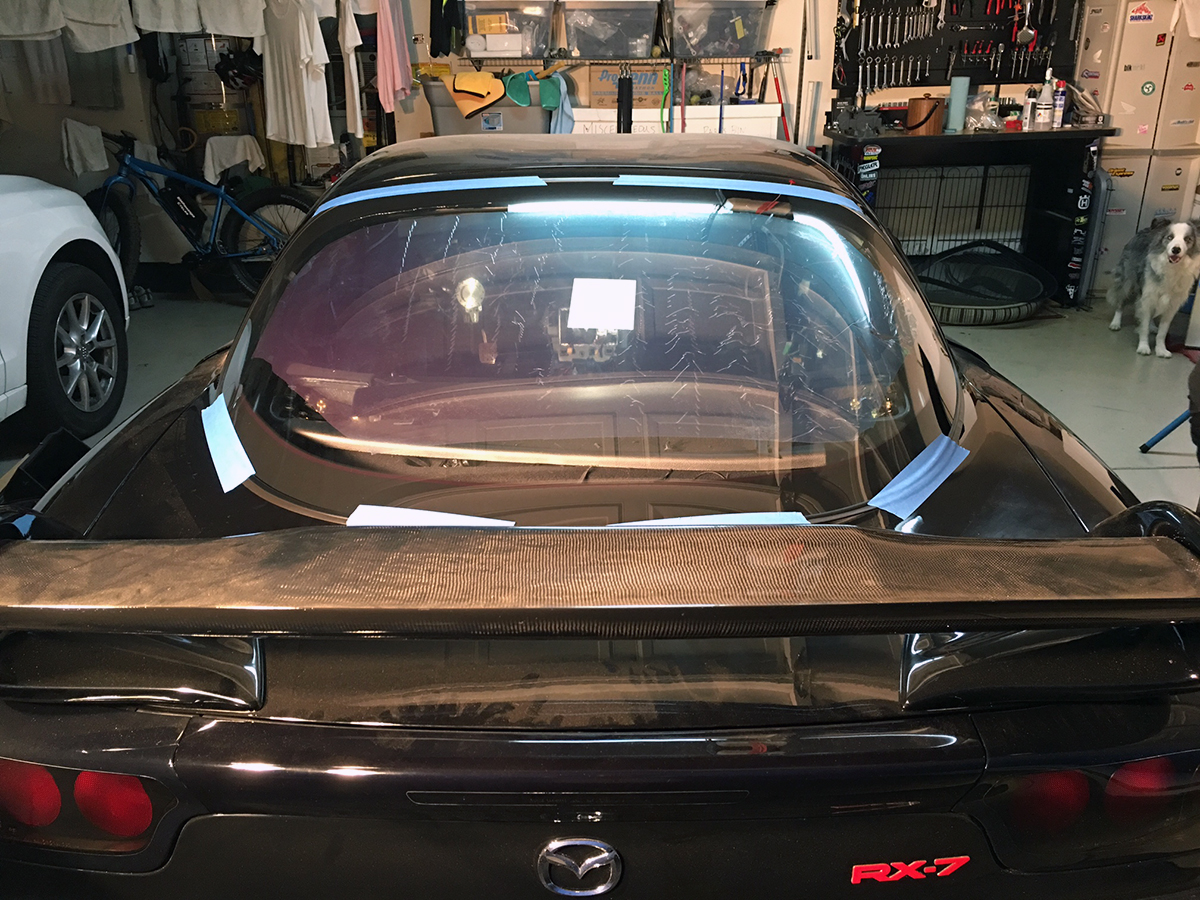
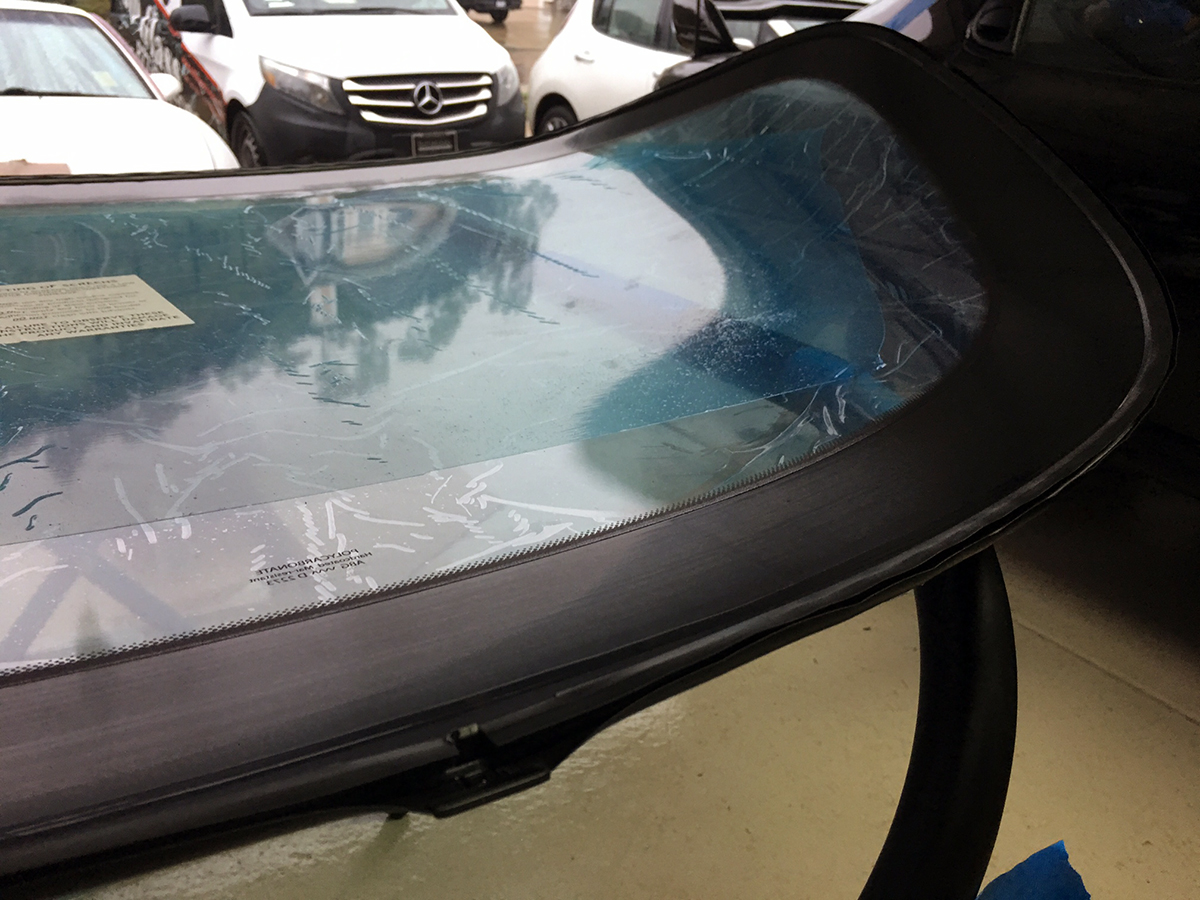
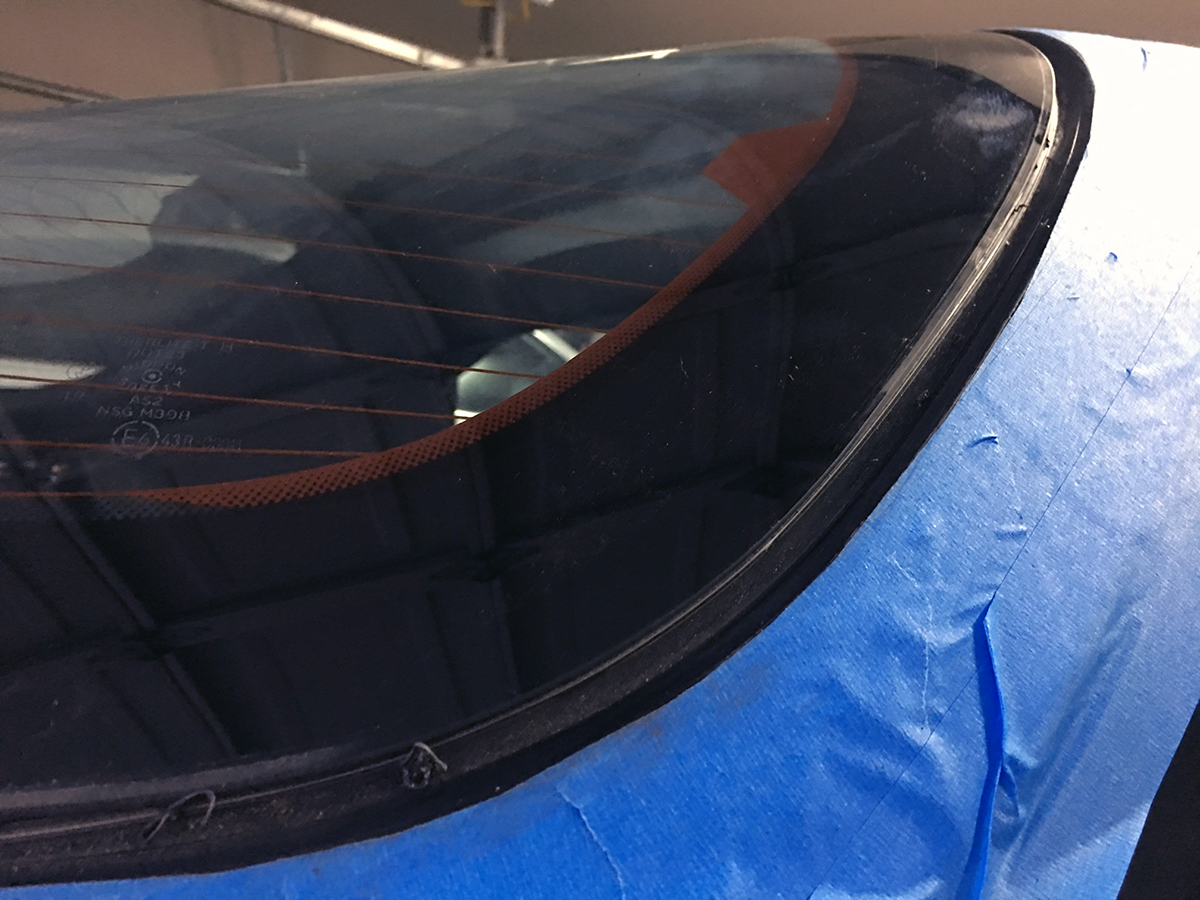
Here is a closer look of the technical specs that Plastic4Performance printed, with their branding excluded at my request.
The fitment was perfect and OEM like. The dot matrix border is another great touch that adds to the disguise. To the undiscerning and uninitiated, this rear windshield will easily be dismissed as factory. Not only did it significantly clean up the looks in the rear by being completely clear and devoid of defroster lines, the hatch is now about 20lbs lighter versus the glass. Even after I replaced the struts, the hatch never really shot up with gusto when opening. The heavier ’99 wing still anchors it down, so I’m hoping that this new window is the weight loss it needs to reach for the stars with the confidence it deserves.