With the interior mostly settled, I turned my attention to maintenance work. Over the past few years, I noticed that the rear hatch struts were gradually weakening. They eventually gave out a few months ago and could no longer hold the hatch up.
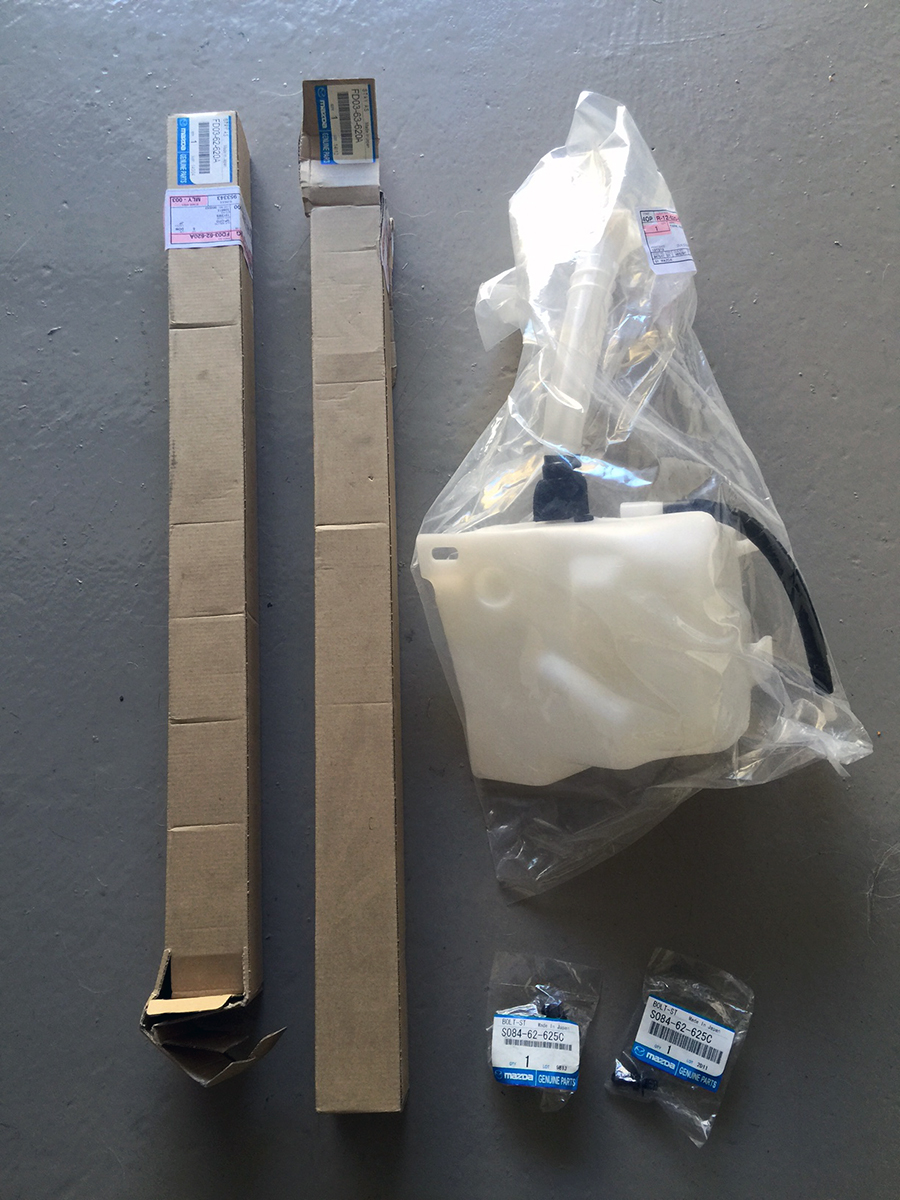
I called my favorite parts guru at Malloy Mazda and learned that there was an inbound shipment of freshly manufactured rear struts from Japan. I strategically waited about a month before placing my order so I could jump on this batch, rather than get fulfilled from existing inventory with unknown shelf life. I’m surprised Mazda is still producing new parts for these cars, as it’s only a matter of time before everything becomes NLA. For good measure, I also ordered a new coolant overflow tank as a refresh.
Premonitions were vivid as I went forward with the strut replacement. A quick look at how they are installed is enough to know what a pain in the ass they would be. I had to endure a trifecta of disagreeable tasks.
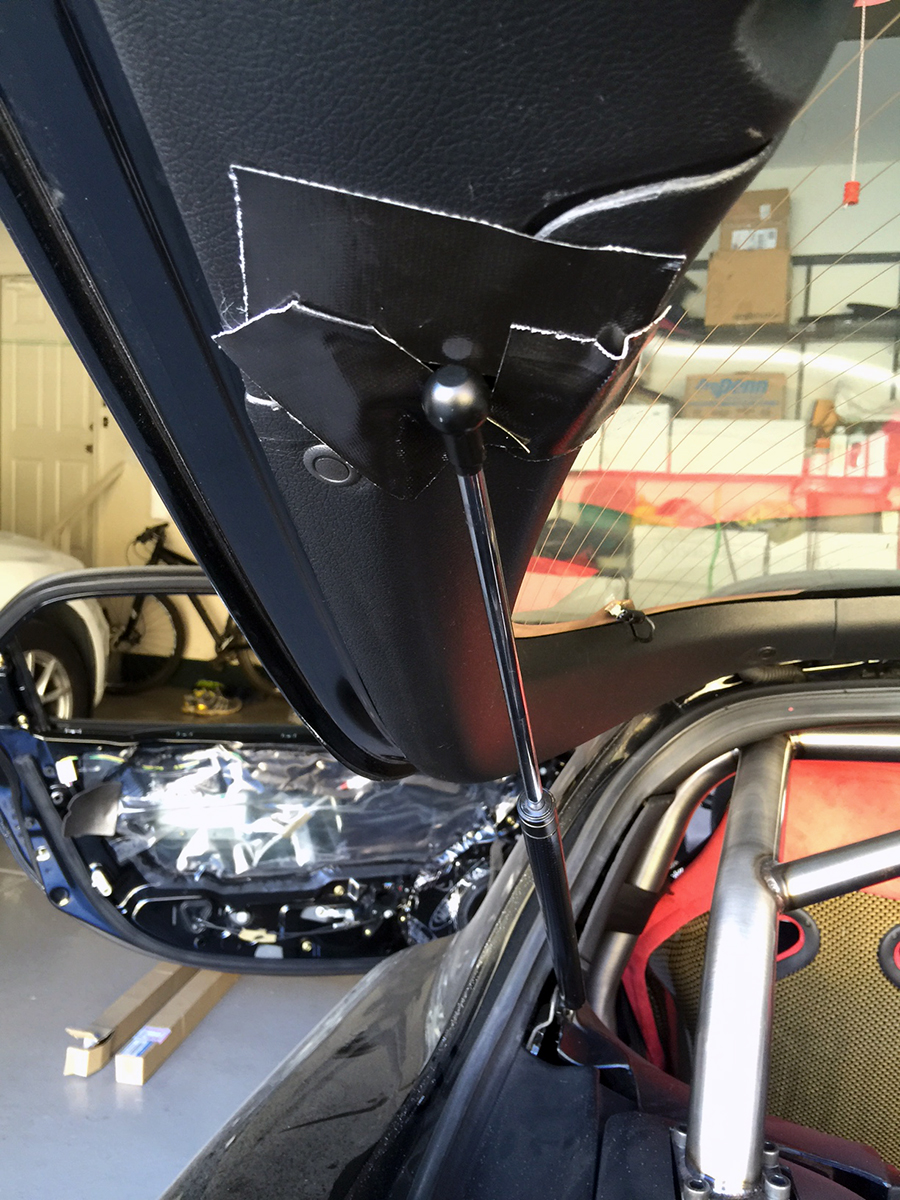
First, the large trim panel around the hatch area needed to be partially pulled out to gain better access to the base screws. I was able to squeeze a ratchet and gain the necessary leverage to unbolt them this way. Second, the struts have locked on ball joints at the other end. One option was to pull apart all of the interior panels on the upper hatch to remove these ball joint fasteners. Since I wanted to resort to popping out interior plastics as minimally as possible, I opted for an alternative approach…
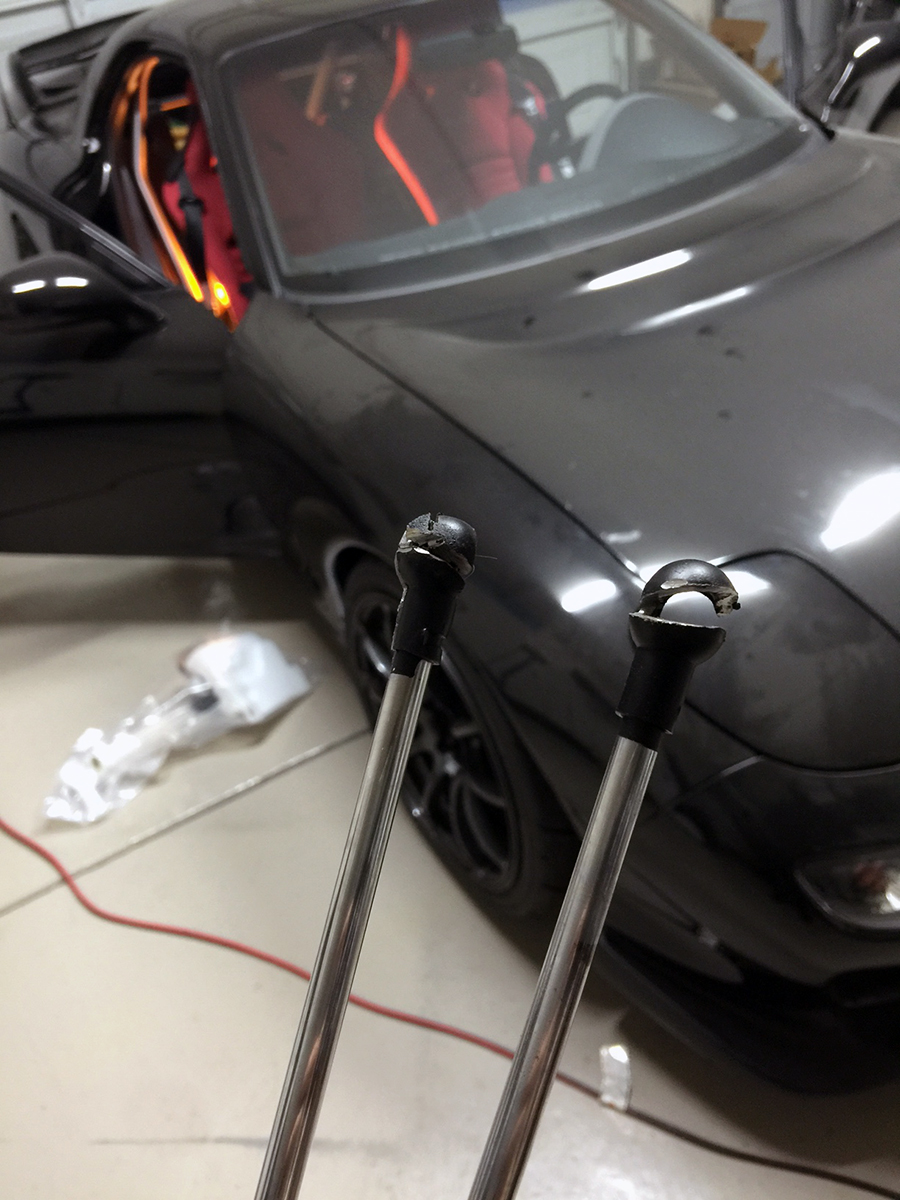
…Cut through the ends enough so they could be pried off the ball joint. I used a 4″ cut off wheel and a Dremel to accomplish this. It’s never a good time when you have to carefully cut through metal, especially in close vicinity to vulnerable trim panels.
Third – while mounting on one of the new struts – I of course dropped a screw down the into the cavity of the side panel. This wasted an hour of my time to fish for with a magnet.
At least the hatch can hold itself up now. Fingers crossed that these new struts are in it for the long haul, because I do not look forward to revisiting them in the future. With that order of business taken care of, I moved onto the coolant overflow tank replacement, which was like a vacation by comparison.
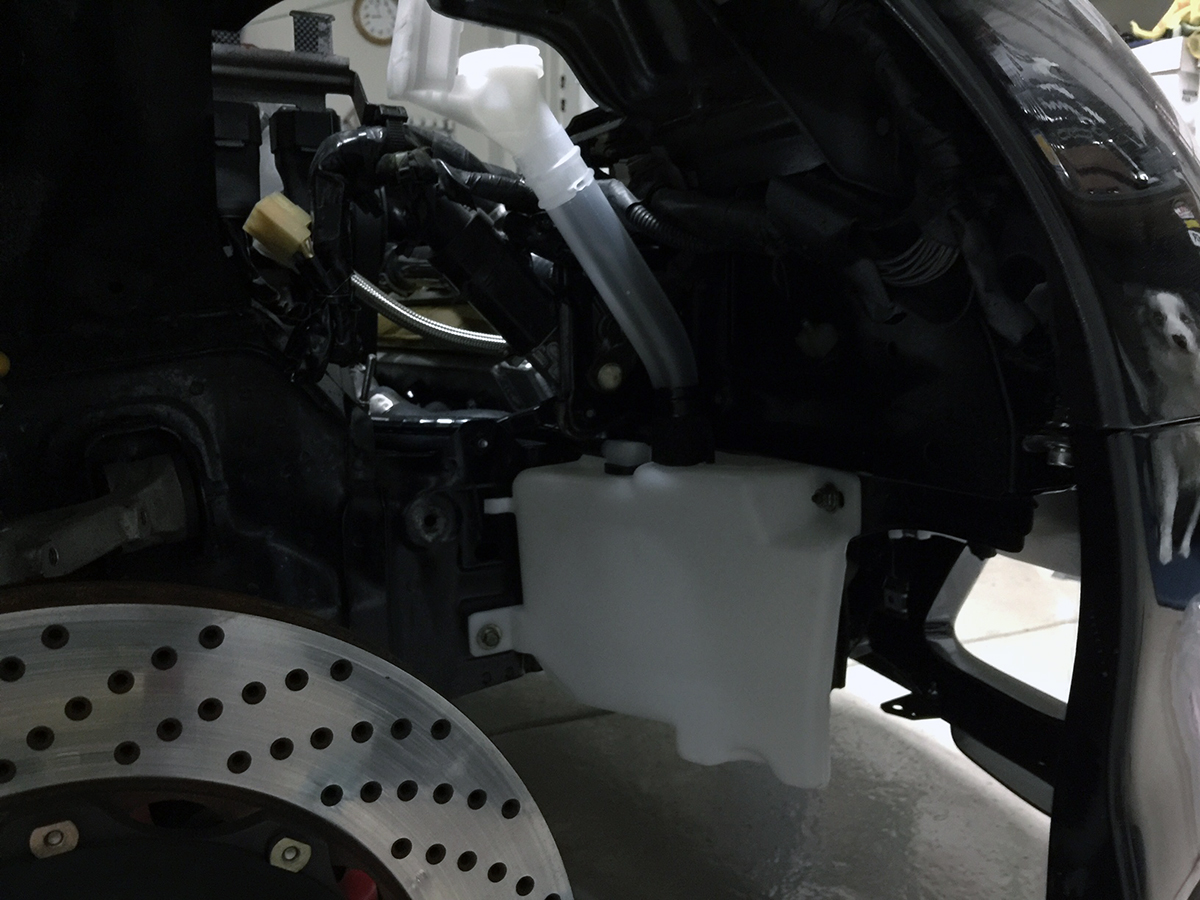
After removing the front passenger wheel and yanking out the old tank, it was readily apparent that the years of use and heat had yellowed and stained its color.

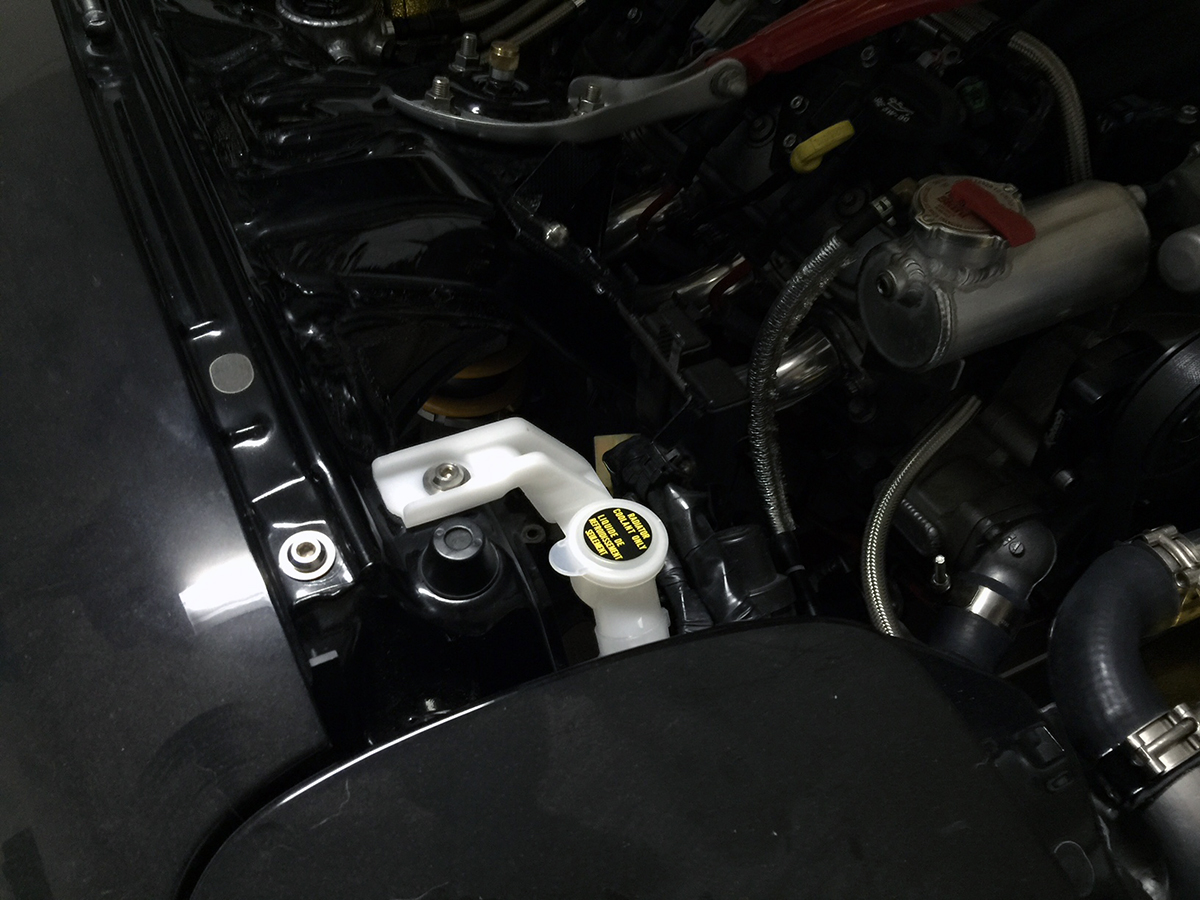
The new, pristinely white tank should add a nice touch.
(I know, the engine bay is actually cleaner than the exterior of the car right now…)
Hey Eric,
Just curious, what did the struts and bottle cost you? My struts are starting to give way too, and my bottle is turning a little yellow as well.
Thanks!
I don’t recall the exact breakdown of each part, but the total order for the struts and bottles shipped to me was right around $360. I think the tank was around $100 and the struts made the difference of that total.
Definitely get OEM struts as it’s not worth it to bother with AutoZone equivalent replacements. You need the base plate and the new ball joint fasteners. You can probably salvage and transfer over that stuff to aftermarket struts, but it’d be a lot of work.
Thanks for the info!