At long last, I’m back with an update.
Over the past couple of years, I’ve been able to maintain a high cadence in terms of modifications and progress. Things are now culminating to a finale by way of brute productivity and will. I no longer have the time nor the facilities these days to continue at my previous rate, but conveniently, I’m also running out of items to check off on the list.
I can attest to the fact that cars of this nature are never truly “done”. Regardless, the majority of what needs to be done has been completed. I have this one last transformative project planned, and then it will finally be time to start using instead of focusing on only changing… theoretically.
Since the previous post, the RX-7 hibernated the weeks away in preparation and anticipation for the next and crowning phase.
Many years ago, a user named Broadfield caught my attention on the forums for the cleanliness of his 240SX build. I appreciated his thorough attention to details, which was easily distinguishable amongst the masses. It was something that I found relatable and, coincidentally enough, he has a very refined LS3 swap. I started to follow his blog and this is how I came to learn his skill with interior parts, which was mostly done as a side business at the time. Fast forward to now, I have a reason myself to enlist his craft.
As I may have alluded to in recent updates, I was never content with the stock gauges. They are antiquated and give unresponsive readings. For example, the coolant gauge sits in the middle and does not move until the car is dangerously close to overheating. Furthermore, I’m a fan of analytics and like to have full confidence in the car by keeping tally on a multitude of readings. I absolutely hate the look of an interior with aftermarket gauges strewn everywhere, so adding on more is not an option. Instead, the plan is to change out the entire gauge setup in favor of a modern dash unit to have everything displayed in an inclusive and accurate package.
I contacted Broadfield, A.K.A. Toby, through the contact info on his website and got the ball rolling for the project. I purchased a spare set of interior trim pieces and sent them to him. Due to the nature of his work, he schedules out approximately 10-14 weeks. After waiting for him to push through the backlog, it is now my turn. I asked Toby to take pictures and detail the build of my interior project. Follow along as the progress and intricacies unfold.
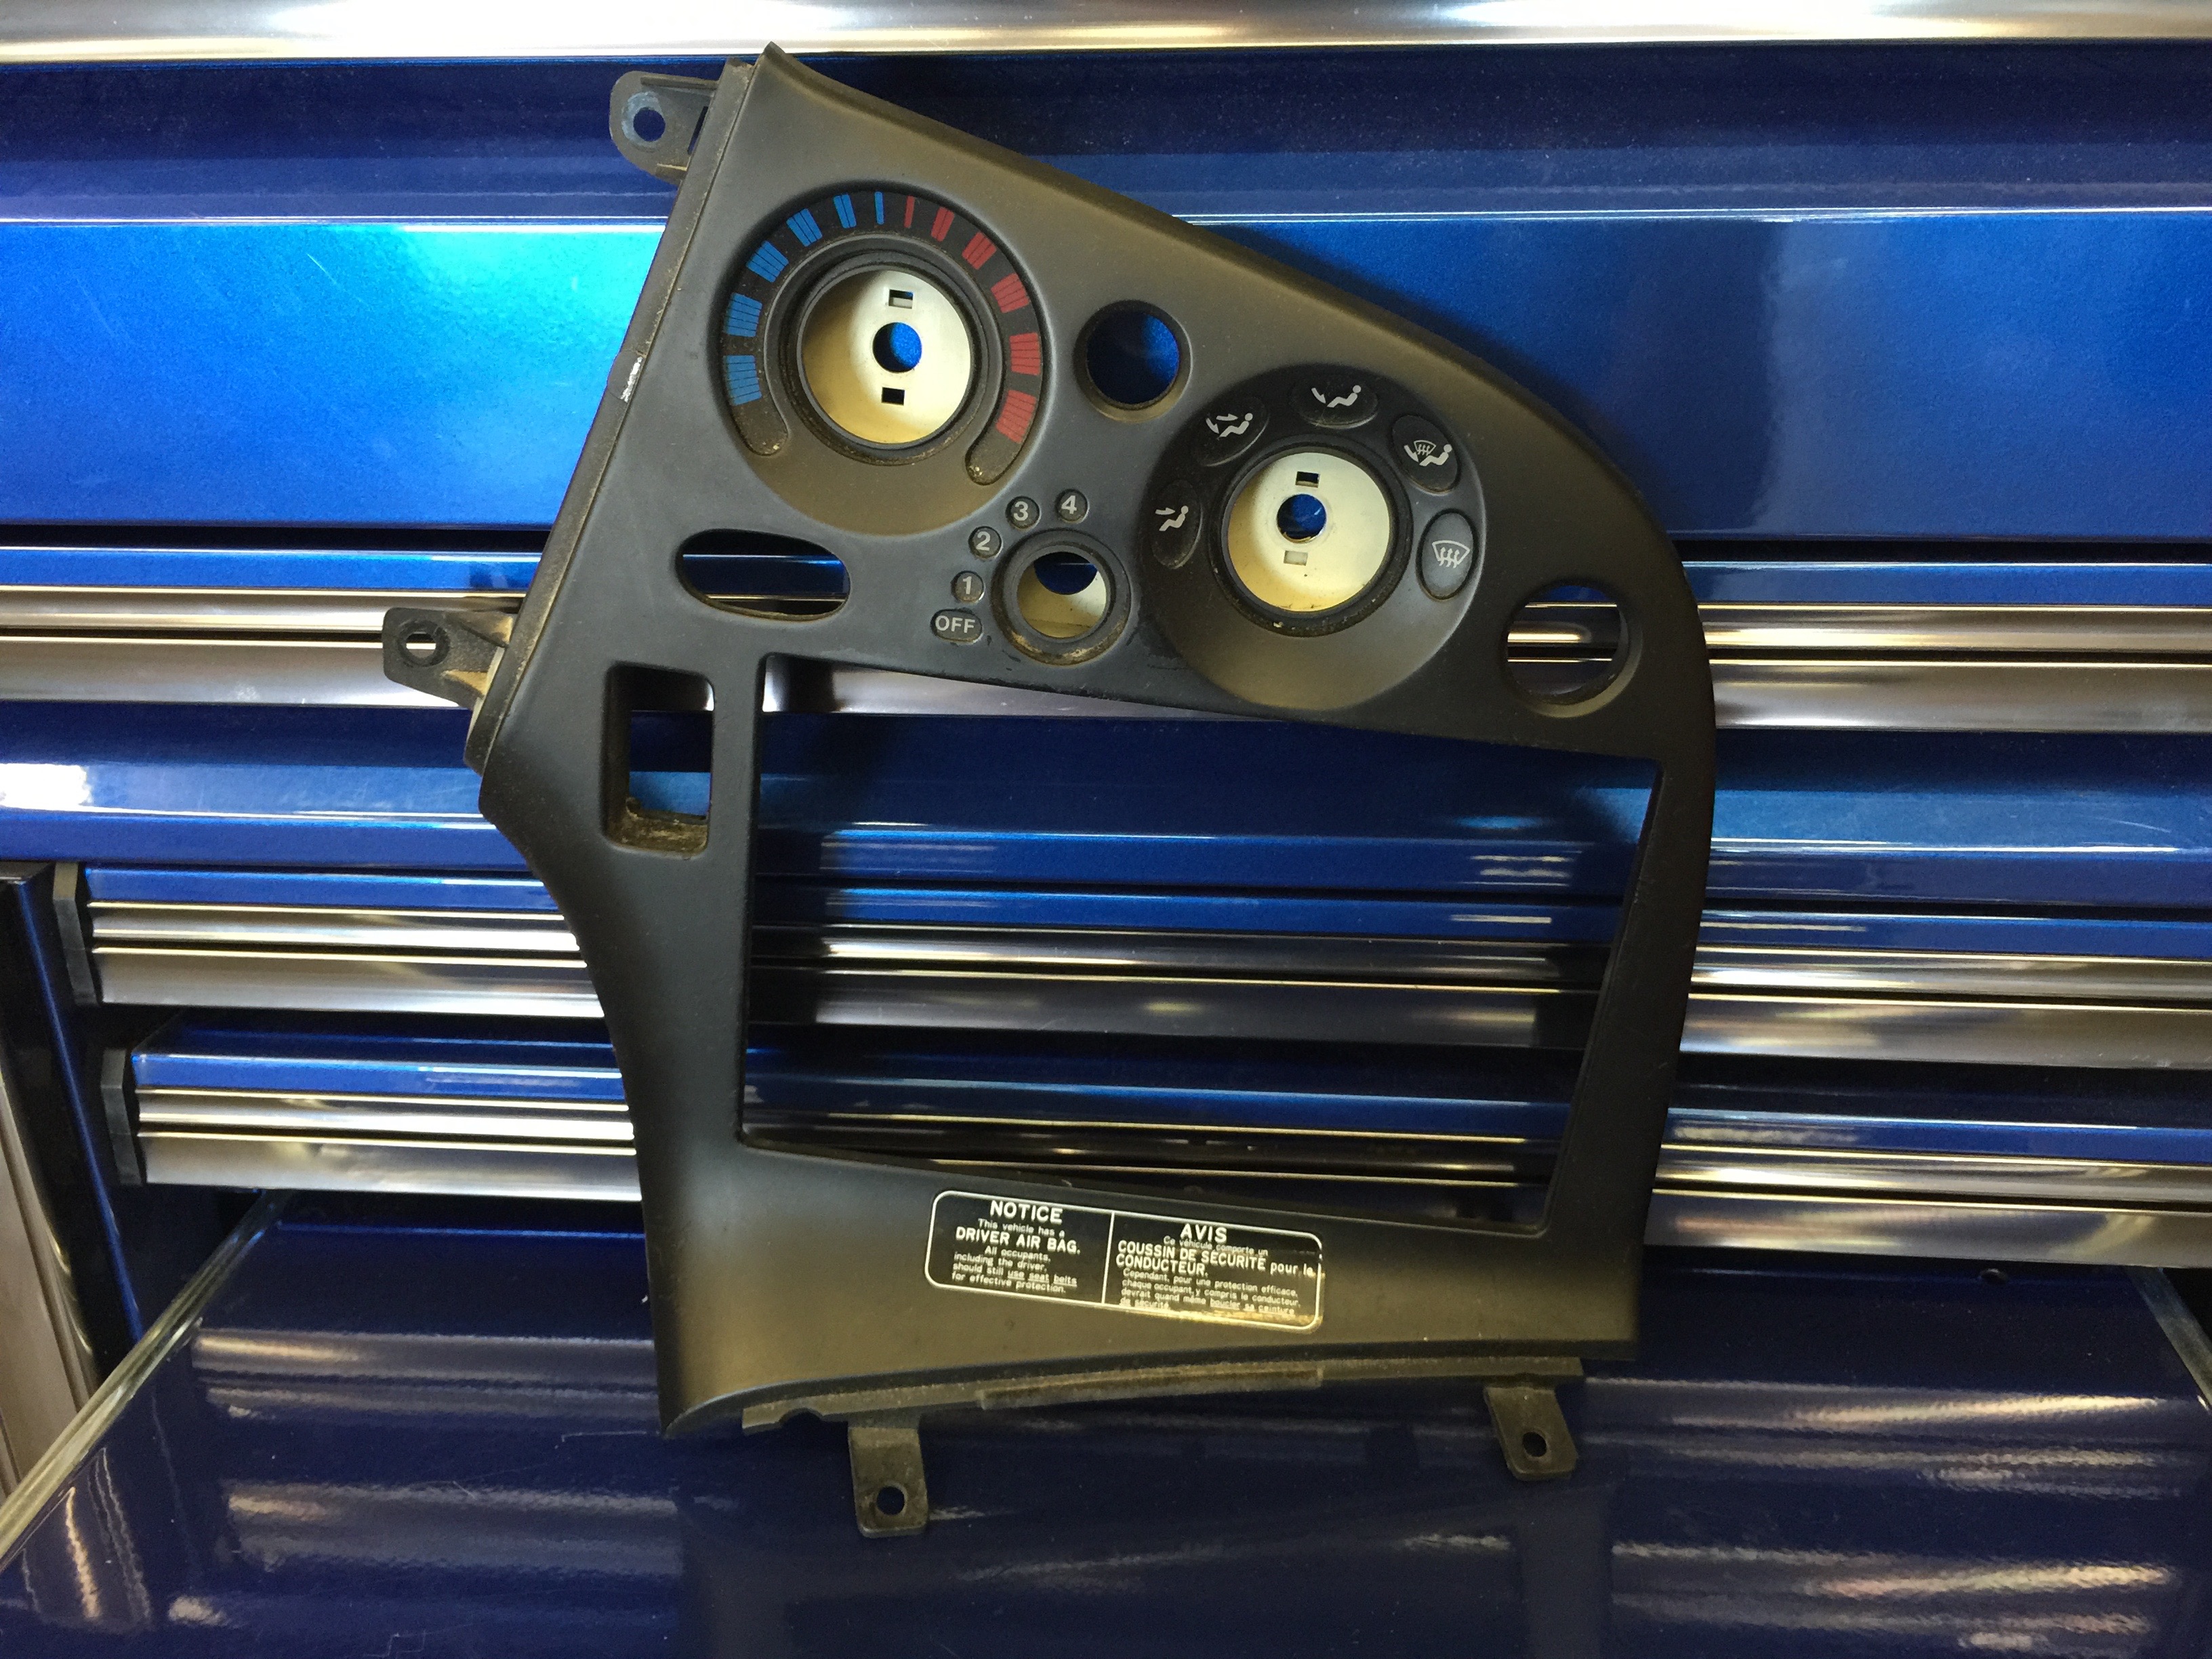
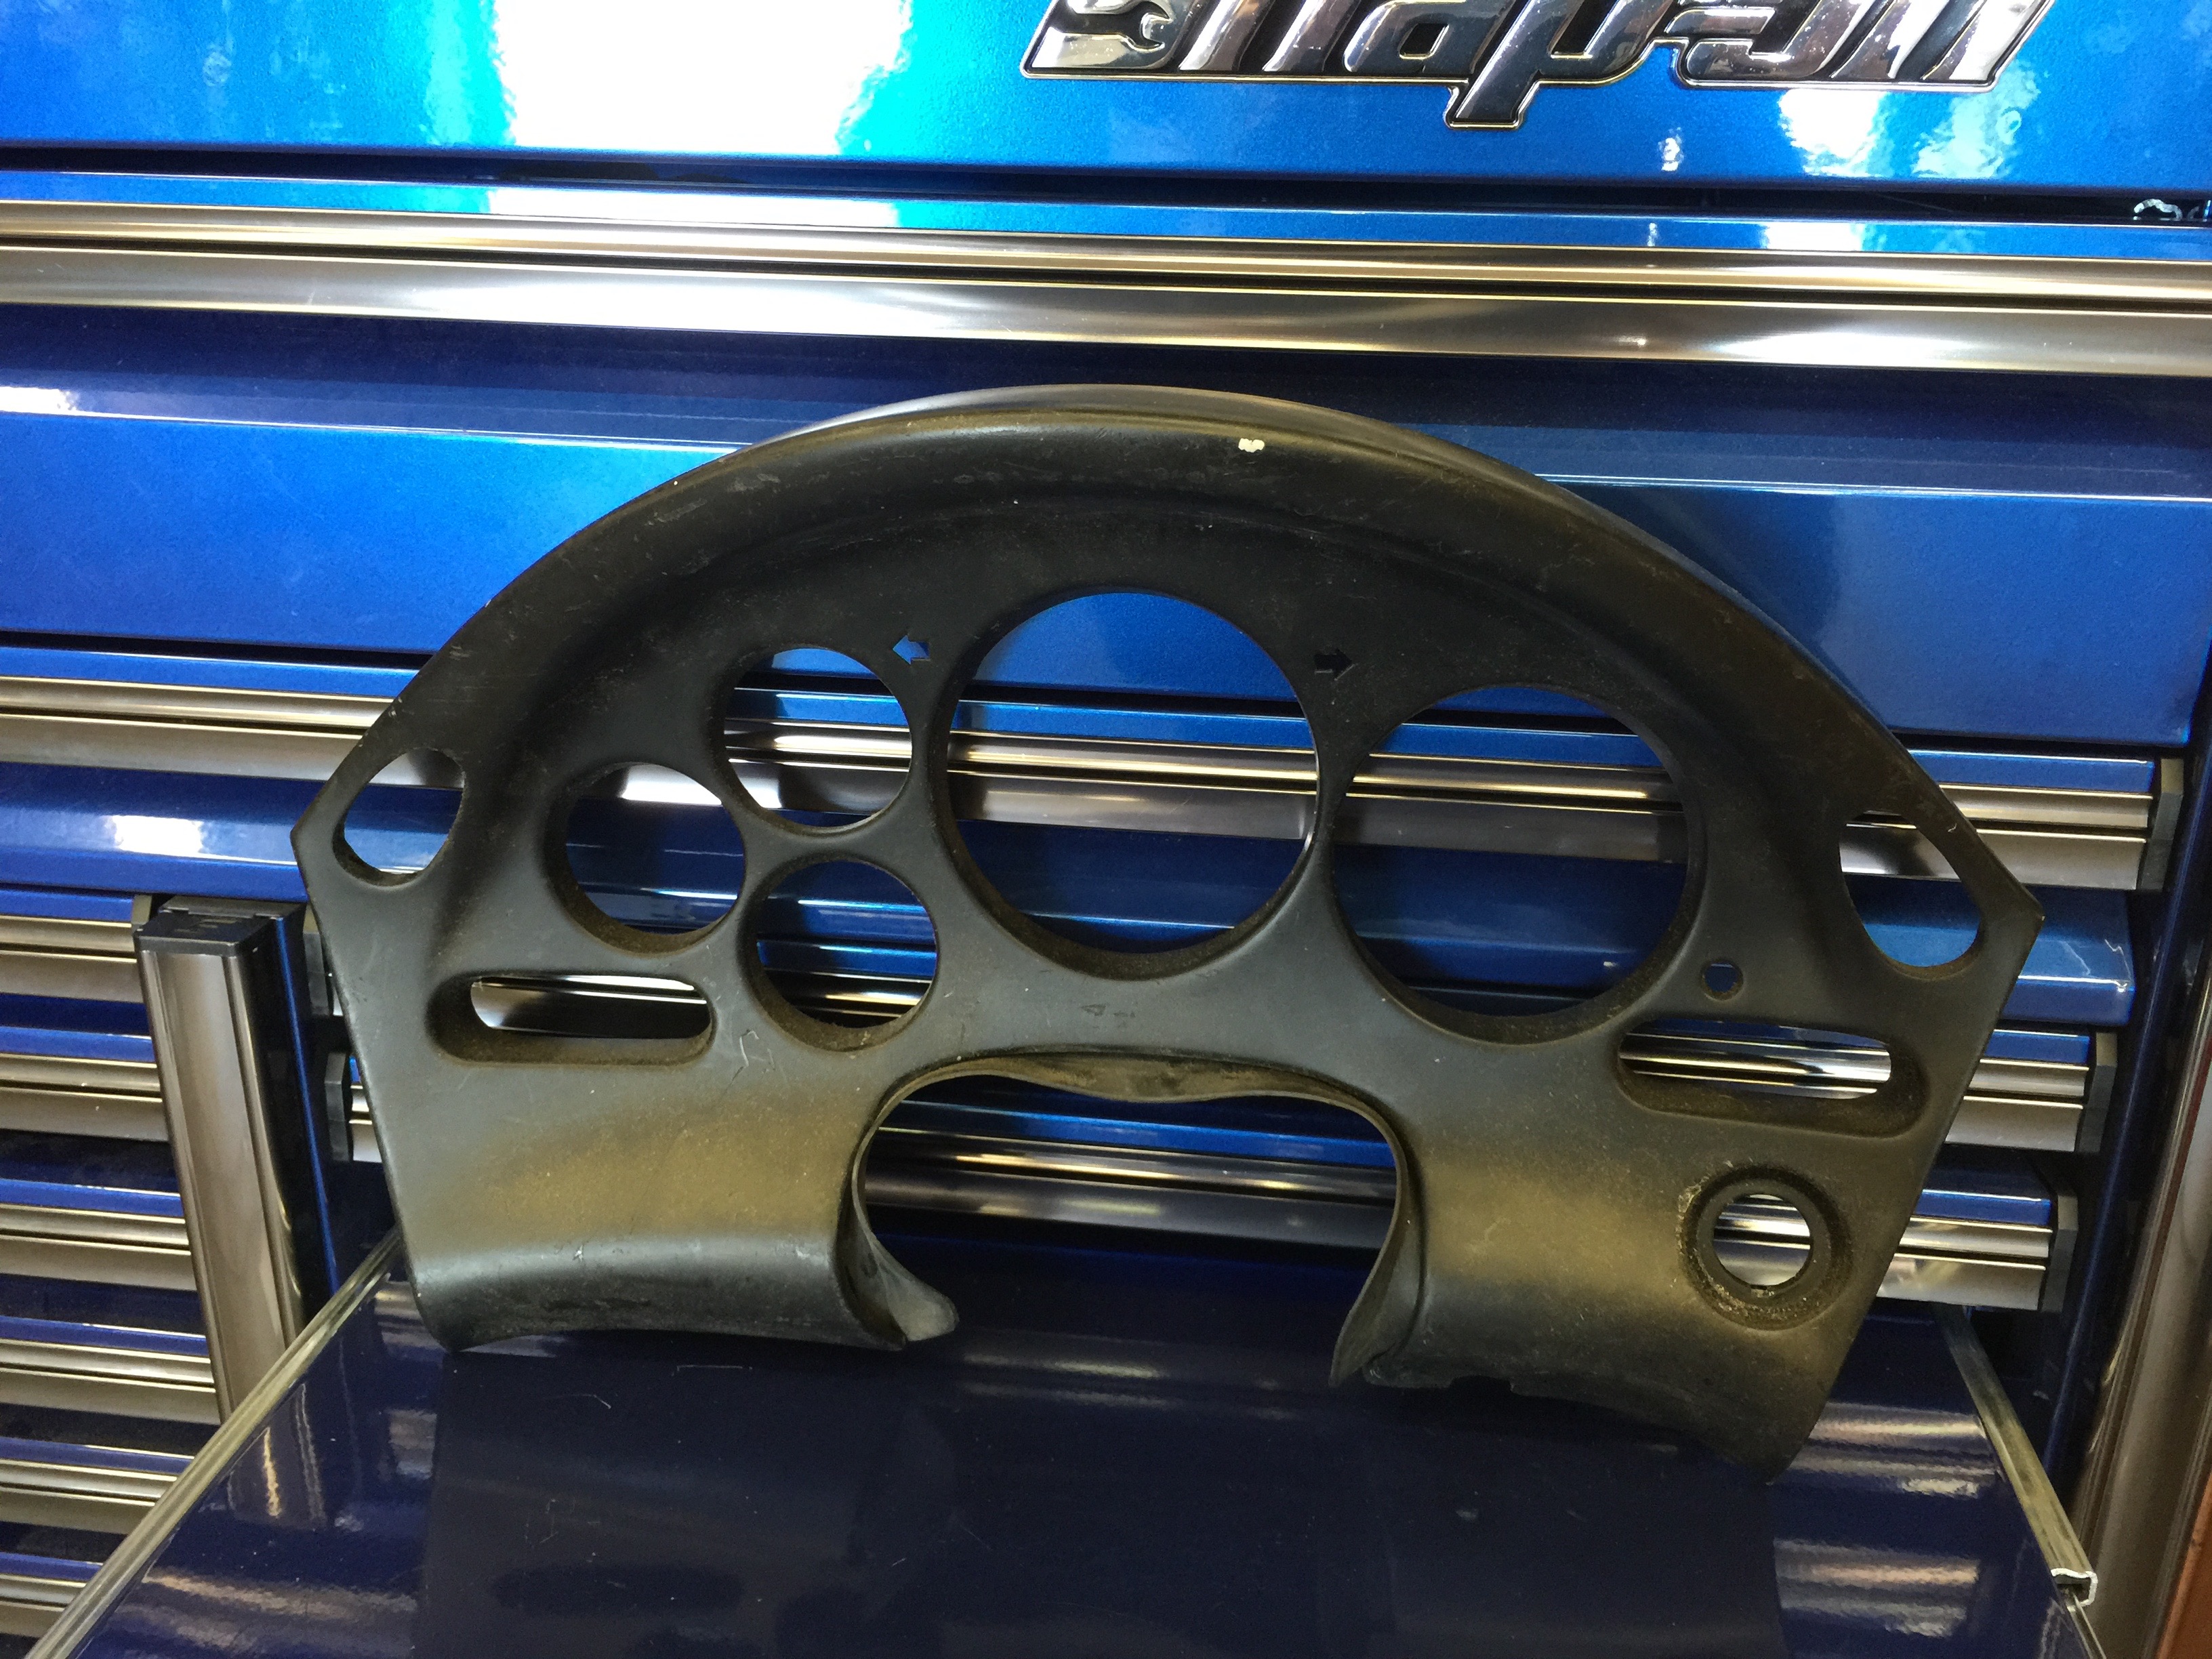
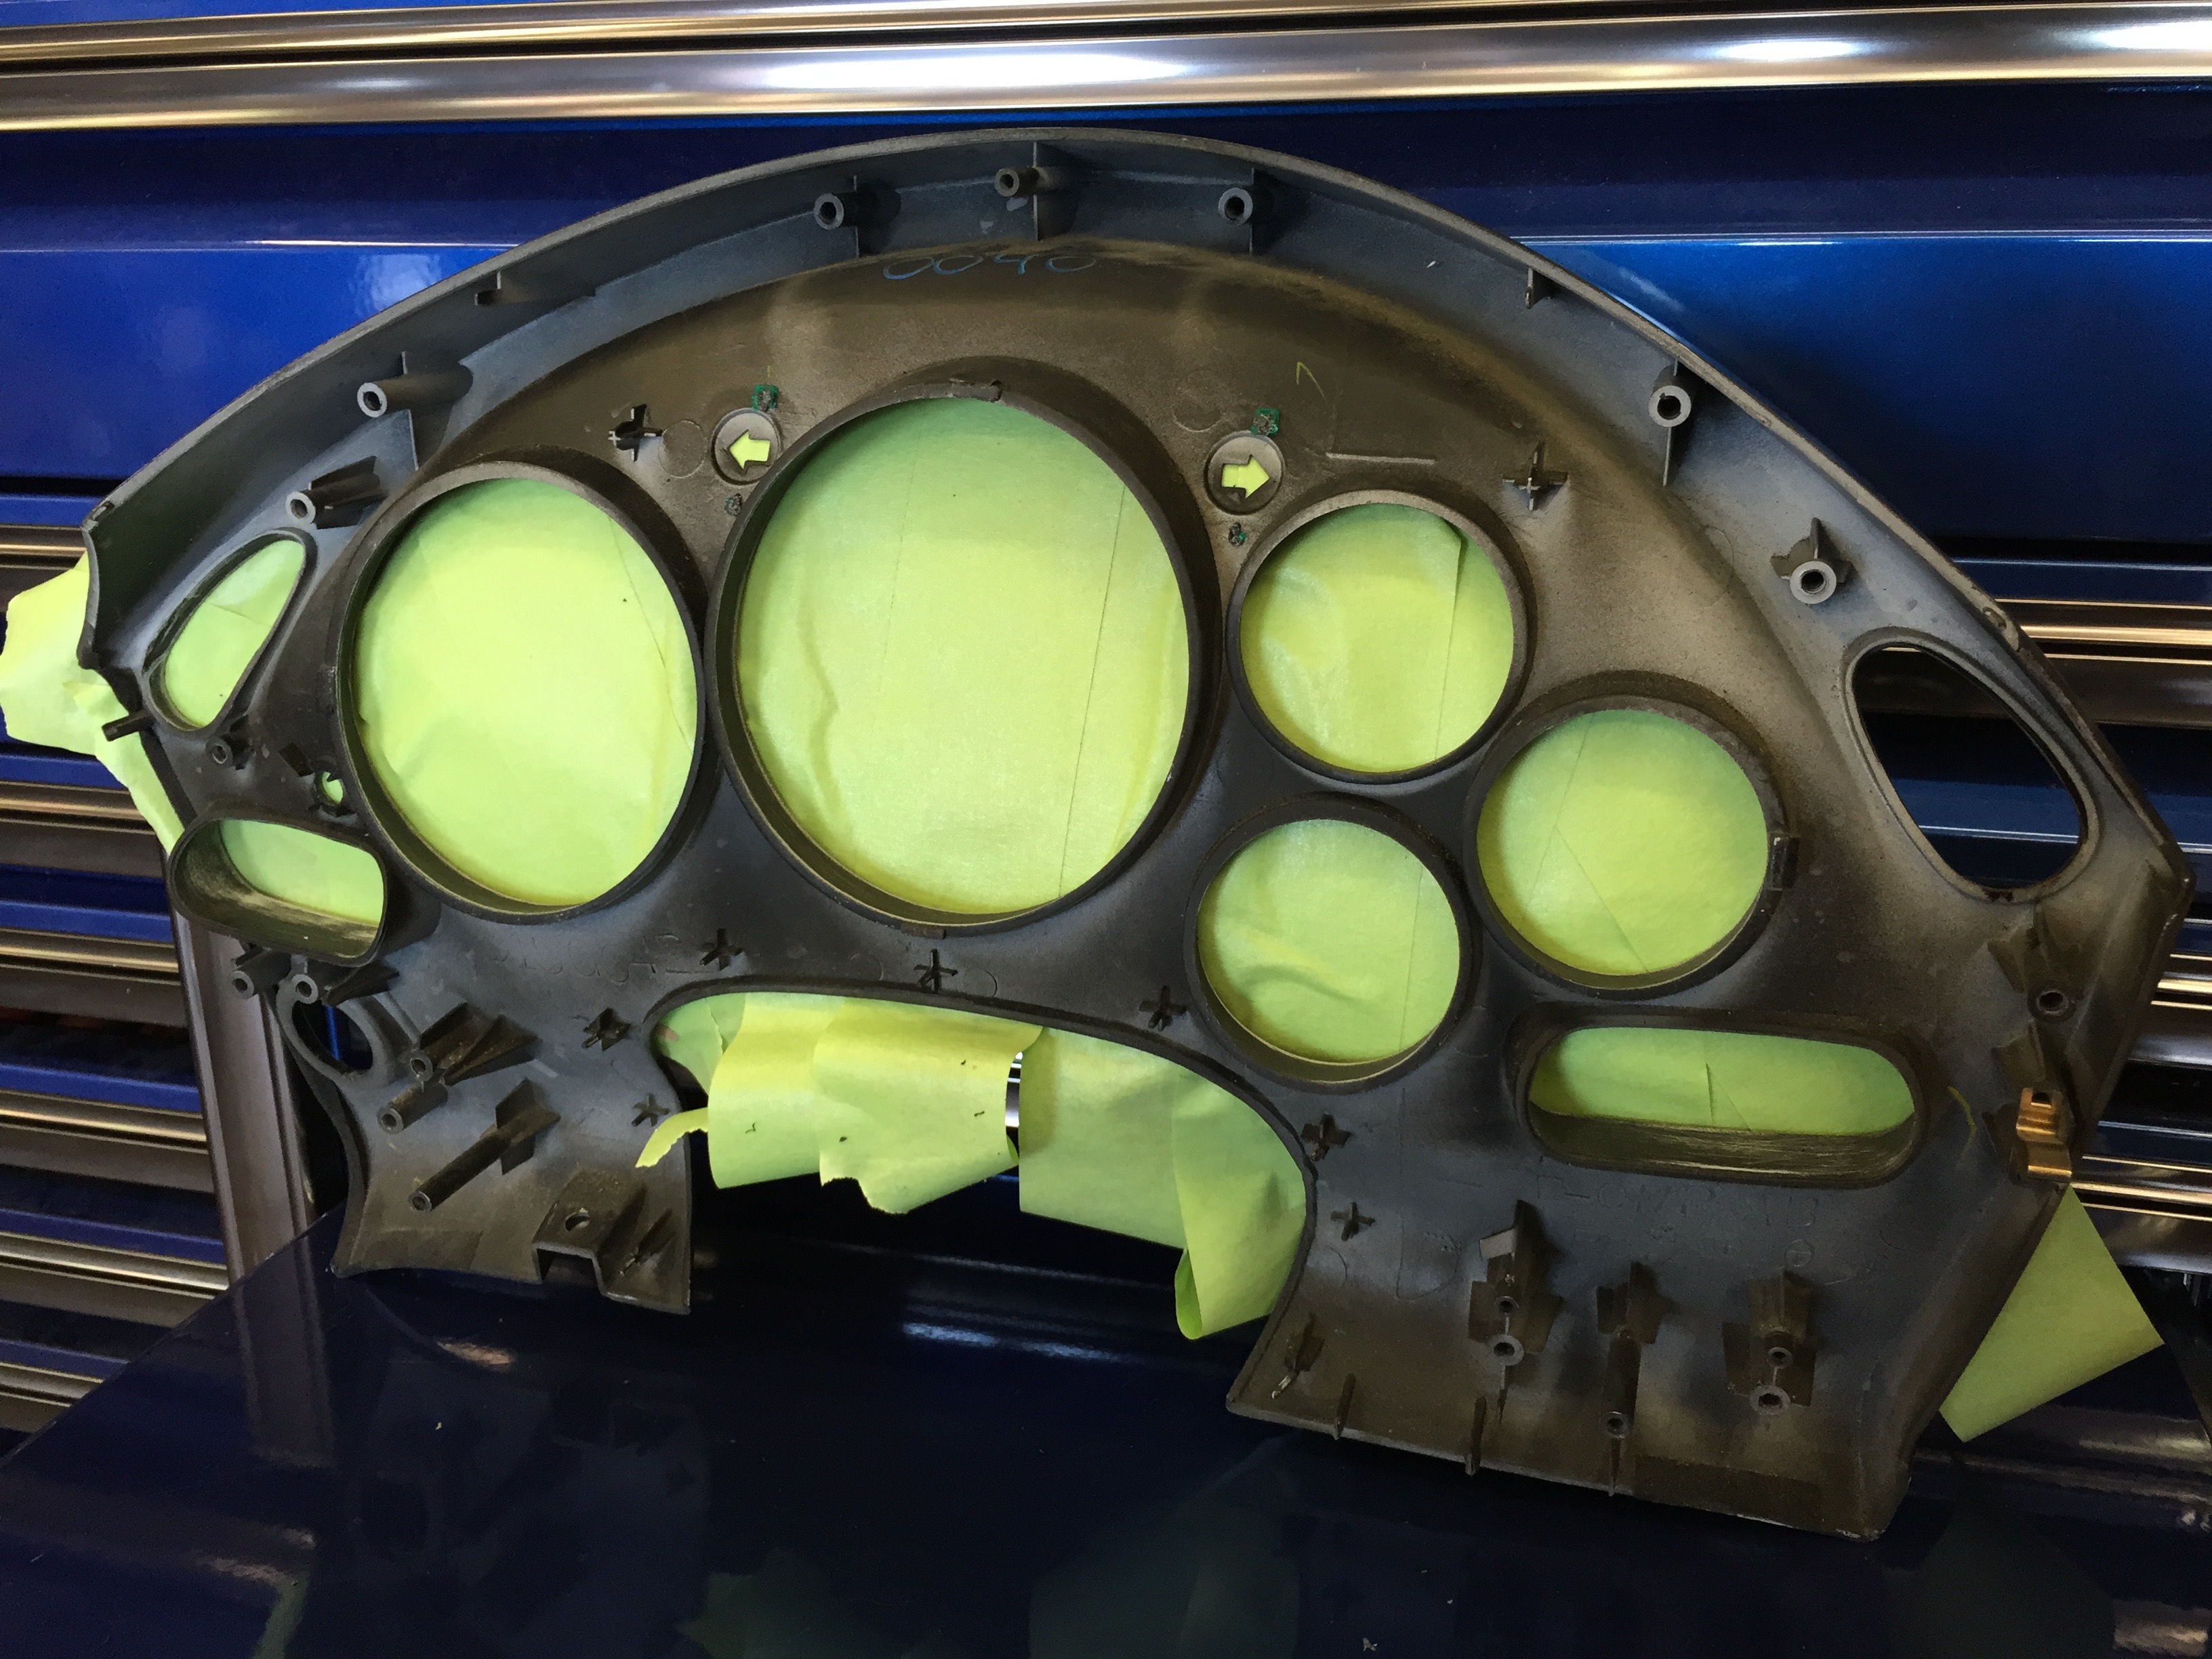
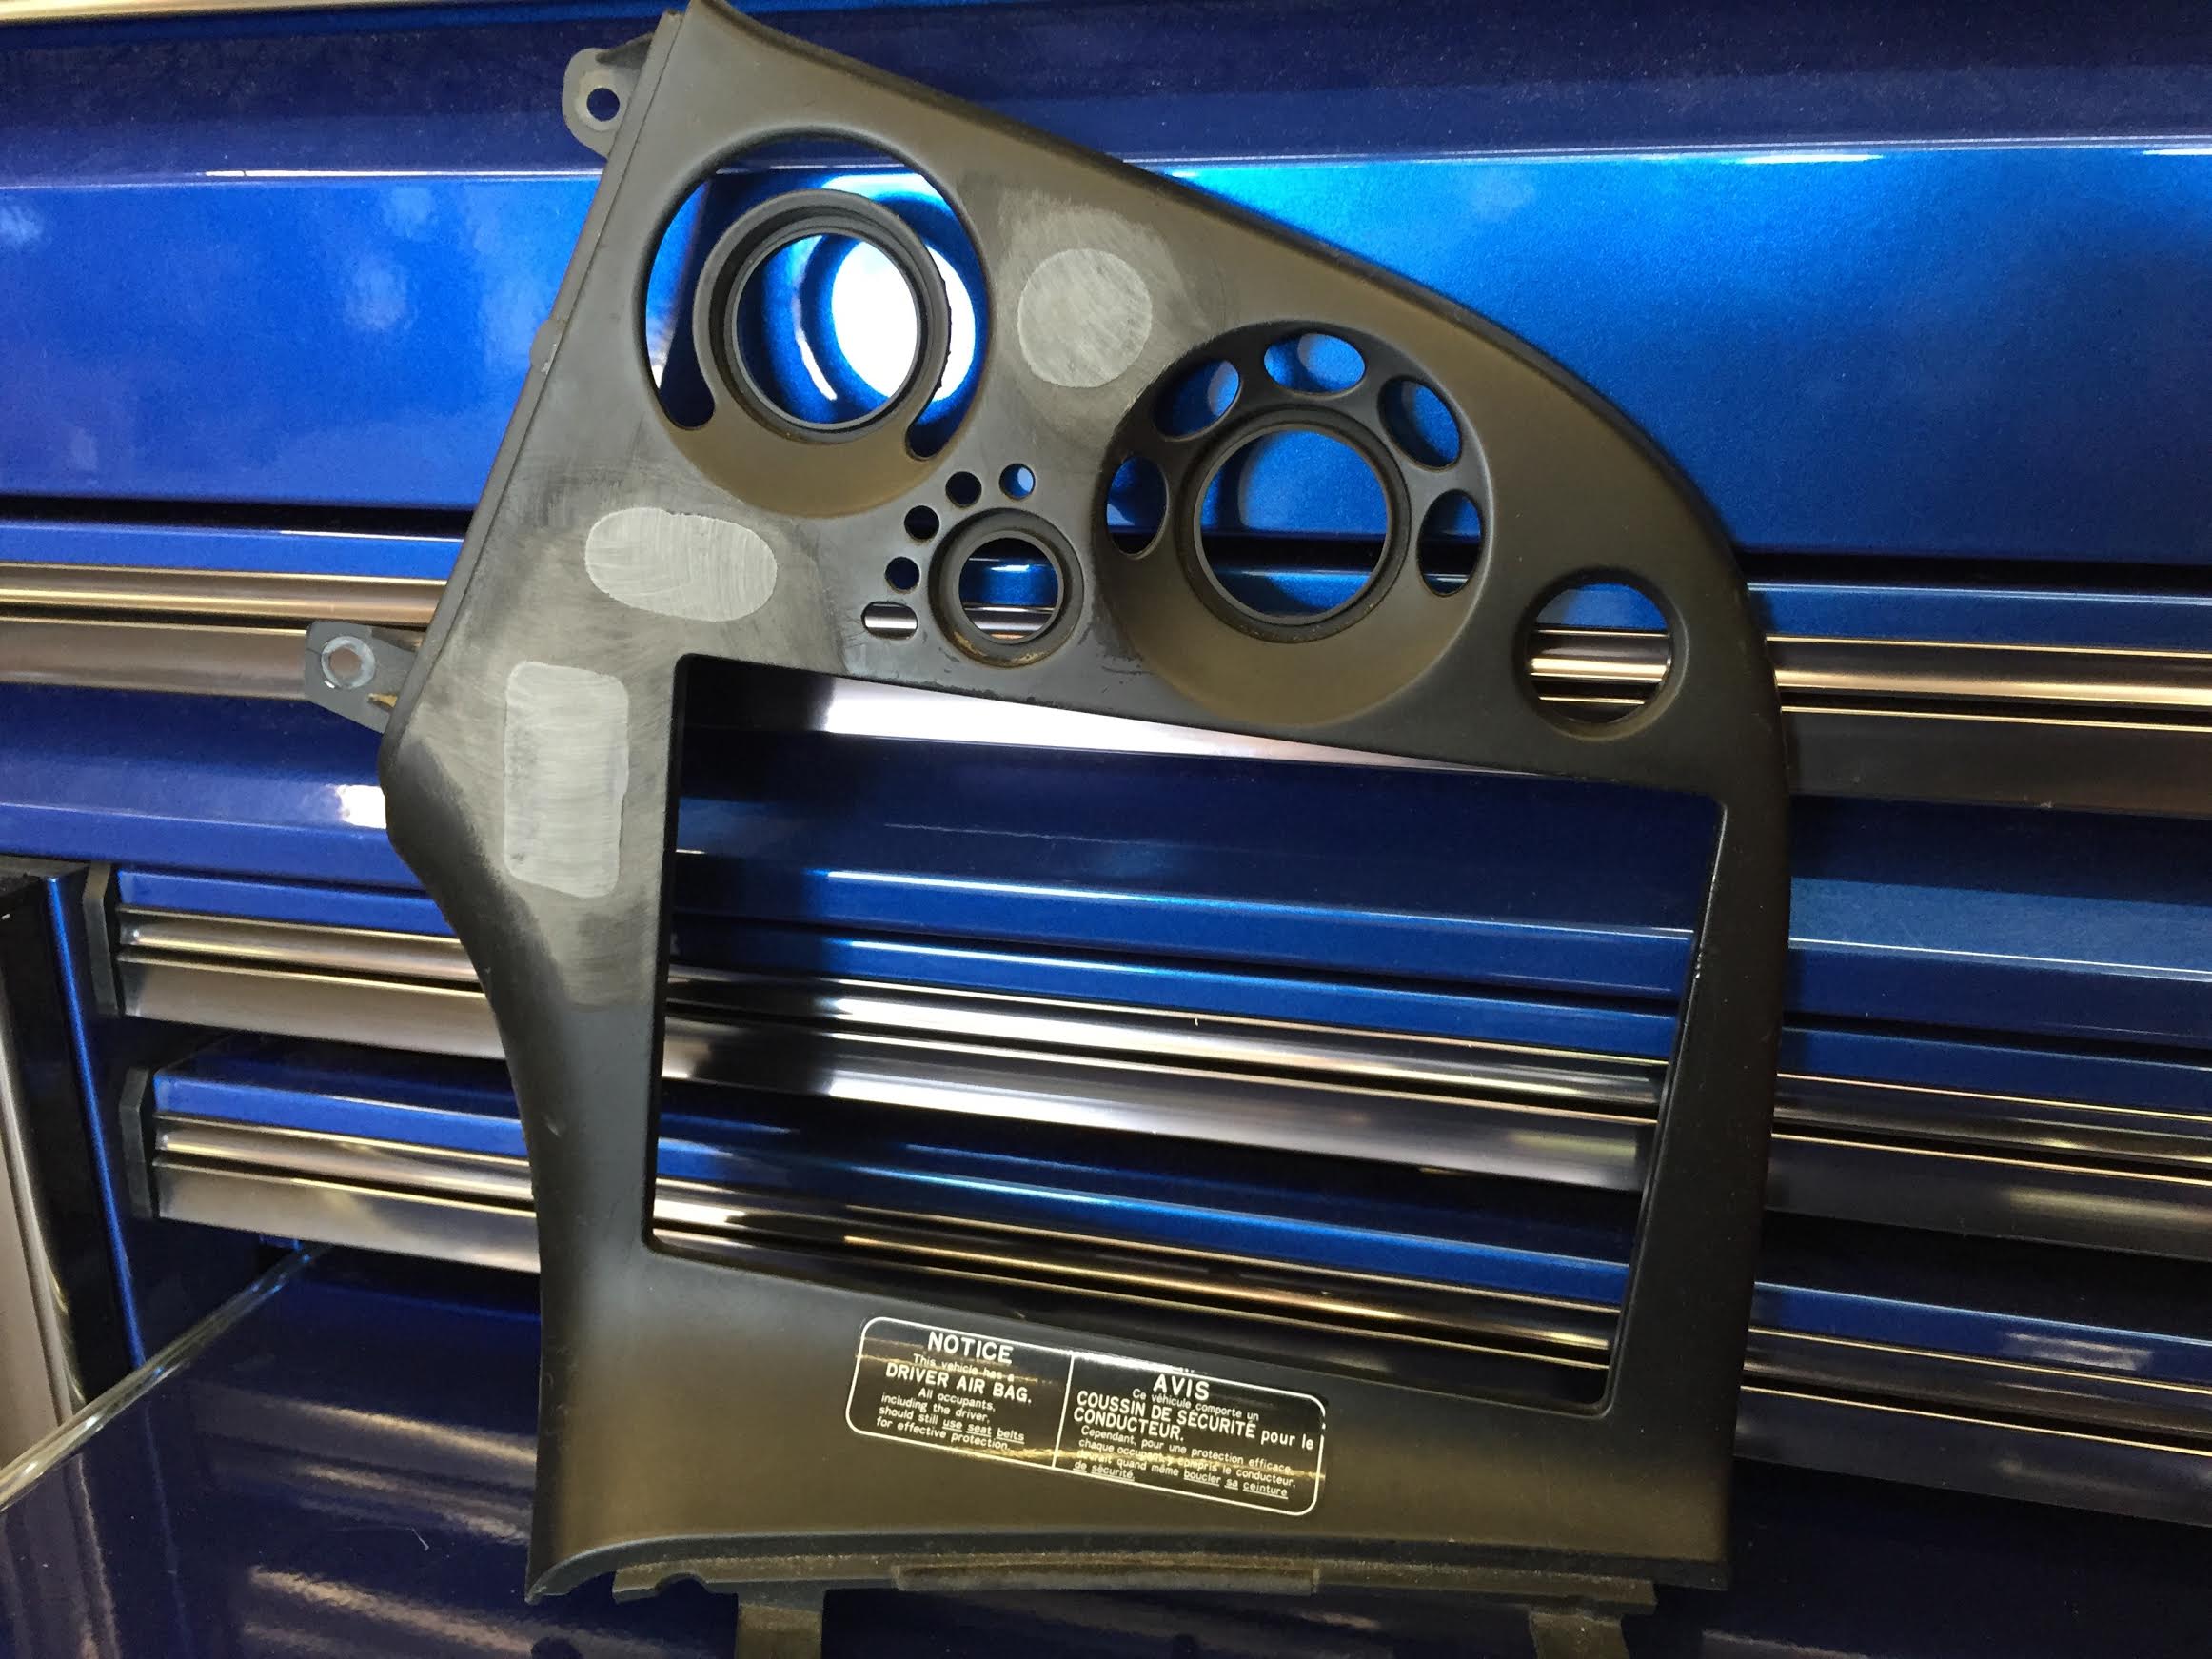
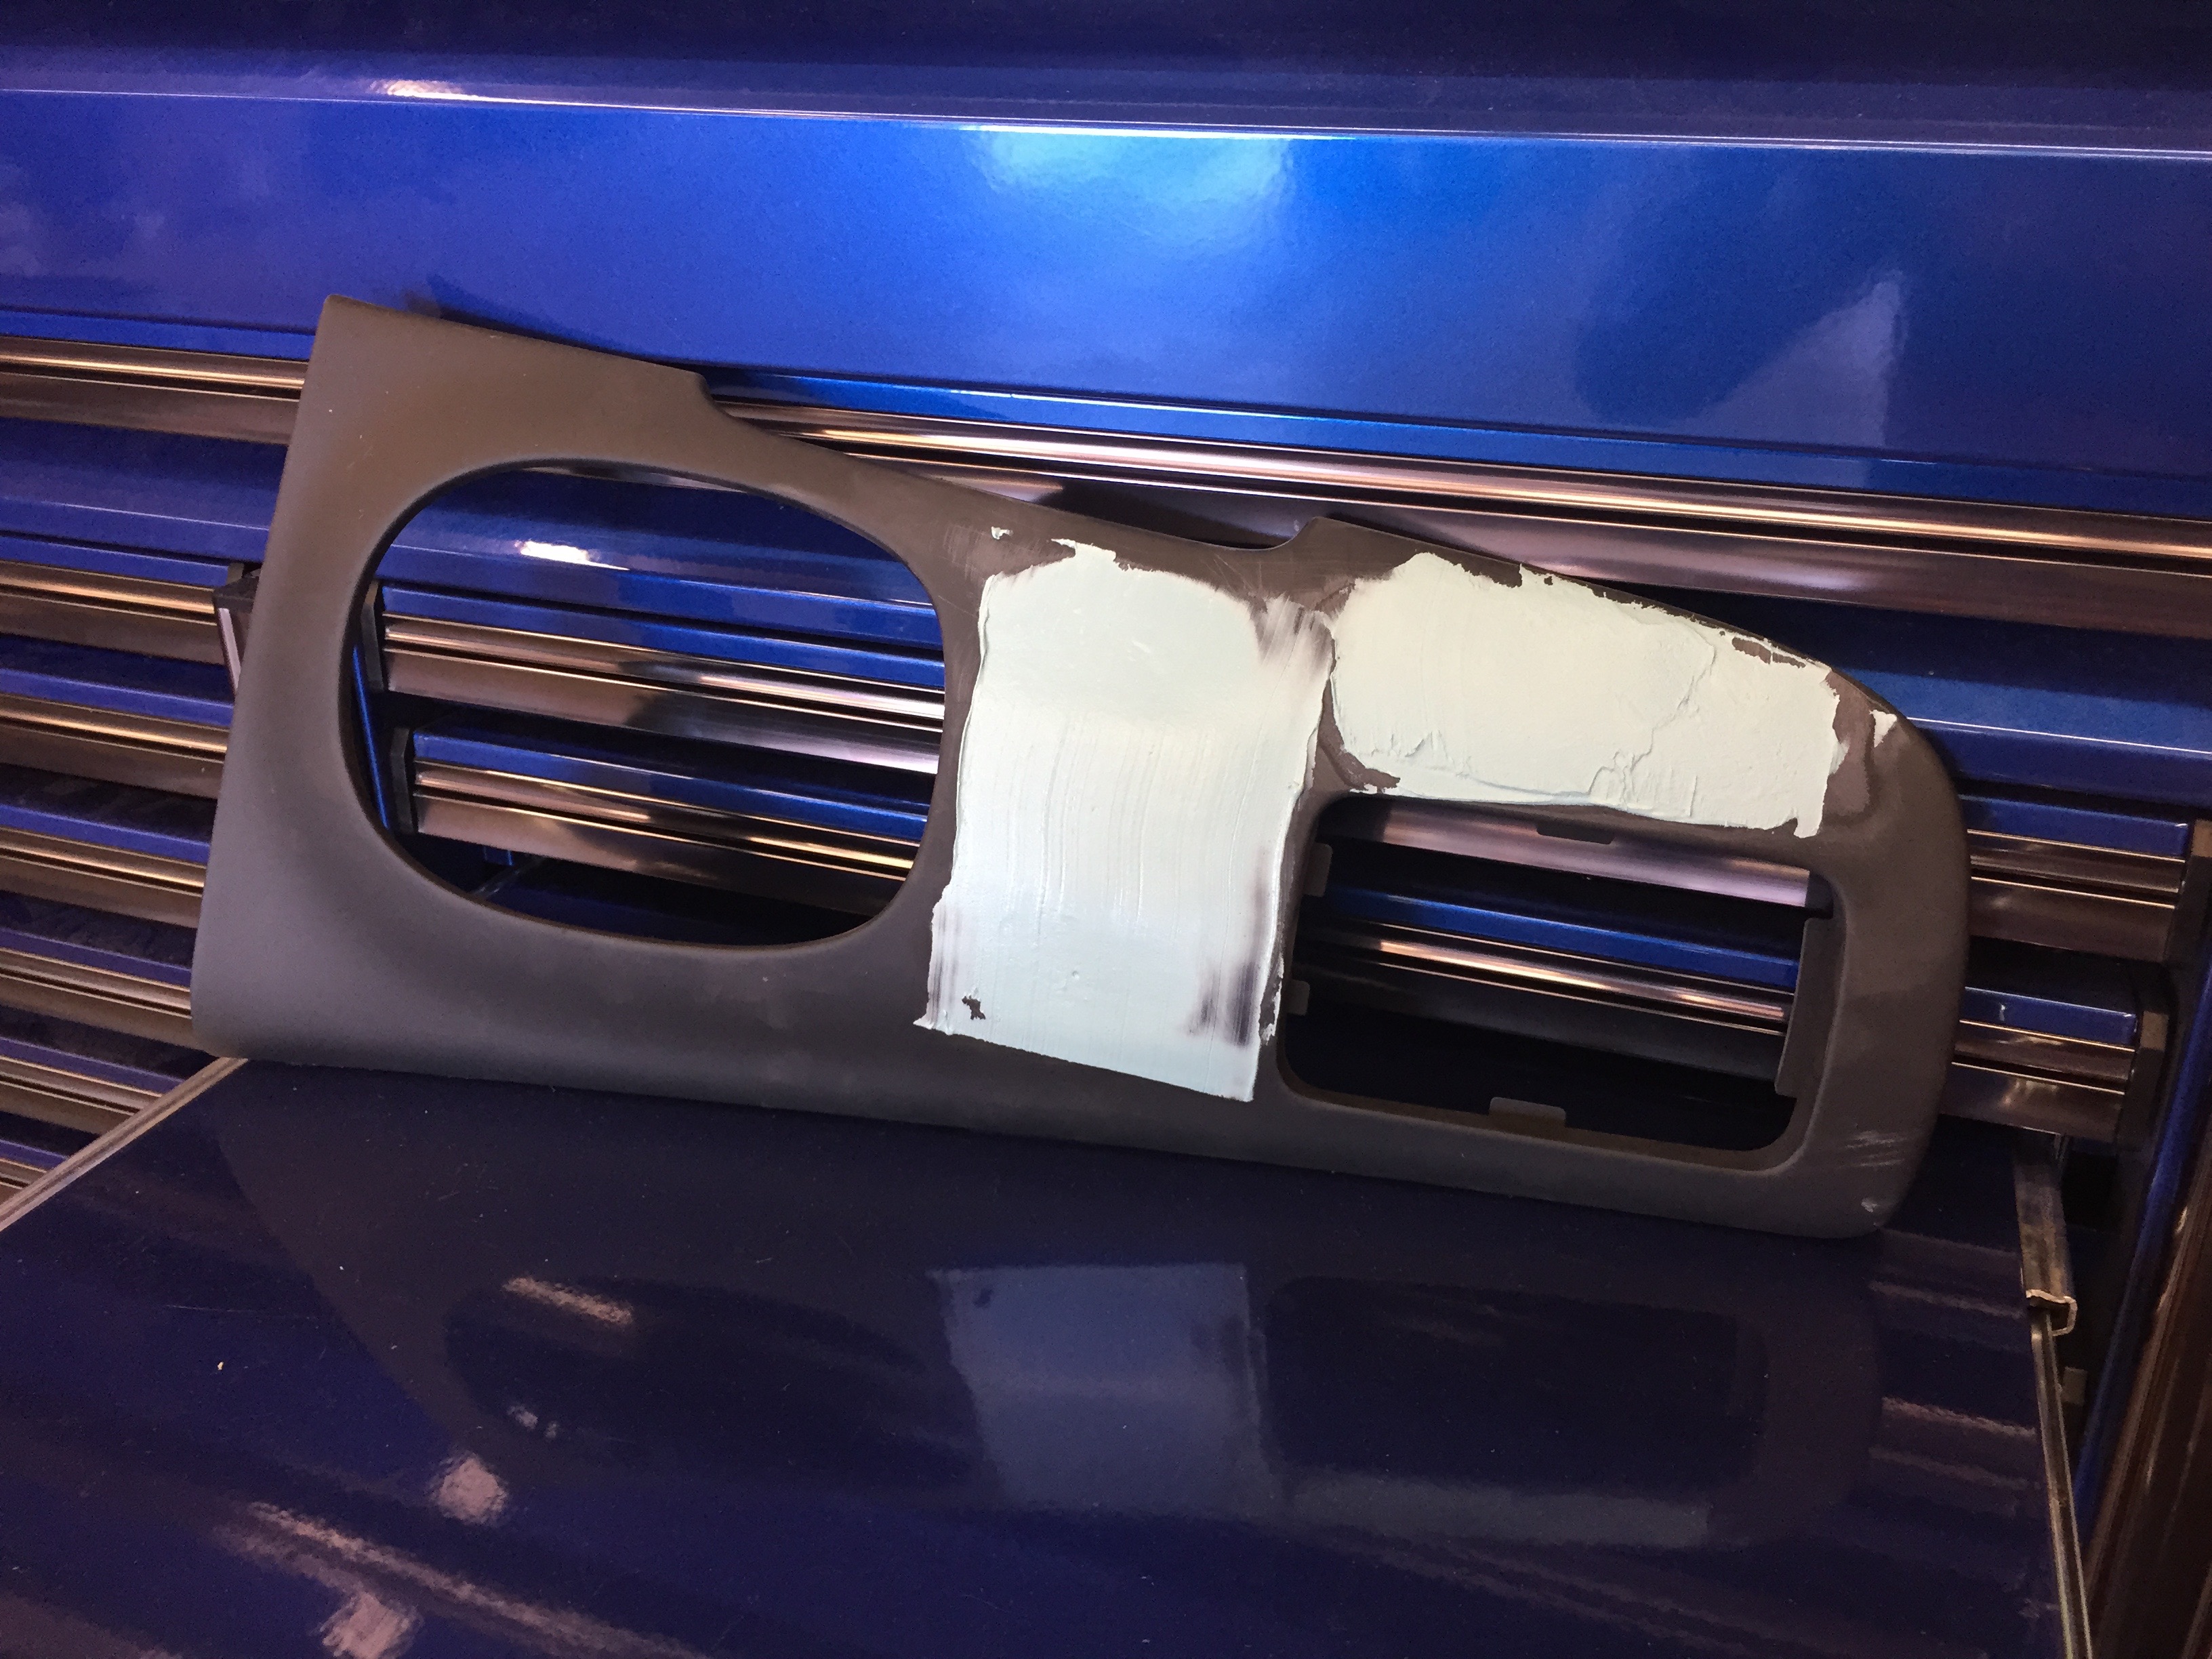
Unmolested trim pieces:

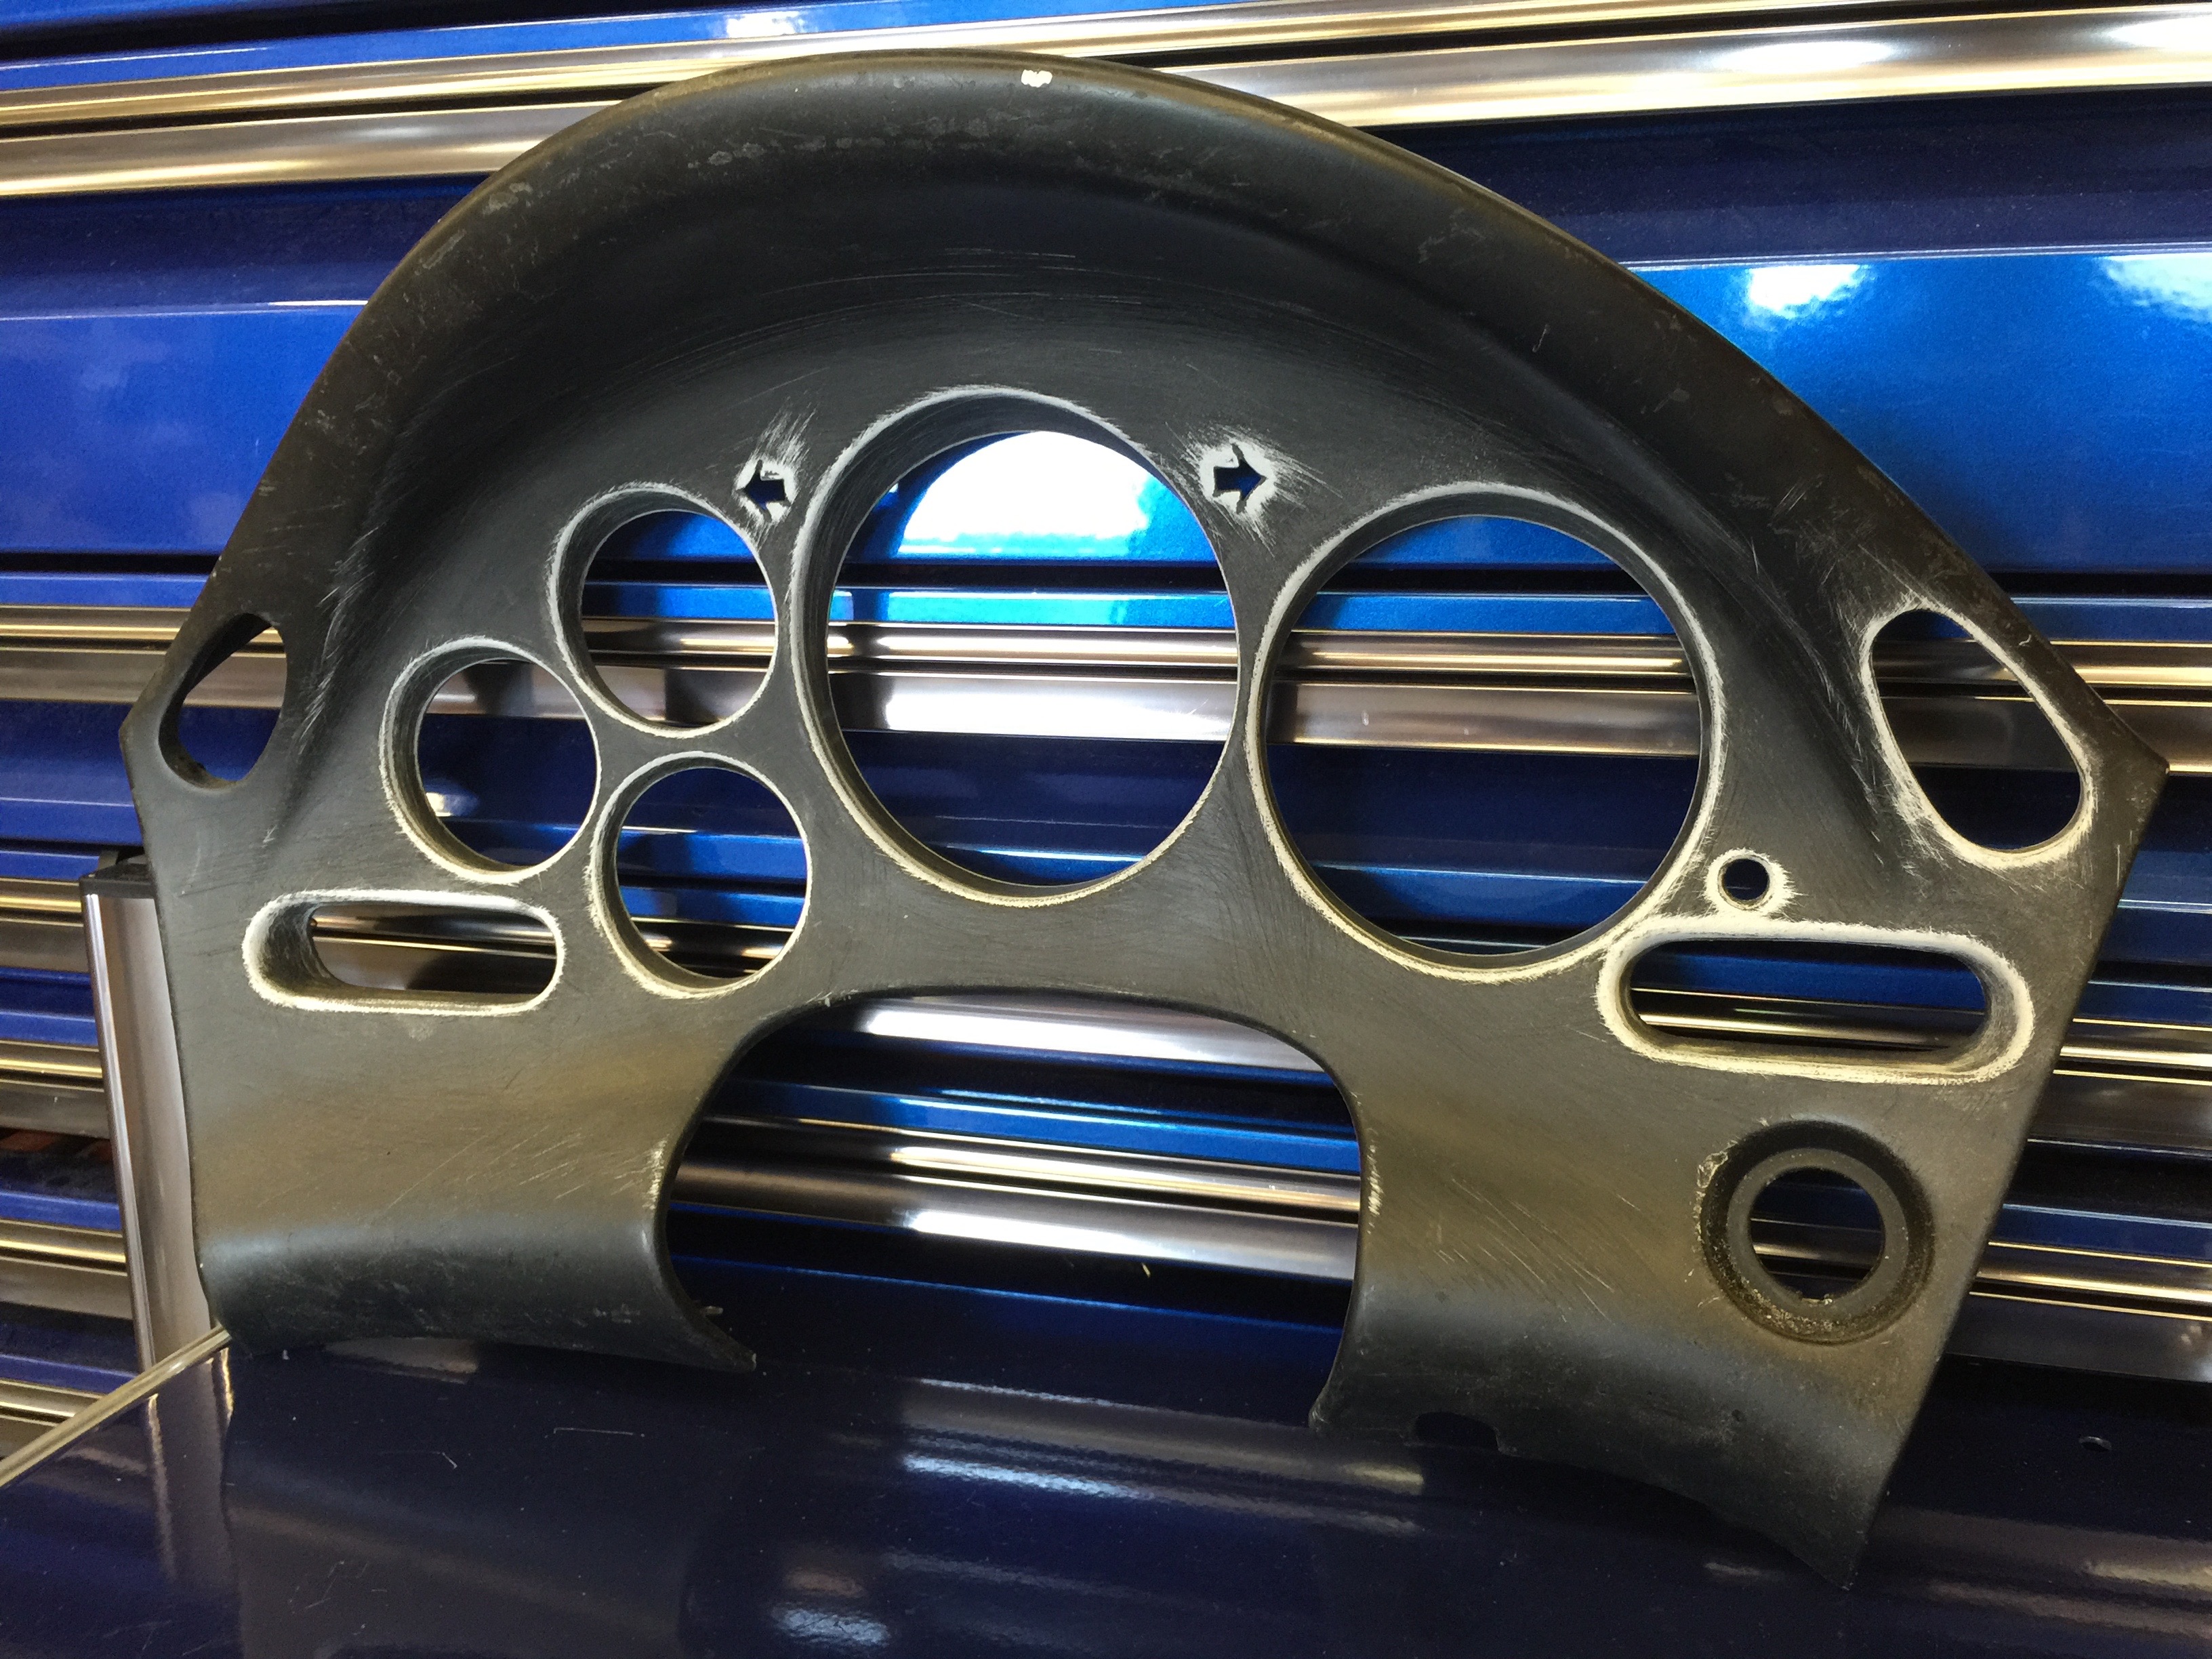
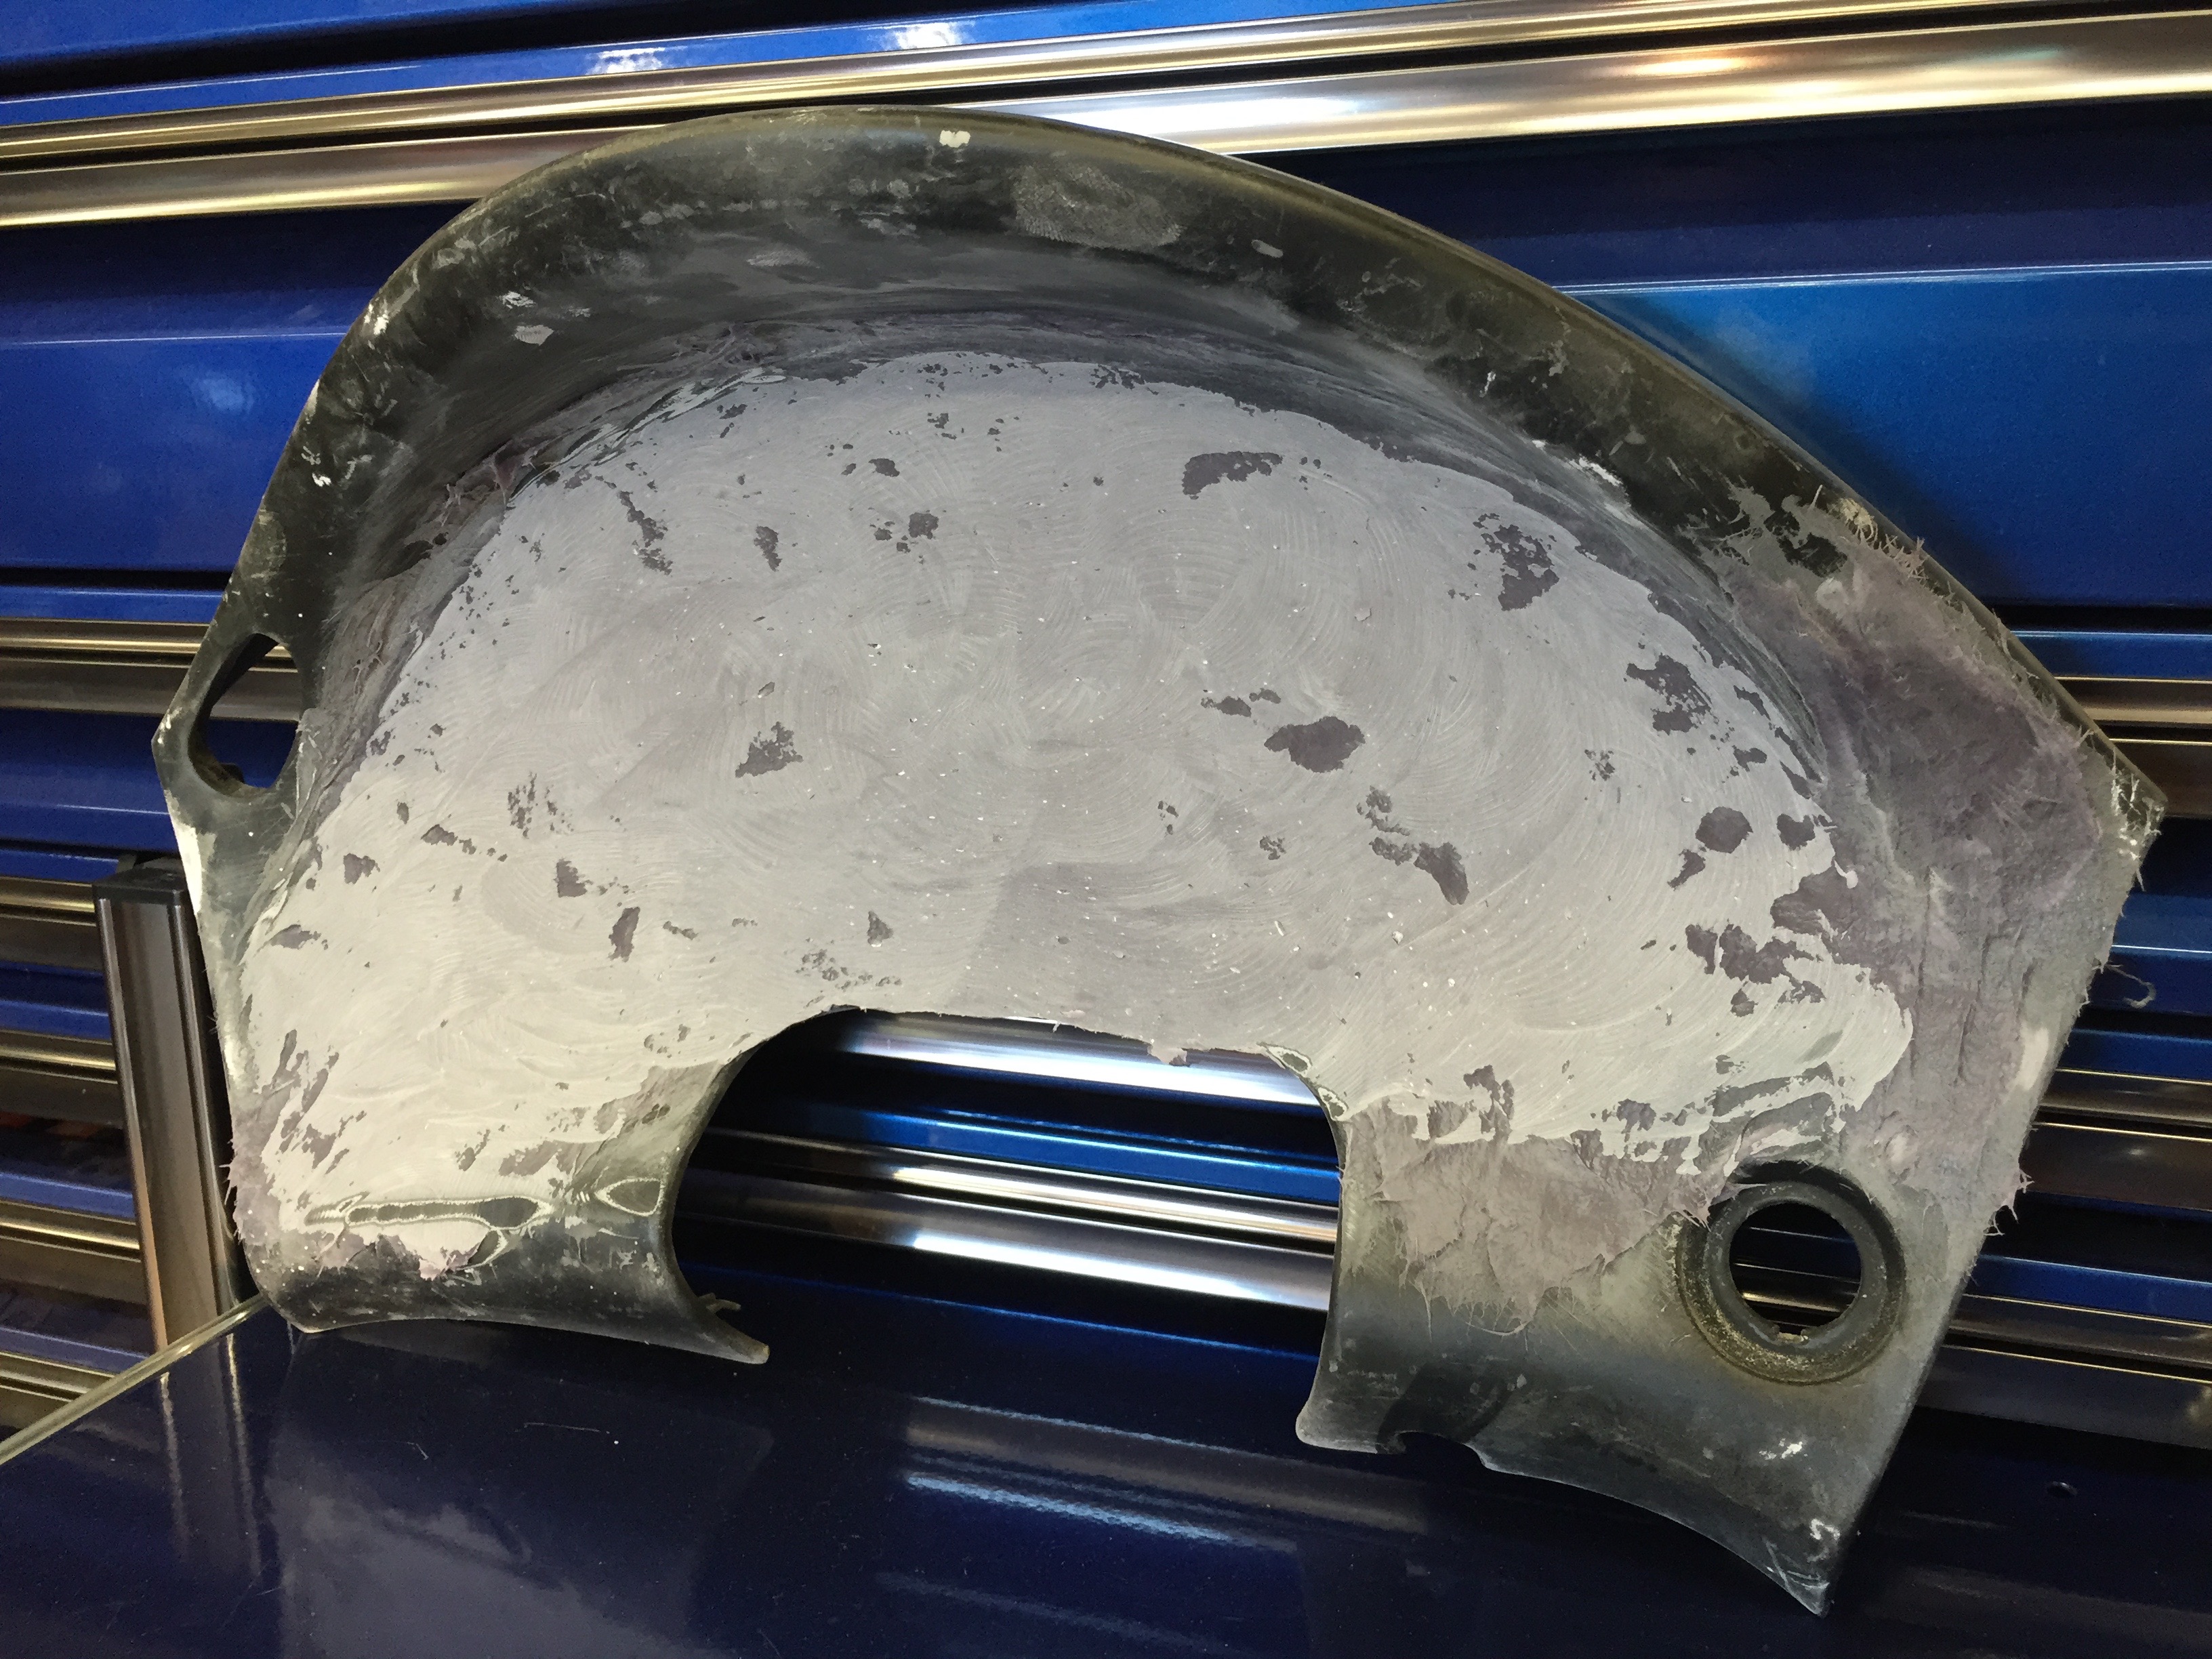
80-Grit Prep:
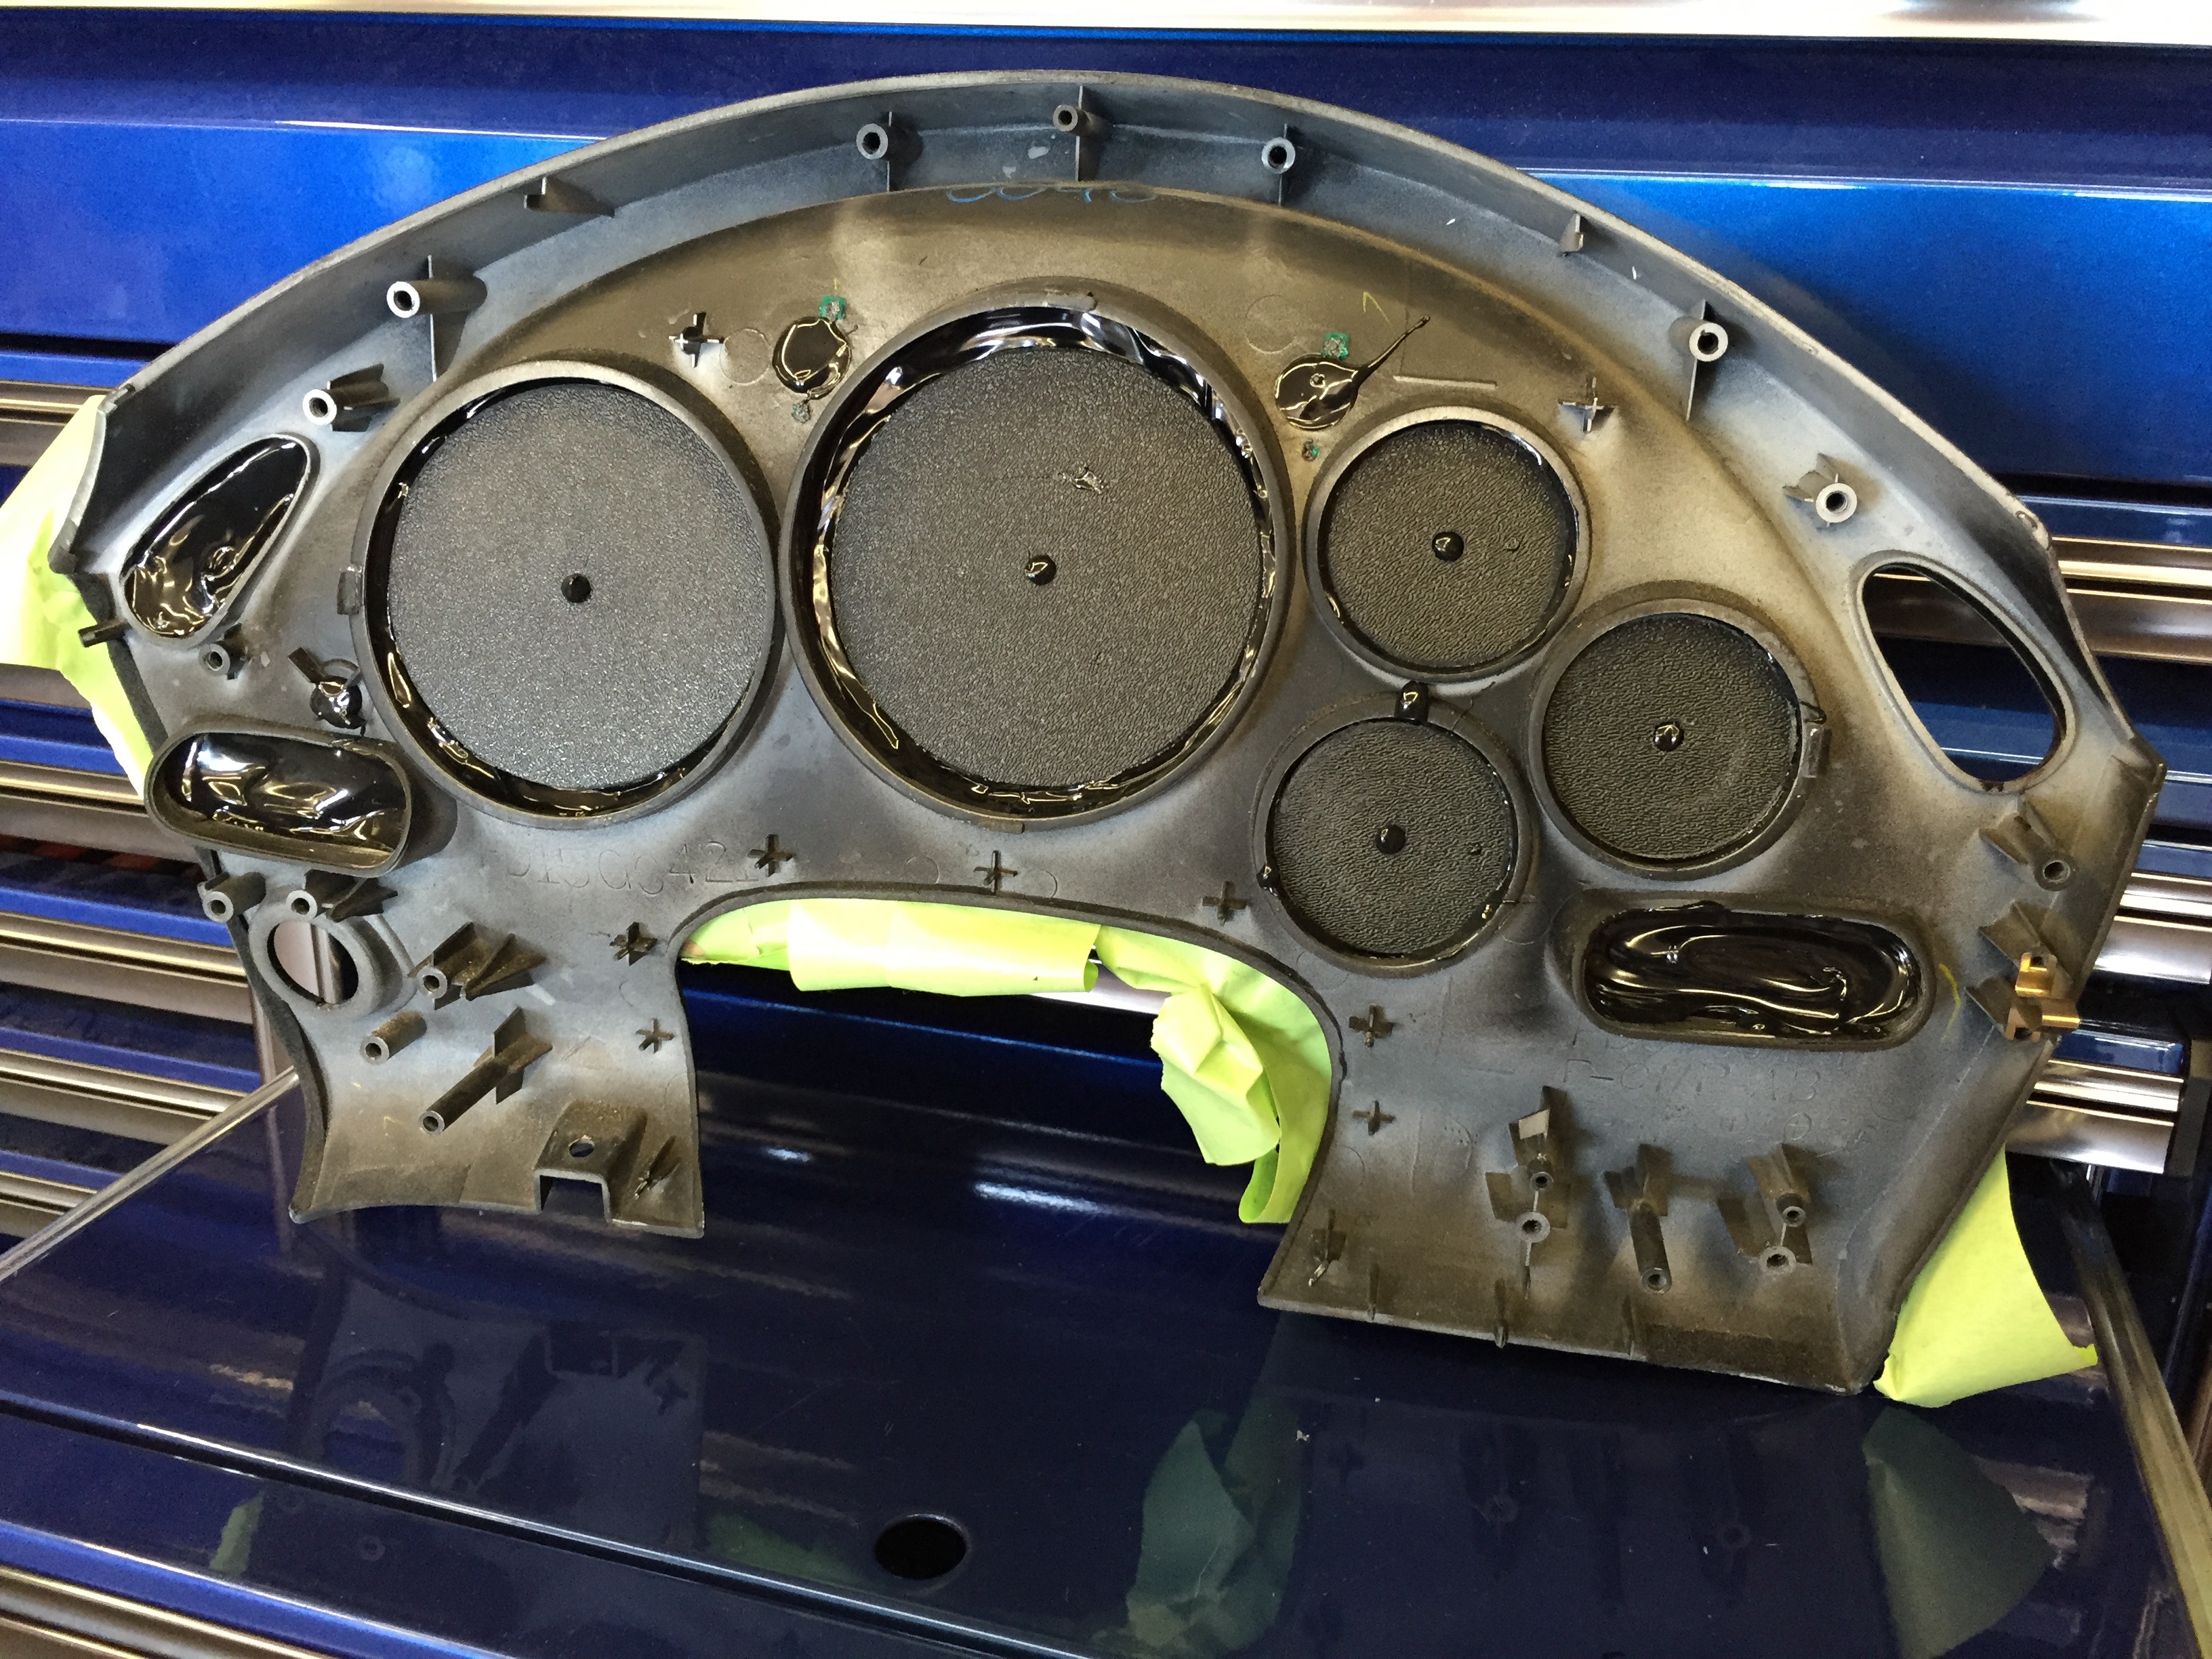
Prepping for Norton SpeedGrip:
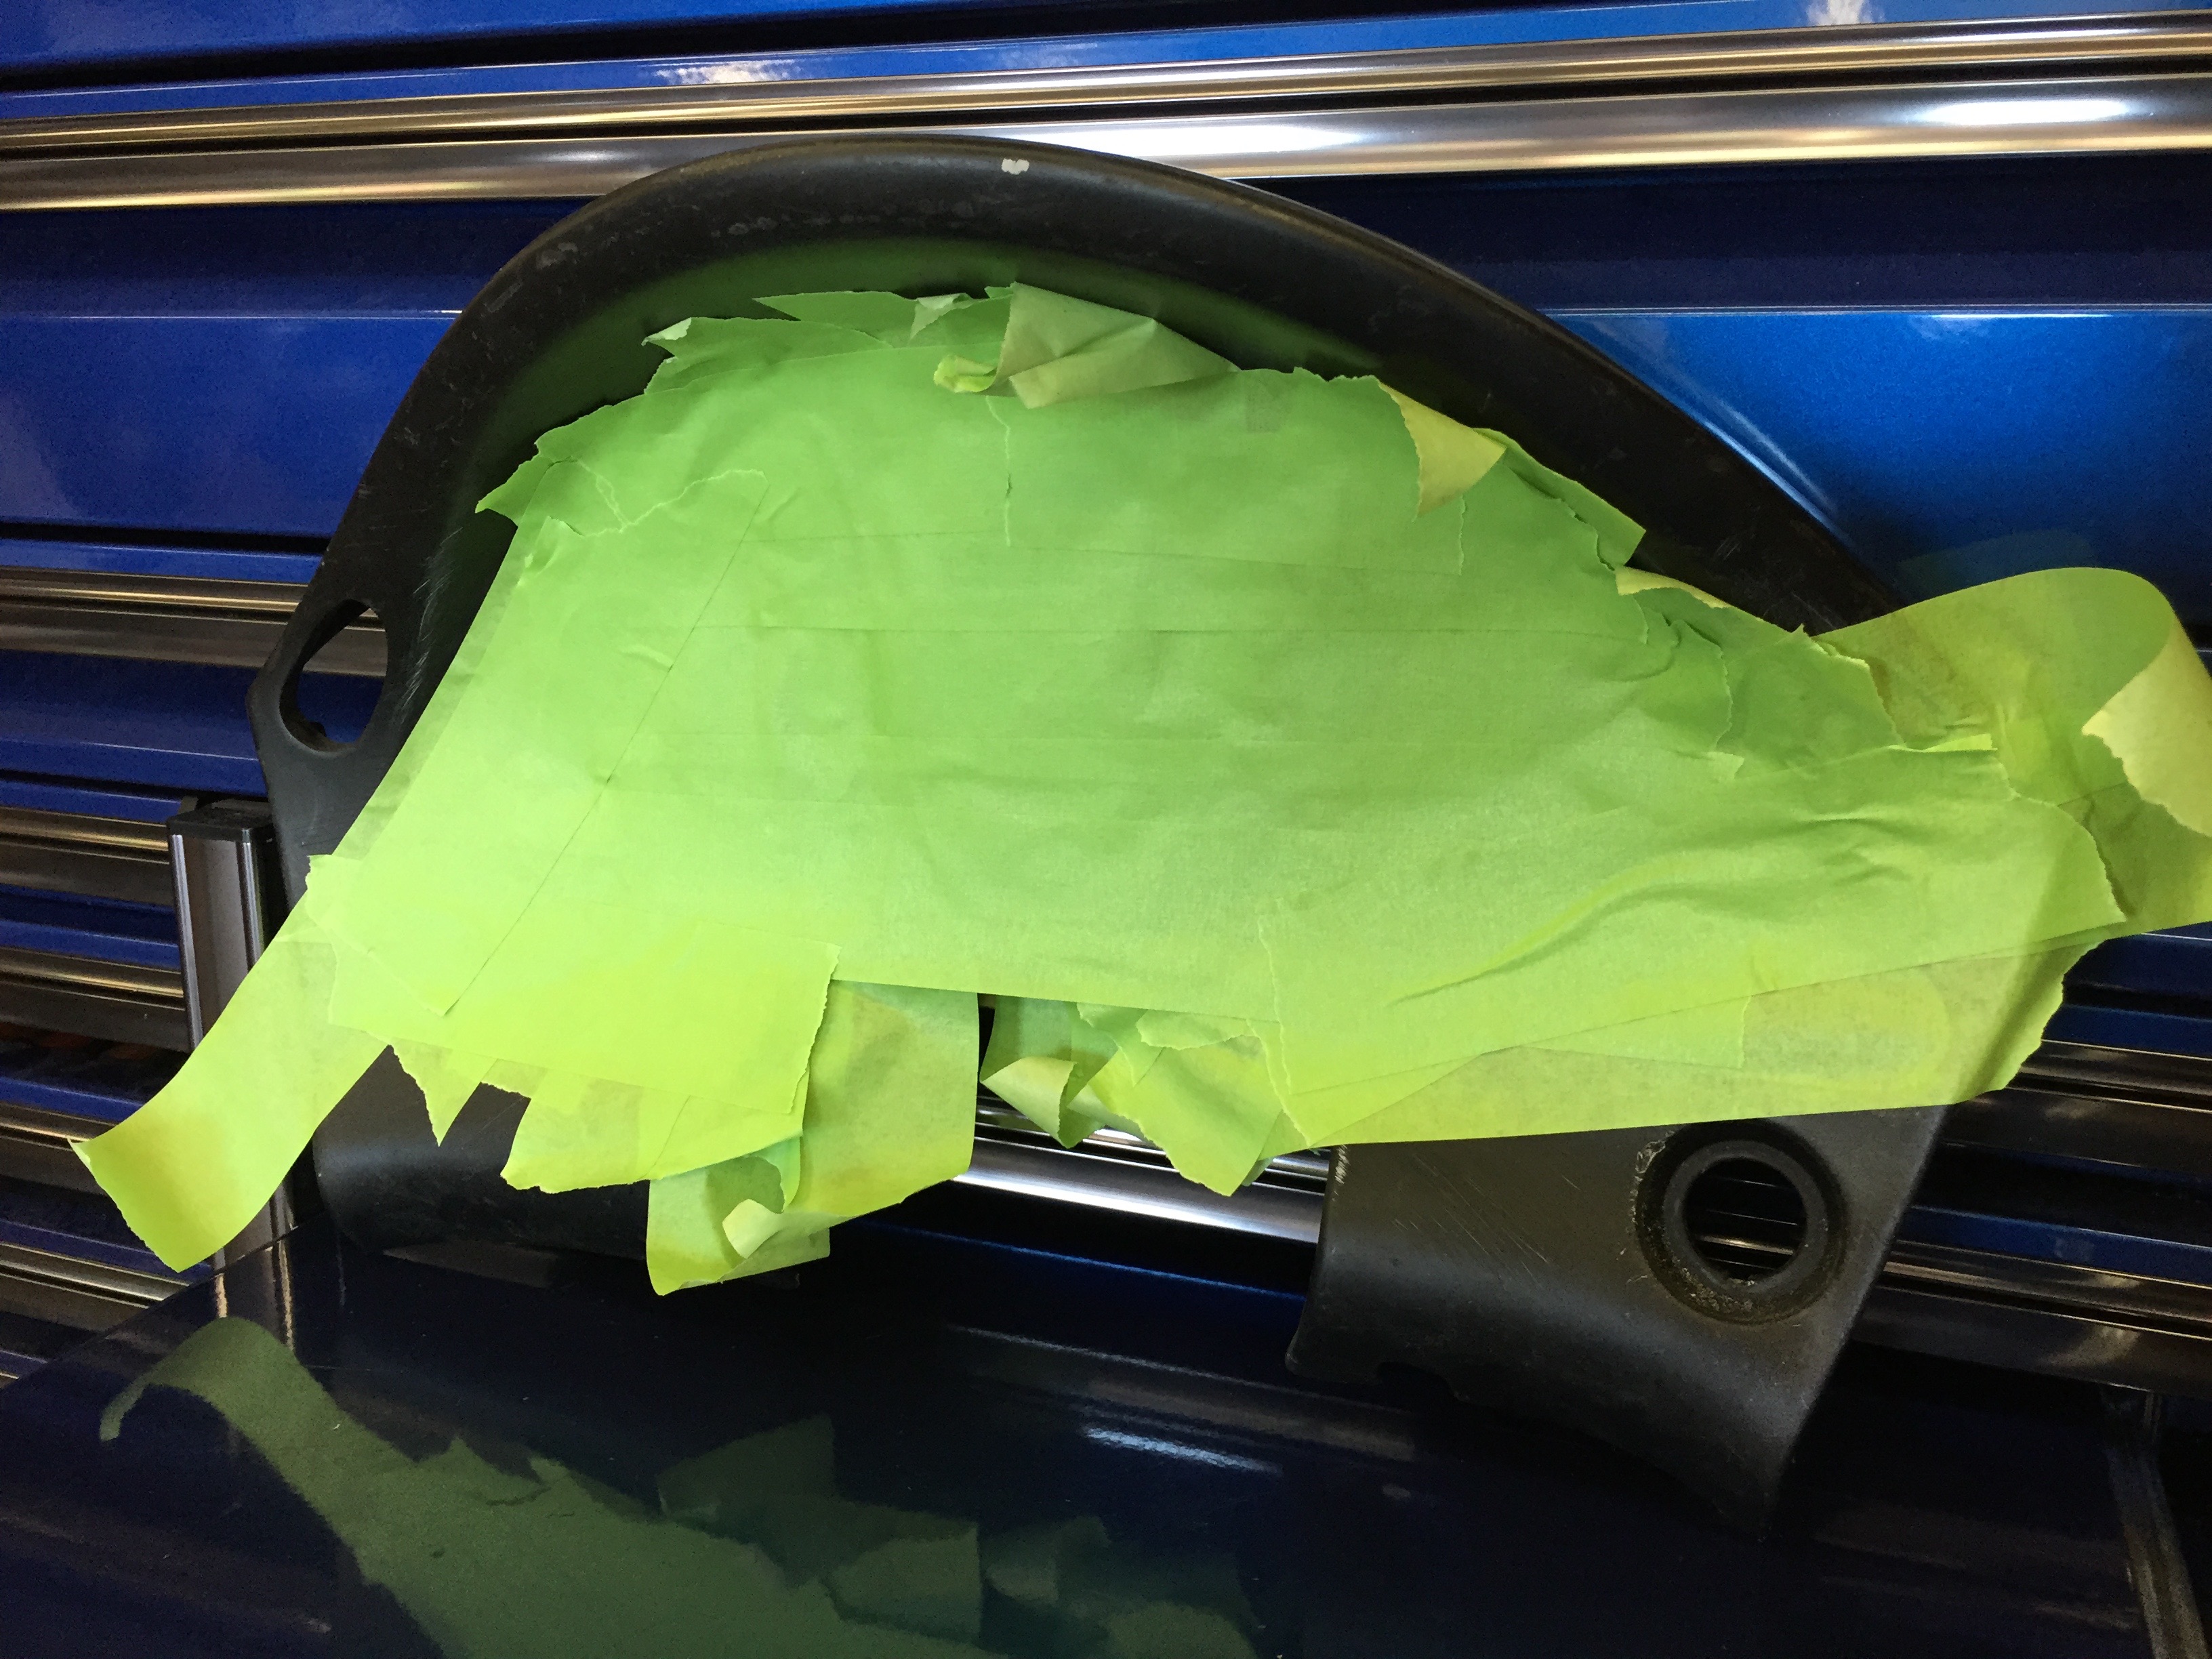
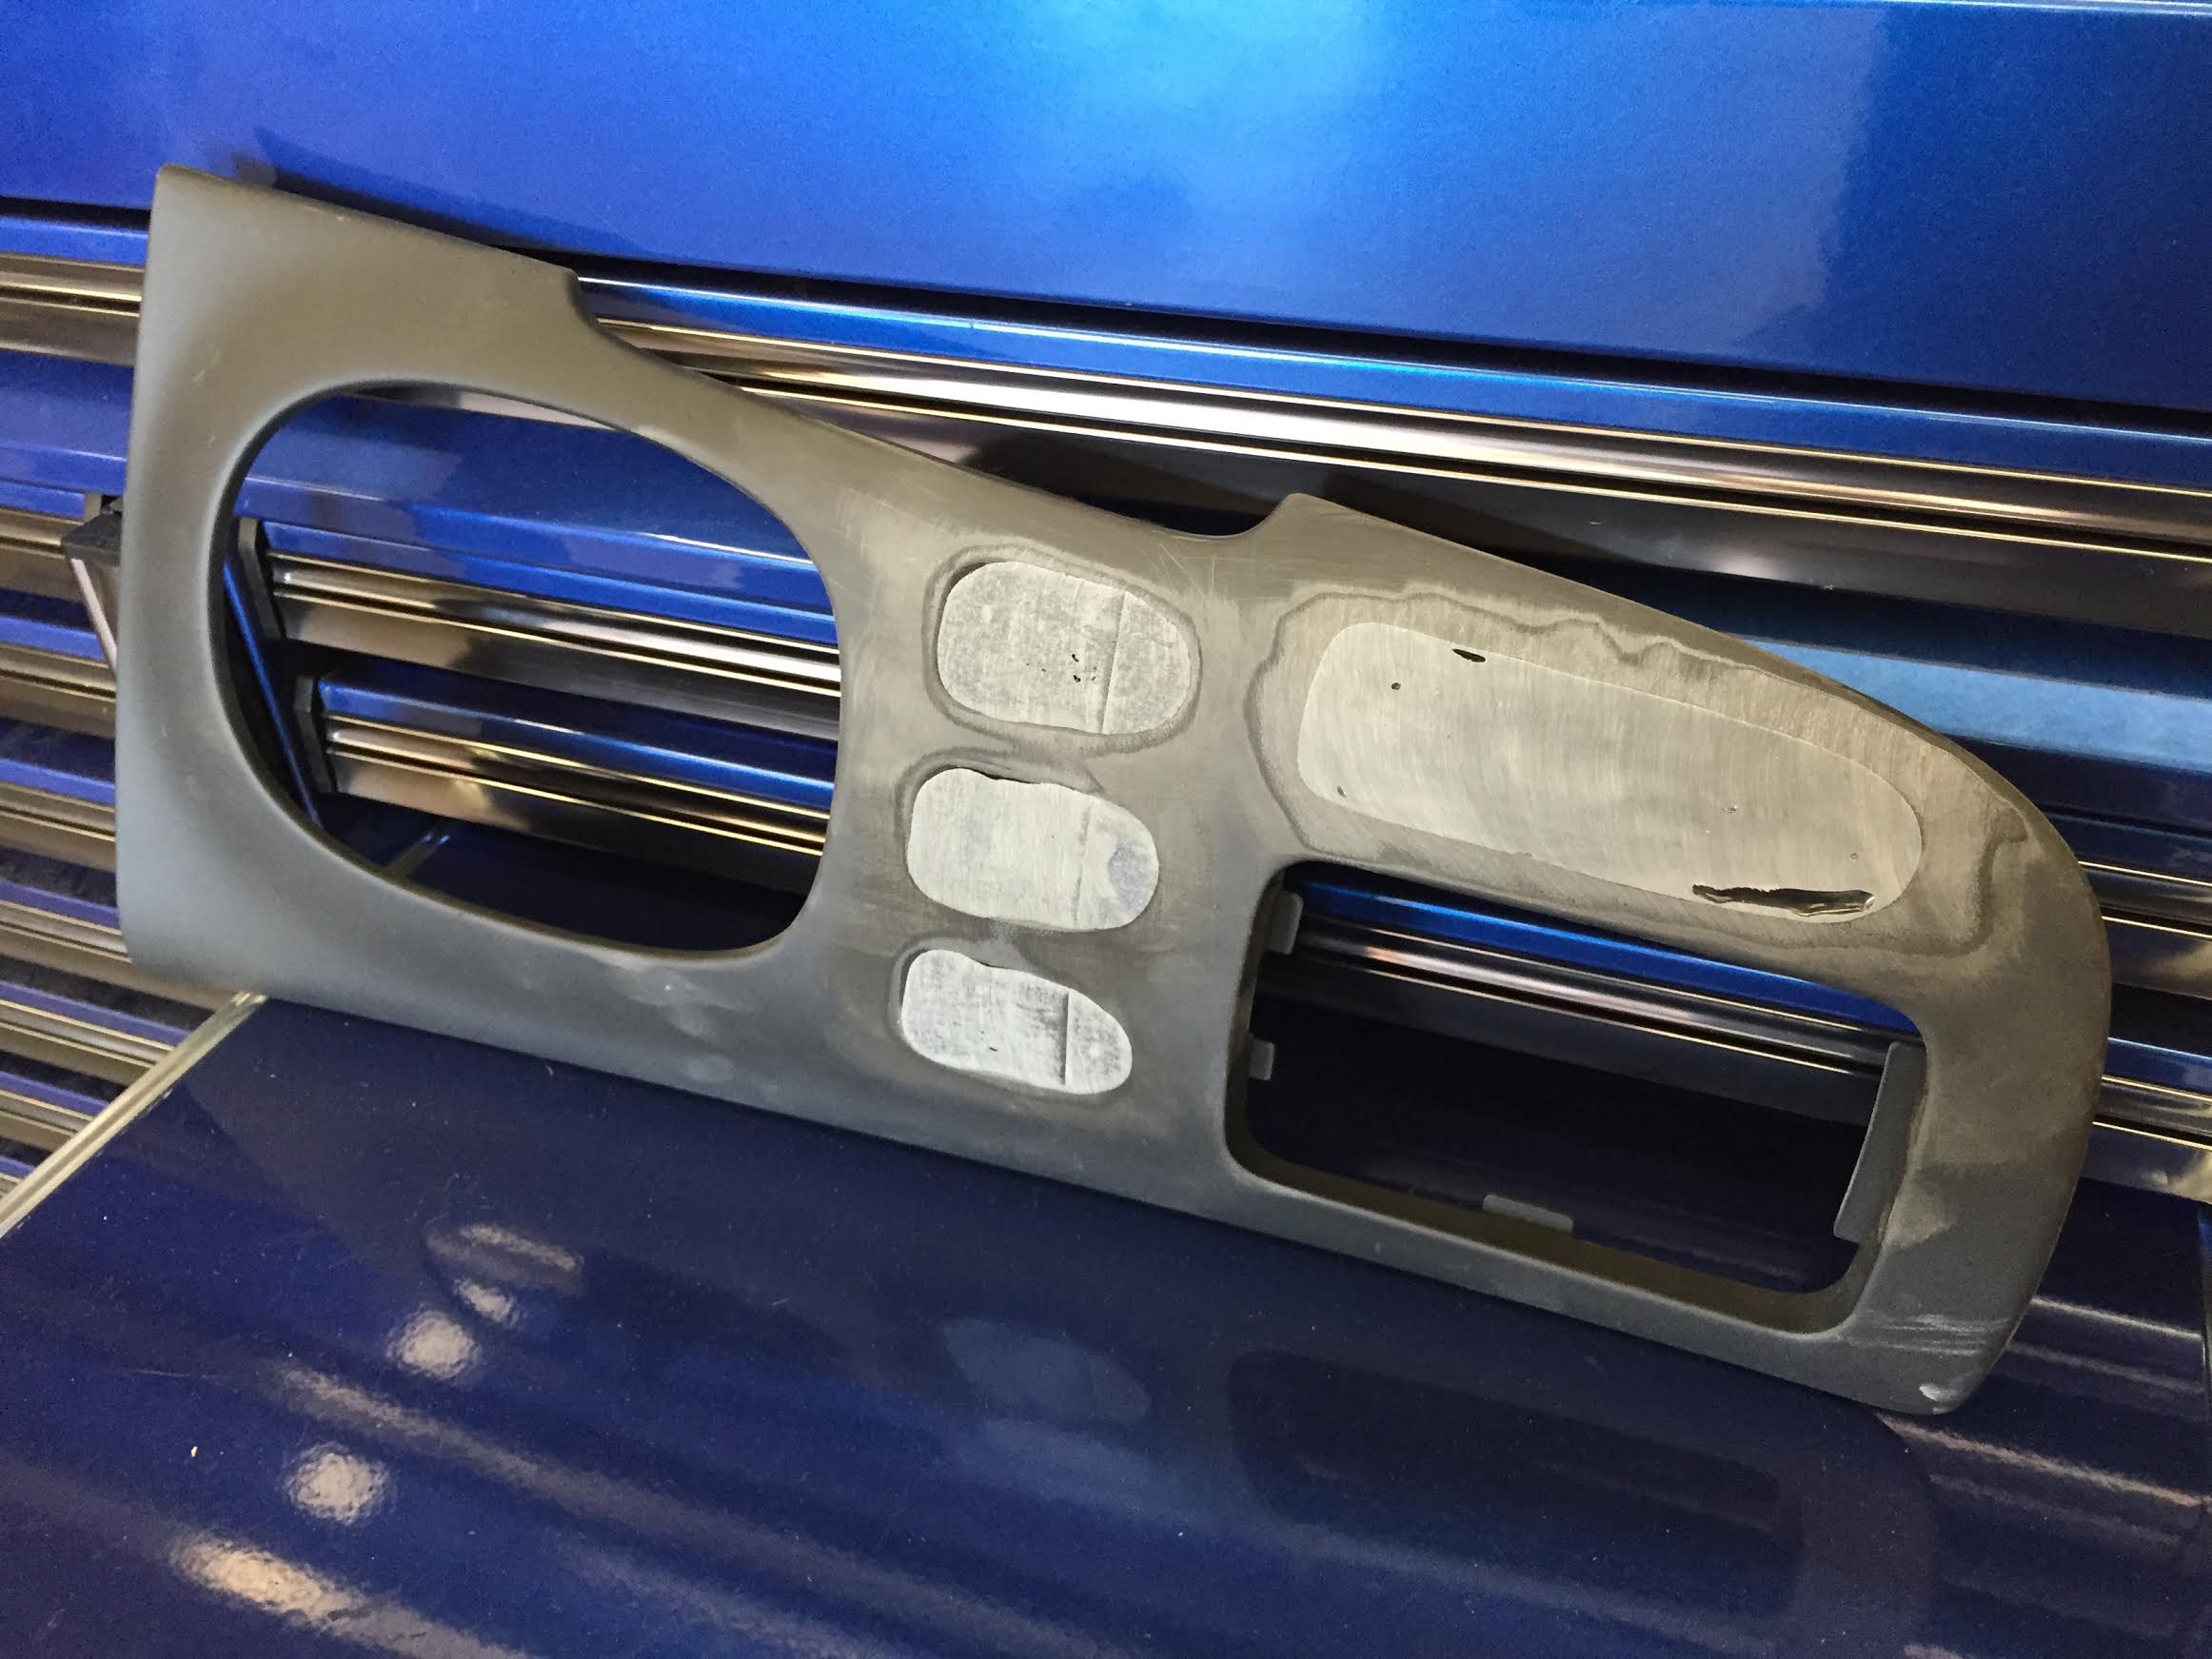
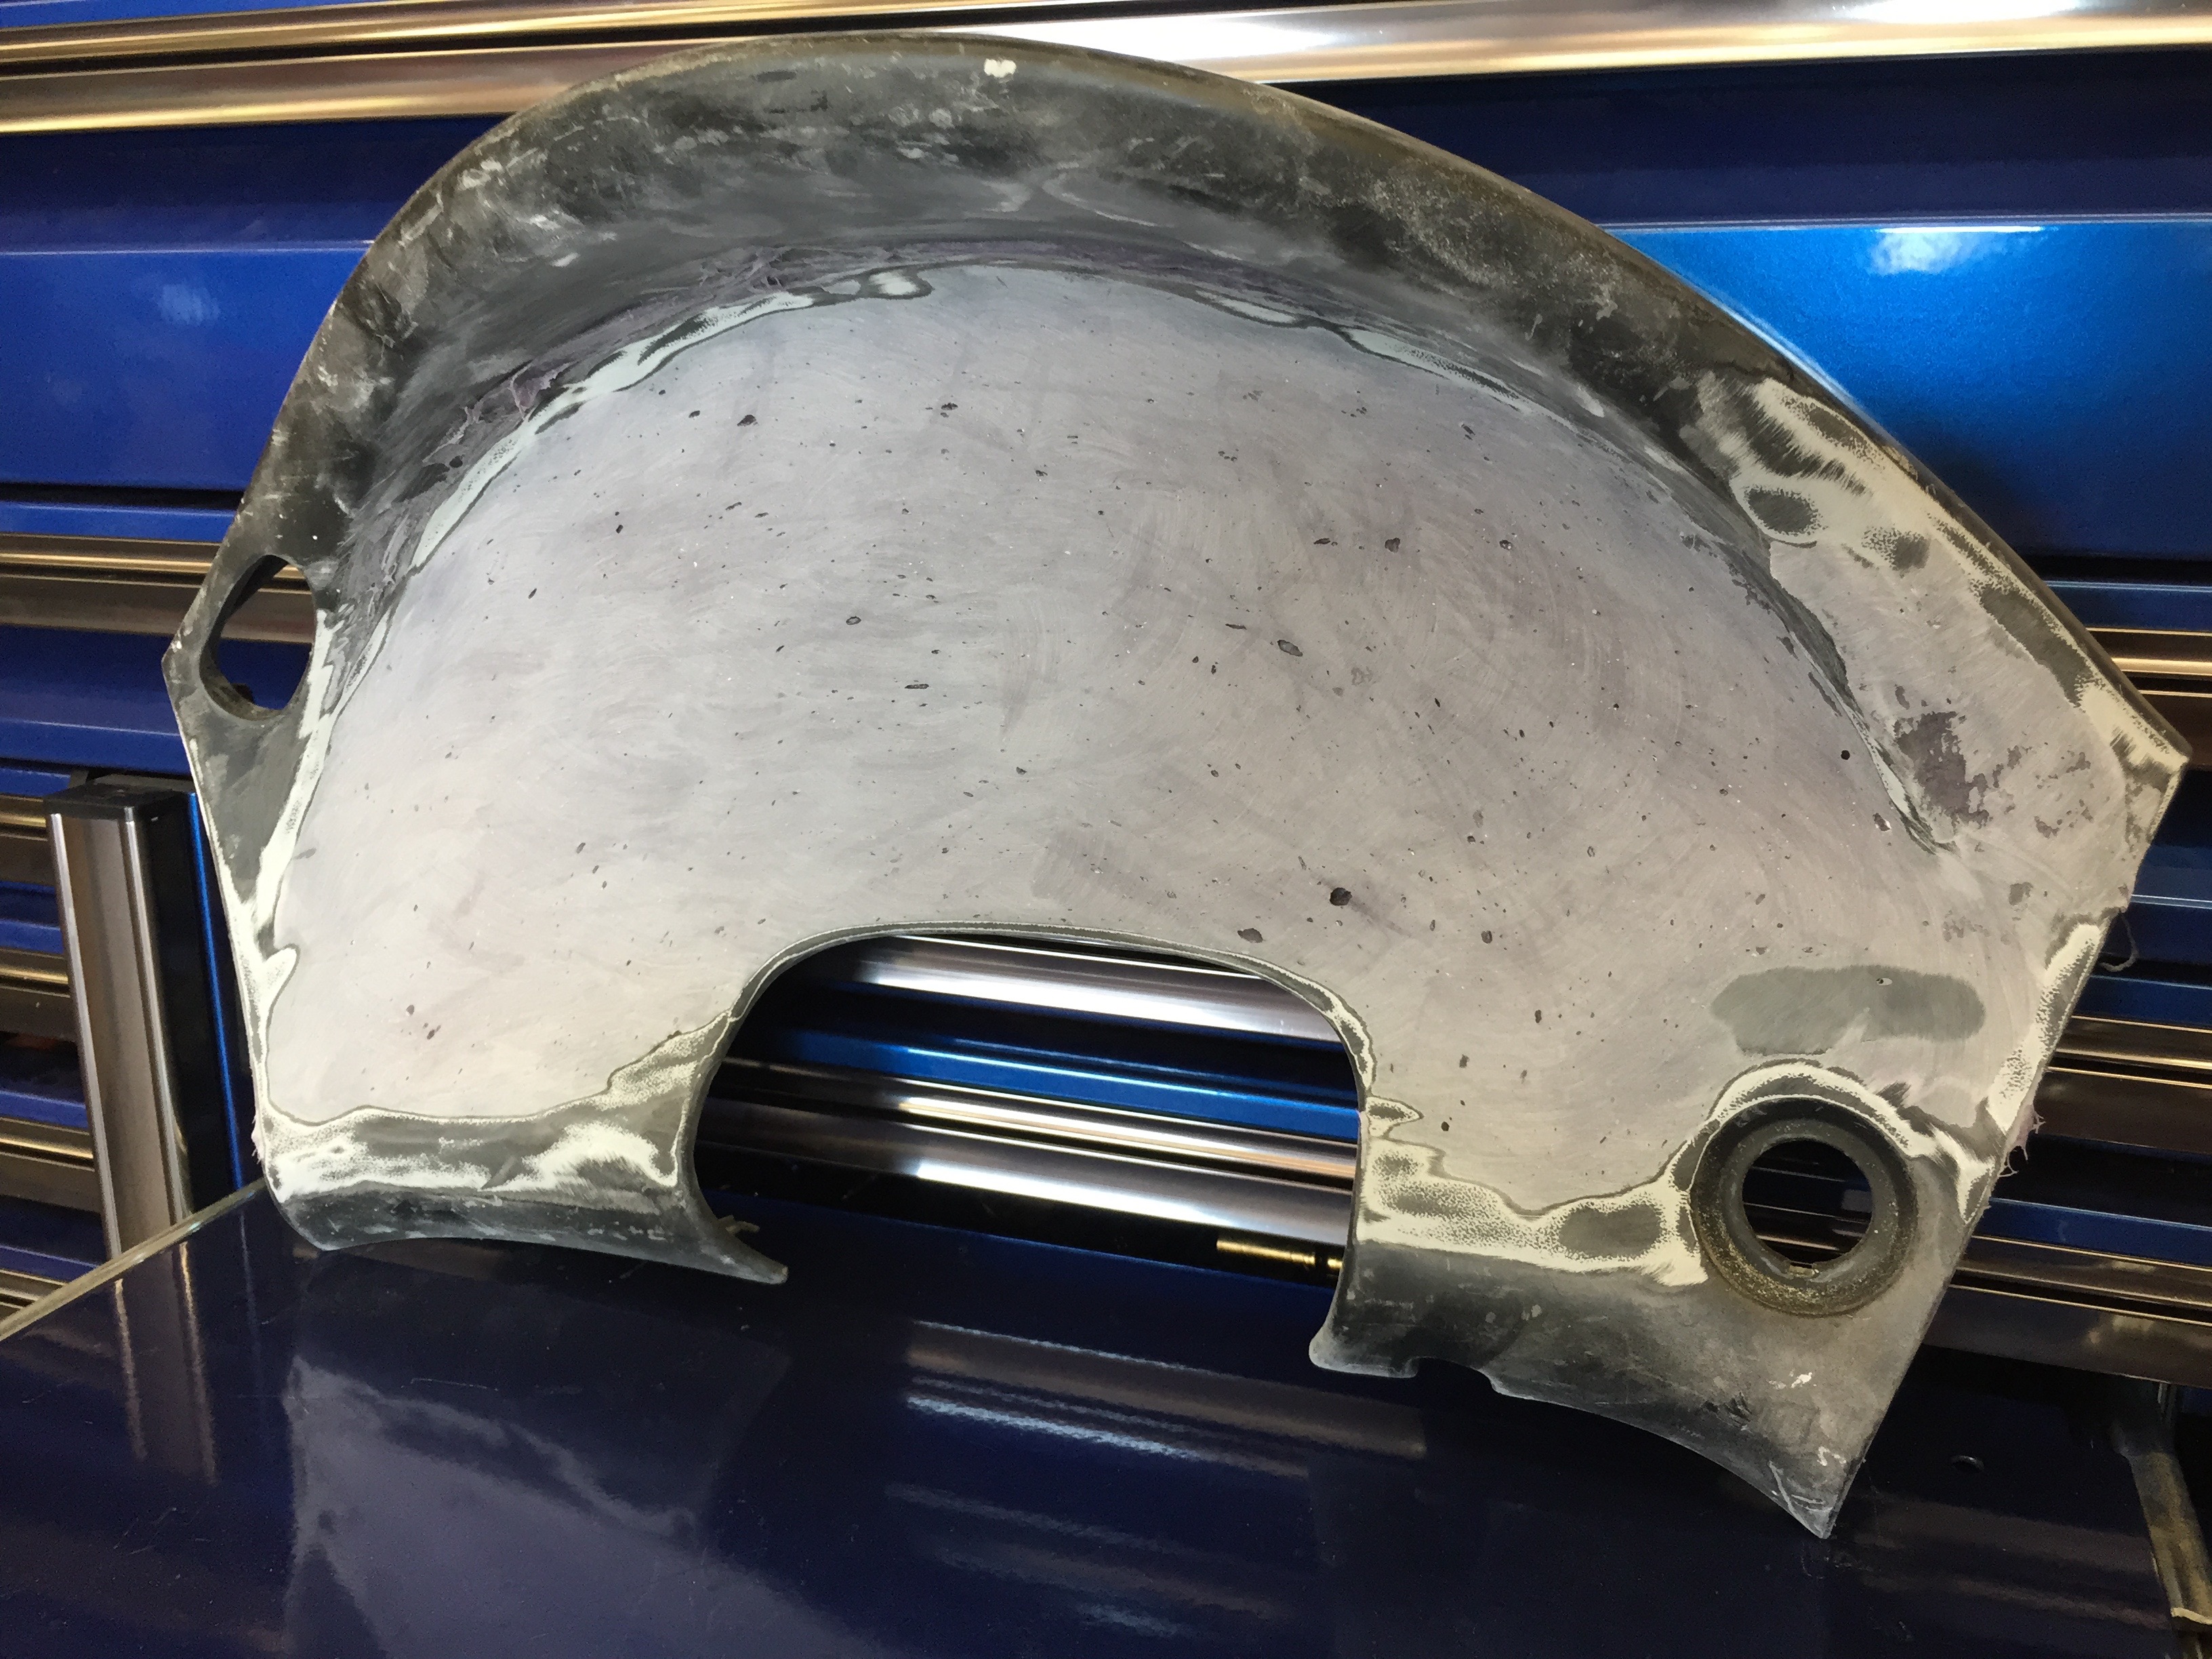
ABS filler plates and SpeedGrip applied:
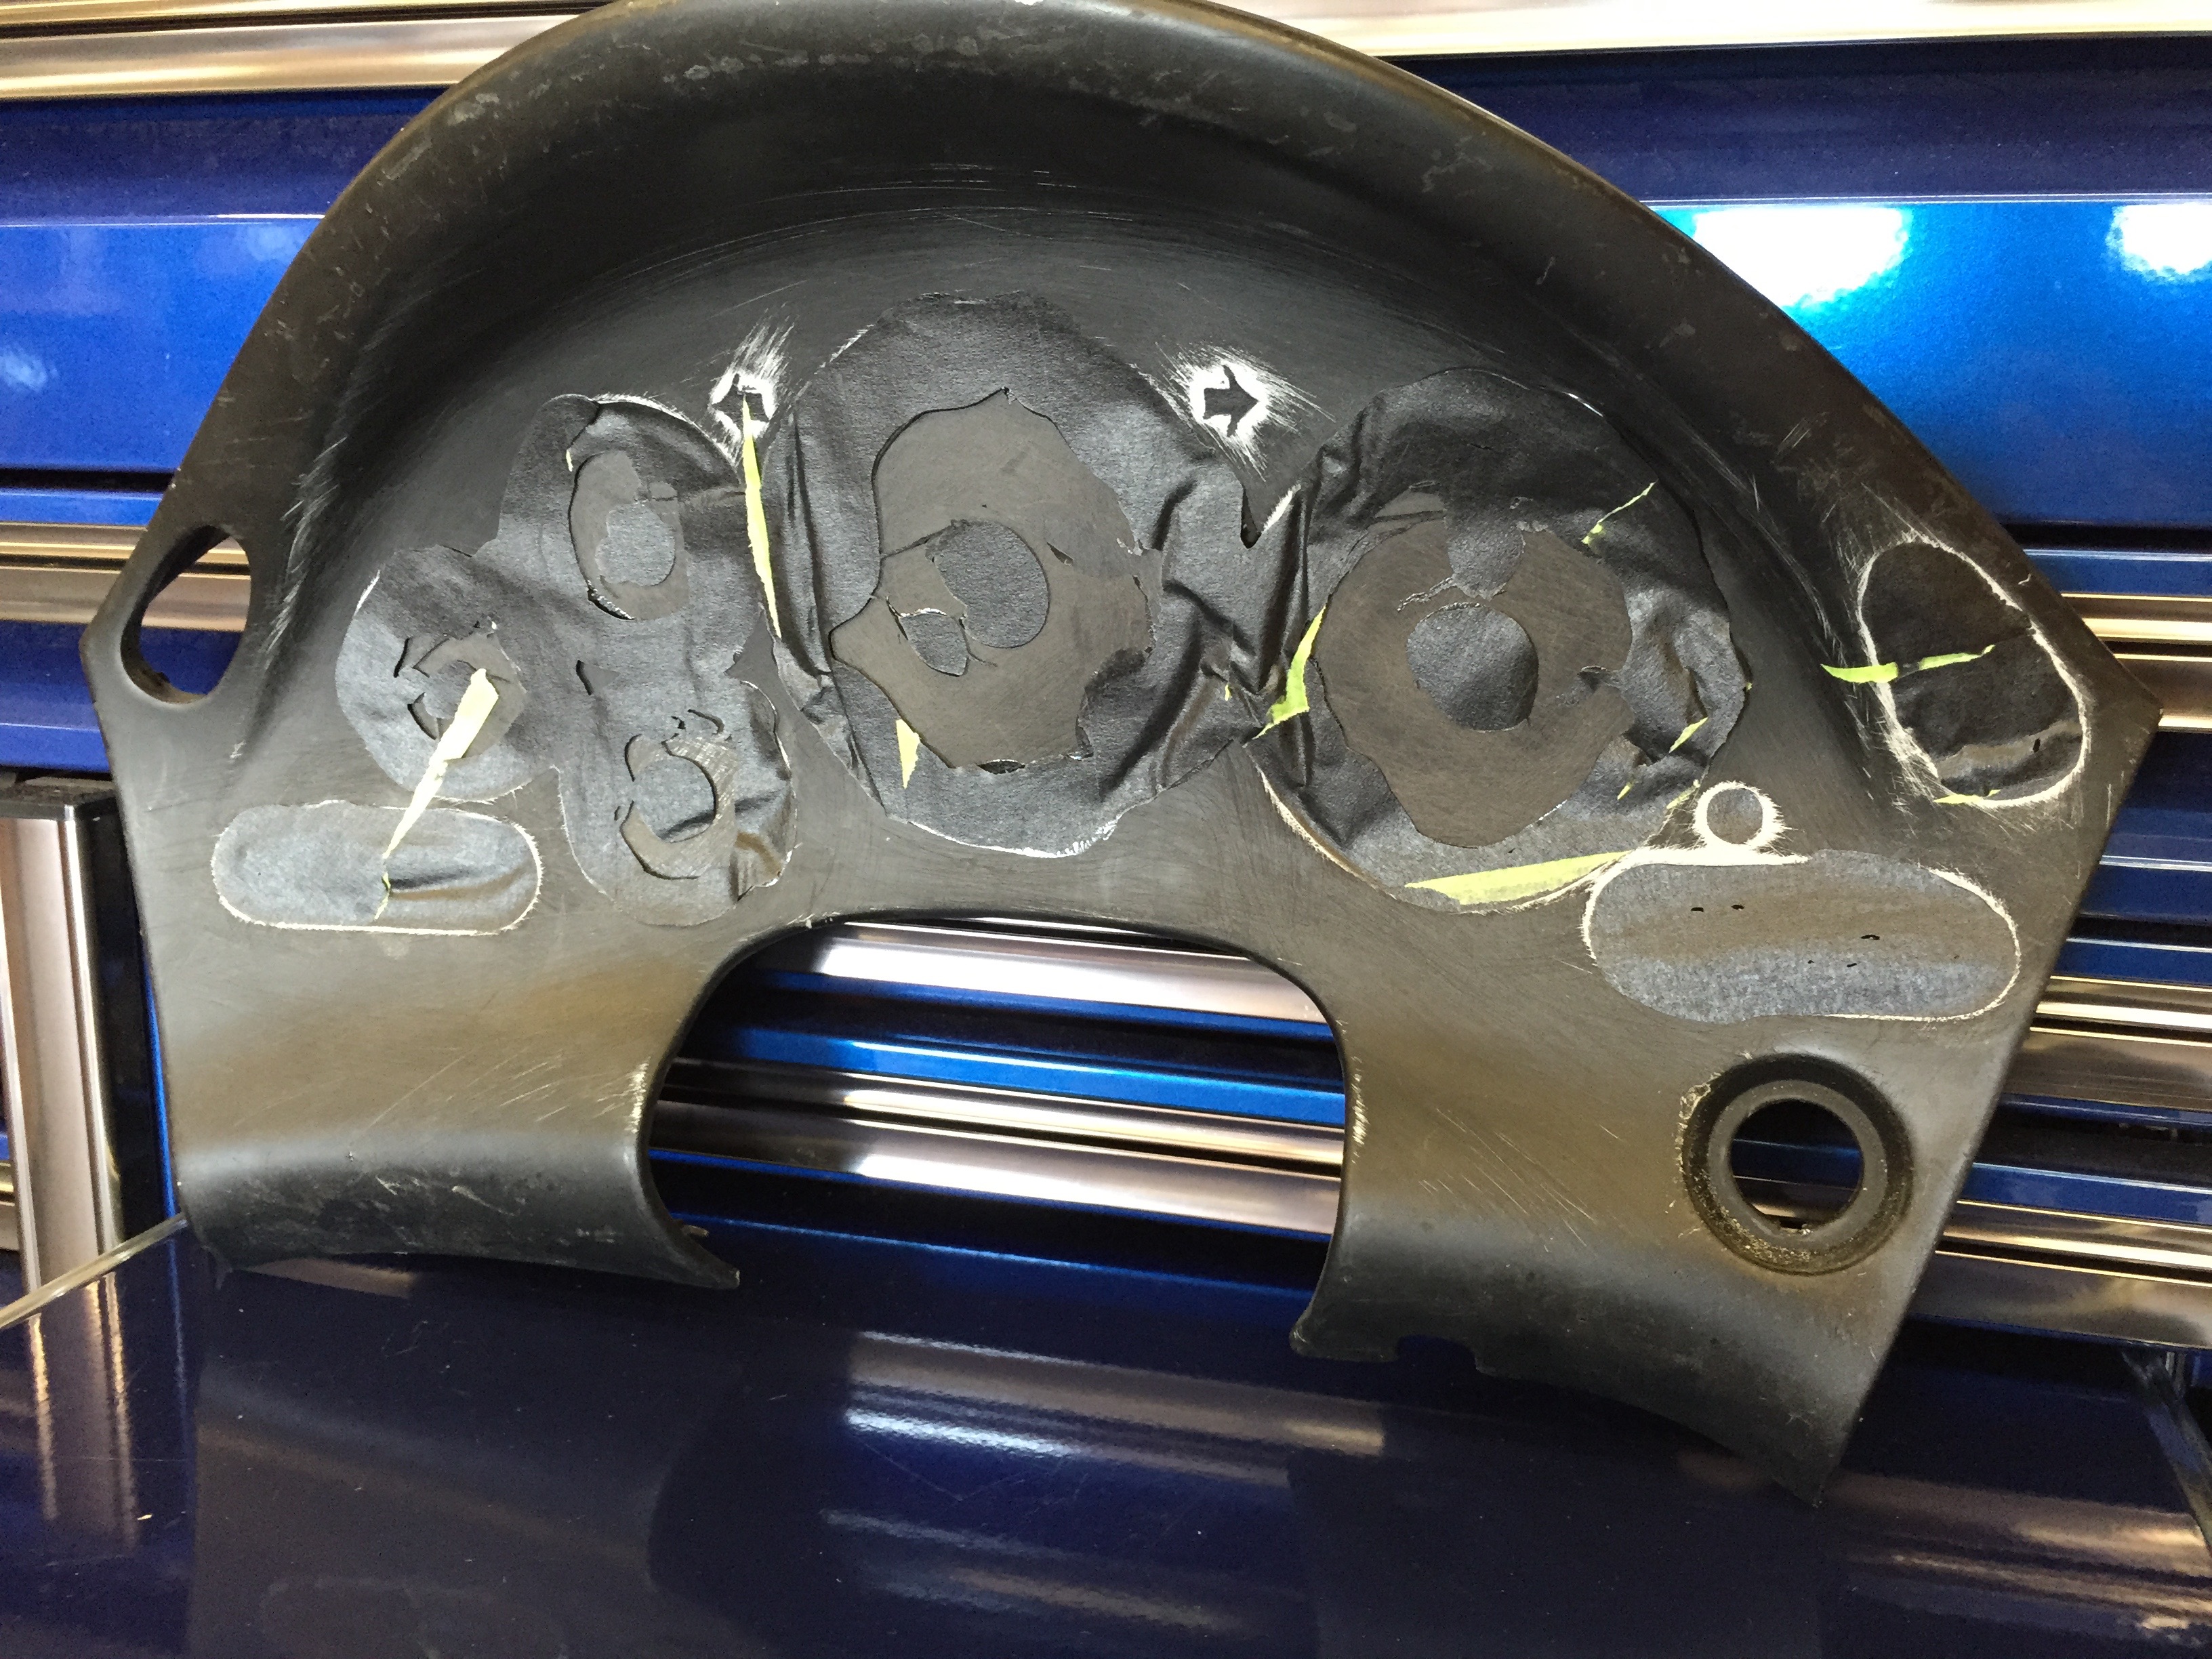
36-Grit rough down:
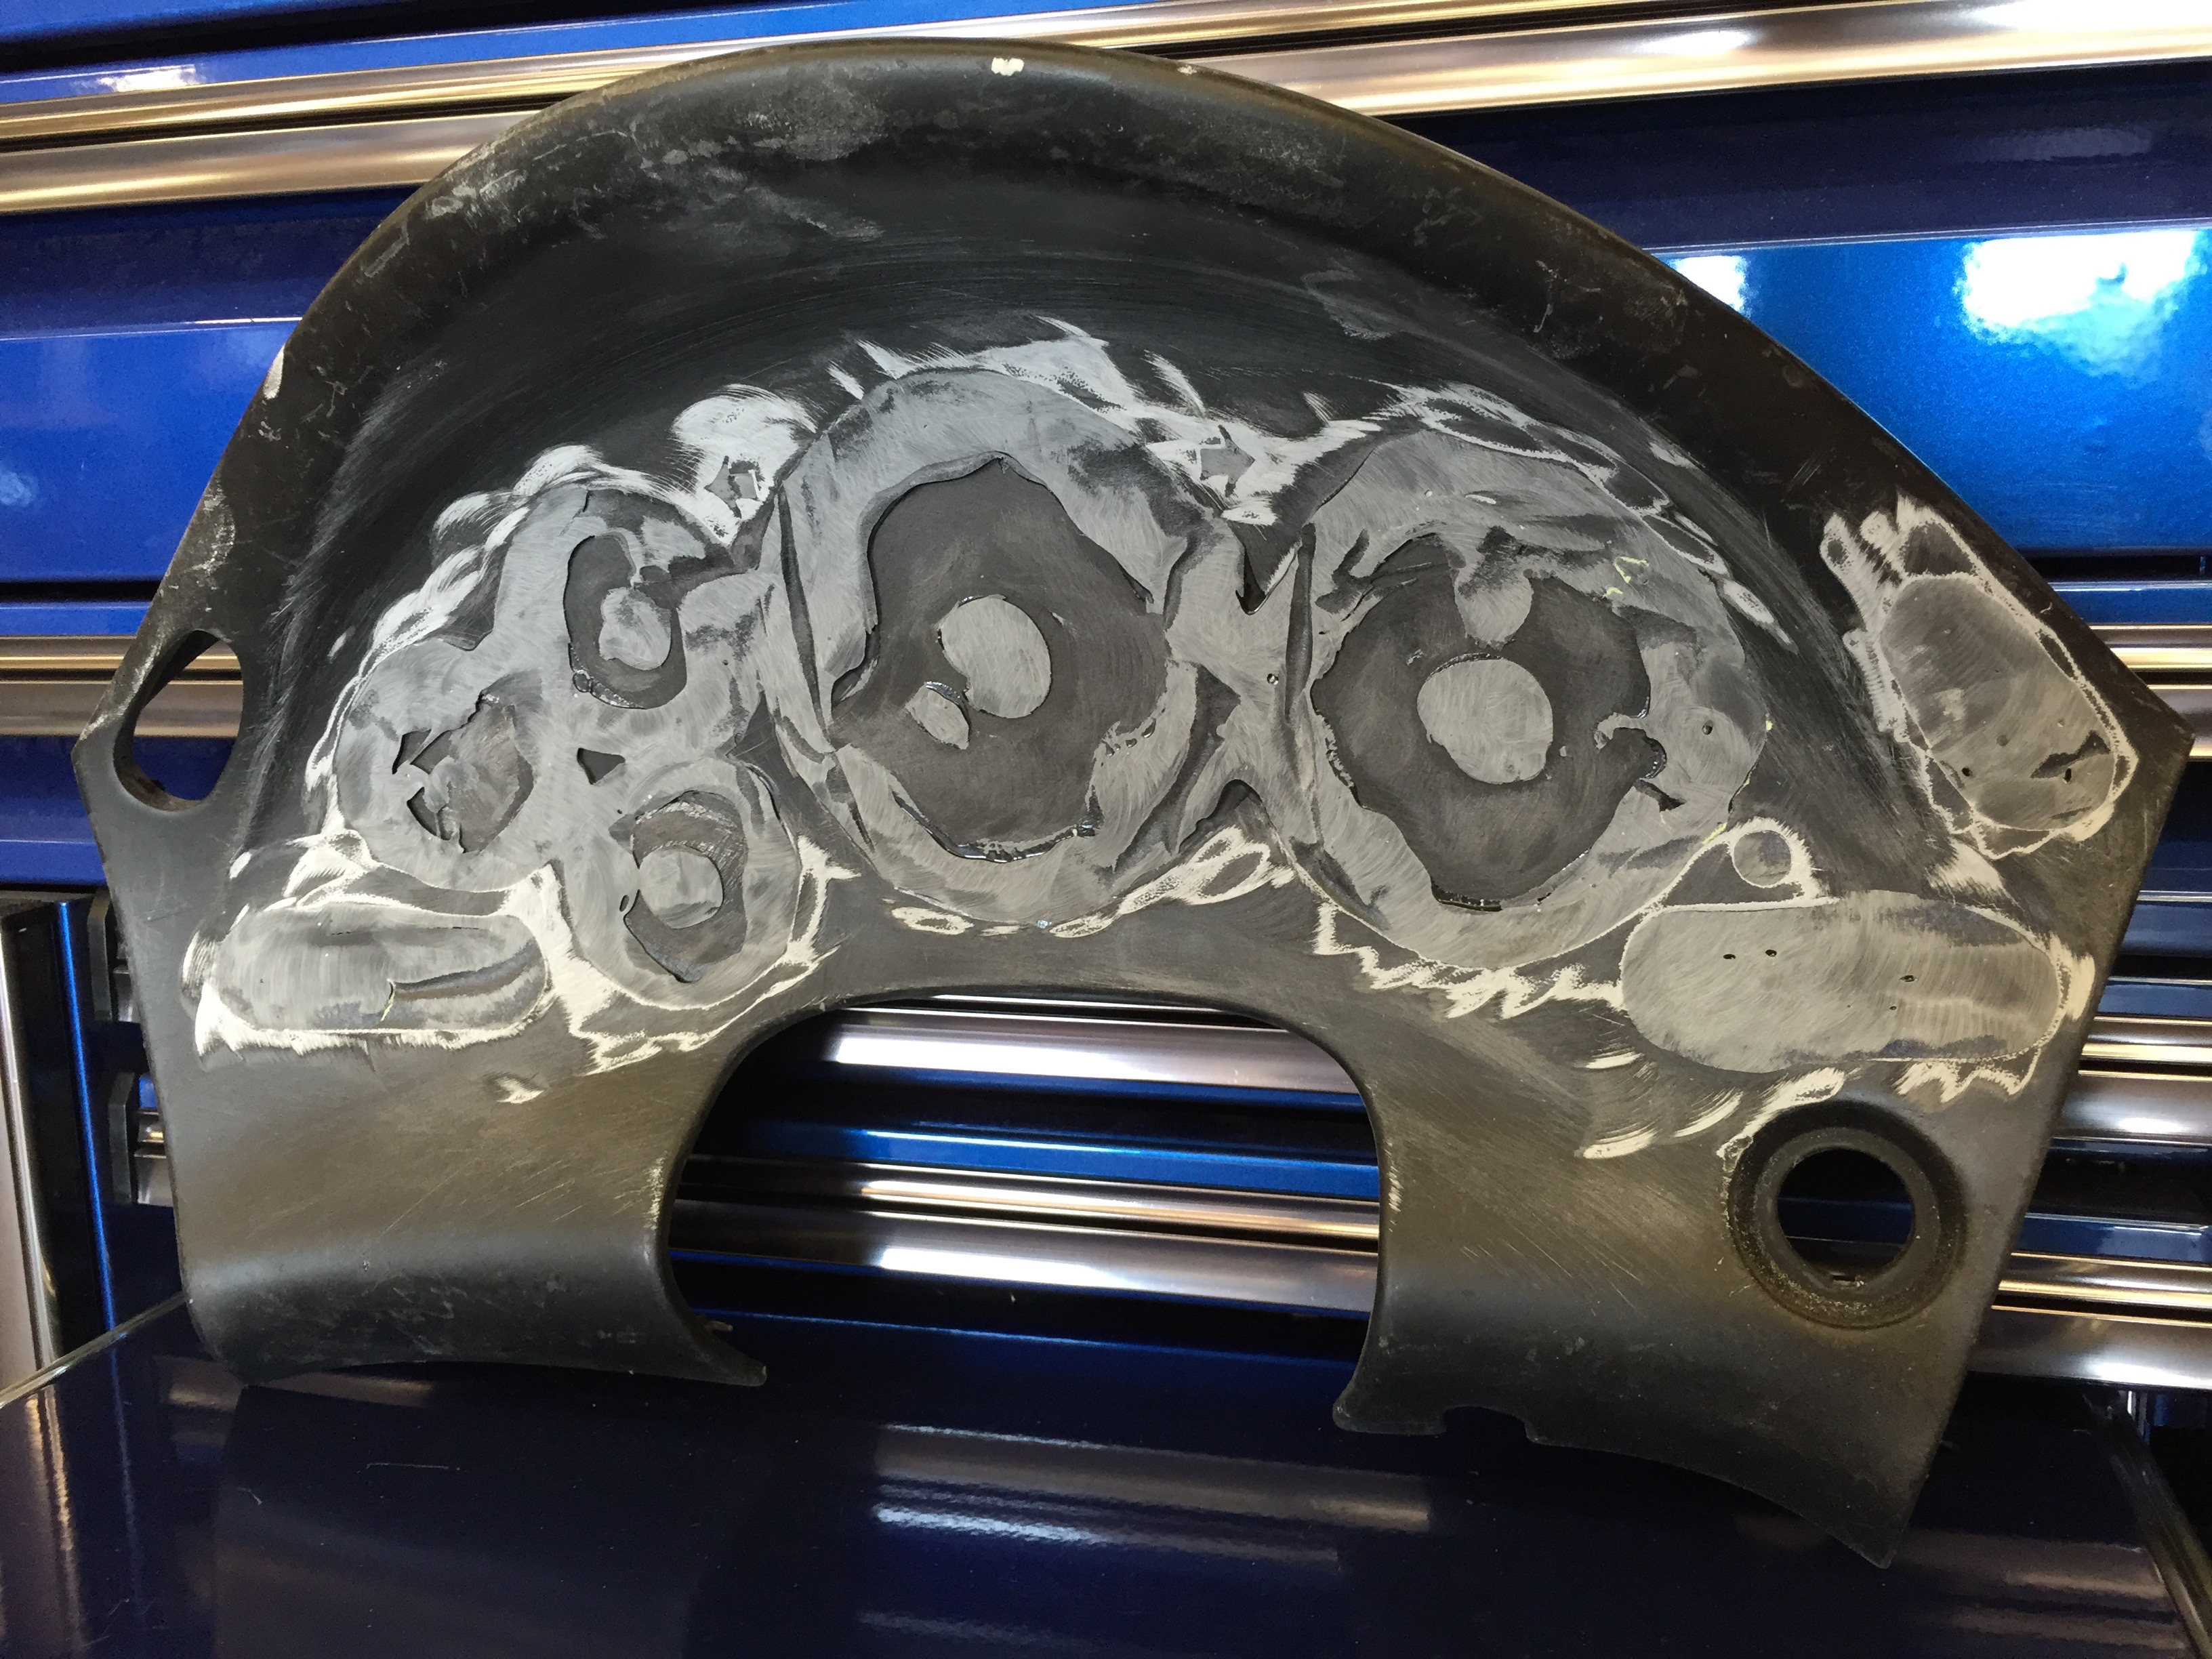
80-Grit knock down:
Evercoat Rage skim coat:
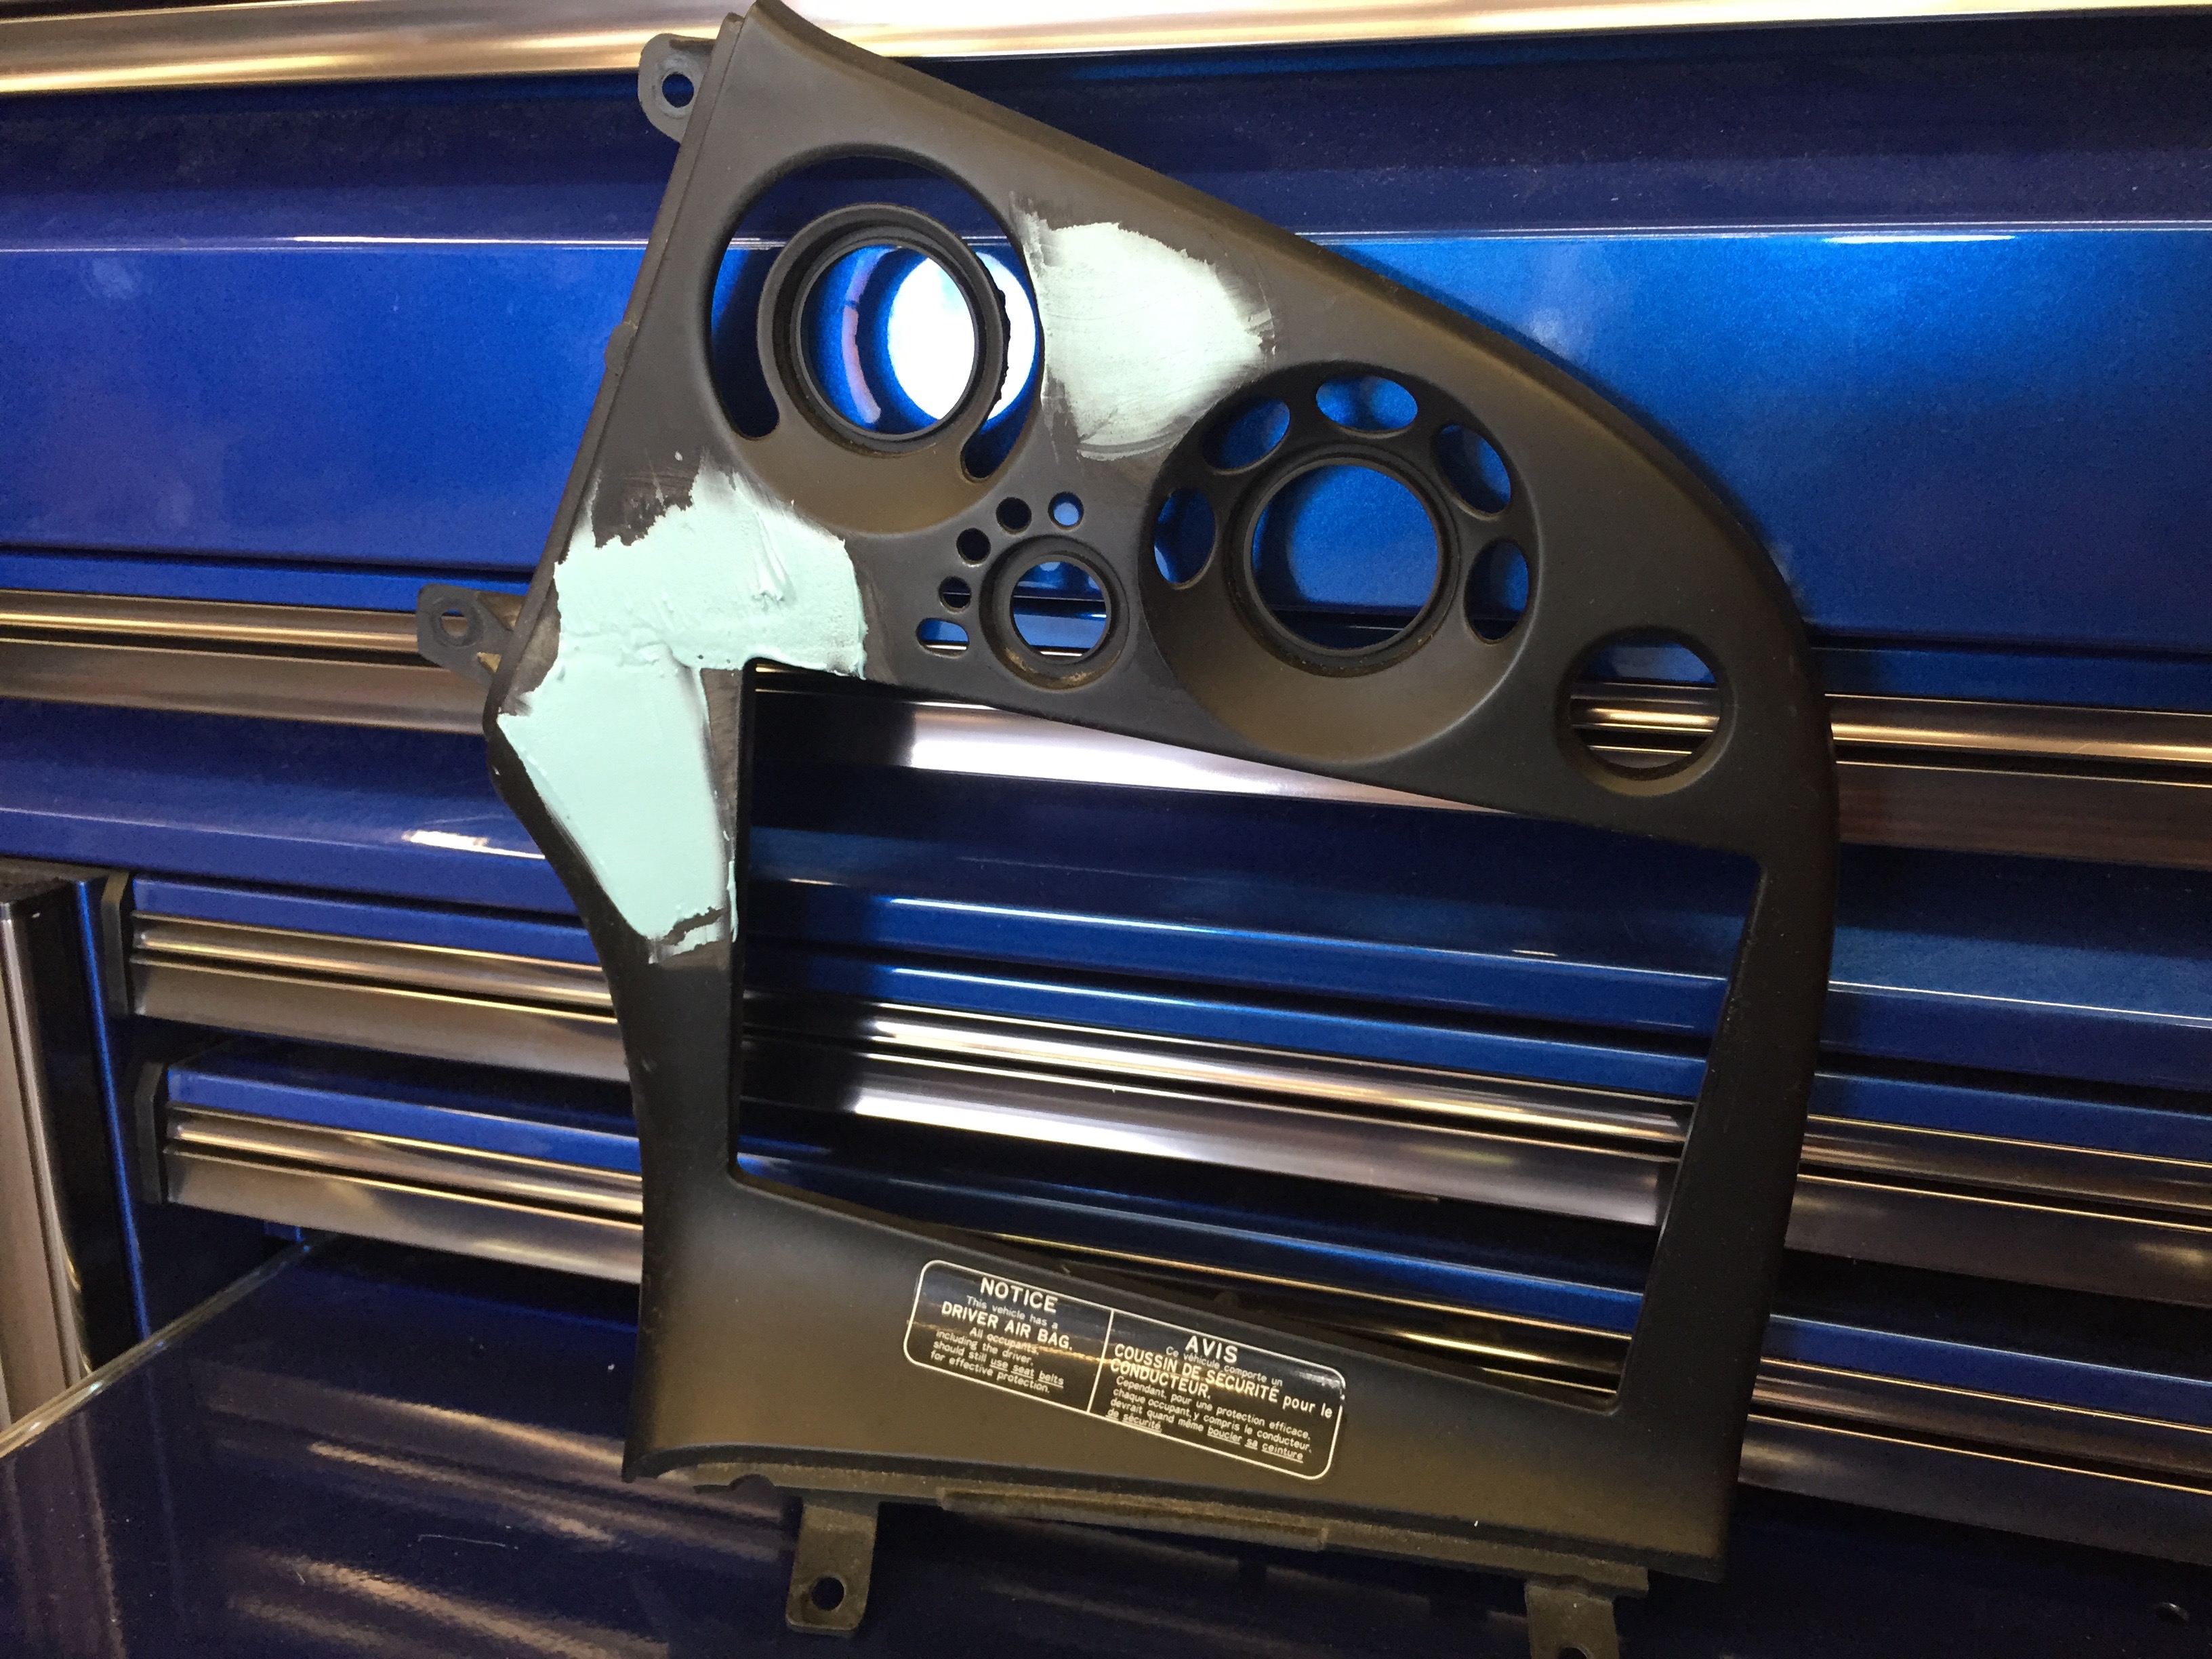
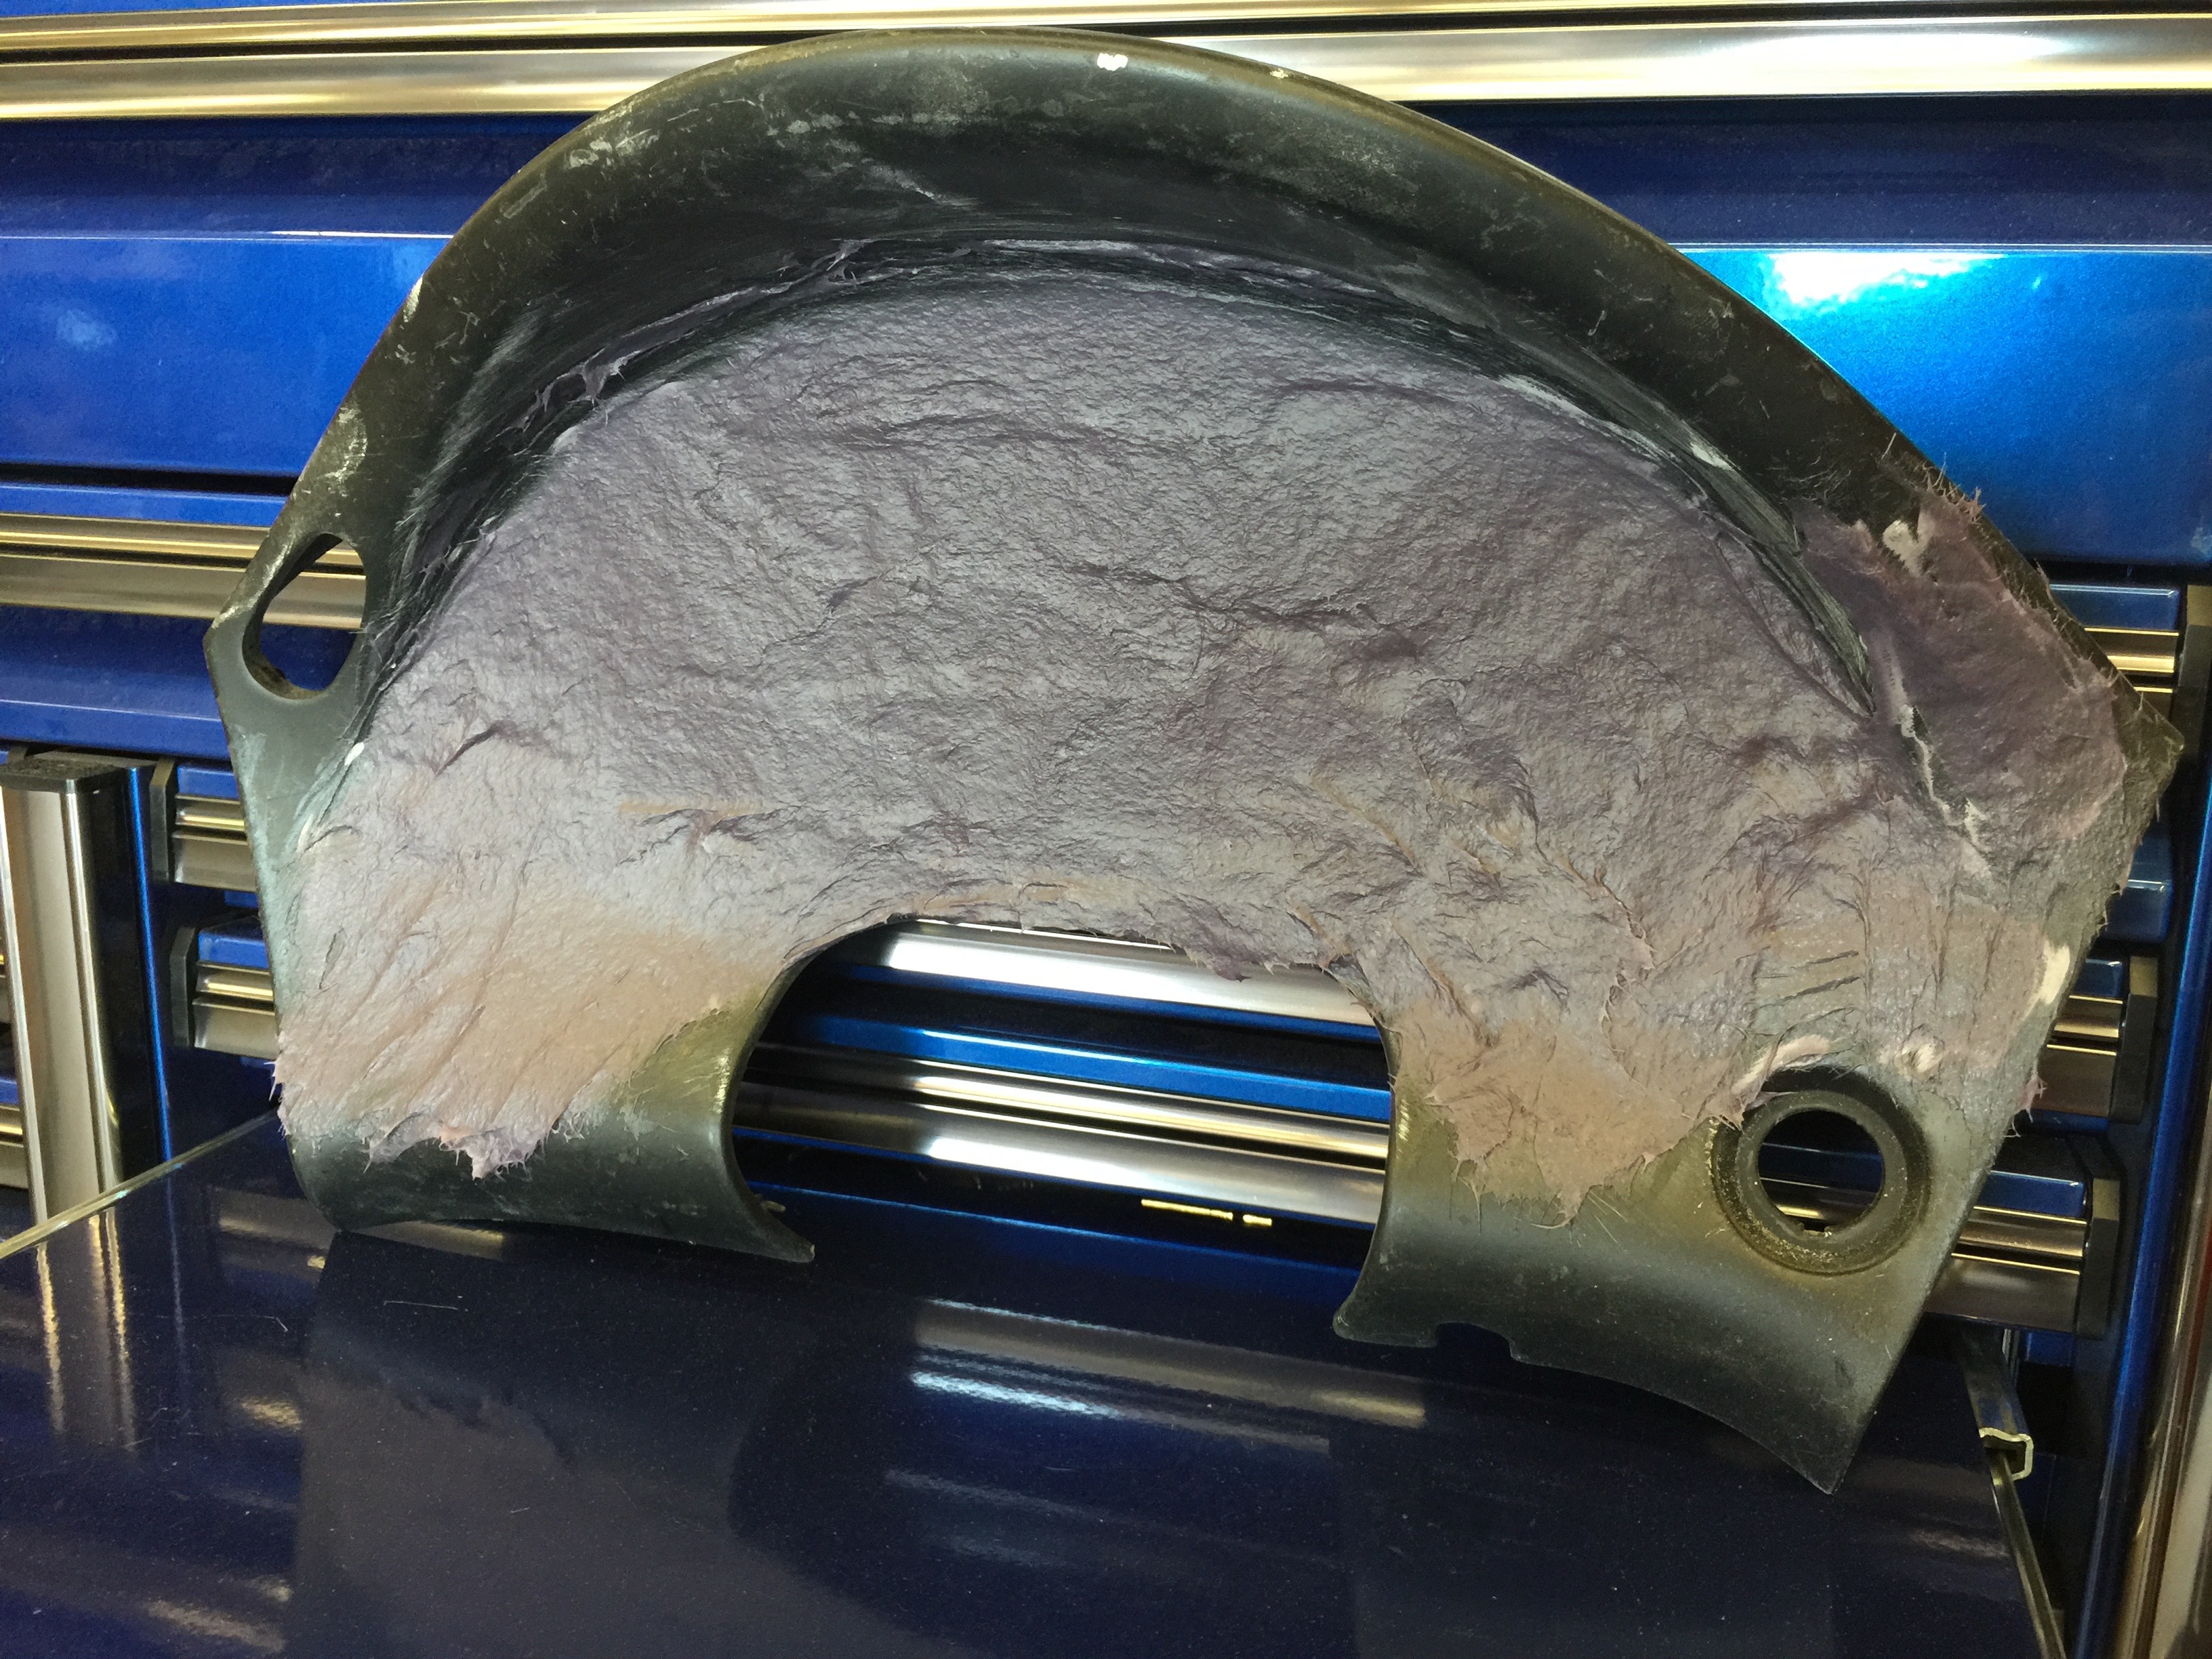
Evercoat Fiber Tech (kevlar reinforced filler) buildup:
120-Grit knockdown:
36-Grit knockdown:
80-Grit:
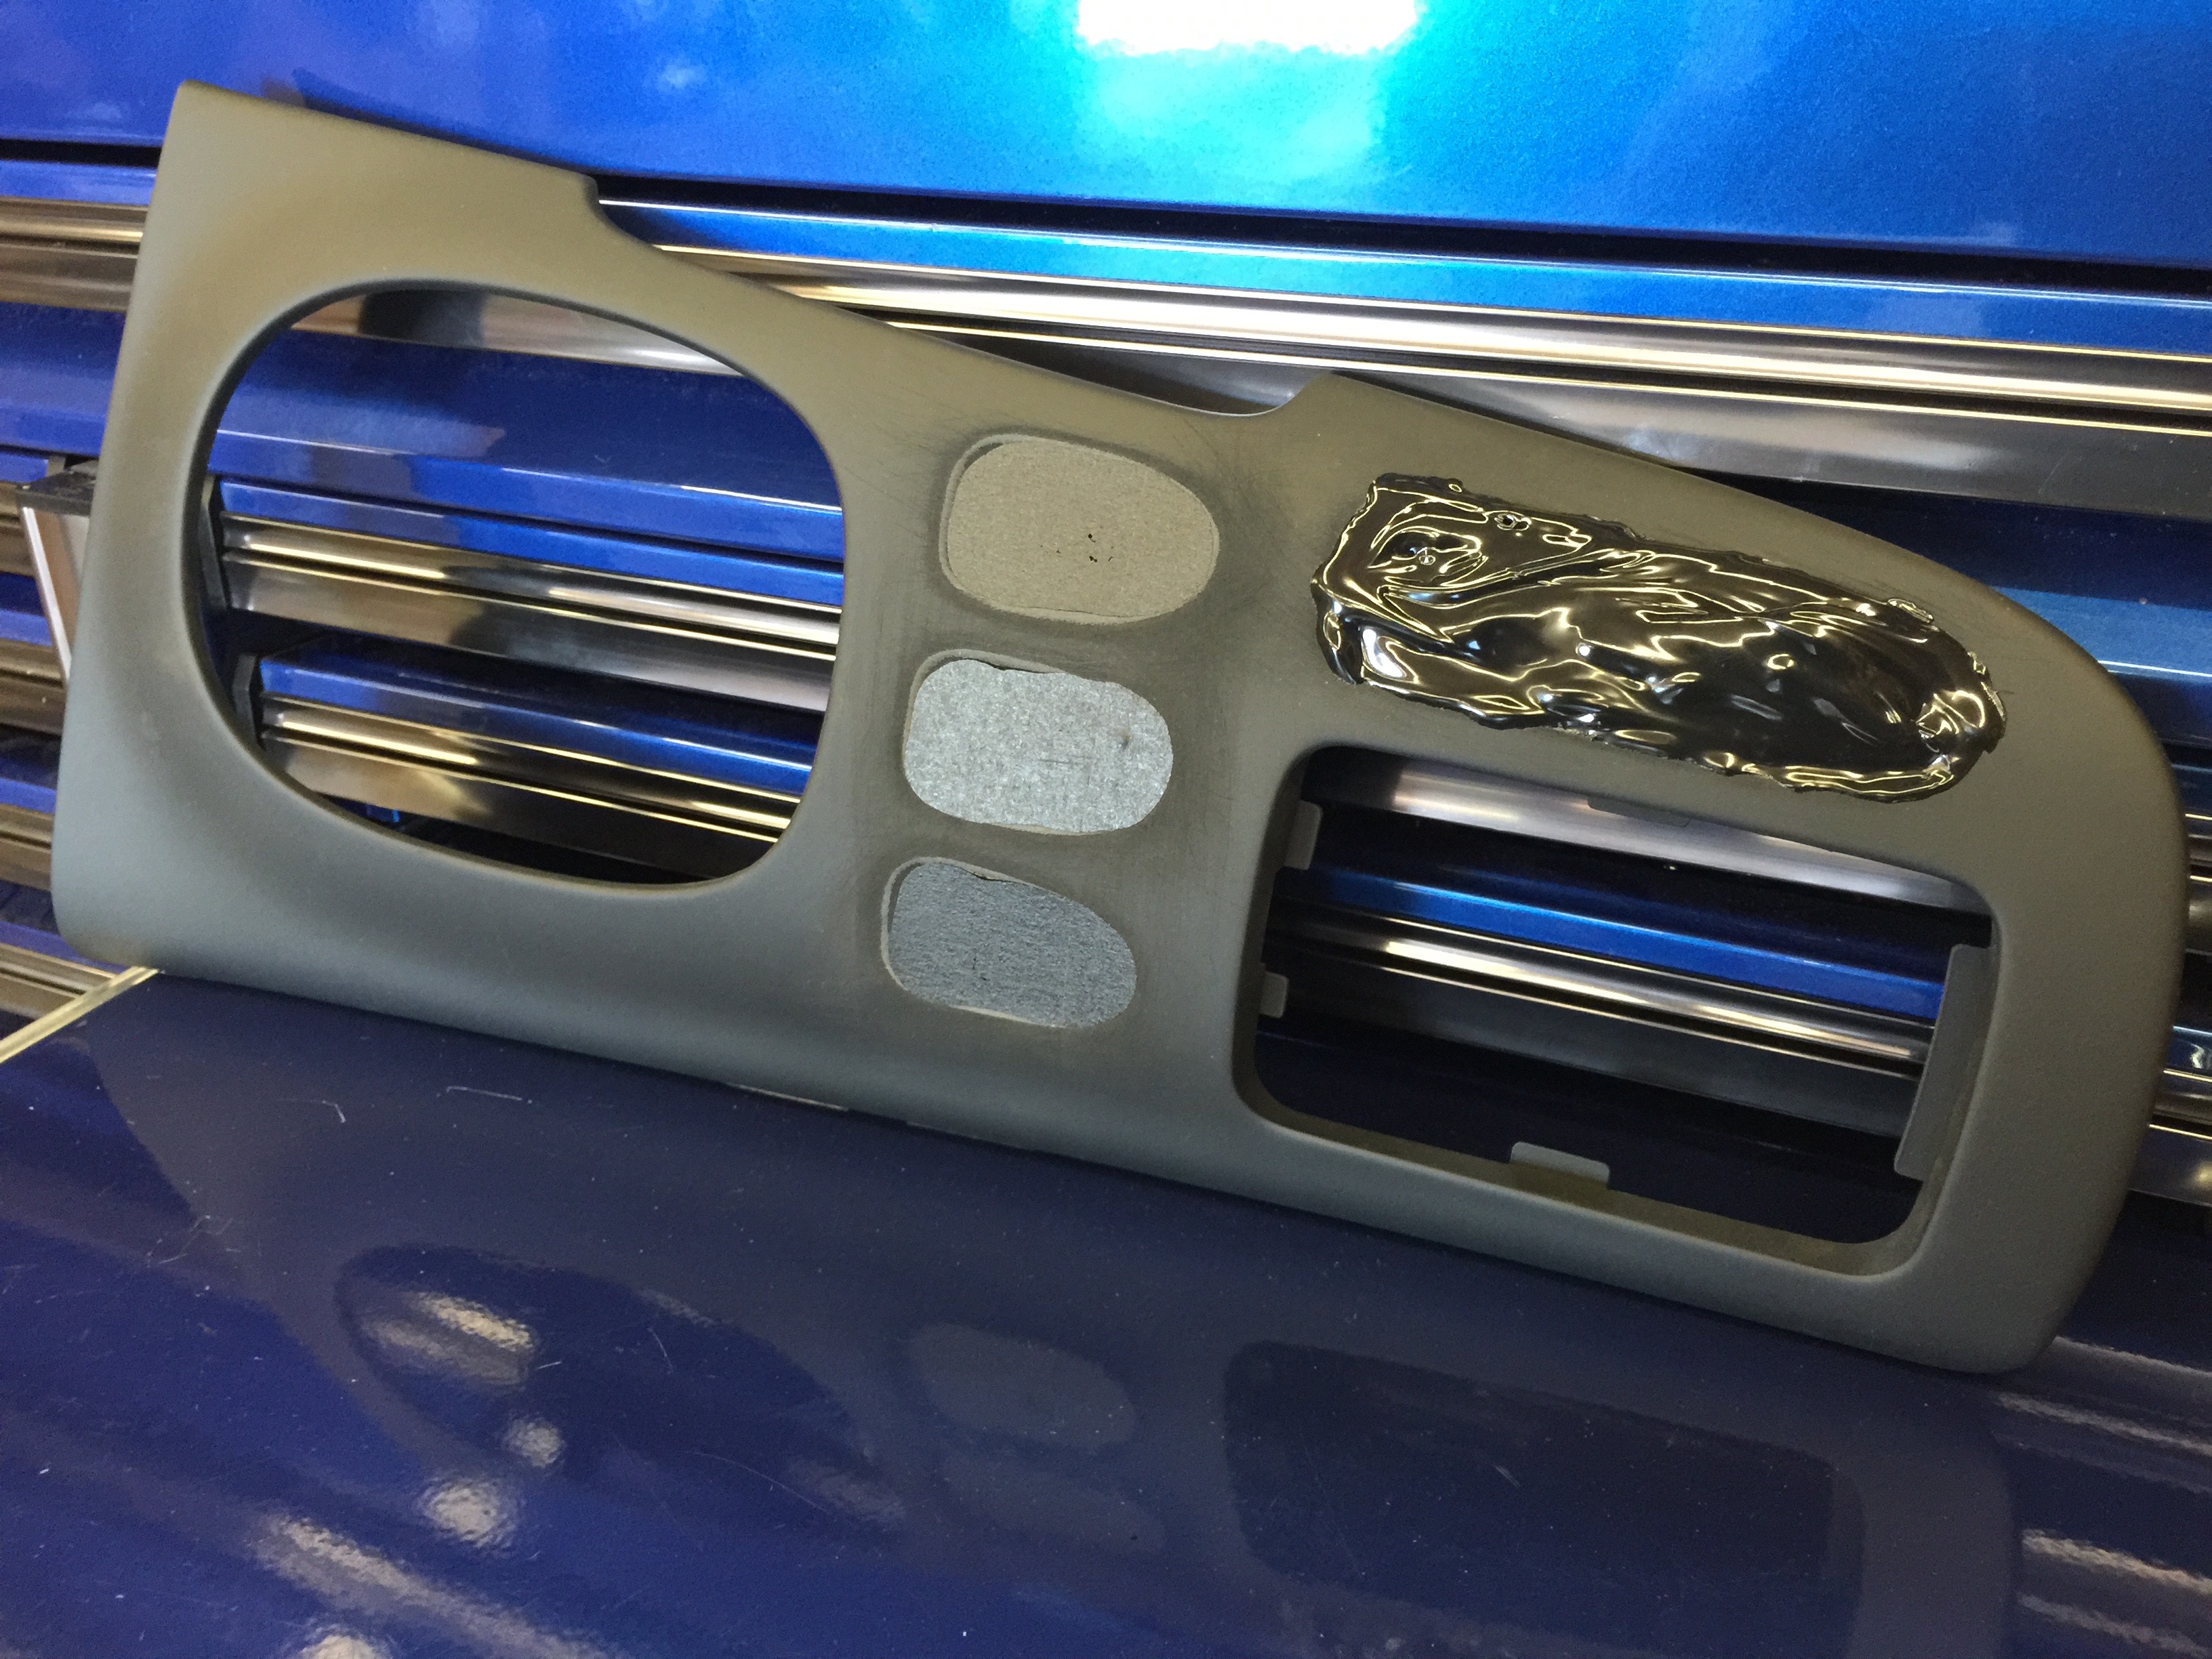
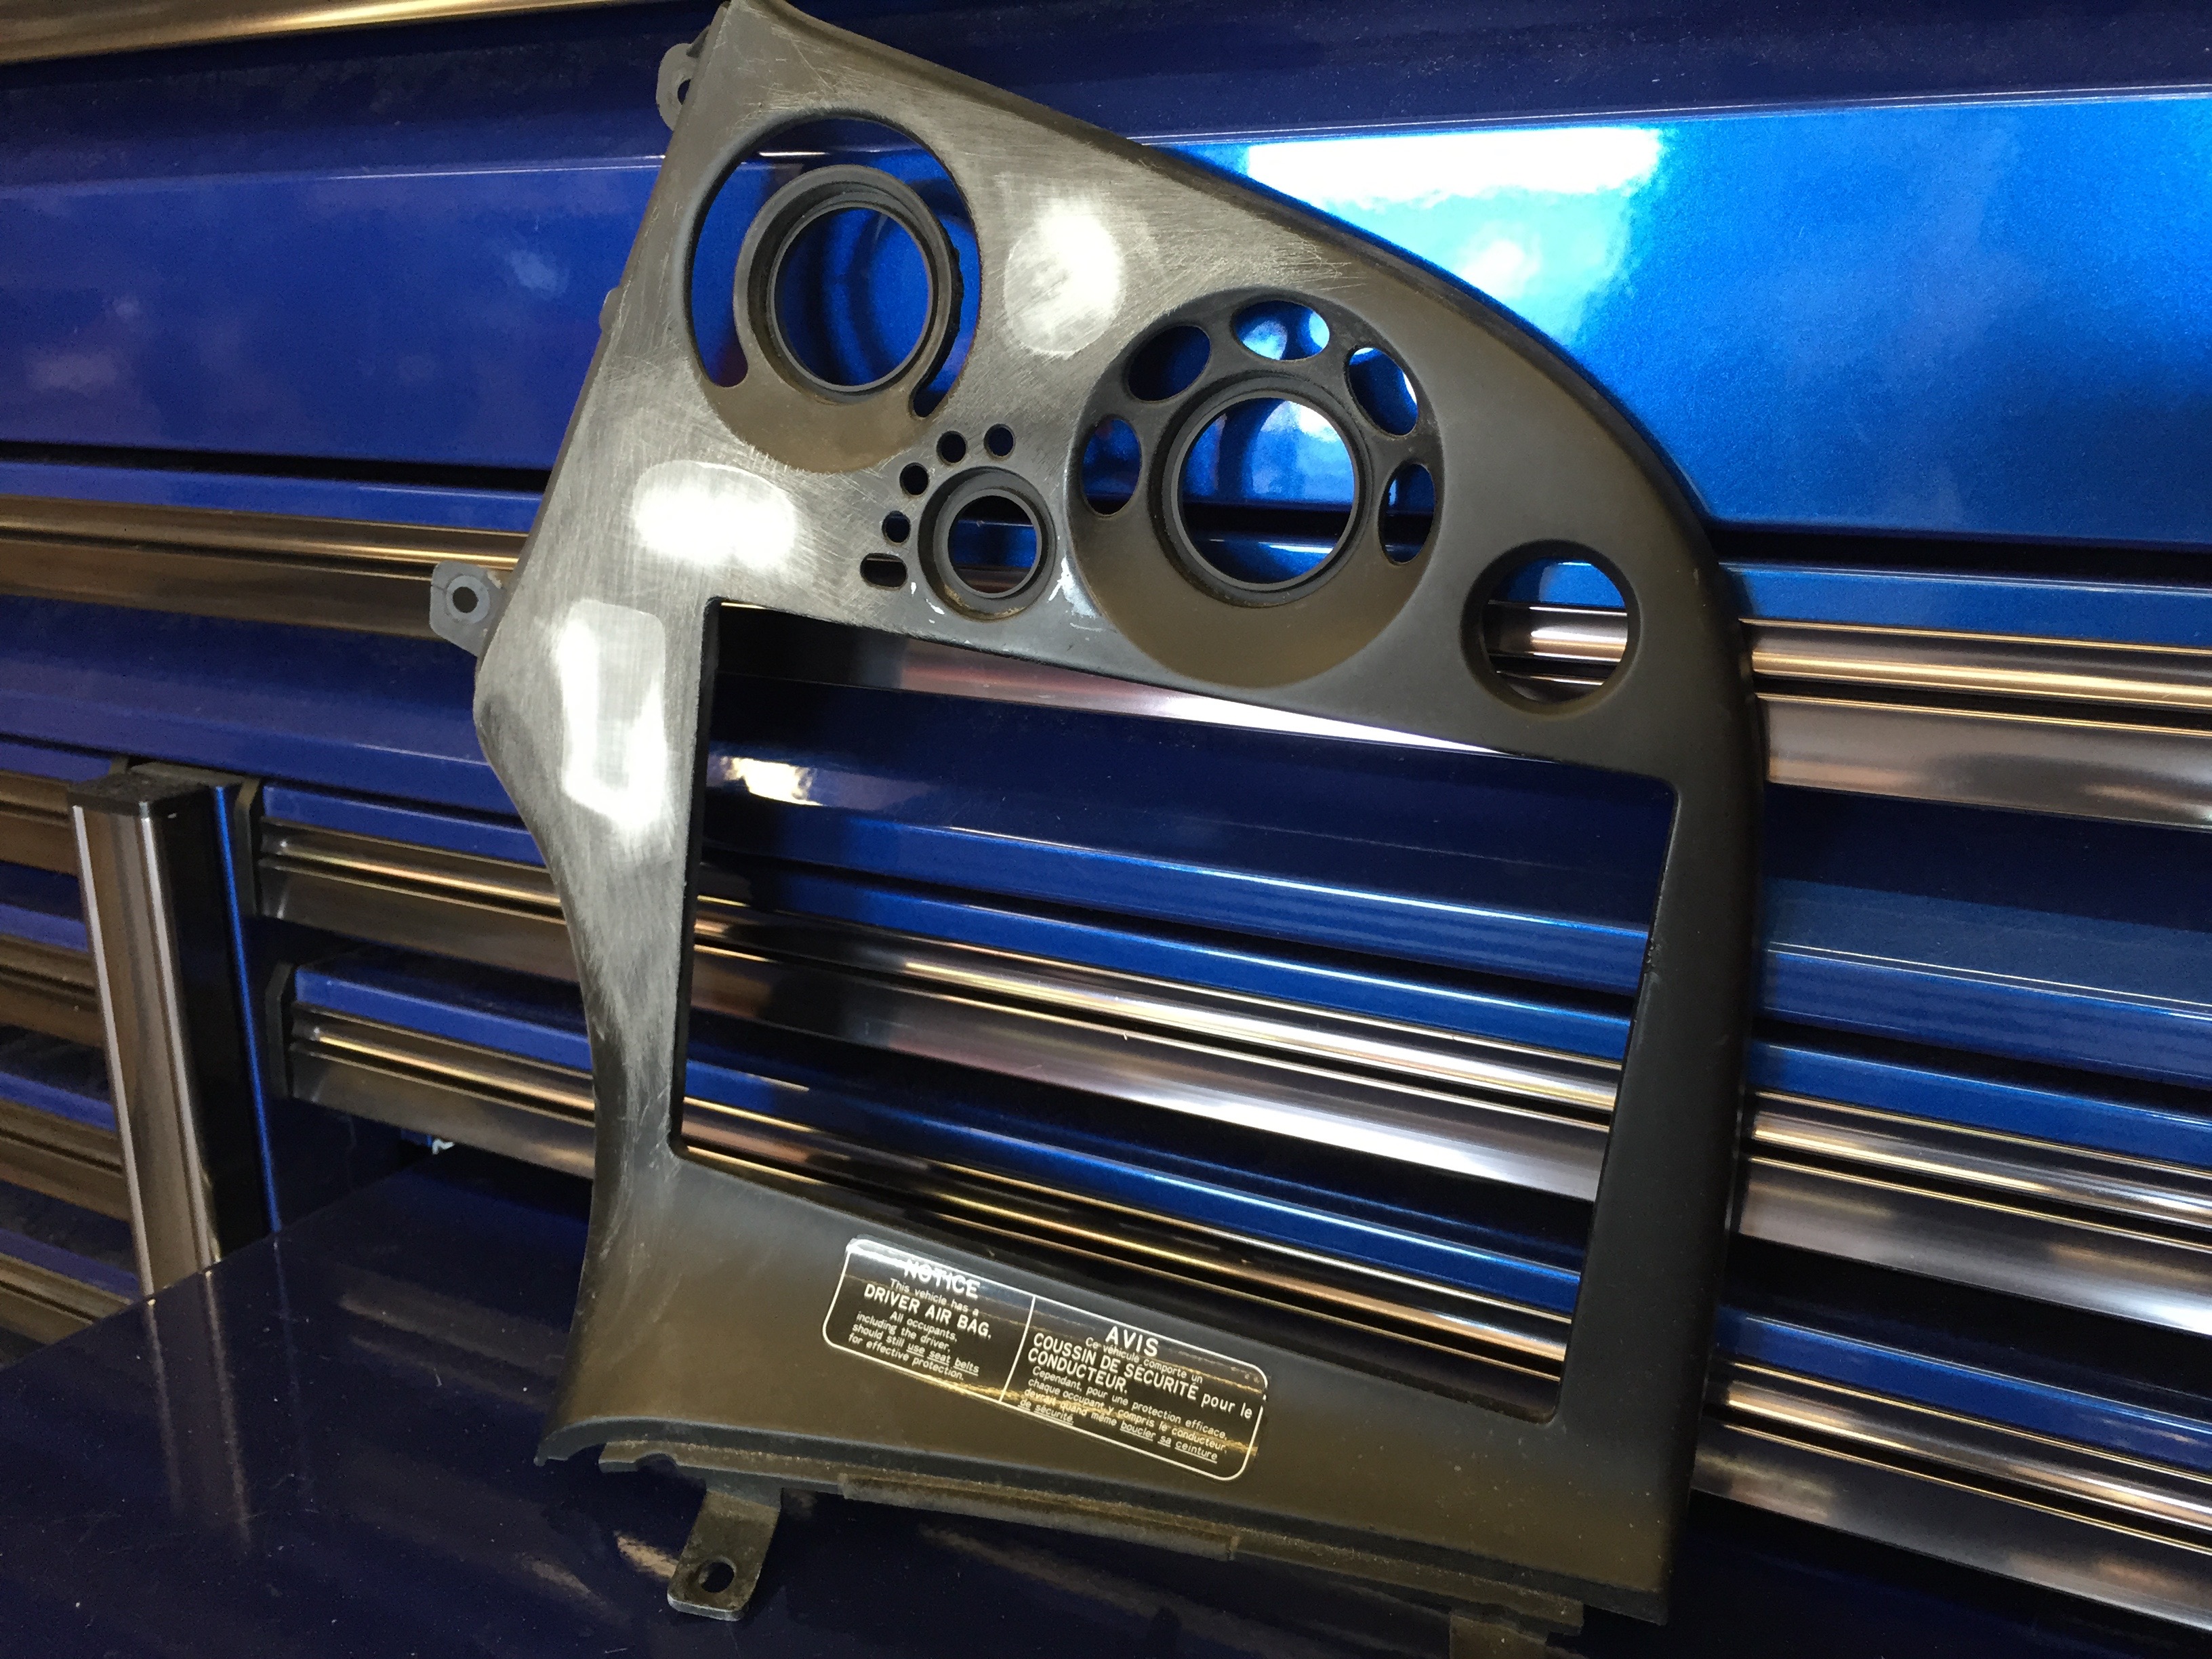
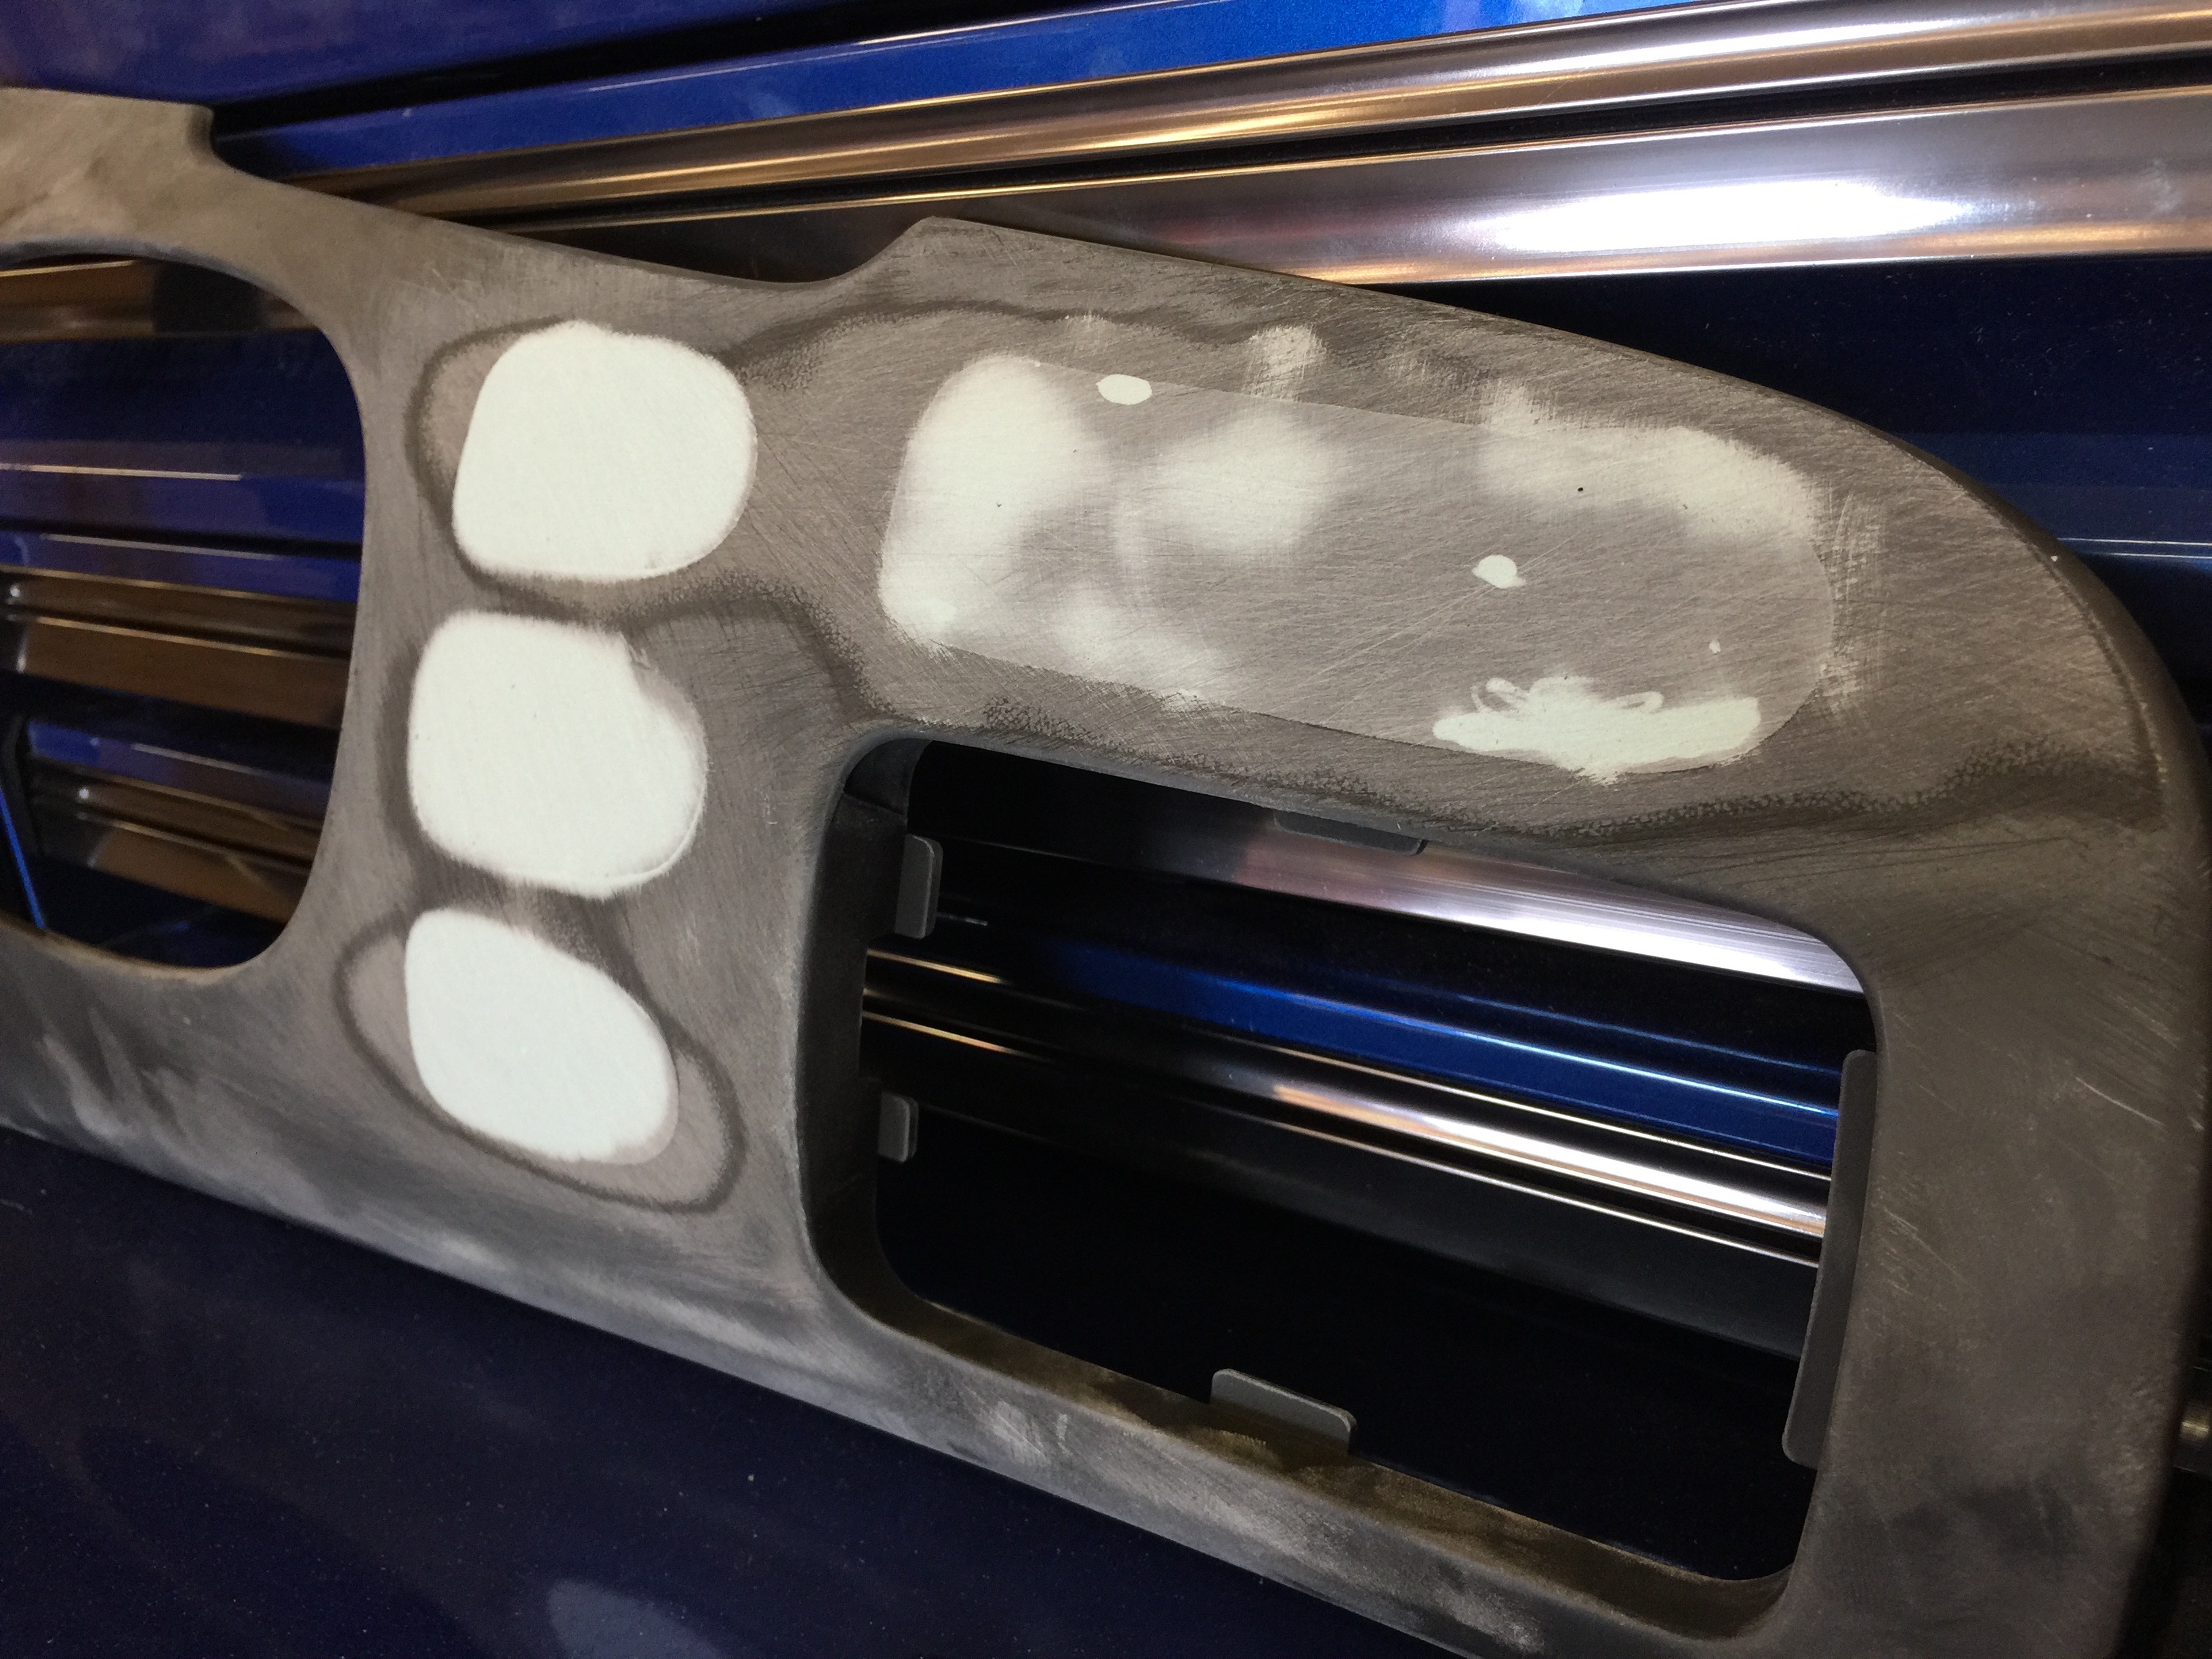
I wanted to take this opportunity to fill in and delete superfluous items. The majority of the gauge fascia has been filled, including the cruise control hole at the upper right hand corner. Since my car is an R2 model, it never came with cruise control from the factory. Instead, Mazda just used a blank, plastic button there. On the stereo surround panel, I had the A/C, Air Recirculation, and Gauge Dimmer switches removed. On the shifter console, all of the buttons and lights were removed.
hi man what is the speed grip and where do you buy it from