My initially candid phone call to Justin at Samberg Performance was what effectively triggered the swap. I called to learn more details about his kit and the pricing of the package. Coincidentally enough, he was having a small sale going on for the mounting kit and was just starting up a group buy for the radiator kit (which is only sold and produced via group buys). The timing was right and contained sufficient validity to set things into motion. Before I knew it, I had my card out and was sending over a deposit payment.
With the mounting kit secured, I turned my attention to tracking down another crucial item for the swap – the V8 power plant itself. I was determined to go with an LS3. I gave thought to the LS2 as well because it’s also a newer Generation IV architecture engine like the LS3. In fact, the LS2 probably would have complimented the FD chassis quite nicely with its power characteristics. In the end, however, my edict to pursue both reliability and power prevailed, and I knew I wouldn’t be happy with anything less than the LS3. Regardless of the engine choice, my intentions are to leave it internally stock and unopened. Thus, the larger displacement and higher power figures of the LS3 provides a necessitated baseline and foundation. The LS3 is also a recent engine (’08+ in Corvettes, ’10+ in Camaros), so the likelihood of finding one in good condition on the used market is much higher.
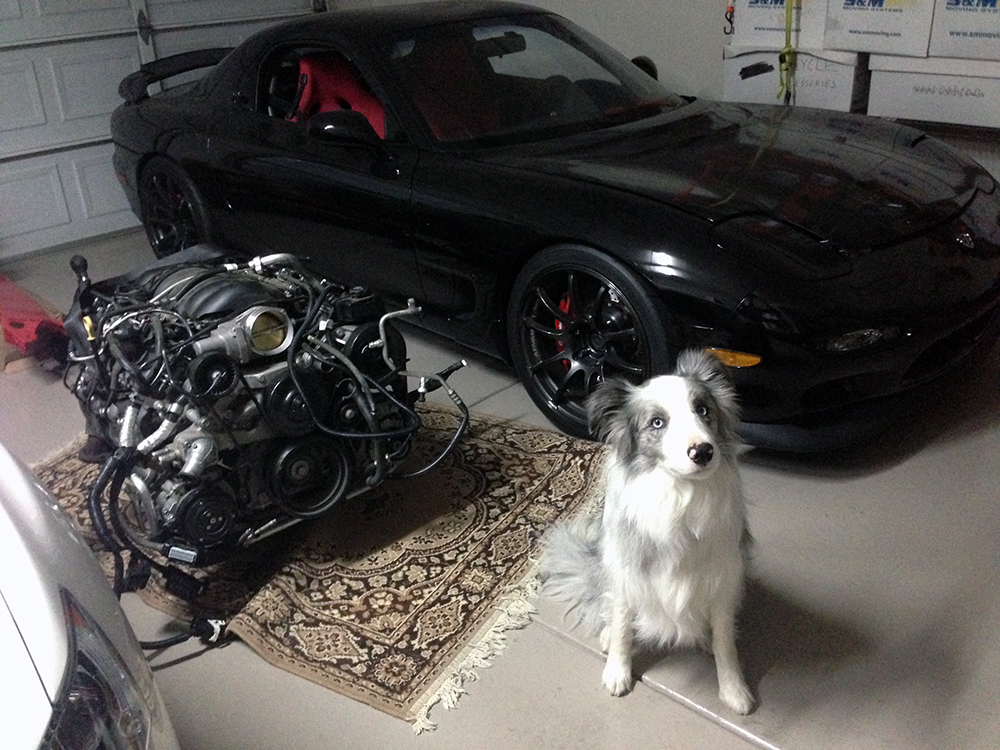
The best candidate for a swap power plant is an entire pullout from a wrecked car. My target car for an LS3 was the 5th generation Camaro SS. Since these cars are still so new, finding them in salvage yards proved to be a rare occurrence. Interestingly enough, after a few days of careful searching, I gave my local Craigslist another haphazard look and noticed an updated ad for an LS3 and TR6060 pullout. The seller obtained the engine from a just totaled 2012 Camaro SS that was hit from the side. The stated miles on the engine is approximately 19,000. I knew I had to move fast. After a series of phone calls, I met up with the seller and the pullout found its way onto my garage floor within 2 days.
Before I took delivery, I had the seller meet me at a local shop to have it compression tested. The engine definitely looked clean and well-kept physically, and the technician assured me that it held a solid 170psi on all cylinders. This was good enough assurance for me to proceed.
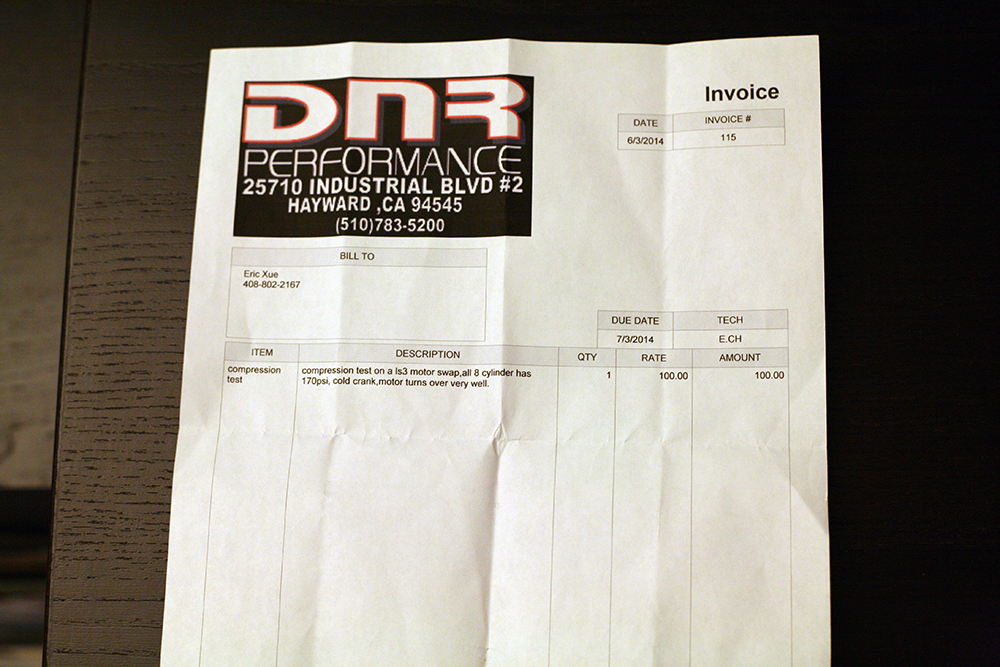
I feel paying $100 for a compression test is total ripoff, but it was nonetheless a formality I couldn’t bypass. My choices were limited given the time crunch and this was the only shop I could find nearby that had experience with LSx engines, otherwise I would’ve went somewhere else. With the power plant acquired, the swap was officially underway at full bore.
Another beauty of the LS3 pullout from a Camaro SS is the TR6060 transmission attached to it, which is essentially an updated and beefier version of its esteemed T56 predecessor. The TR6060 features wider gear faces made of better quality steel and larger bearings to allow for higher load tolerances before deflection occurs. It also has triple synchromesh gears on the first and second gears, which certainly sounds appealing. The shifting feel is supposed to be smoother with more positive engagement, which I will be very interested in trying out for myself. I’m a big fan of the FD’s stock transmission with the C’s Short Shifter, so I’m hoping the TR6060 will stack up competitively in the feel department.
Awesome!
Haha, just as I ask in my last comment you go and post this.
You’re going to love the TR6060. I used the T56 Magnum which is essentially the same. Has the updated shift forks.
Makes for honestly the shortest manual transmission shifts I’ve ever felt in person. Rifle fast.
enjoy!
josh
Thanks Josh! I’m looking forward to it for sure. Do you have a link to more information on your car’s swap?
I was looking at your engine bay picture in your comment from my previous post. It looks like you were able to mount your battery in the passenger side oil cooler location? Very interesting!
Hey Eric,
Unfortunately at the moment I don’t have anything documented. Nothing online anyway. Just a pile of receipts.
I will likely compile it all into a file on my computer pictures, parts list etc. Which I’ll be more than happy to share.
While I enjoy creative build threads with thoughtful writing immensely, I don’t believe I could put an effective one together myself. I feel I would miss a lot of small things. But who knows, first time for everything right?
As for the battery, yep that’s exactly where I relocated it. Initially I didn’t like the location as it was a hassle removing the bumper to jump/charge it or disconnect in the winter (about a 2-month downtime in Kelowna B.C. Canada). Since placing it there though, I’ve added a disconnect switch and jumper pole underneath the front rad support that are easily accessible.
josh
I think you should give it a go. I remember falling into this cataloging stuff almost 8 years ago, and it’s stuck ever since. Then again, I’ve always had a penchant for keeping up a website for the sake of it, so that helped spur things into this direction. Being able to put into words and keep track of your project at the end of the day adds another dimension. Either way, it’s at least memorable to read back on if anything.
That’s a pretty handy use of the opened oil cooler spot. I must say it’s convenient that these engines do not require an oil cooler. I won’t be road racing either so I won’t be adding one in to maintain simplicity.
Wish i had a mag t56 , the old t56 is clunky and sucky =\. im enjoying these blogs lol.
Man i love your build brother! very inspiring
Thank you sir