This is what I’ve been up to during the past few days.
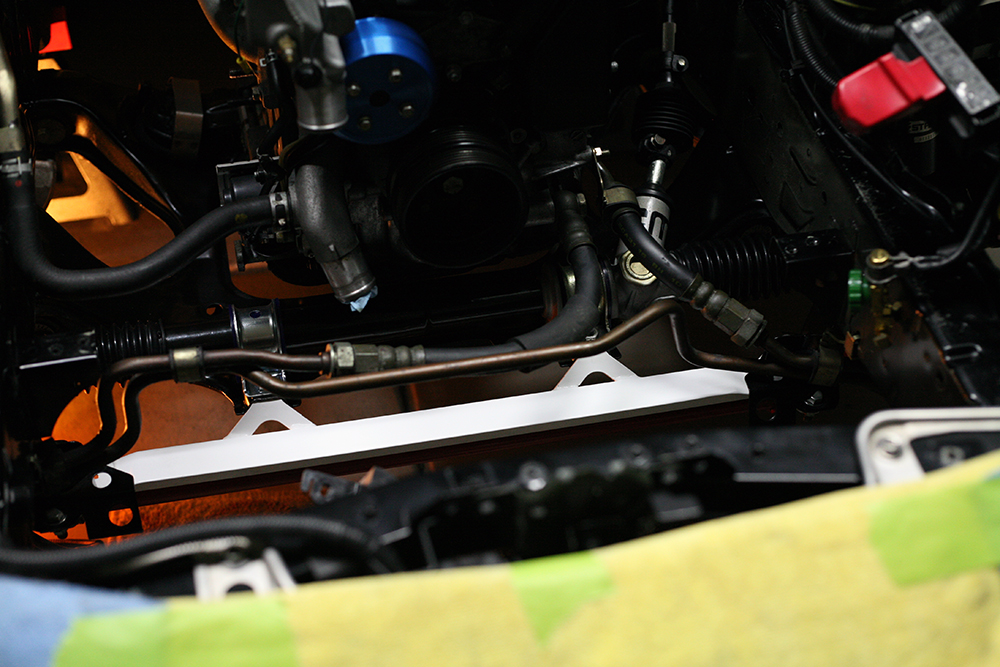
I finally installed the manual steering rack. Getting the old power steering rack out was interesting. The space down there was really tight, I had to figure out the one specific combination of movements to get it out. The driver-side of the front subframe needed to be lowered in order to gain more clearance. It was either that or remove 2 oil cooler lines.
With the old rack removed, I then needed to index the new one to exactly center. I tried manually measuring center to no avail, so I simply approximated it on the manual rack and installed it. Once on the car, I shifted off the intermediate joint accordingly. For example, if I noted that I was getting too many turns to the left side, I would move the splines over until it was centered.
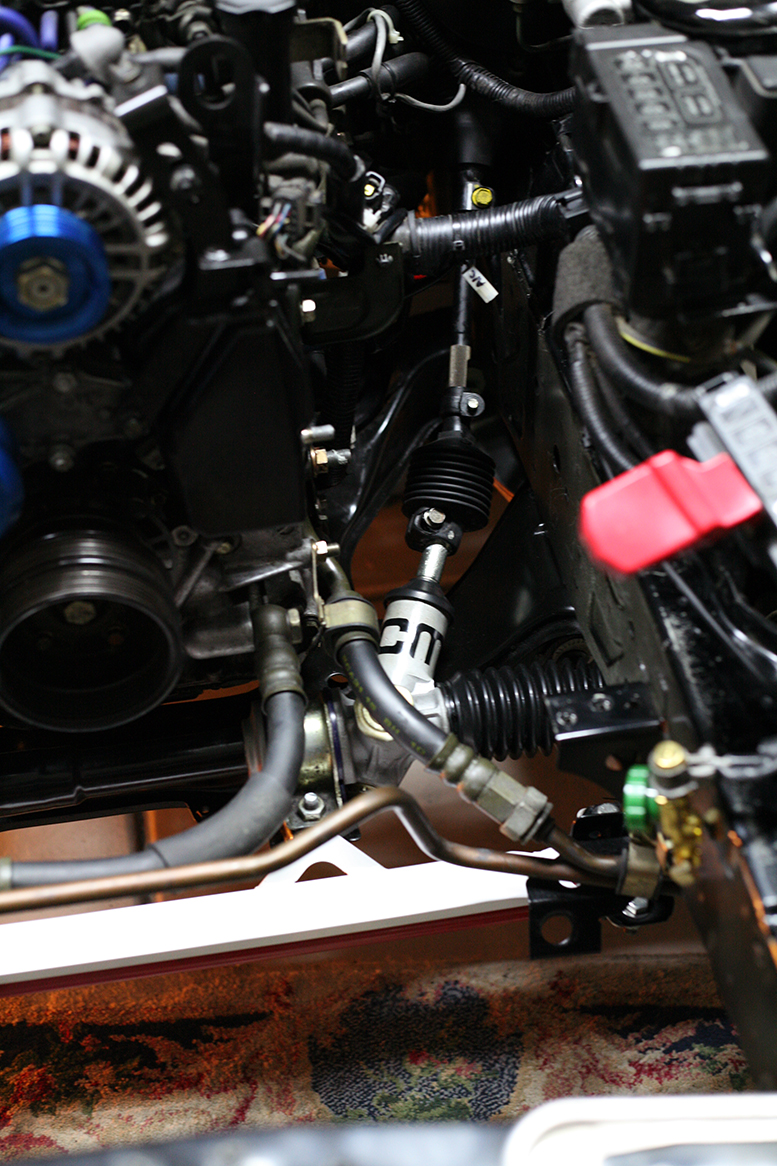
I was delayed from finishing the install because I slightly stripped one of the threads on the passenger-side steering rack clamp. I replaced the rack bushings with new poly SuperPro ones, which made lining up the holes harder. No worries… I rang up Ray Crowe at Malloy Mazda the next day, and a few minutes later, an order was placed to over-night a new clamp.
I also lied about being done with chassis braces… I forgot I actually had one more: the Racing Beat sway bar brace. This one looks to be a useful one, because the stock sway bar mounts are not triangulated or reinforced, so they crack under hard cornering. The Racing Beat brace ties in the mounts with the subframe, via the steering rack’s forward holes.
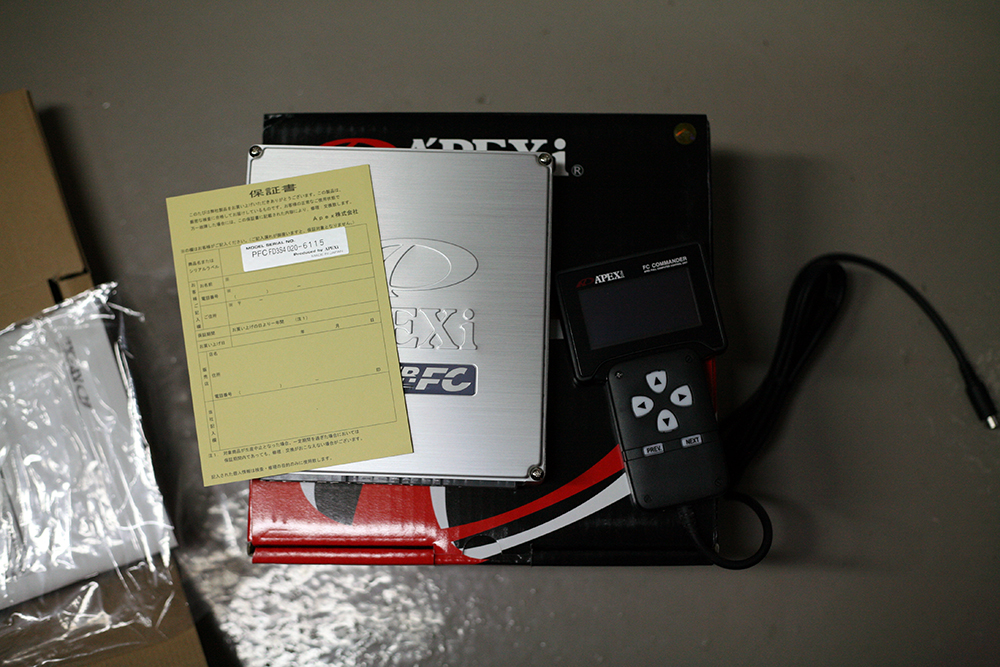
Next I installed the Apex’i PowerFC standalone ECU. I previously bought a used one, and then resold it because I decided I wanted it new to get the revised Commander unit. The newer models come with an OLED display. An expensive disposition to have, but this computer is expensive to begin with… so what’s a few hundred more.
To delete the coolant system’s air separation tank, I bought a kit from Ray @ Malloy. It is basically just a 1986 RX-7’s coolant fill neck and pressure cap, which function in the same way as the AST does to relieve air from the system. The nipple on the housing originally went to the AST, so I plugged it with a short hose and a cut-down stainless steel bolt and stainless steel worm-gear clamps. I’ve been going out of my way to obtain stainless hardware wherever applicable.
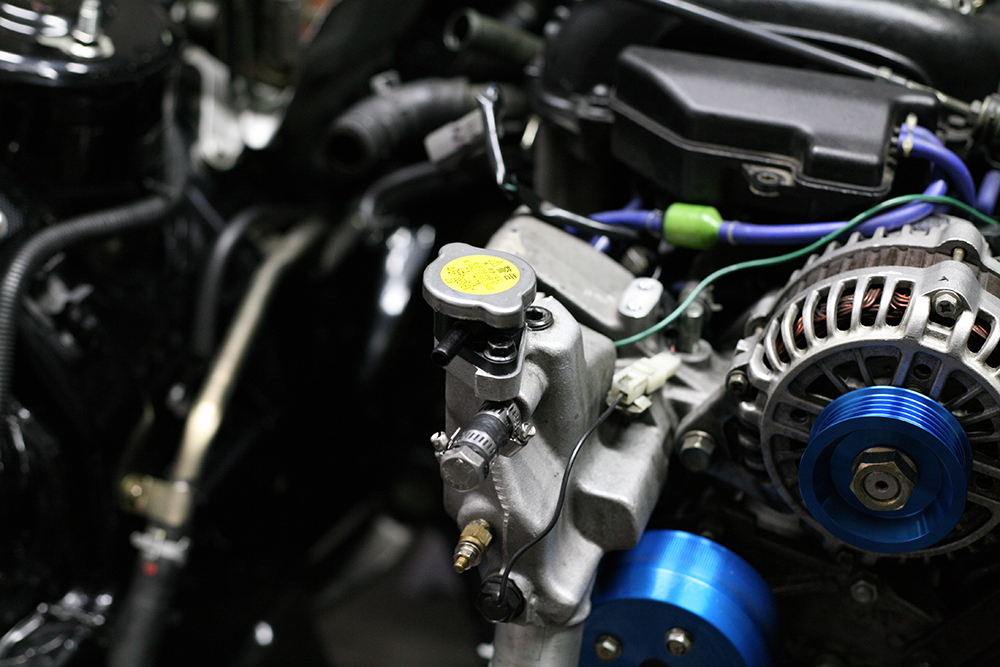
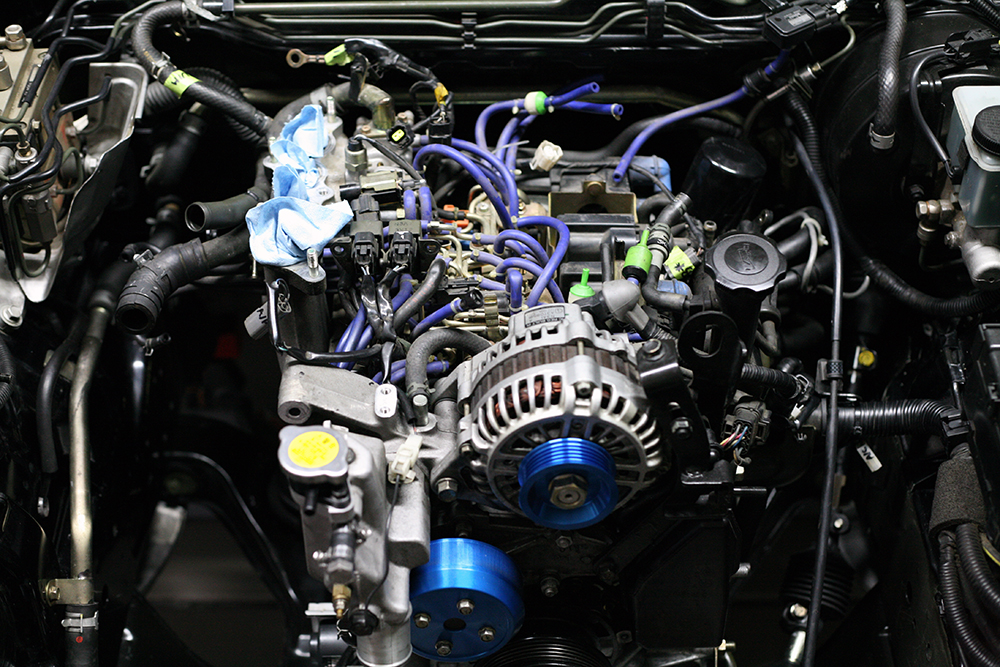
As seen in the picture above, I also threw on the Greddy alternator and water pump pulleys (necessary in order to remove the air pump). It’s nice to know that these 2 pulleys are going to be the only ones left in the car.
Moving on, it was time to yank the upper intake manifold and unleash the “Rat’s Nest”. You can see why people call the solenoid rack that name. The previous owner at one point refreshed all the vacuum lines with silicone variants.
With the manifold off, I took the opportunity to remove its double throttle and associated actuator. The double throttle serves to prevent the driver from using too much throttle until the car is fully warmed up. Not really a useful feature for anyone who isn’t a total idiot.
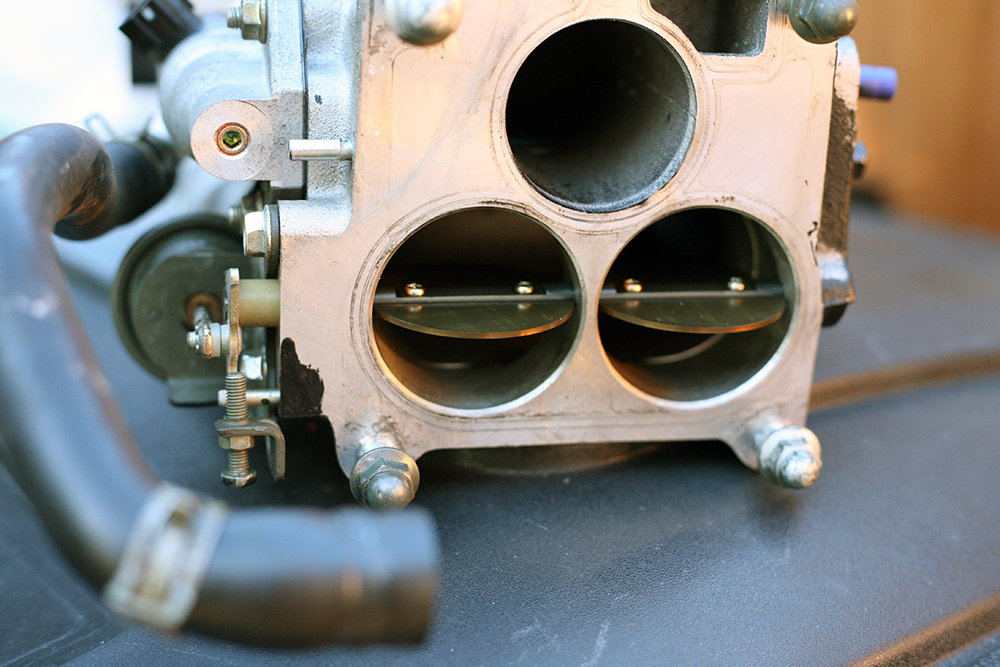
I was able to remove one of the screws holding on the butterflies of the double throttle with an impact driver, but the remaining 3 had to be drilled out.
I later went back to the engine bay and tore out the rat’s nest.
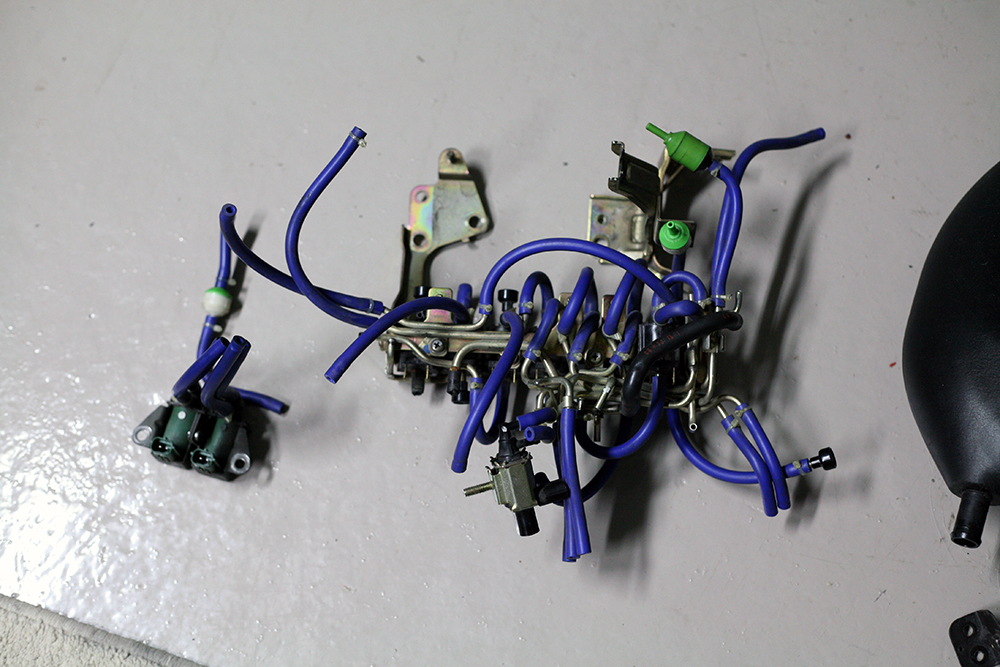
I’m undertaking various simplification jobs, but the solenoid rack is probably the principal one. All the crazy sequential-related wastegate solenoids and emission solenoids are gone. The car is going to have one solenoid remaining by the end of this – the charcoal canister’s purge control.
One thought on “More Progress II”