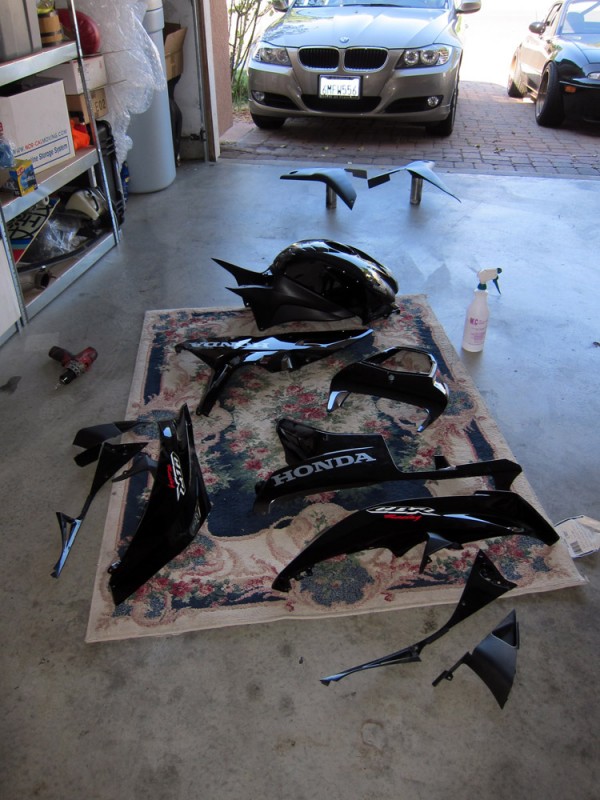
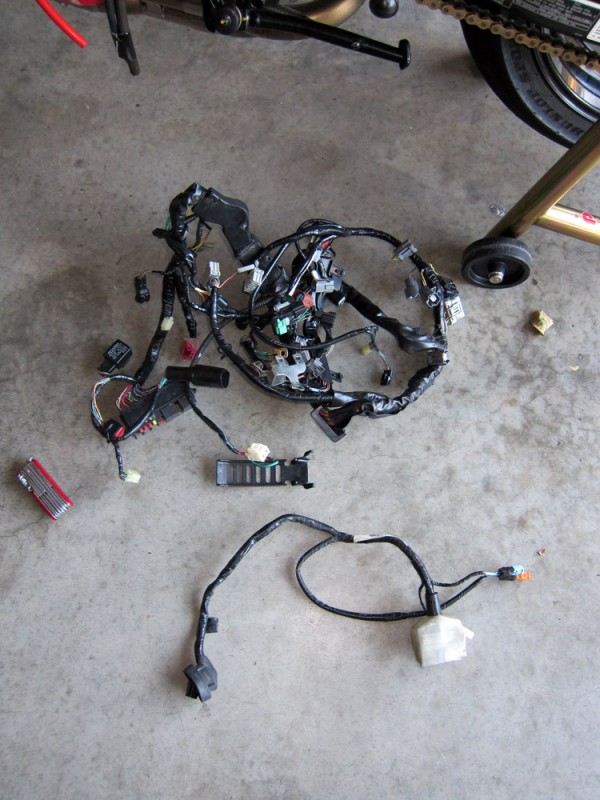
With the SharkSkinz taken off and tucked away, the next task on the list was a big one: wiring. I don’t like to openly admit things, but I will here. When I have an idea and a project to accomplish, I lunge headlong into it, thinking of little else other than its completion. In this case, my ambition was a little too great. I handled making my bike a track bike with no exits or notion of turning back. Which is what lead me to cut any and all the connectors off the wiring harness deemed unnecessary at the time… lights, turn signals, brake switches, control assembly, etc.
Oh, and what a price I am paying now.
First things first, however. I had to obtain a set of OEM fairings. This, miraculously, was much easier than anticipated. An abrupt search on eBay lead me to a set of reasonably priced Black fairings in good shape… and the seller was local. I sent him a message, gave him a call, and arranged a pickup (this all happened in the span of half an hour). Finding a pair of headlights was next, which at first wasn’t easy. All the ones I found were pricey… but as luck would have it, I again came upon a local seller parting out a bike and was able to pick up exactly what I needed.
An amazing and on-path start to this project. During the same week, I placed orders for a main wiring harness and the front sub-harness. The latter was going to just be a direct replacement of my cut one, the main wiring harness, on the other hand, was destined for a more grim fate. I thoroughly cannibalized it.
After slapping on the stock fairing stay and the headlights, it was time to take on the wiring.
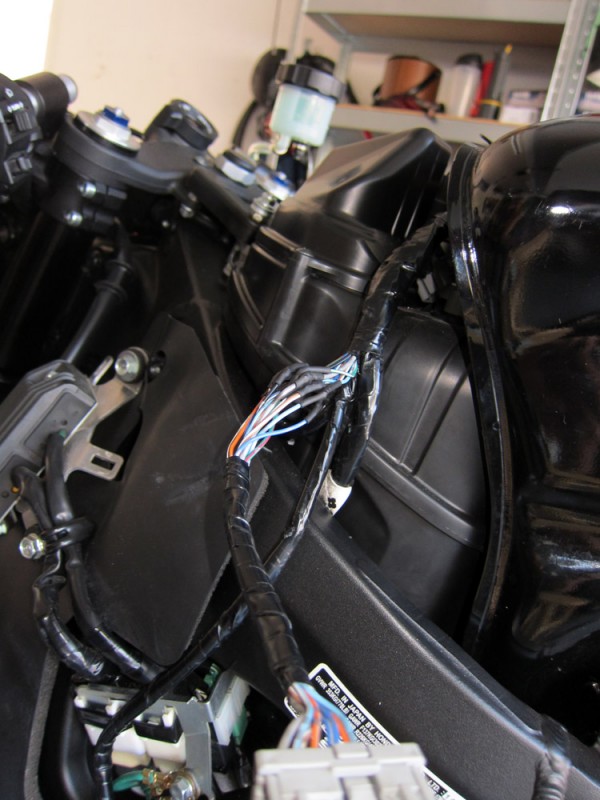
Here’s a beefy connector I had stupidly chopped off, now restituted.
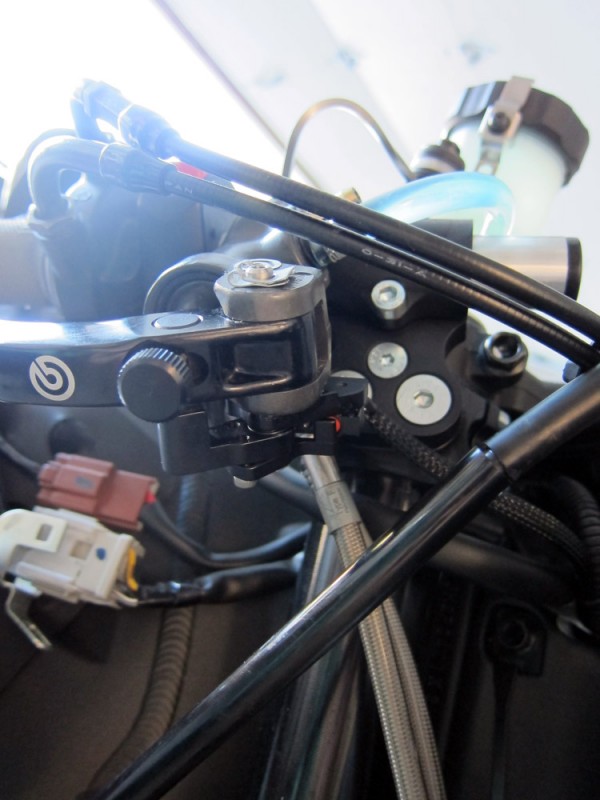
With the Brembo GP master cylinder, there was no brake switch on it. I ended up buying a Brembo microswitch and an expensive bracket to accompany it. Since the bracket replaces the lever pin, I had to get another Brembo lever to salvage a new retainer clip. No wires came with the microswitch, so I made my own and finished it off with a mesh cable sleeving.
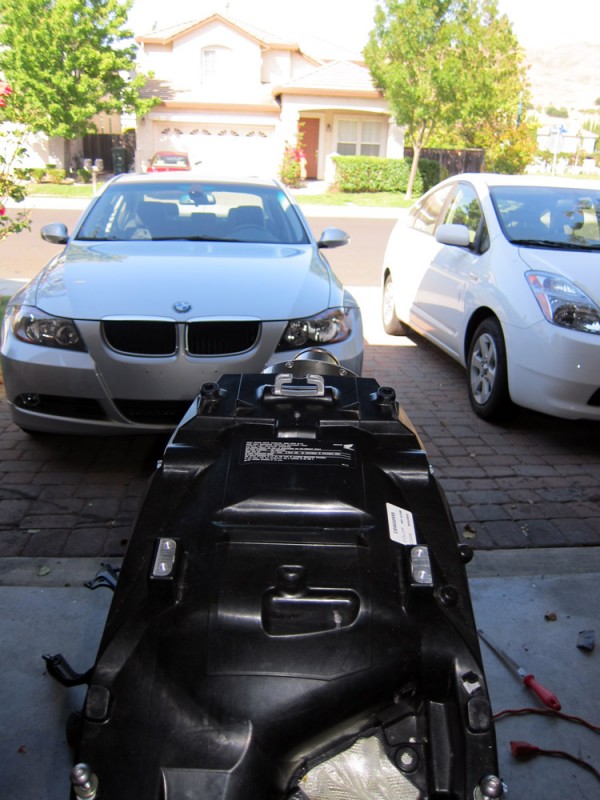
The front of the bike was mostly situated wiring wise, so it was time to turn my attention to the rear. First, I cut off a section of the plastic undertray…
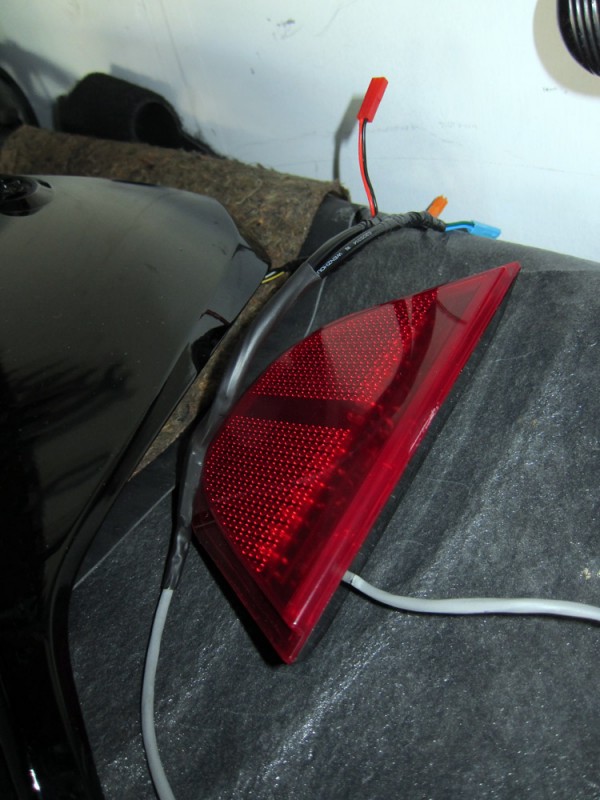
For this light…
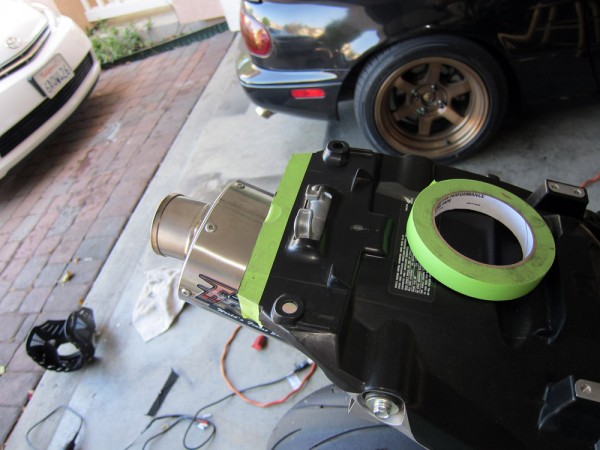
I’ll expand on that stuff later on. As a bonus, here is a picture depicting the amount of exit angle of the TiForce exhaust has.
After an ample amount of soldering and heat-shrinking later, I was finally at a point where I thought the bike’s wiring was taken care of. This was late at night, and I wanted to test out the tail light before going to bed. I tentatively connected everything up, and flipped the switch… Running lights, Check. Left turn signal, Check. Right turn signal, Check. Brake light… BRAKE LIGHT?!?! I continued to futilely pull on the brake lever, yet all I saw was the running light. I then proceeded to shit my pants. I was confident that my wiring work thus far was correct, and it was going to be a nightmare figuring out why the brake light wasn’t actuating. I wouldn’t wish such a situation upon anyone. I ran tests with a spare brake switch, a spare control assembly, and a spare tail light. Nothing.
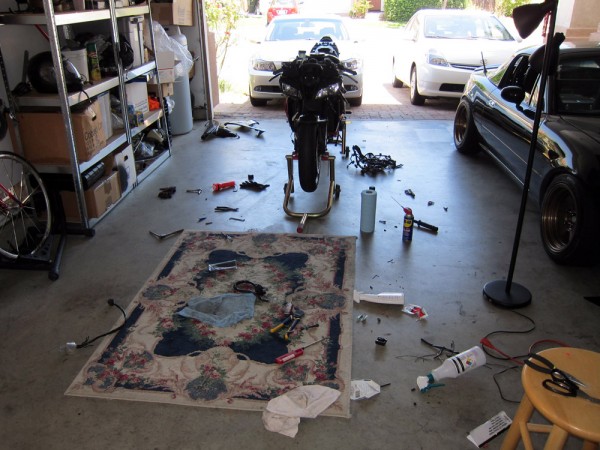
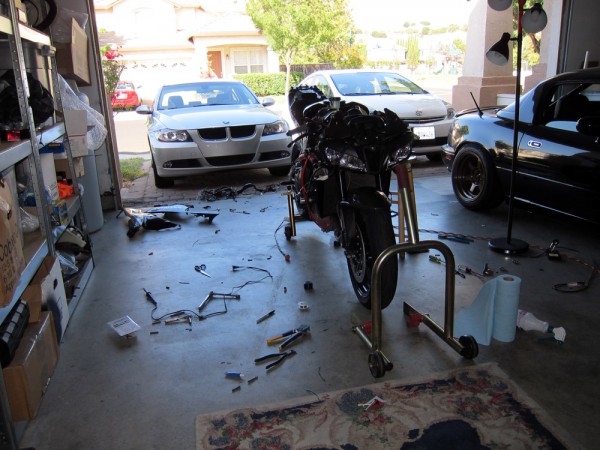
I got whatever sleep I could, and picked it up the next day. I retested and rechecked everything. I reopened wiring to triple check. Finally, I located the 2 wires in the tail that were supposed to connect to the rear brake switch (which I omitted), and gave them a try. Thankfully, these wires worked. I reconfigured the front brake switch setup and rerouted a pair of wires to the rear, and I was back in business. As a fringe benefit from this method of routing, the amount of clutter in the front by the controls is less noticeable. Here’s a look at my confinement of trial during the whole brake light ordeal.
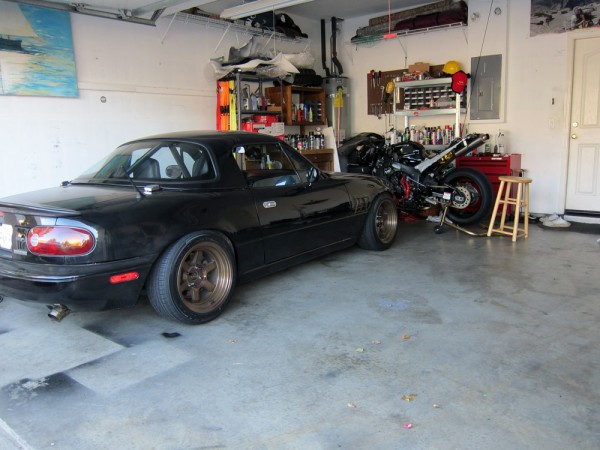
My weekend came to an end so I cleaned up and tucked the bike away… until next weekend.

