With the car still at the body shop, I decided to undertake a paint project of my own. The valve cover on Miatas have a front lobe that covers the cam gears and timing belt. It’s mainly for protection of the belt but there’s really no point. Plus, if you ever need to do anything with the timing belt, the valve cover needs to be pulled.
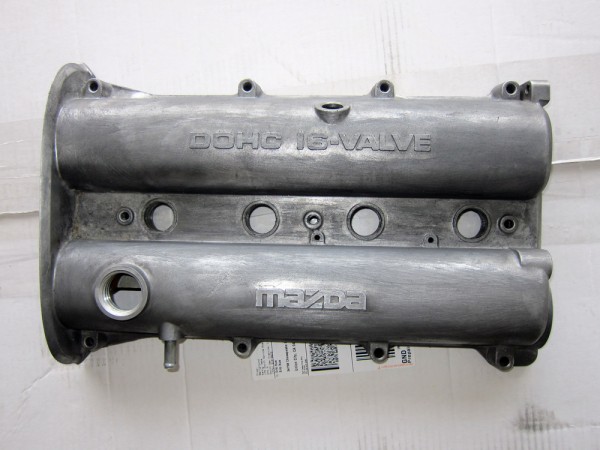
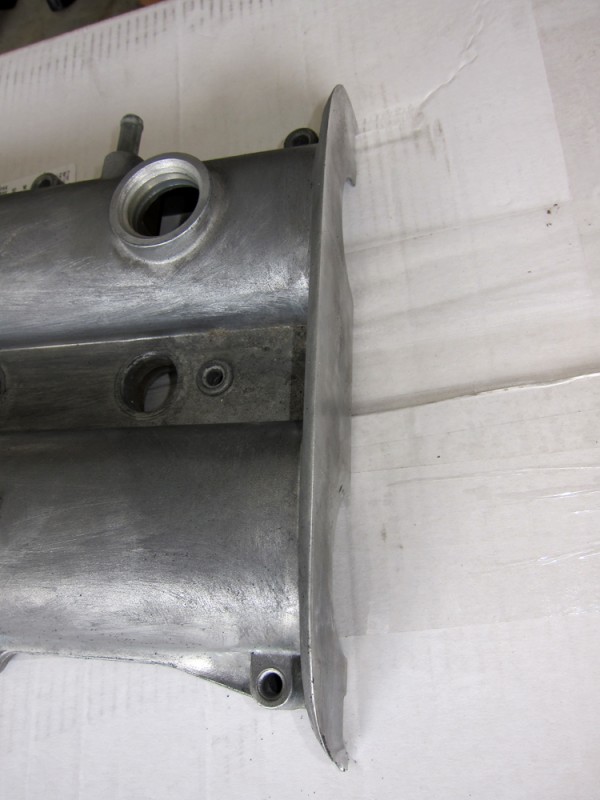
I found a roadster mechanic guy in SoCal that had a spare 1.8L valve cover and the ability to cut it. I had him cut off the front section as far back as possible to expose the cam gears. He came through and the cut was super clean and straight. I think he used a giant cut-off saw to do it.
Although the cut was good, overall the cover was dirty and had a couple of small scratches on top, which I filled and smoothed with a bit of JB Weld. Cleaning and sanding a valve cover is no small feat… I spread the task out over a week. Alternatively, you could go with an appropriate BP engined Protege or Ford Escort GT valve cover rather than cutting a Miata one. The covers on these cars do not enclose the cam gears, but a few modifications would need to be done to make them fit, i.e. relocating/retapping the breather and figuring out how to mount the coilpacks in the rear. I didn’t want to do all that which is why I opted for the cut route.
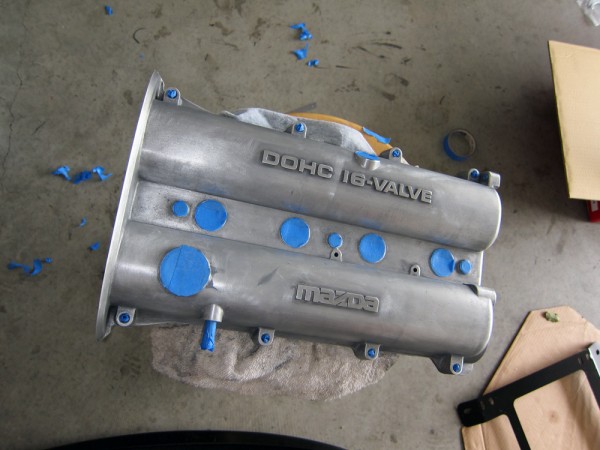
Anyway, I eventually was able to get the cover sanded, cleaned, and masked for paint.
I could have just gotten this sent out and powdercoated, but the cost would’ve been in the neighborhood of $100. For roughly 10% of that amount, I bought a can of VHT Wrinkle Black Plus paint and some sheets of sand paper (okay, marginally more when including the cans of brake cleaner and degreaser). I’ve always liked the undertone look of wrinkle black.
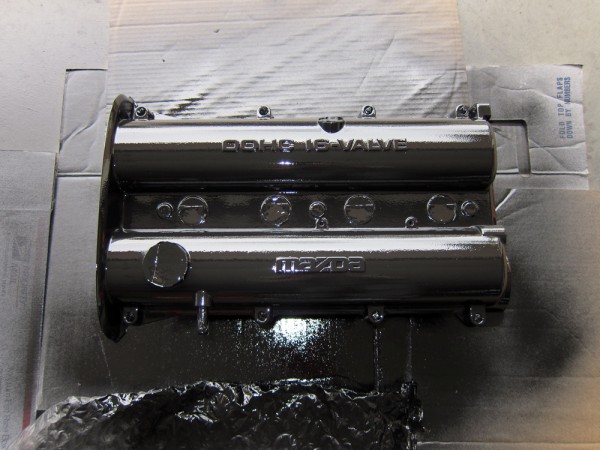
The paint should be sprayed on in 3-4 heavy coats in a crosshatch pattern; horizontally on one coat, then vertically and diagonally. I waited 5 minutes between each coat.
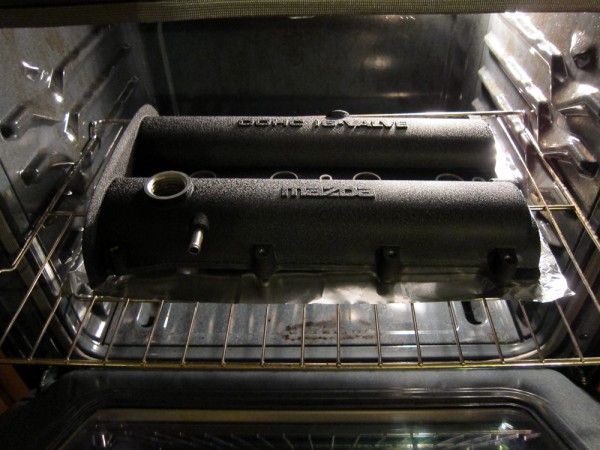
After letting the paint air dry for about 8 hours, I carefully dropped it into the oven to bake at 200F for an hour. This is the curing process which really brings out the wrinkles. Word of advise, this part should be done at night or when no one is home… the whole house smelled like paint afterwards.
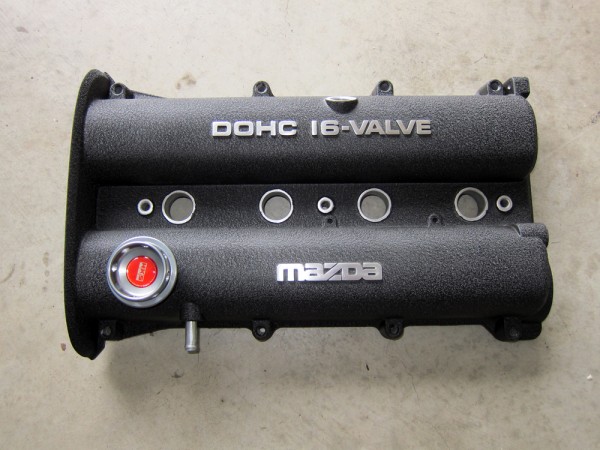
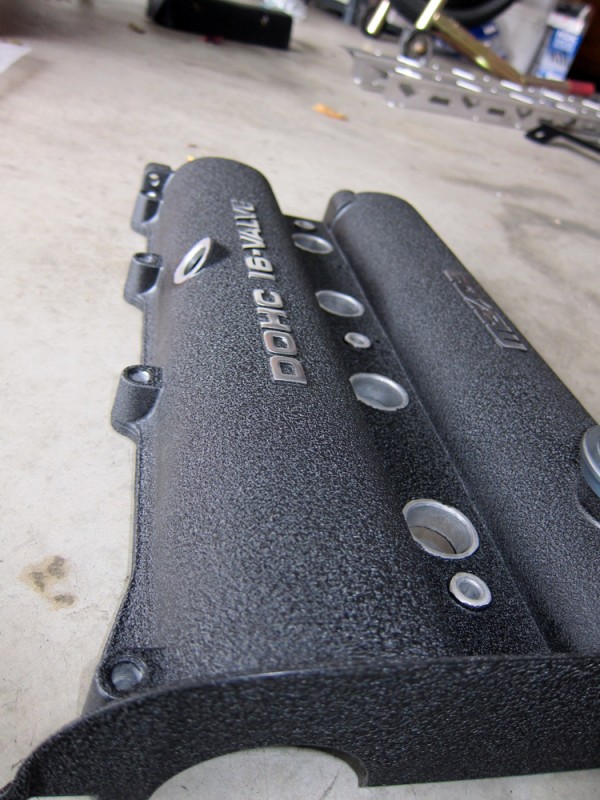
The next step was to sand off the raised letterings and hand polish them. I worked progressively from 220 grit to 2000 grit and it turned out pretty nice. Finally, after too many hours of work, here is the end result. I threw on a HKS oil cap as the cherry on top.
I’m very pleased with the VHT paint. The finish is great and it feels durable after curing and drying.

Man, that looks awesome. I’ll definitely try this out in the near future. Great job!
Looking more than just good Eric ! Looking great bro. Keep it up. lol on that whole thing about your home smelling like paint.
I got two large very powerful floor fans you are more than welcome to borrow if you do any more paint work in your home/garage so you can have circulating ventilation of fresh air.
I will most definitely try that with a spare valve cover.
Damn, good stuff eric. I’m already excited to see how this miata will turn out :)