When I bought the 600RR, it came with a set of no-cut frame sliders installed. The design of such sliders is inherently faulty. Given the track focus of Woodcraft products, I’ve decided to go with their sliders, which yield a number of advantages:
- Solid puck, rather than hollow (48% more sliding area)
- Low profile puck
- 2-Piece design for easy replacements
- Does not use an offset bracket
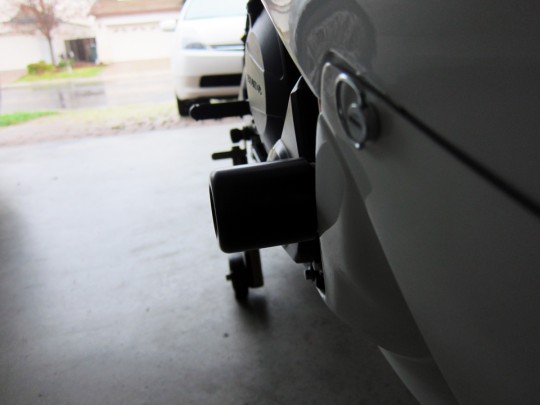
Here is the original frame slider that came on the bike, you can see just how significantly it protrudes past the body.
On an average street application, such a slider may prove of value; however, in a track setting, there is the risk of a puck catching on curbing when leaned over. In the event of a crash, a slider that’s too long can also dig into the ground and do more damage than good. Simple physics prove that the greater the length of an object, the greater it’s leverage potential. The force from hitting the ground can effectively be multiplied, and cause the mounting point/frame to be tweaked. Furthermore, the whole “no-cut” design requires the use of an offset bracket, which greatly reduces the strength of a slider.
The name frame slider is accurate to it’s fundamental purpose – protecting the frame by wearing down and sliding. A lot of times, people have the misconception that frame sliders should also add protection to the fairings or case covers, thus opting for ones with longer pucks. In contrast, there are some race bikes with frame sliders that fit underneath the fairing and unseen.
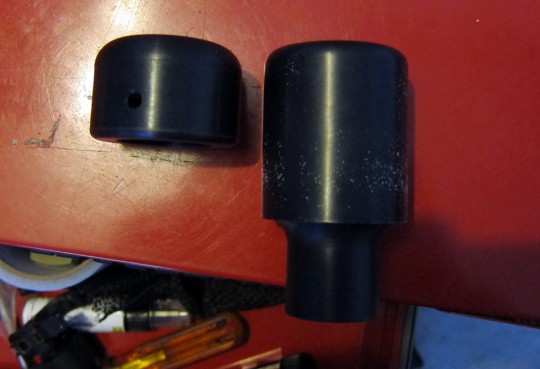
Here is a comparison of pucks, Woodcraft on the left, and the old no-cut one on the right.
Woodcraft’s more ideal 2-piece mounting design allows the use of solid pucks and lower profiles, which also won’t distort in the fashion conventional, hollow pucks do.
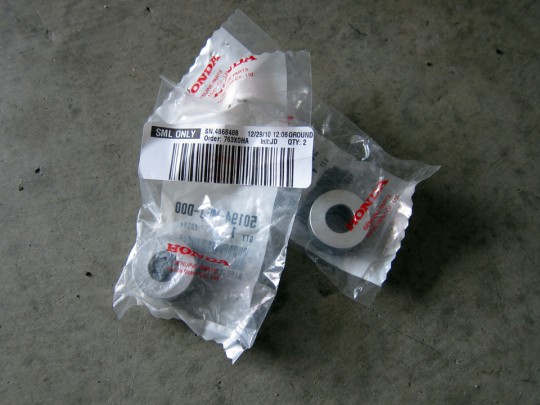
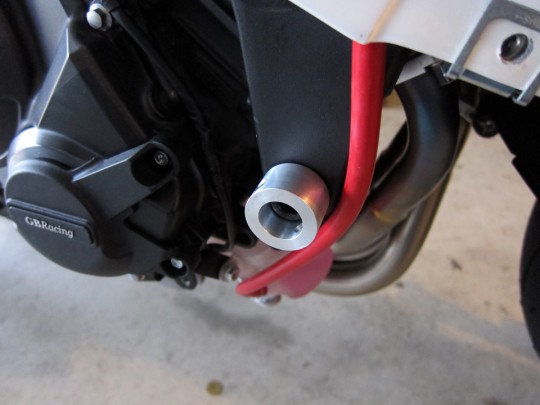
The frame sliders mount directly through the frame to the motor mount. I had to buy these collars that go in between the frame and the motor, since my bike had the offset brackets in their place.
One of the bases installed:
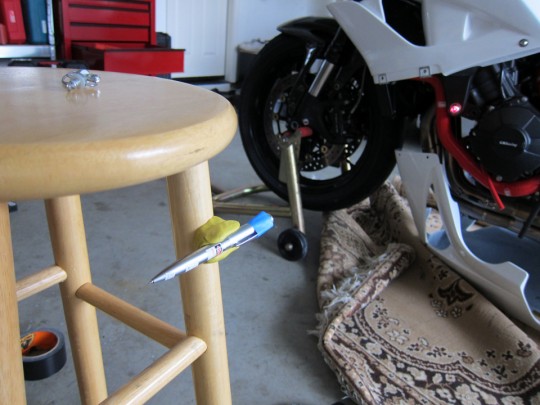
Now comes the hard part, holes have to be drilled in the lower fairing for the pucks to stick out. After going to 5 different stores, and finally finding a cheap laser pointer, I was ready to mark the drilling points. With the help of a glob of claybar, and a kitchen stool…
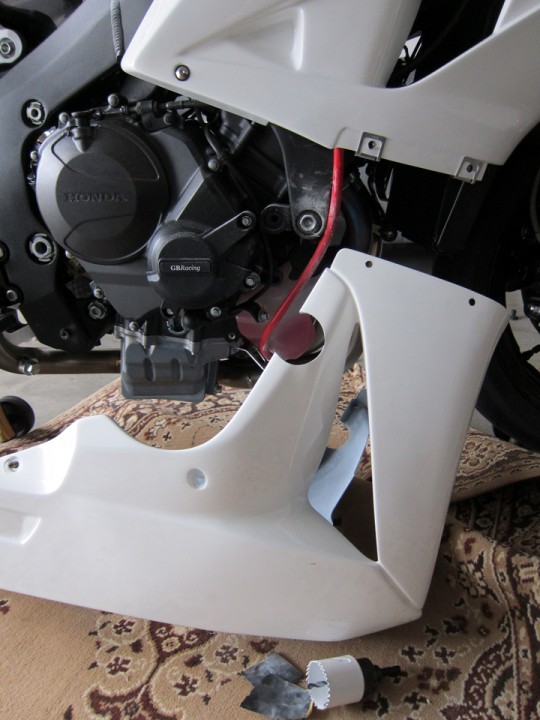
The idea was to position the laser dot in the center of the frame bolt, and then reinstall the lower fairing to know where to drill. Eventually, after adding a healthy dose of fiberglass dust to my palate, I was left with this:
It was difficult to get the holes exactly right, since there were so many curves and angles in the fairing, but good enough.
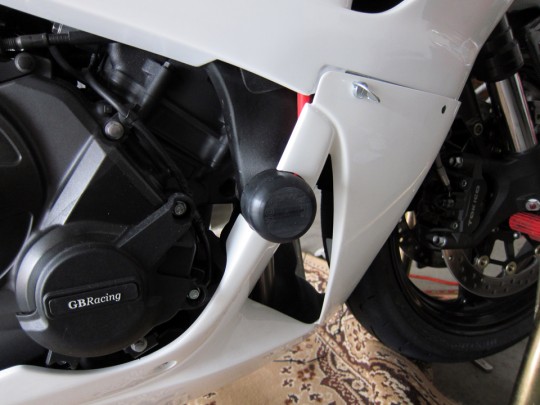
The Woodcraft sliders poke out about an inch. Quite a difference from before.

