Next up, it was time to get a bit more dug in. I decided to tackle the PAIR system removal. What is the PAIR system? Honda CBR’s have this valve that opens at a certain RPM and injects the exhaust port with atmospheric air. This essentially masks the real emissions coming out of the exhaust, thus making the environment that much cleaner. Unfortunately, I’m not the biggest advocate of green. Well, at least I recycle? :)
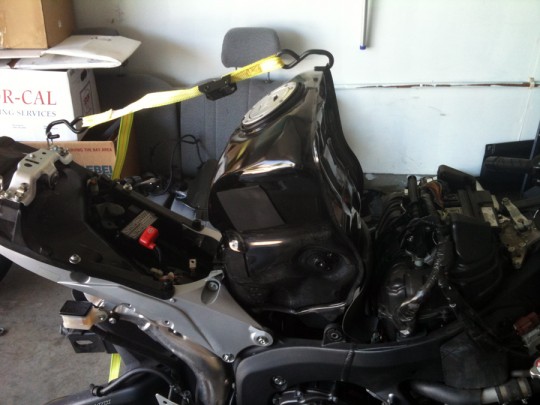
To get started, I unbolted a couple bolts around the tank, and raised it up.
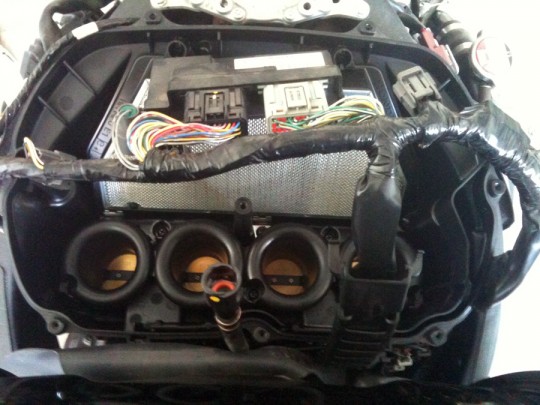
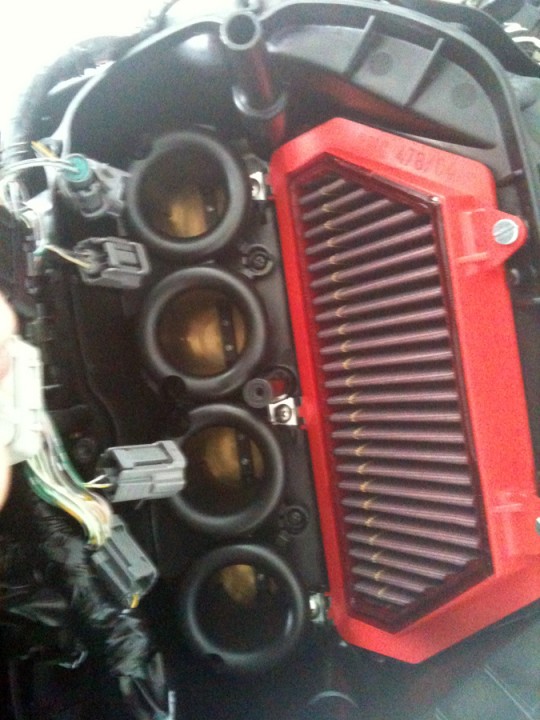
Underneath the tank was the ECU, upper fuel rail, and the air box. I started going through and unplugging and taking off all the necessary items. Once the 2 “lids” or upper portion of the airbox was removed, I was given this view of the velocity stacks and air filter…
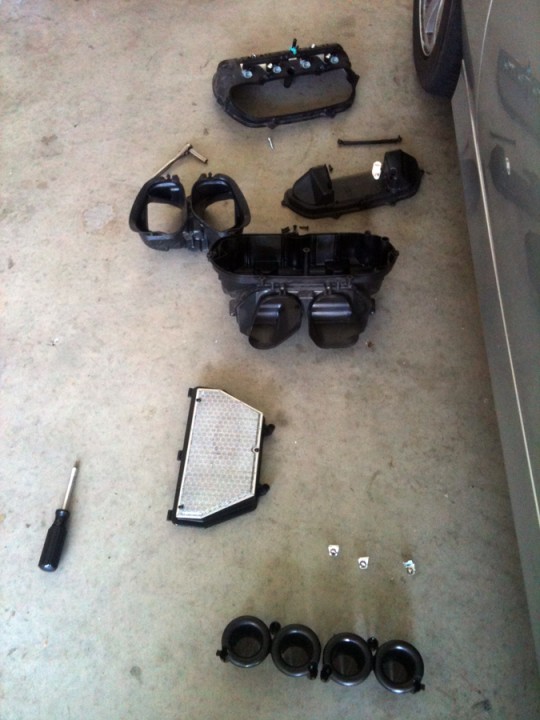
… which both had to come out. Then finally the lower intake tub could be persuaded out along with a rubber air dam.
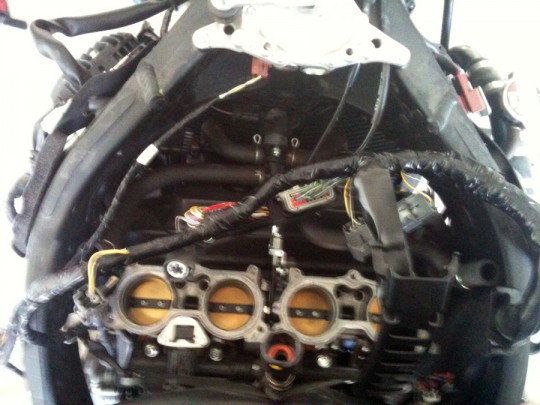
Now I had an opening to the PAIR system, it’s the spider looking thing with the hoses in front of the throttle bodies.
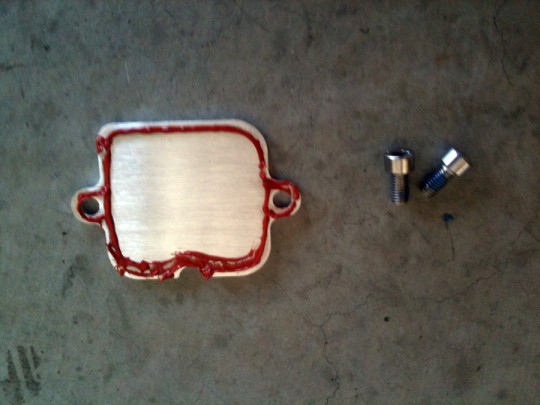
Once all of that was yanked out, the 2 holes that were left behind needed to be blocked off.
One of the hoses that went off the PAIR system went into the lower intake, which I plugged off.
I should also mention that while everything was out, it gave more room in the middle of the bike and where the lower fuel rail was. I took the opportunity to install the Power Commander unit, since it’s connectors piggy backs off the lower injector connectors. The speed sensor was also in the vicinity, so I took care of the SpeedoDRD too. Since I’m going to be changing my gearing, the SpeedoDRD will let me recalibrate my speed to keep the speedometer accurate. No pictures of these, but it was straightforward.
Everything went smooth up to this point, but putting back that lower intake tub was a huge pain in the ass. The rubber air dam had to be situated completely, which was finicky. Wrestling in that big plastic piece definitely led to a lot of words that shall not be repeated.
Before I decided to jump off a building, it eventually went in. Next, I put in the new and red BMC Race Air Filter.
Eventually everything went back on and I could close that chapter of the build.
While surveying the bike, I noticed this strange can that was tucked away underneath the rear suspension:
I didn’t think much of it at the time, but later that night I suspected it could potentially be inconsequential… thus meaning it had to be removed. I did some researching and found out it was an EVAP canister, yet another emissions related component to make the bike street legal. However, this canister is only found on bikes in California.
This was a big face palm moment because that meant all the work I had just done putting back the intake assembly, had to be taken back off. All this just to shed about 1.75 lbs, but nonetheless it had to be done. Weight is weight, and I wasn’t going to go halfway with this build.
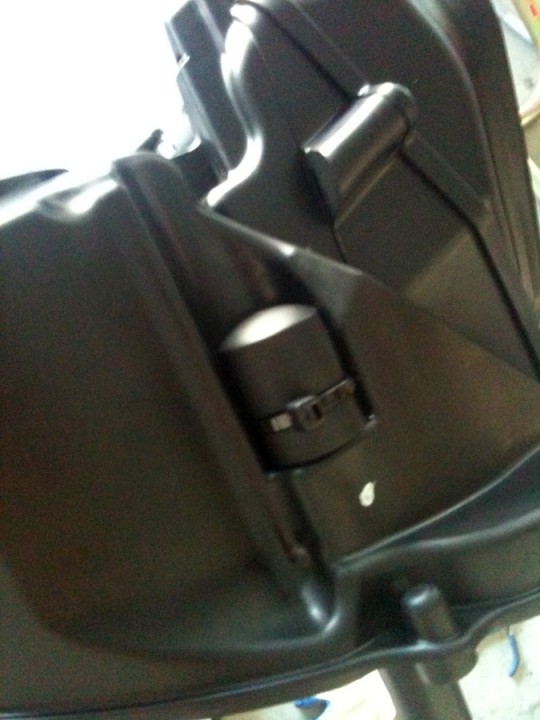
Once I got all the intake stuff off again, I got access to the lower middle part of the bike again where this 5-way solenoid sat:
The middle hose originally led to the EVAP, and the other 4 smaller hoses went into nipples on the throttle body. After getting rid of the EVAP hose, I plugged it off. Preferably, I would have removed the 5-way all together and plugged off each of the nipples on the throttle body individually, but the space down there is so cramped and tight it was not possible.
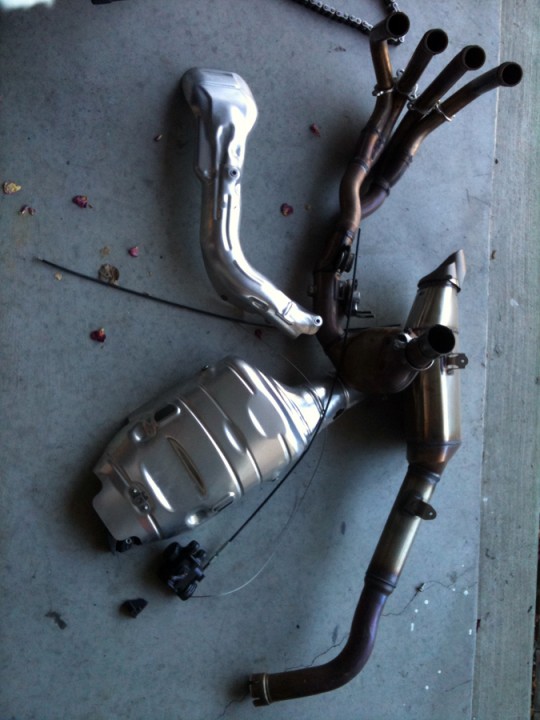
To get a bit more room around the canister, I decided to go ahead and just take off the entire exhaust.
That thing weighed a ton with all the heat shields… I also removed the exhaust Servo from the tail while I was at it, more on that later.
Here is the EVAP junk removed.
The intake bits went back on smoother this time since I had good practice already… and with all that done I lowered the gas tank back down. I definitely got some new callouses on my hands now.




do work!! lookin’ good man. lots of progress on the real.