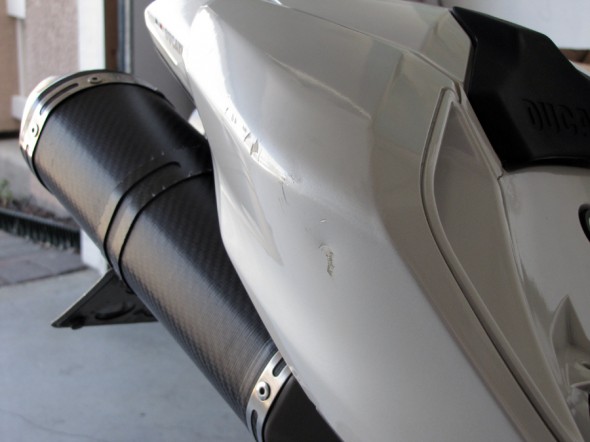
The tail piece on my bike had some small damage on it, and you can see it’s actually cracked towards the middle next to the left insert.
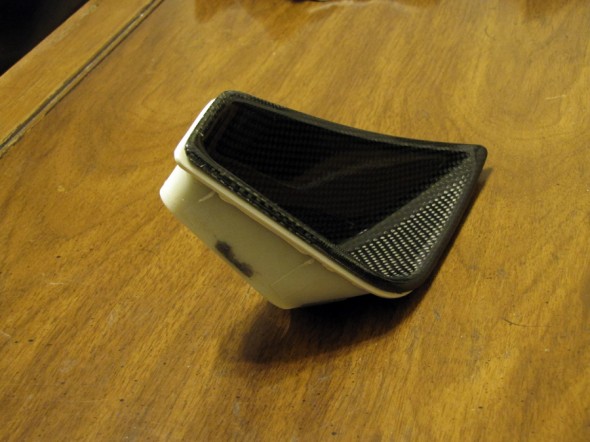
To fix this, I bought another tail piece from the classifieds which only had 400 miles on it. It also came with some Shift-Tech carbon fiber vent inserts, which I liked. Unfortunately, I ended up paying for an expensive tail piece since the inserts weren’t usable. The inserts are suppose to replace the stock ones, but the previous owner decided to skip that step and just glued them on over. This lead to a fairly noticeable fitment issue, and being a perfectionist I had to fix it.
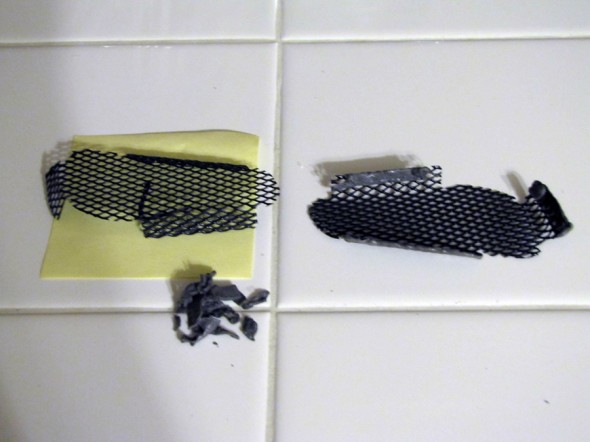
I started by taking out the stock inserts with the carbon fiber ones on top. The tricky part is, the stock ones are glued in from the factory, so this required some muscling and finessing. I was mostly worried I’d end up cracking my new tail piece by removing these vents, but after pushing one corner out, I was able to get enough leverage on it to pull it off. The grilles that go behind the vents have to be reused, so they were removed and cleaned up.
Below is what the vents look like removed. The carbon fiber vents were completely glued on with silicone, so it was impossible to dettach them for reuse. I had to suck it up and treat them as a casualty, and re-buy new Shift-Tech vents…
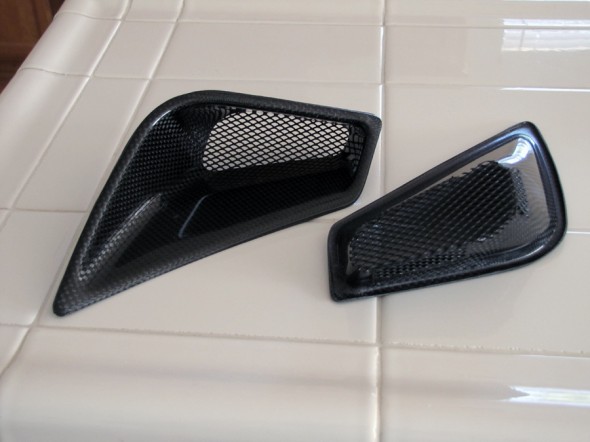
…which arrived and I stuck on the rear grilles.
After some generous gluing with silicone, the new vents were finally on properly. The glue made a mess around the tail piece, but it cleaned up nicely with a plastic carving knife once everything dried. The fitment and quality of the Shift-Tech pieces are spot on.
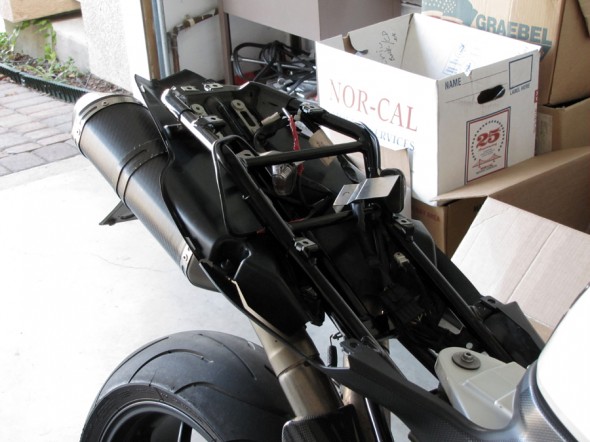
Next came the actual install of the entire tail section… so it was off with the old:
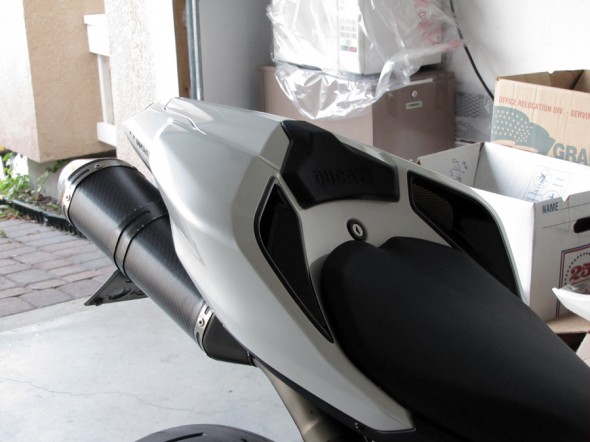
And after some cleaning, wiring work and swapping over the lock… in with the new:

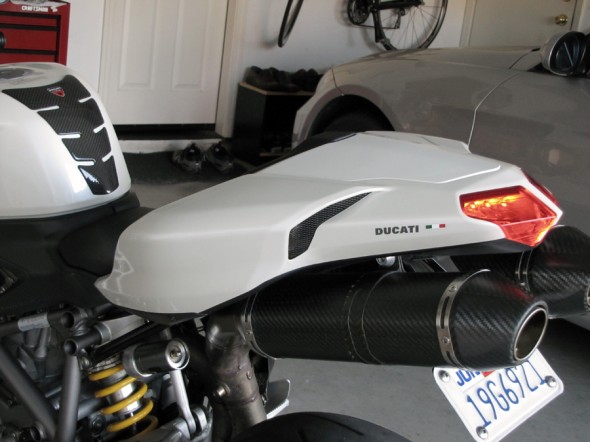
well executed. =]