I pushed hard to keep the momentum high. The To-Do list was daunting, especially in the short time frame I mandated, or at least desired. The most difficult aspect to manage is the variability of the outsourced work.
For example, I dropped off the bumper over a month and a half ago and had to wait until test sprays were completed to figure out why the paint was mismatched. Under the PPG catalogue, the Mazda Brilliant Black PZ color code has 2 sub-colors that can be selected. One is a more neutral black with a gray hue, and another has red and brown elements. The latter is what the rest of the car was sprayed with.
Thinking the color issue was resolved, the bumper was resprayed and everything was set for me to pick it up a couple Fridays ago. After the bumper was cut and buffed and just as I was about to get ready to head over, I get a call saying that the color was still slightly off. This had me worried because I wasn’t sure how long it would take to have the bumper painted again, and the solution to the mismatch seemed uncertain.
My apprehensions were soon addressed as William tackled the bumper the very next business day. He did a couple more spray outs and was successfully able to track down the right match. As it turns out, back when he first repainted my car, he was using an older color code CD from PPG. The newer CD he transitioned to had slightly different mixture formulas than the older CD, even for the same exact color code… Both the new and old CDs had 2 sub-colors. Peculiar indeed. Thankfully William kept the old CD on hand and was able to dig it up, otherwise who knows how the solution could have been found.
Major Kudos to William for standing by his work and for supplying excellent paintwork over the years. Check him out in San Mateo: William’s Auto Body. After all the nuances and change of hearts I’ve had to deal with, I think I’ve gone through 8+ repaints on front bumpers.
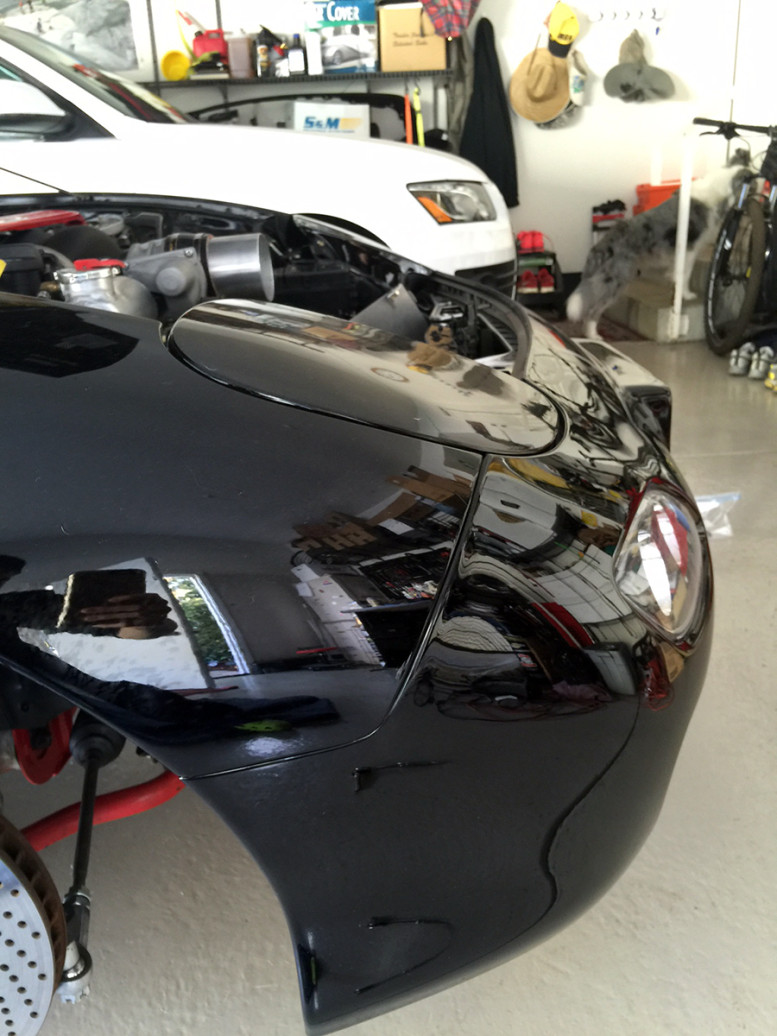
The paint came out great. I’m hoping I will never have to repaint another bumper for this car and this saga can finally be laid to rest.
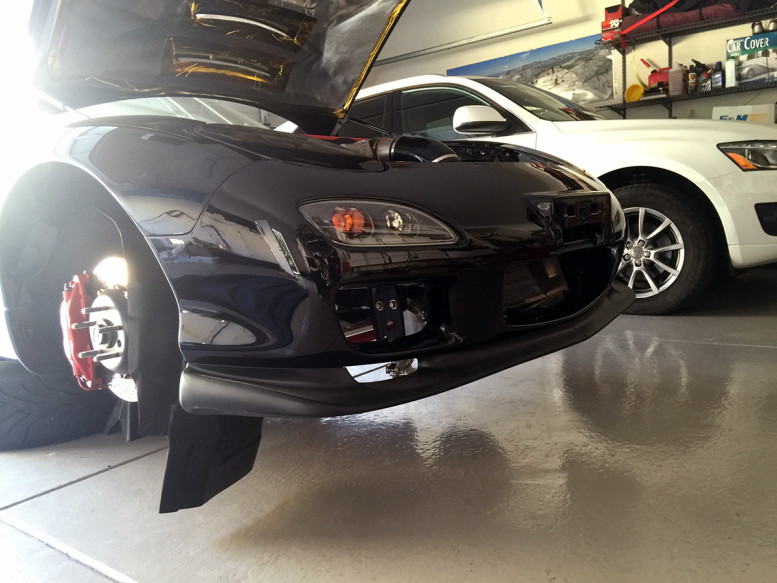
By now, I’ve become well acquainted and experienced with the bumper installation process. I was able to align all the edges and tighten everything up in a matter of about 10-15 minutes. It certainly helps that the OEM bumper fits to an 80% margin just loosely sitting on the car.
Good panel gaps and even front end alignment were always features I’ve been a stickler about.
Lip installed. I used stainless fasteners with locking nuts throughout the bumper.
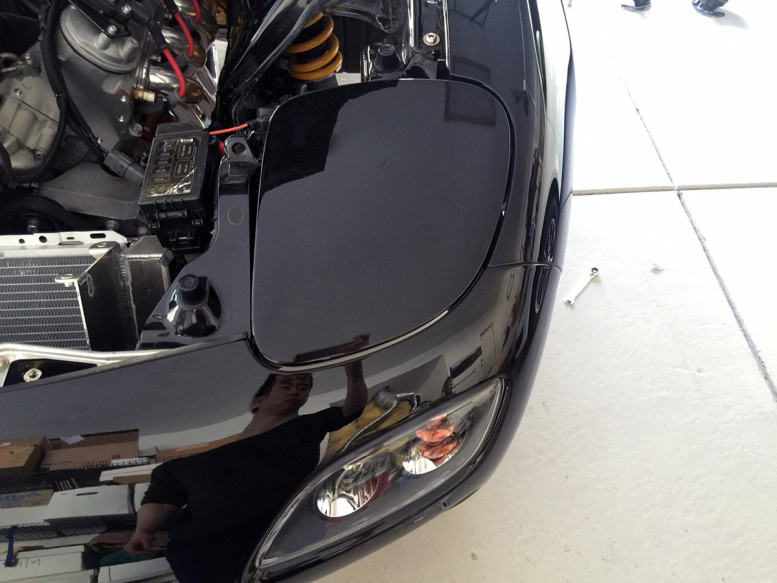
With the bumper installed, I turned my attention to the fender liners. Up until now, I opted to ditch the fender liners since all of the fender lips are rolled flat and the outer mounting points are no longer there. I finally decided I didn’t want the wheel well to be exposed in the engine bay. I carefully trimmed away unnecessary areas of the fender liner and was able to situate them back.
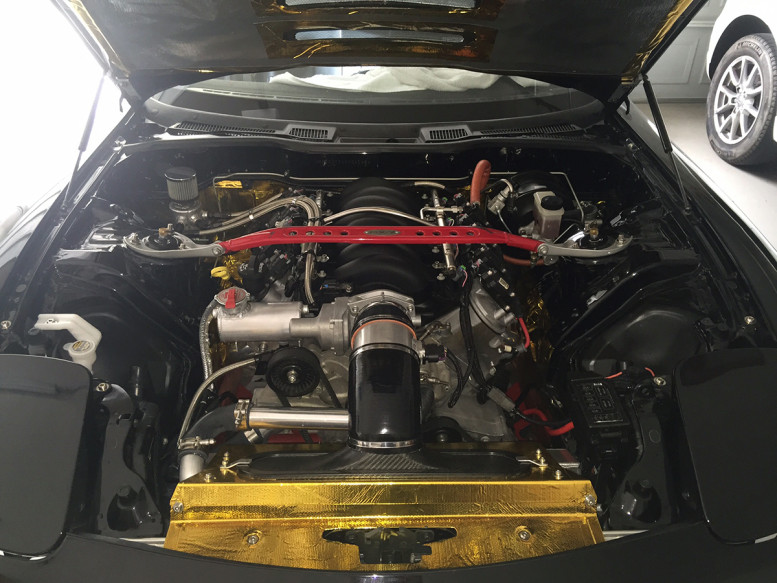
I slapped the air intake assembly back in to complete the engine bay. Although visually there is not much change aside from the removed relays on the passenger side strut area, since all of the relay and wiring work is hidden, the overall simplicity has been subtly enhanced.
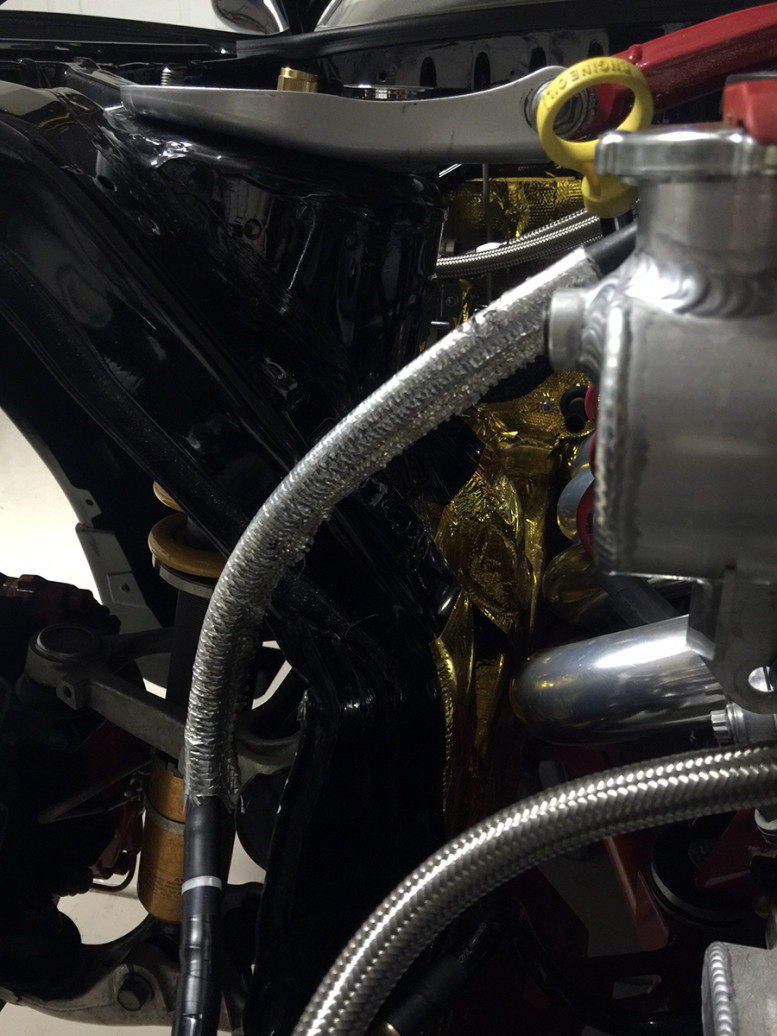
When plans changed and I wasn’t able to pick up the bumper, I spent the proceeding weekend handling minor items, like extending the amount of gold heat tape around the engine bay.
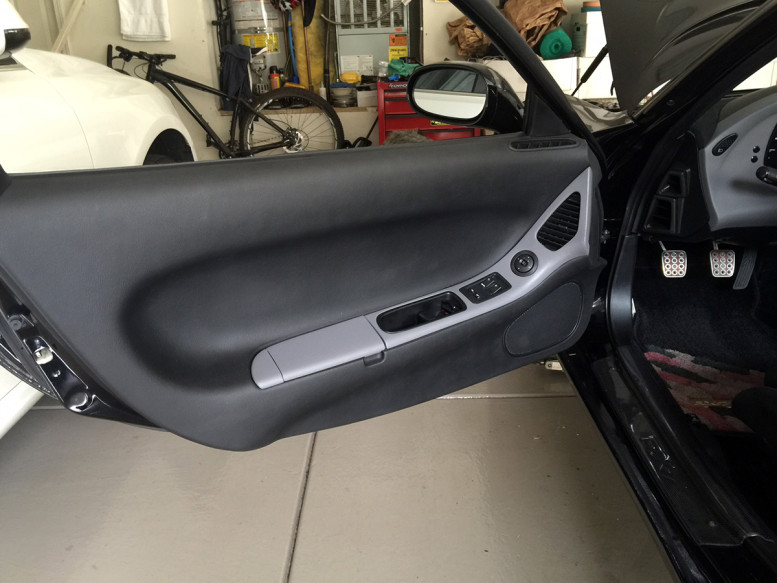
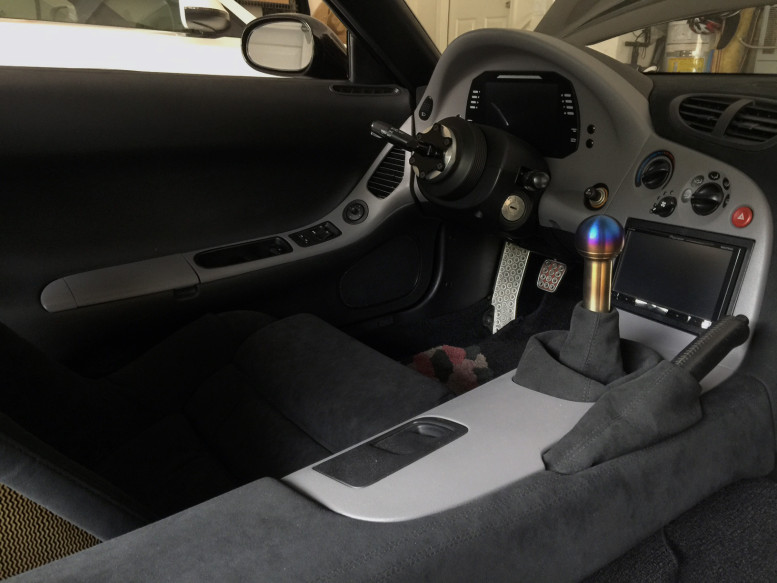
Continuing the streak, I also received my driver side door card earlier in the week from Toby. When I first received it last fall, I noticed that the texturing did not match well with the rest of the trim pieces. Even worse, the paint reacted poorly and developed numerous pinholes throughout the trim on the door card. I immediately shipped it back and set in motion the slow process of disassembling, retexturing, and repainting. The first try reacted again and the pinholes returned, so it had to be taken all the way down to the plastic and redone. Fast forward a chunk of months to now and it is back and installed.
One plus is the backside of the door panel was further reinforced by Toby. I also added a bit more neoprene foam material myself inside the crevice behind the door cup. This area is notorious for creaking whenever pulled on to open or close the door… Mazda really did a horrible job with the interior. I’ve taken great measures to improve the materials and quality. Now the door card feels much more solid and does not make obscene noises when breathed upon.
Great to have it all back together and I love it when things go RIGHT for a change. My cellphone’s camera still fails at properly capturing the proper color of the grey trim.
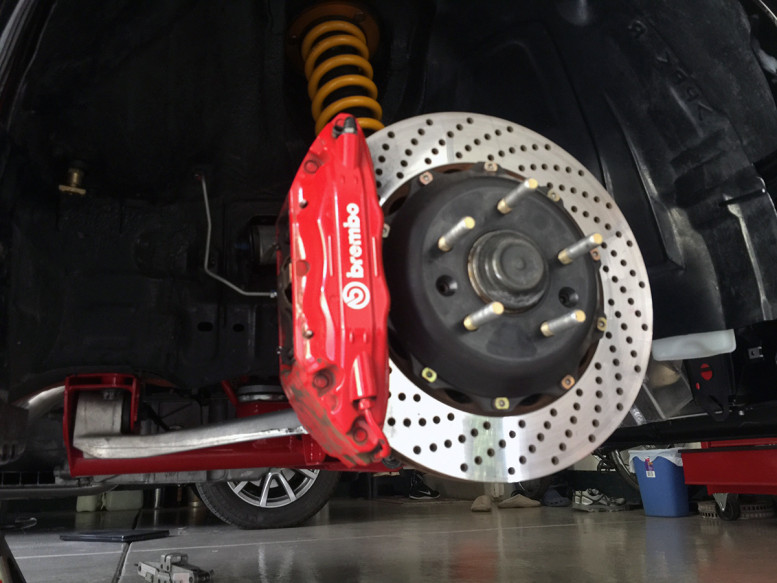
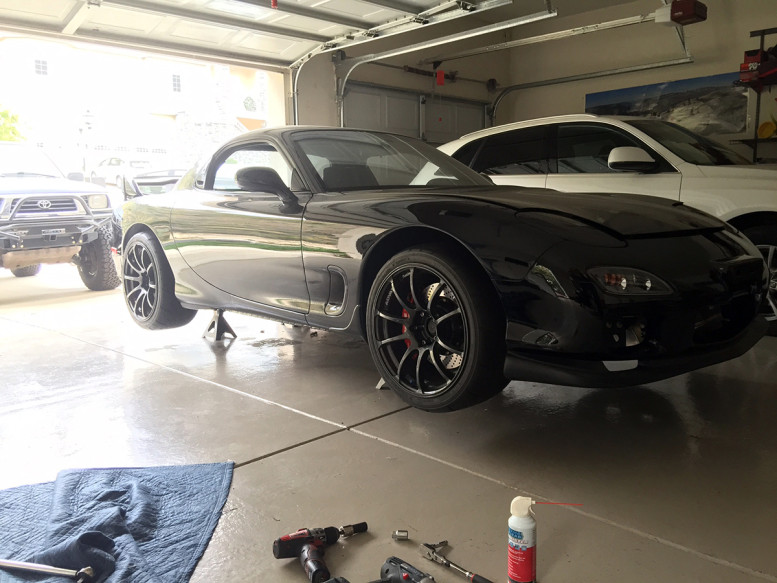
With these items settled, I put the wheels back on and brought the car off the jack stands.
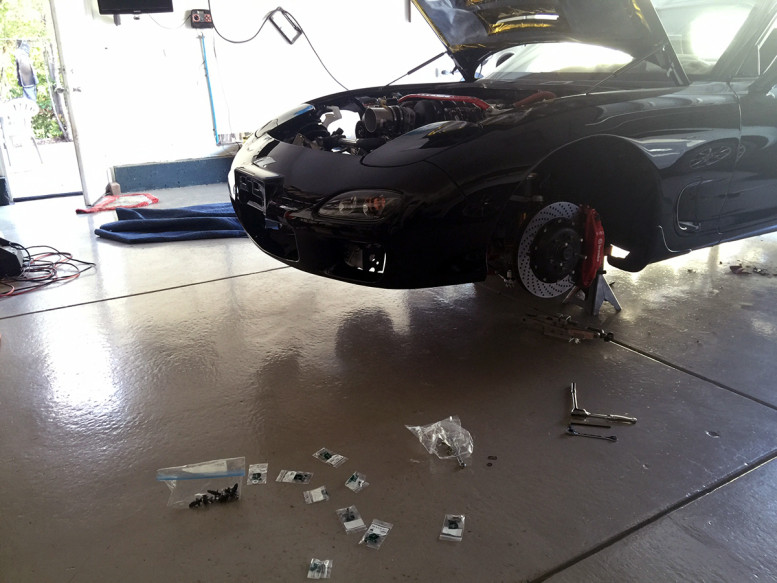
Hopefully this will no longer be a recurring sight in the future:
I took the car on a short drive primarily to test out my rewiring work. The fuel pump primes flawlessly with no further incidences to be found. Let’s revisit the To-Do list…
TO-DO:
- Replace Roll Bar
Reupholster Recaro SeatsRepaint Front BumperRewire Fuel PumpReinstall Fender LinersFix & Tuck RelaysInstall Driver Side Door Panel (when completed)- Full Polish, Sealant & Wax Detail
- DRIVE MORE!!!
The finish line is finally nearing on the horizon, however, a major piece to the puzzle, the roll bar, remains to be actioned.

