With the RX-7 conveniently dropped off at the body shop, I was able to focus on moving in. The one downside of the new house is that it came with hideous blue carpets. I have no idea what the original owner was thinking, but it certainly wasn’t going to stay.
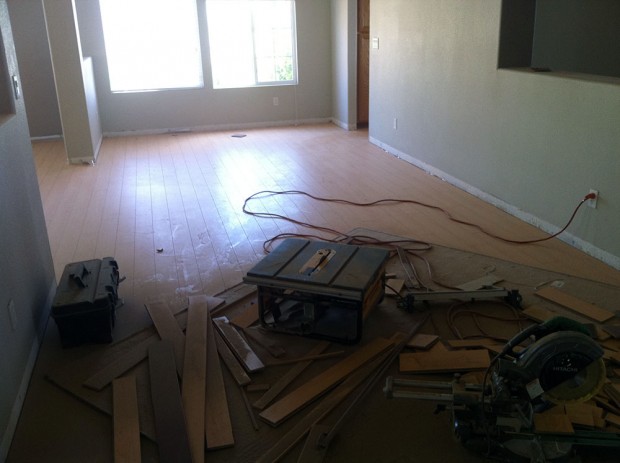
The first priority on the to-do list was to have the carpet changed with with hardwood flooring throughout. A light colored maple laminate was chosen for the flooring. We went with laminate over real hardwood because it was significantly cheaper and it would be more durable with a dog in the house.
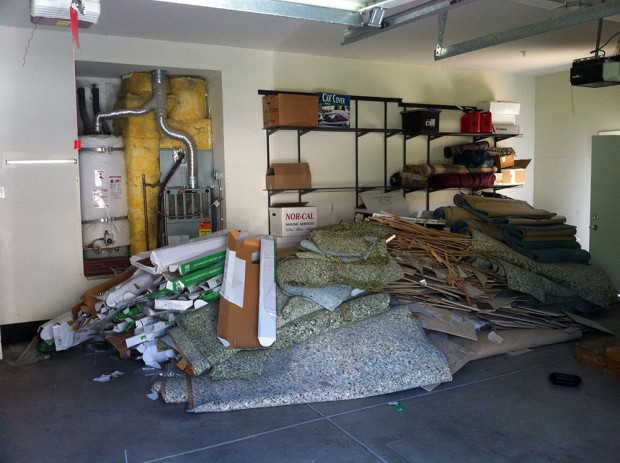
Once the flooring guys were finishing up with their job, the colossal pile of junk in the garage was eventually moved out.
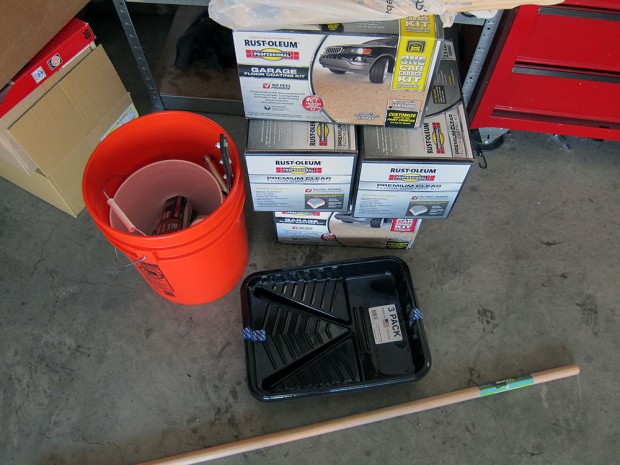
Since all of our stuff had just been moved in and still needed to be unboxed, I took the opportunity to block off the garage and started on the epoxy flooring. All of the supplies were bought well in advance. If you’re thinking about epoxying your garage as well, word of advice – this is not a walk-in-the-park sort of deal. It’s easy to think that rolling on some paint would be painless, but the whole task is very laborious. Take a look at all the supplies that were needed, and I still needed to go back for more rollers, etc. I went with the Rustoleum Epoxy kit in a specially tinted color along with the Premium Clear Coat kit.
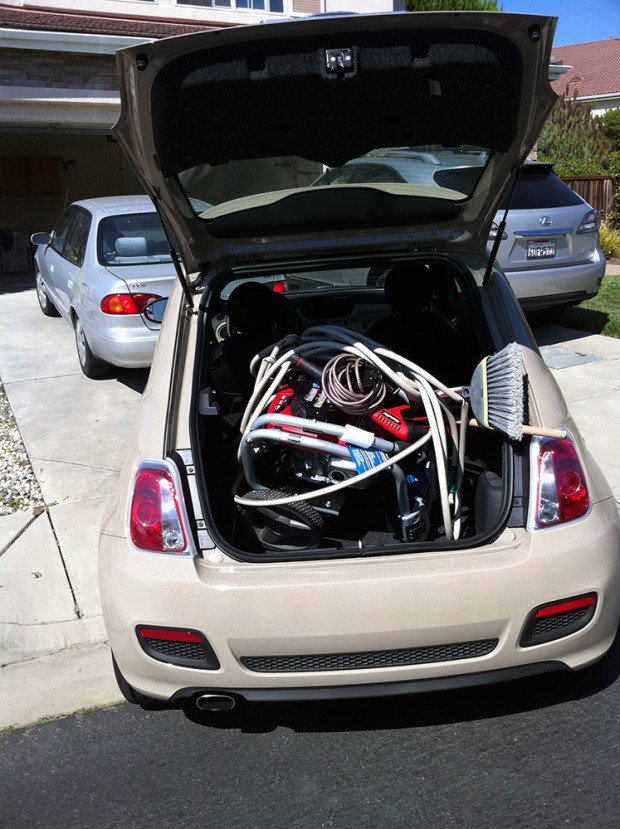
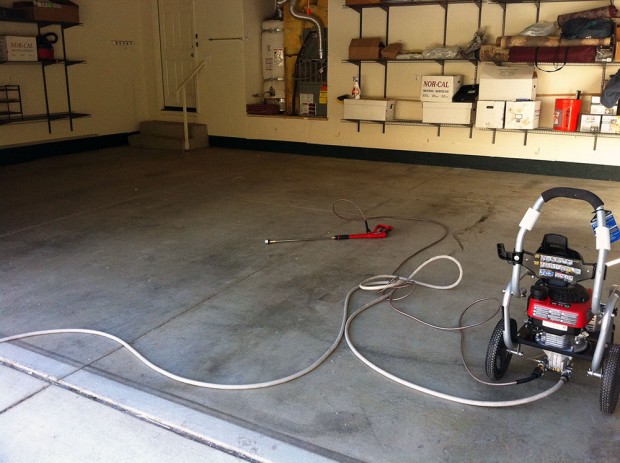
Everything amounted to a sum in excess of $500. And that didn’t even include the 3200psi pressure washer that was needed to clean the floor… which I was fortunately able to borrow. At first I guffawed at Home Depot’s price of ~$1500 to have a professional take care of everything, but now it makes more sense.
Speaking of cleaning, that was the most labor intensive part and also the most important. Many hours (I’d estimate 10-11 hours total from the prepping to the actual painting) of rinsing, degreasing, scrubbing, power washing, concrete etching, and sealing cracks & dents were required.
It’s awesome to have a 3-car garage now, but it’s not awesome to have to paint it. I bought 2 kits of the base coat, enough for a rated 3.5 car garage. For the clear coat, I bought 2 kits enough for a 4-car garage. Since I had to use separate kits, it was important to pre-mix everything from the base coat into a bucket, and then pour the contents back in accordingly. This ensures that the color shade will match when you eventually switch over to the next kit.
For the actual painting, I first trimmed and cut-in at the edges with a 3″ brush. I had to work diligently because the paint has a pot life before it cures. The worst part of the painting was how strong the fumes were. I had to paint with the garage doors mostly closed because it happened to be a super windy day.
I liked the way the color and tint came out. It’s a light grey with a slight purple and tan hue.
After the base coat was done, I waited a day and then repeated the process by laying on the clear coat.
I was displeased with how the roller I used fuzzed off everywhere. I focused too much on finding a roller in the right nap size (1/2″ for the base, 3/8″ for the clear), and not enough on looking for something that was synthetic with short fibers. This hindsight caused little bumps to be everywhere in the paint. I was mad because it spoiled all the hard work, but quickly got over it when I realized that this was the garage after all, and the floor will be abused sooner or later. Hopefully the epoxy can actually hold up to said abuse and not flake off.
In the end, I’m still glad I took the time to epoxy the floor, but it’s definitely not something I’d do again. Tiles probably would have been easier.

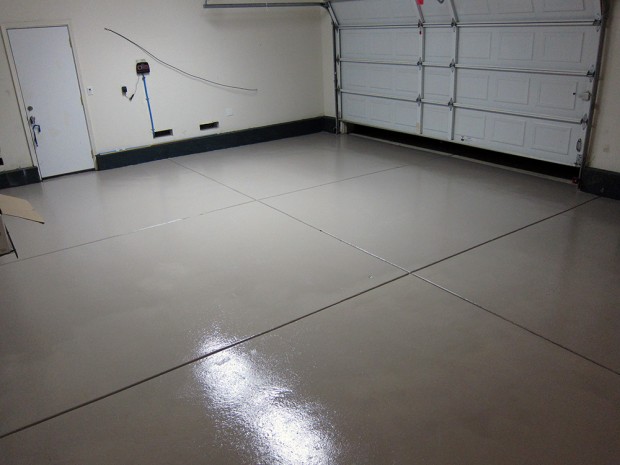
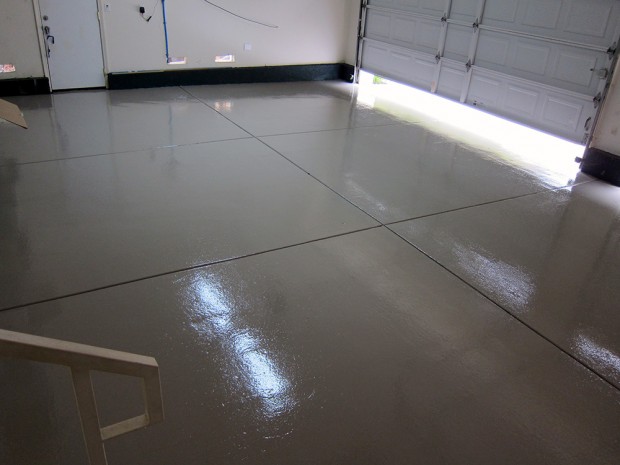
I still think that garage is epic with such a floor like that. :)
mother of god….fucking awesome