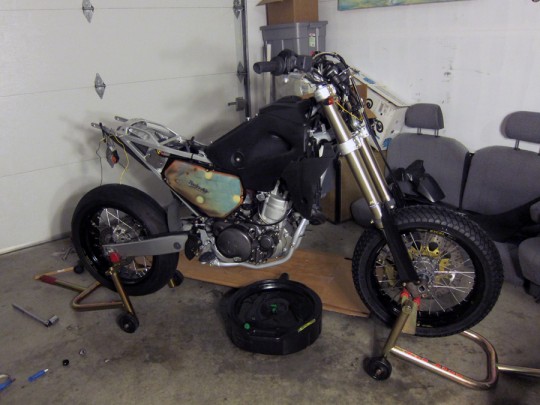
This post will be slightly lengthy because I will be condensing over a week’s worth of work into it. I also didn’t take many pictures of the progress, mainly because I was too occupied this time with wrenching and figuring things out.
And so the work continues… I spent hours and hours alone scrubbing down the bike and cleaning up all the old grime and grease. I already know I’m partially psychotic.
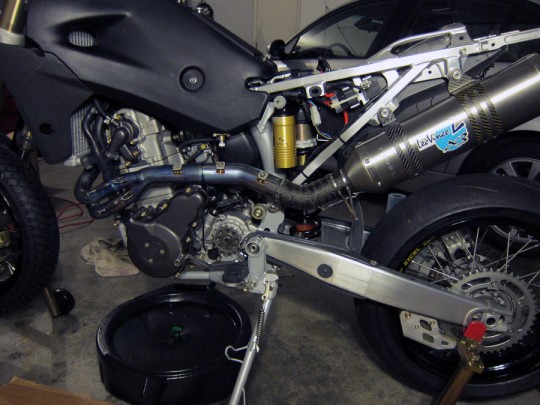
There was a section of the tail pipe that was left open, and when you sat on the bike, your leg would be right next to it. My pants would surely catch on fire some day if this was left alone, so I bought some titanium colored heat wrap and taped it up.
Sometime around here I drained the oil and poured in fresh Amsoil 20w-50. I also flushed the radiator, only to find out that the bike’s coolant was previously changed with Engine Ice. That made it a bit easier for me, I got a jug of Engine Ice and filled it back up.
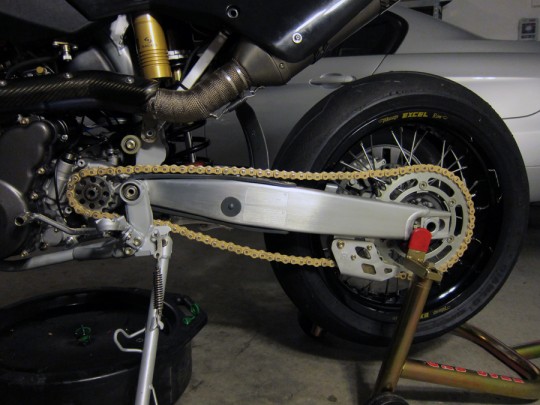
I had noticed that the stock Regina chain was very dry looking, probably from sitting for a while. The easy way would have been to simply clean the chain and lube it up. I decided to cut it off and install a new chain all together. After installing the DID 520 ERV3 chain on my CBR, I really liked its quality and decided to buy it again for the Husky.
I’m actually glad I shelled out for a chain tool kit now. Here is the new chain installed, not tensioned yet of course.
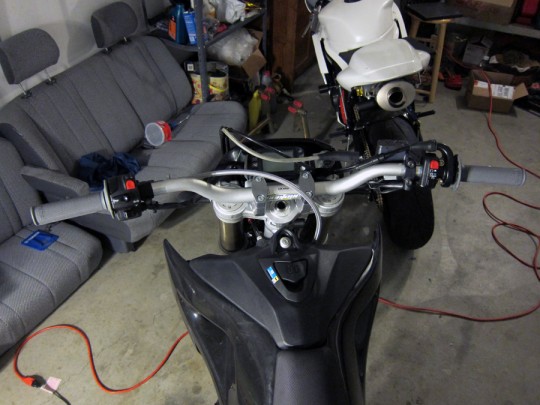
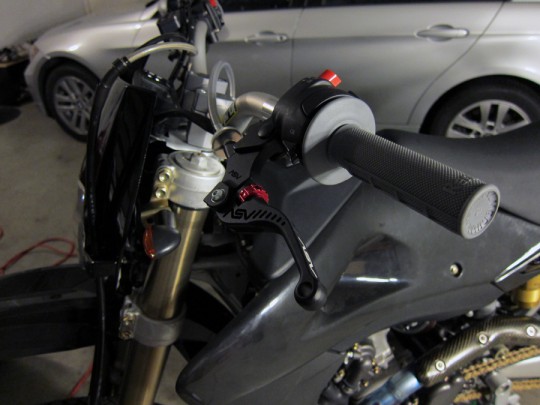
One thing I disliked was how cluttered the handlebar was. The stock bar was a 7/8″, I decided to upgrade to a fatter 1 1/8″ clamp ProTaper bar with Scott’s Steering Bar Mounts. I ended up having to buy 2 of the same ProTaper bars, because the first one was supposed supposed to be silver-ish but turned out to be blue hued. After I put on the new throttle side Renthal grip, and removed the stock bar, work was unfortunately halted in that area. I had bought a Yamaha FZ1 clutch perch, and an AGV C5 shorty clutch lever for it. The lever was supposed to go on next along with the ProTaper bar, but as I was about to put the clutch cable into the lever, I realized that the cable’s anchor/head thing was too big.
I called Barnett Clutches and had them make me a new clutch cable with a different head to fit in my lever.
Fast forward a few days and I eventually got the whole controls area situated.
Nice and tidy now.
I did order a brake lever with the clutch, but unfortunately that part had to be manufactured. I waited 2 weeks for it to be made and shipped, and then once I received it, the lever ended up being some random hydraulic clutch lever. Not sure how that could get screwed up so badly, so now it’s back to square one for the brake lever. I have the stock one on there for now. This did let me do some thinking, and I’m probably going to mismatch the levers on purpose and go back to CRG and full length for the brake side.
The new clutch cable, I took the opportunity to go with a stainless steel braided one. It was a bit of a pain to get adjusted because the Barnett cable was a bit shorter in length than the stock one.
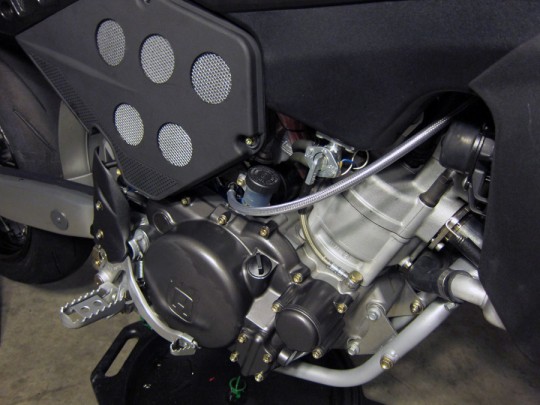
I also bled the rear brakes and put in ATE SuperBlue fluid. While I was in there, I changed out the reservoir’s line to tygon tubing.
Another task I had on my hand was to redo the exterior and look of the bike. As I mentioned earlier, I wasn’t particularly fond of the SM610’s aesthetics. I decided to revert back to an older style from a more race oriented bike, the SMR570. The chassis were similar, so the body panels could be interchanged… for the most part.
The left rear side panel probably required the most modification. I’ll skip on all the details of what I did with the panels.
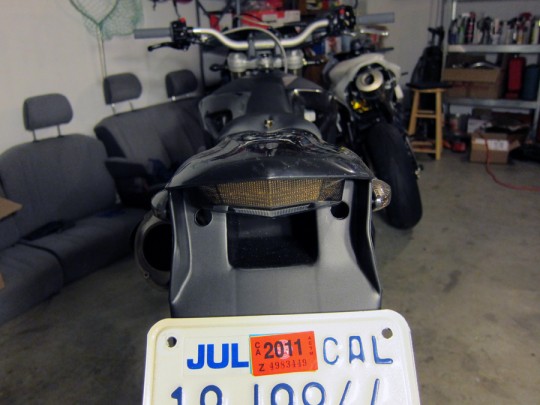
With a new tail piece, I redid the wiring and installed a set of sleeker DRC turn signals and LED rear tail light.
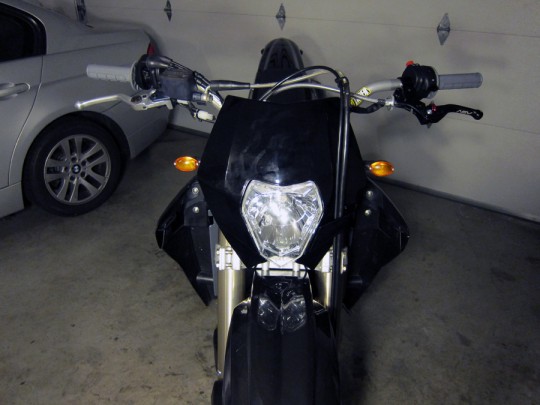
Moving to the front of the bike, I actually went with a headlight and mask from a ’08-’11 KTM EXC-R. It looked much better in my opinion and had a slim profile. Although purchased new, the headlight mask had scratches on it. Not realizing the gloss black was only a base coat without clear, I tried buffing out the scratches with rubbing compound. This smeared the paint and made everything cloudy and worse…
I have to be thorough with what I do, so I took the mask to a nearby body shop where they promptly ripped me off. $50 later, I get a paintjob that had runs and didn’t even stick. One crevice had the paint bulging up, and picking at it revealed that there was basically no prep work. The entire paint job peeled off like a sticker. The base was only lightly sanded and was still very smooth and slippery. I then took the mask to the body shop that painted my CBR’s SharkSkinz, and they returned quality (although it costed me another $100). This is probably the most expensive supermoto headlight ever now, but at least the install wasn’t too bad. I’m happy with the end product.
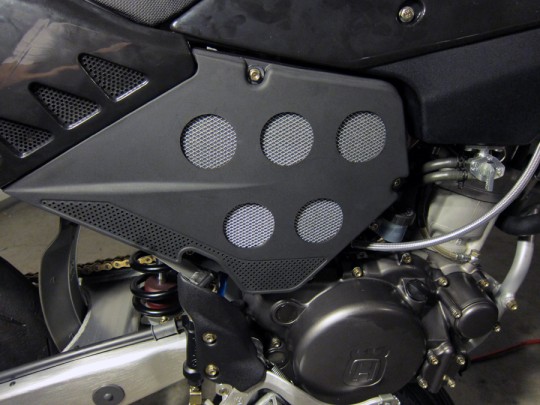
While I was at the second body shop, I had them clean up the holes I drilled into the air box cover. Getting these holes to look uniform and clean like this was no easy feat, the drilling itself ate up my drill’s entire battery charge:
Finally, I am now near the end. Only a couple more small items to take care of, and then it’s time to ride. Hopefully I can get that and the brake lever taken care of soon.
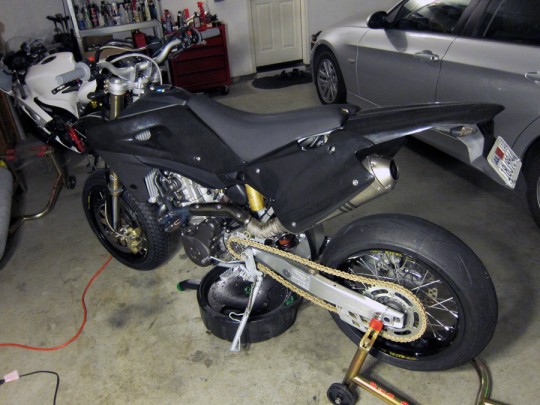
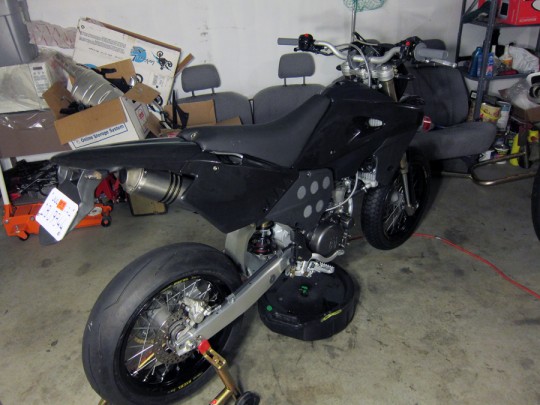
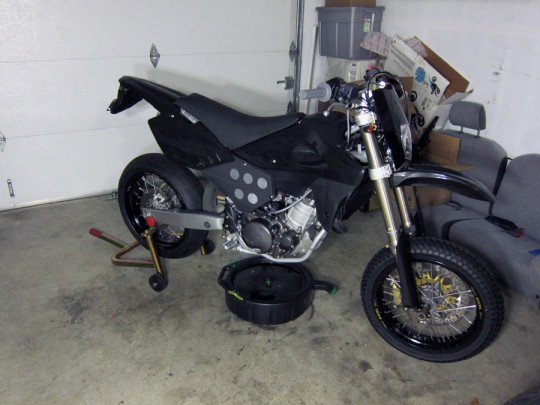
Alas, after grueling hours of work and unmeasurable amounts of stress later, this is the Husqvarna now. Black is the color of choice.
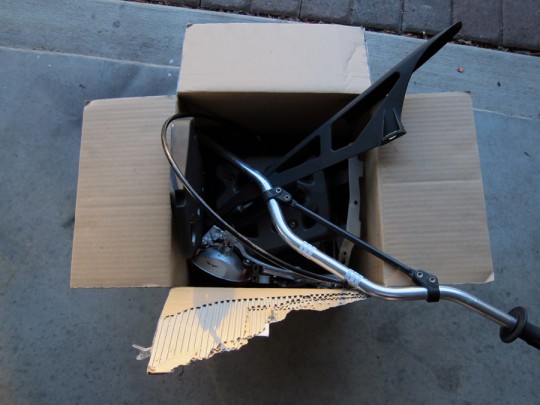
And the box of junk of stuff that was either removed or replaced.
I must say, it was over ambitious of myself to tackle another project like this right after barely finishing the CBR… I am spent. I’m happy that it’s all mostly finished now, and fingers crossed that this is going to be the last time of I have to do this much work in my garage for a while.

Very hefty and informative post! good job!
hola buenas tardes ando buscando la carroseria que tiene tu moto tu sabes donde la puedo conseguir me urge de sobremanera yo me encuentro en mexico df